
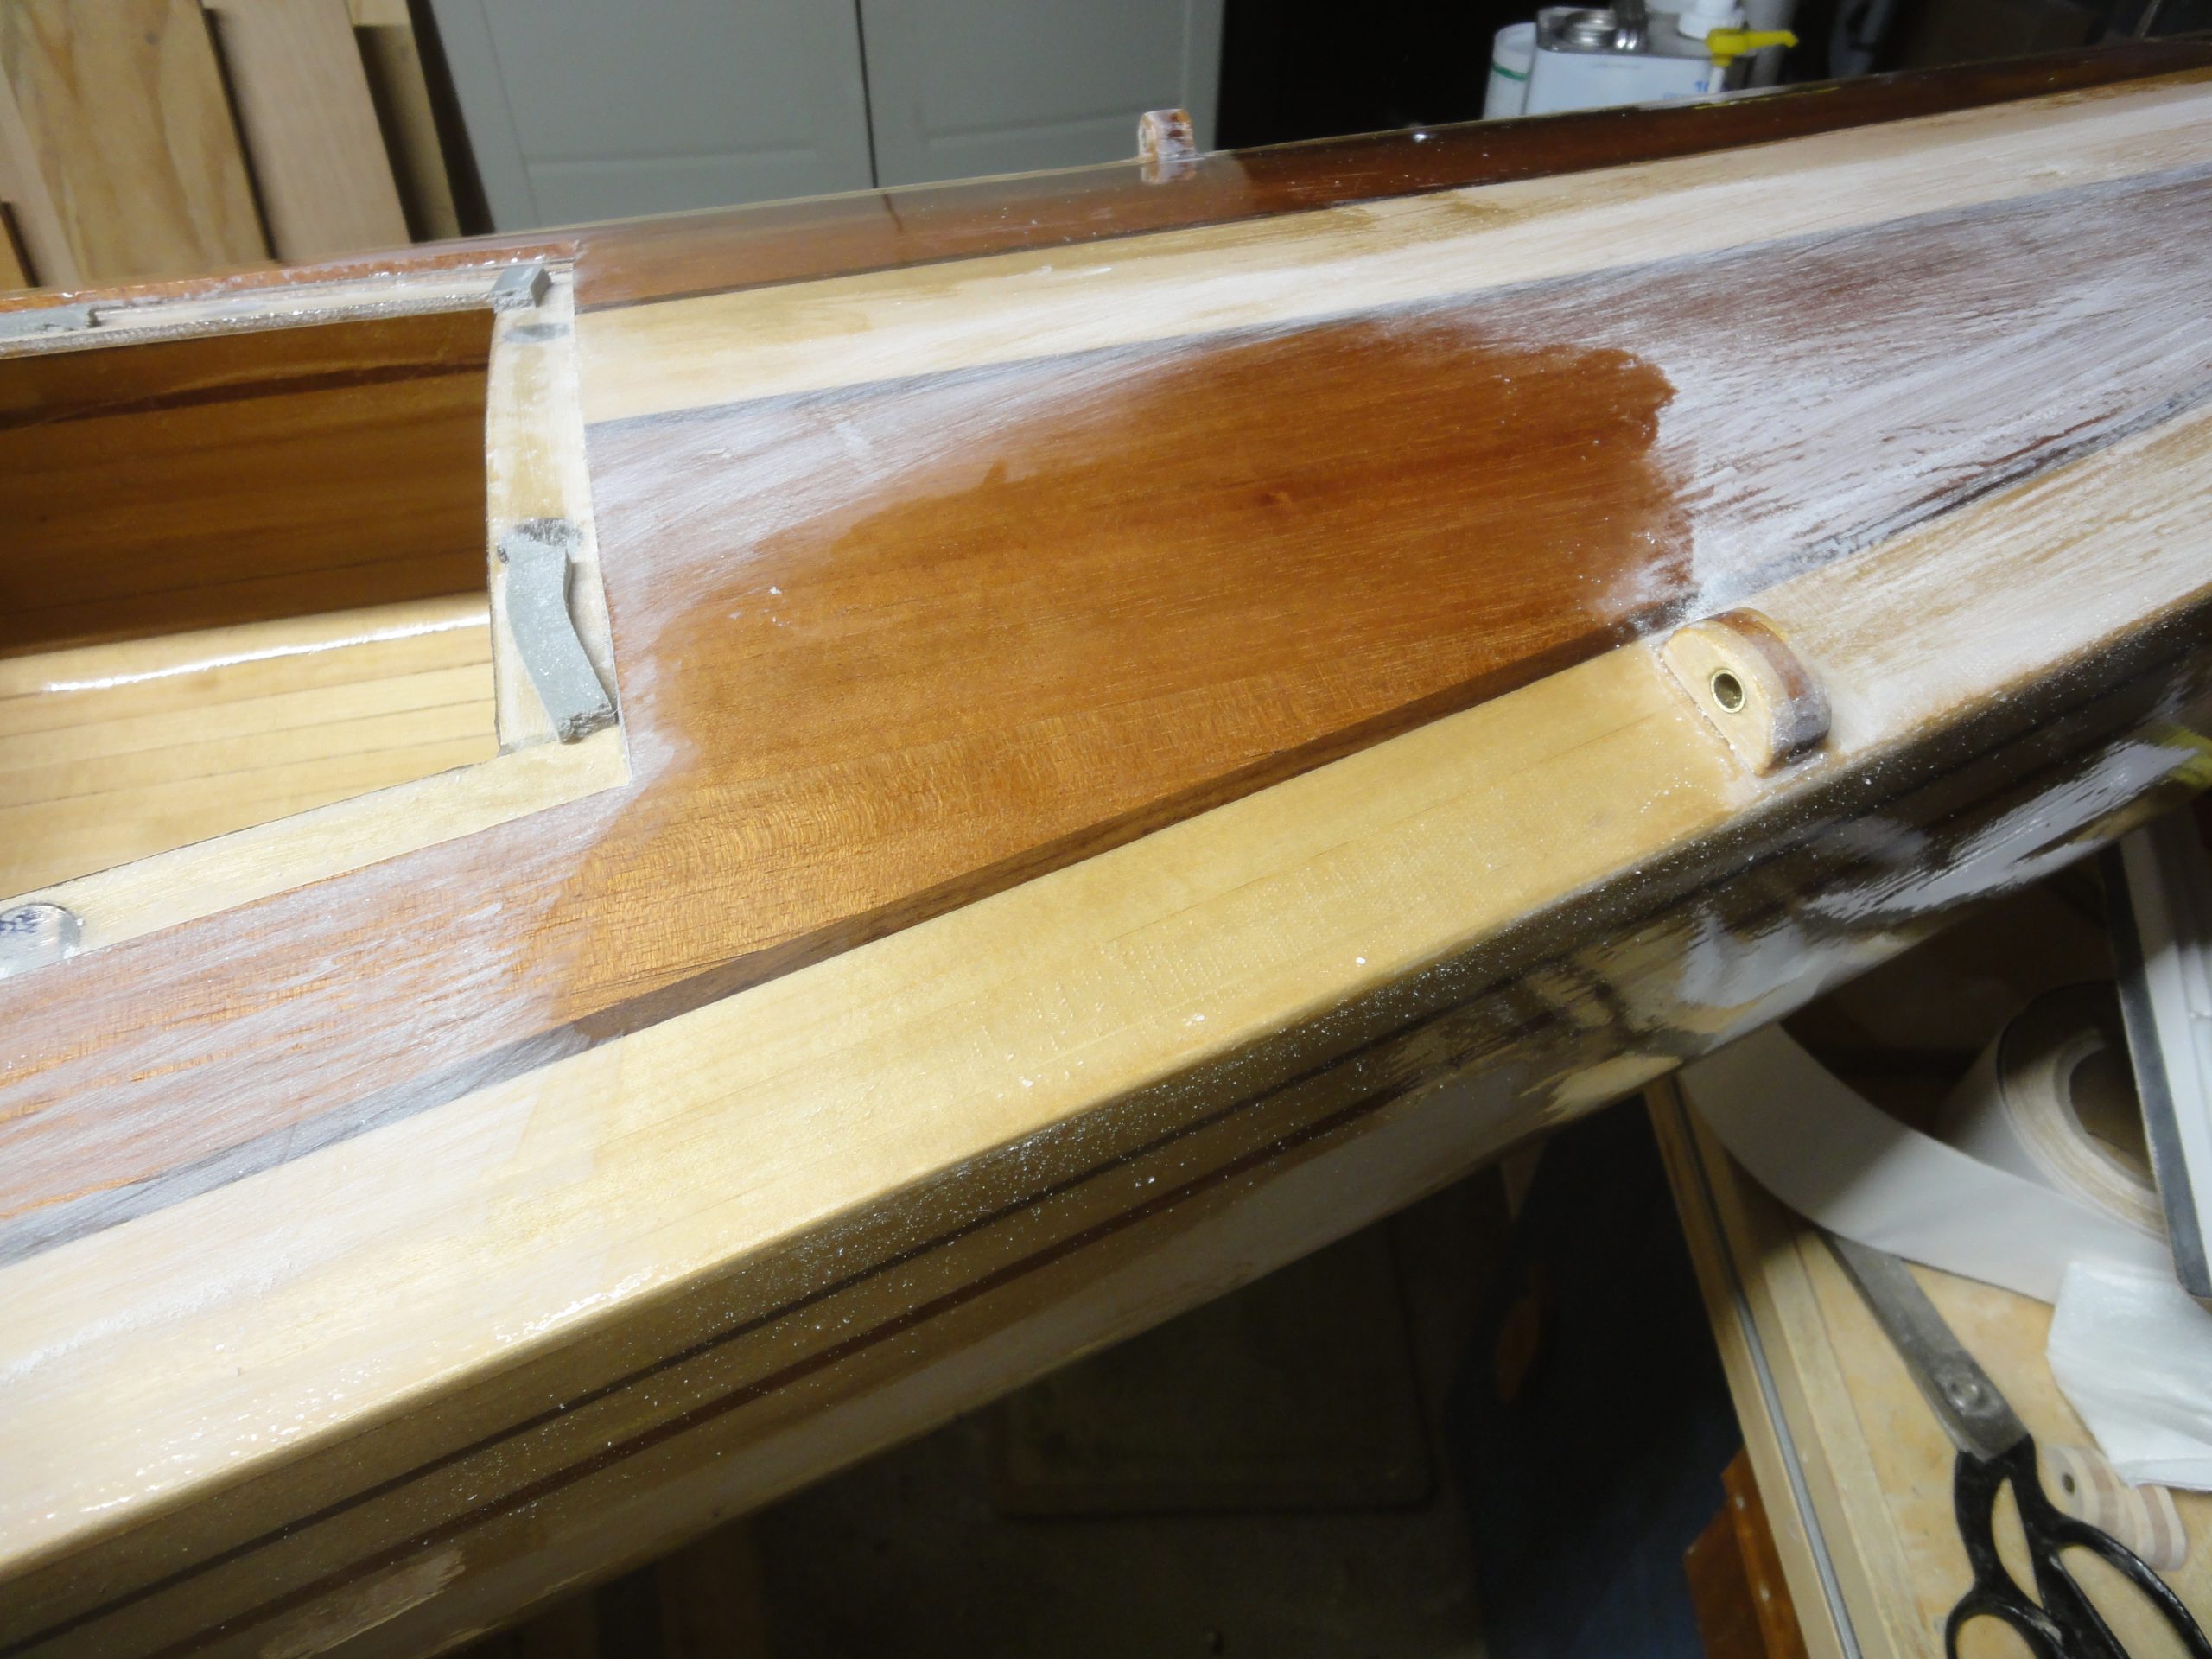
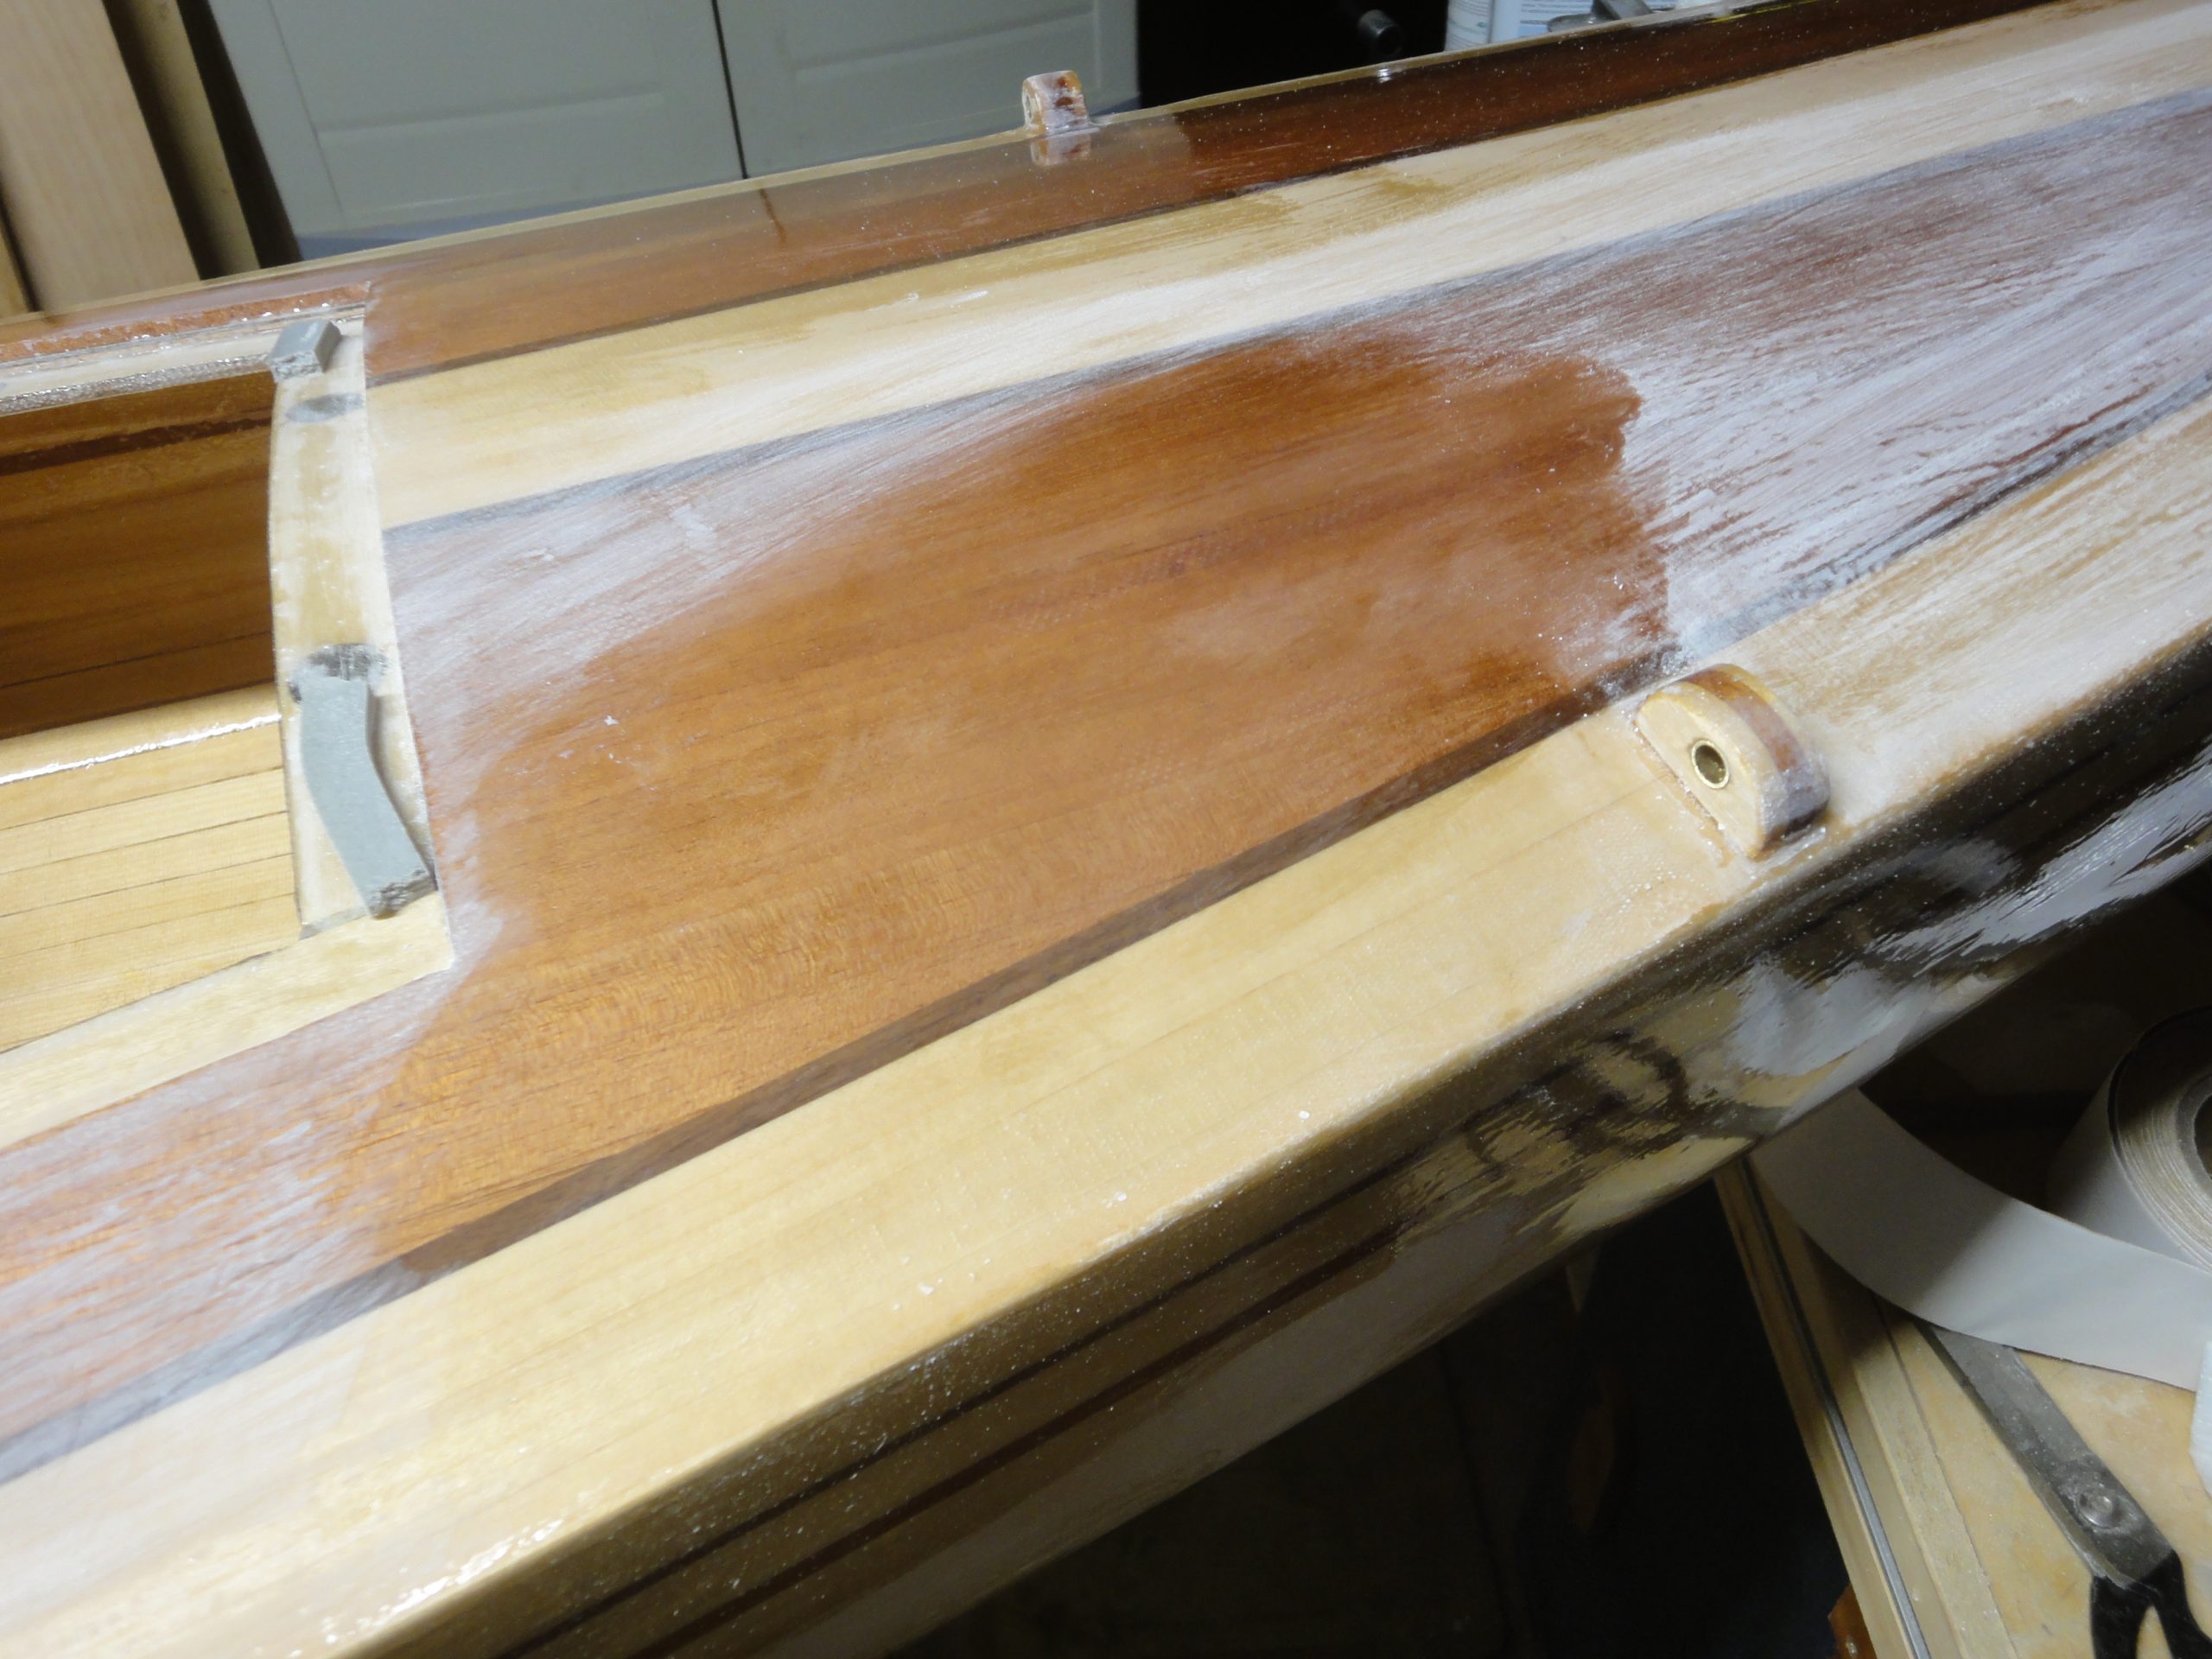
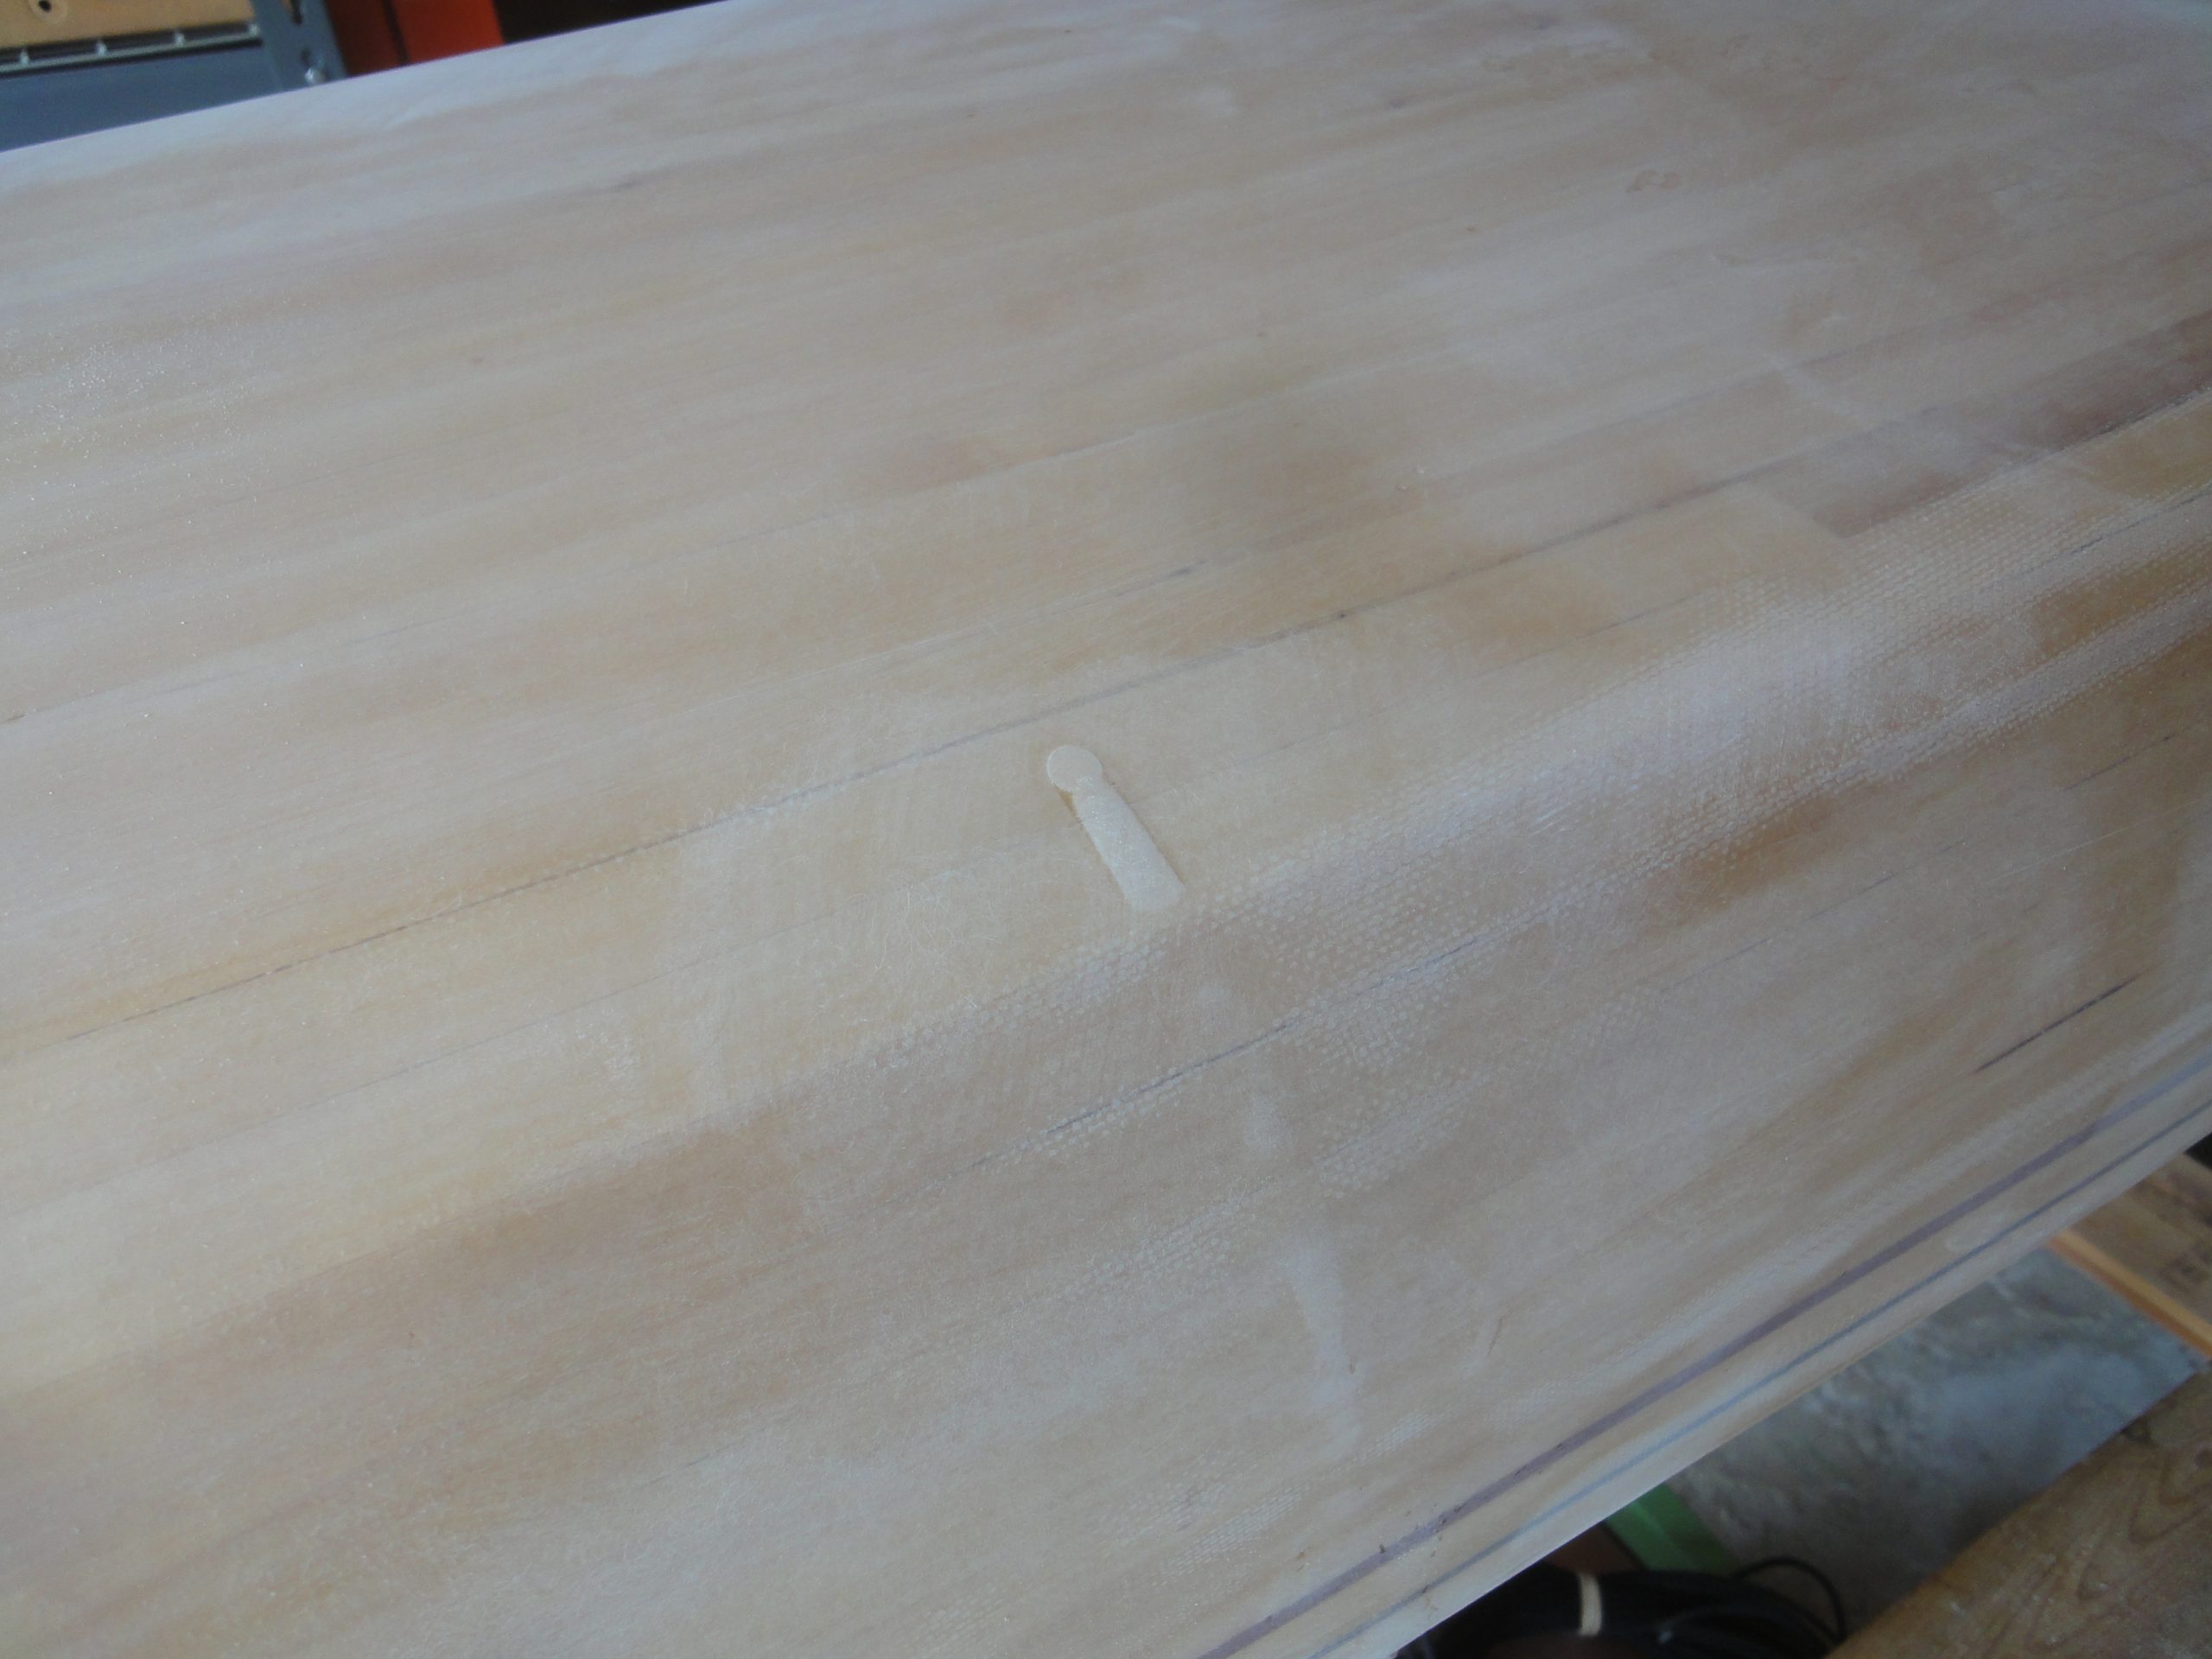
Sad to say the skim coat of epoxy did nothing to remove the visible weave. It did reduce the visible aspect of it quite a bit but didn’t eliminate it at all so I’ll not be putting any epoxy on the other half. It would just be time wasted. Instead I have to accept that up close there will be some weave visible. From about 16 inches away you can see a bit of it in the dark walnut strip in the pic below. Not obvious though and from 3 or more feet away it pretty much disappears. It’s one of those things if you’re looking for it you’ll find it, otherwise it will probably never be noticed.

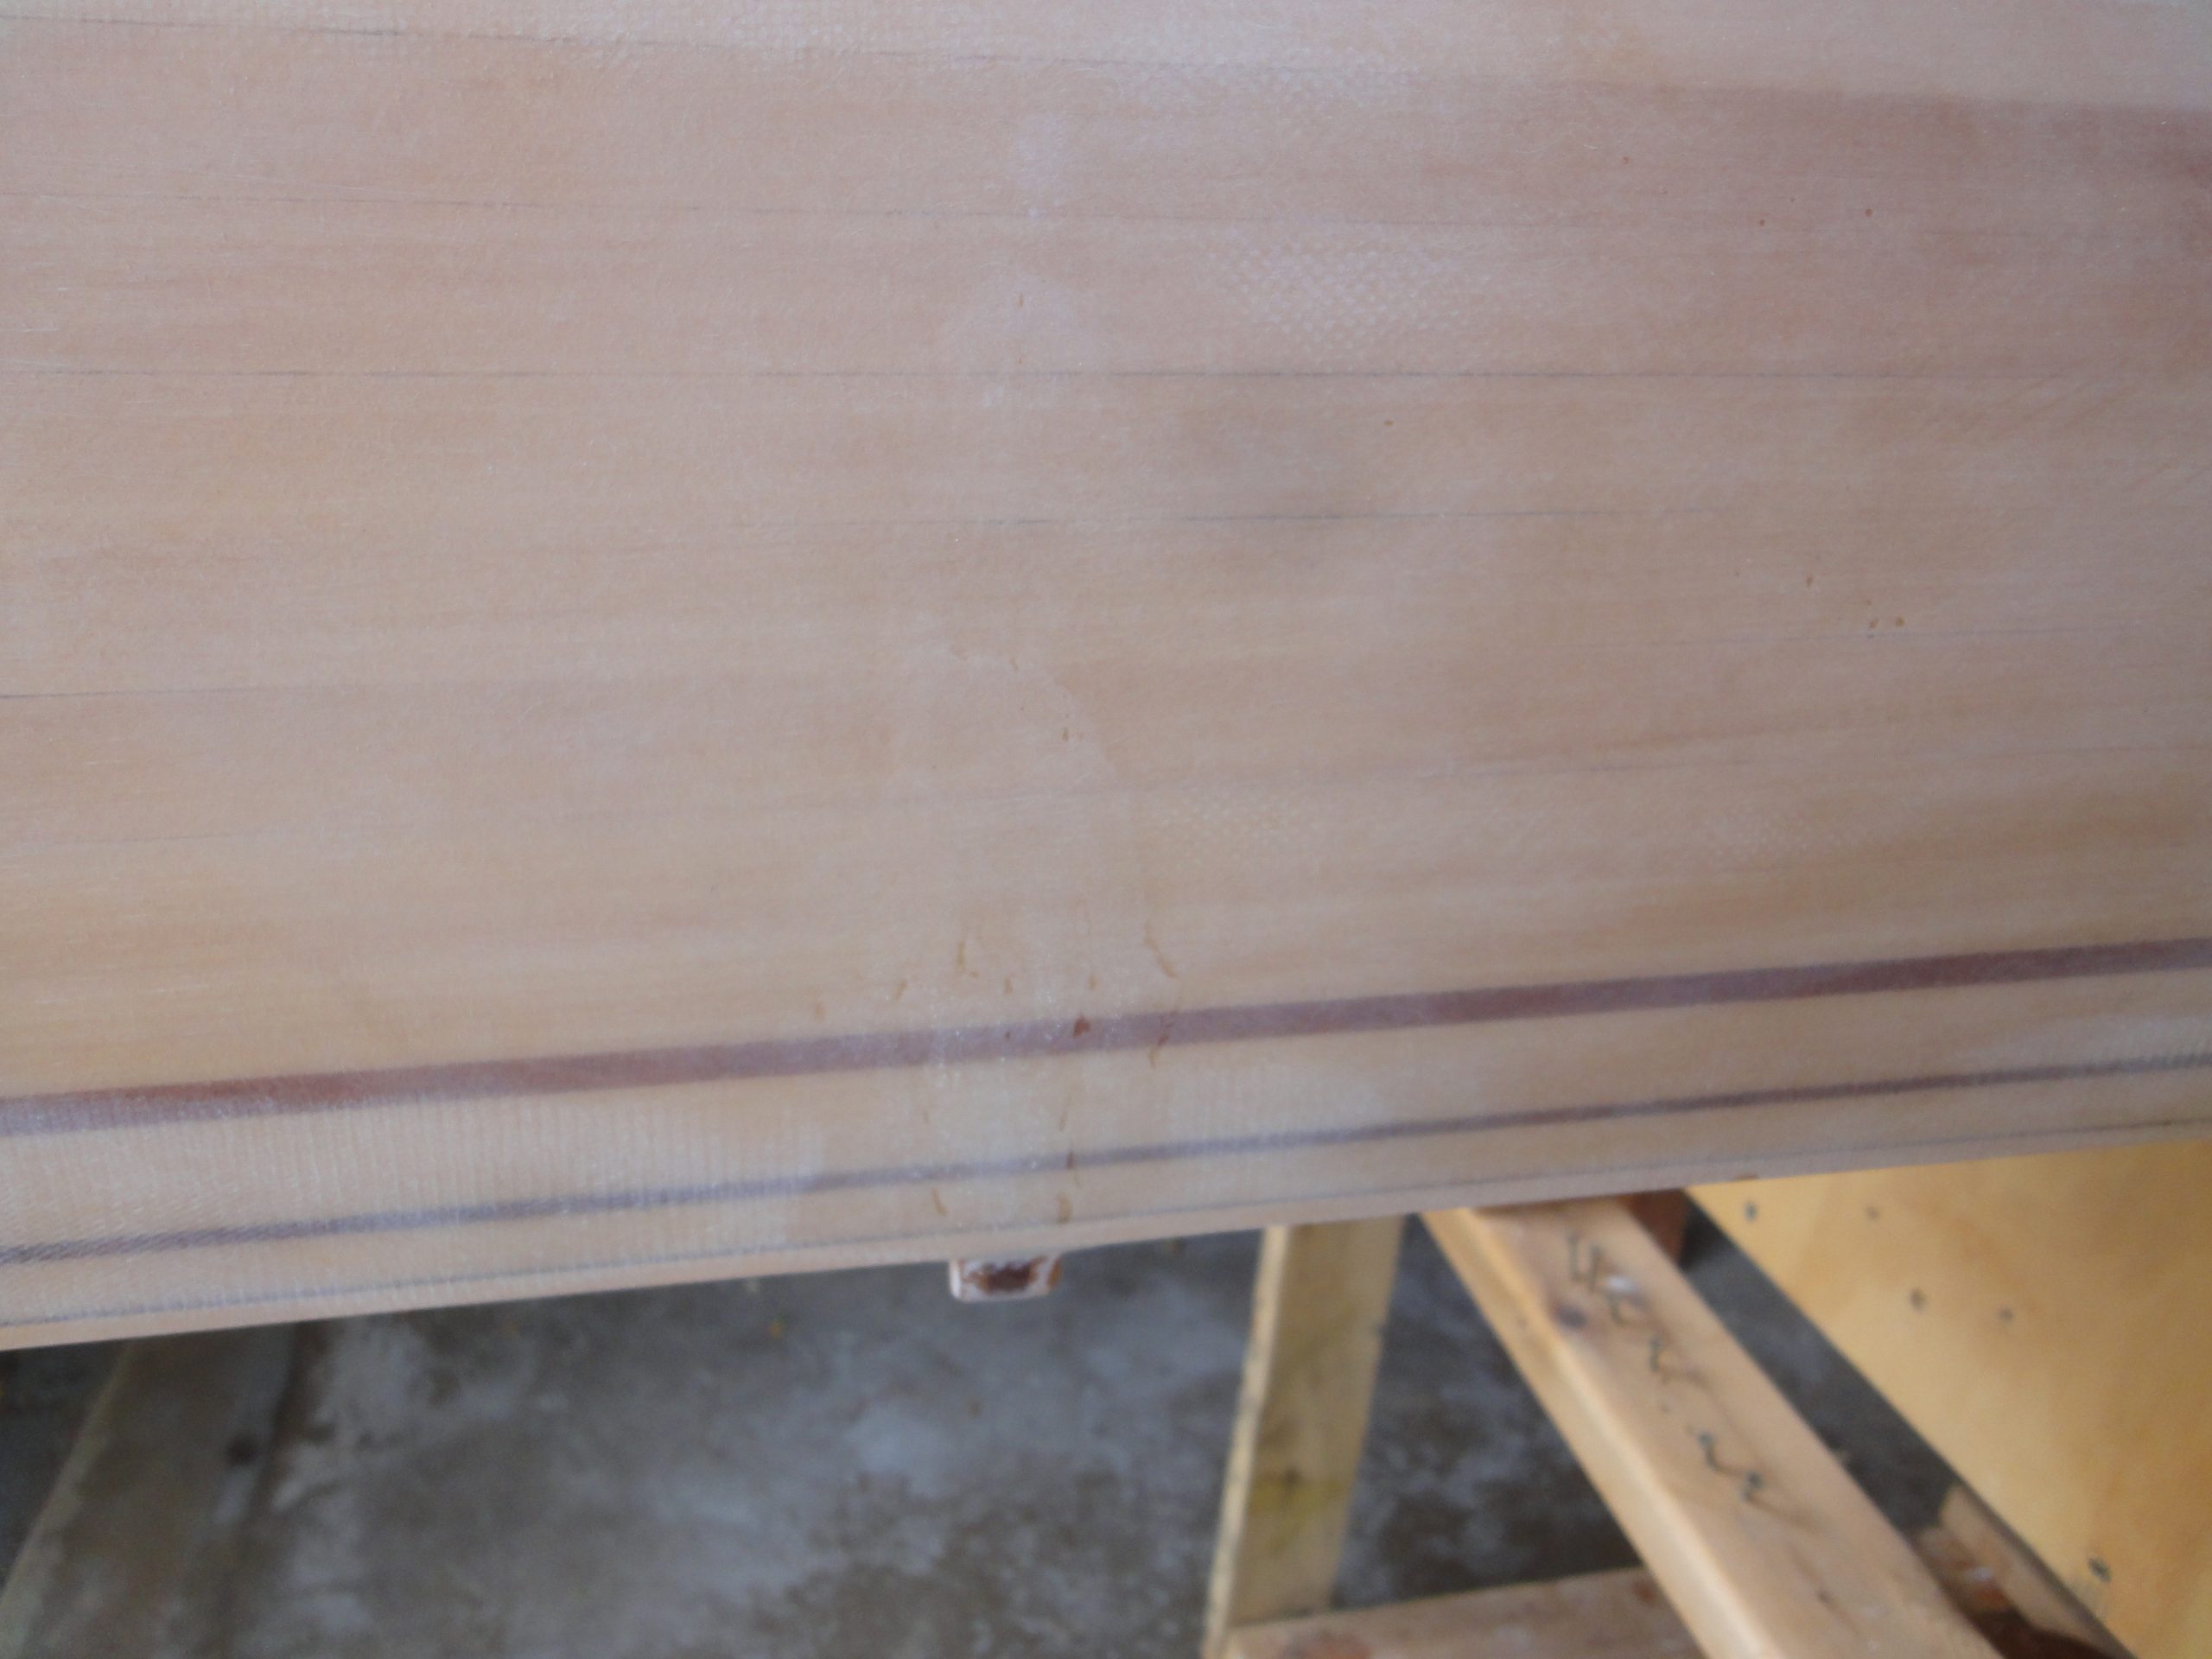
So I proceeded to work on sanding back the fill coat to return the surface to the nice 220 grit level smoothness I had before. With a bit of Bio-Solv to wipe it down you can see the weave is mostly not there. Even after the solvent evaporates off it’s still barely visible. Look closely just above the center of the last image and you can see a small patch.

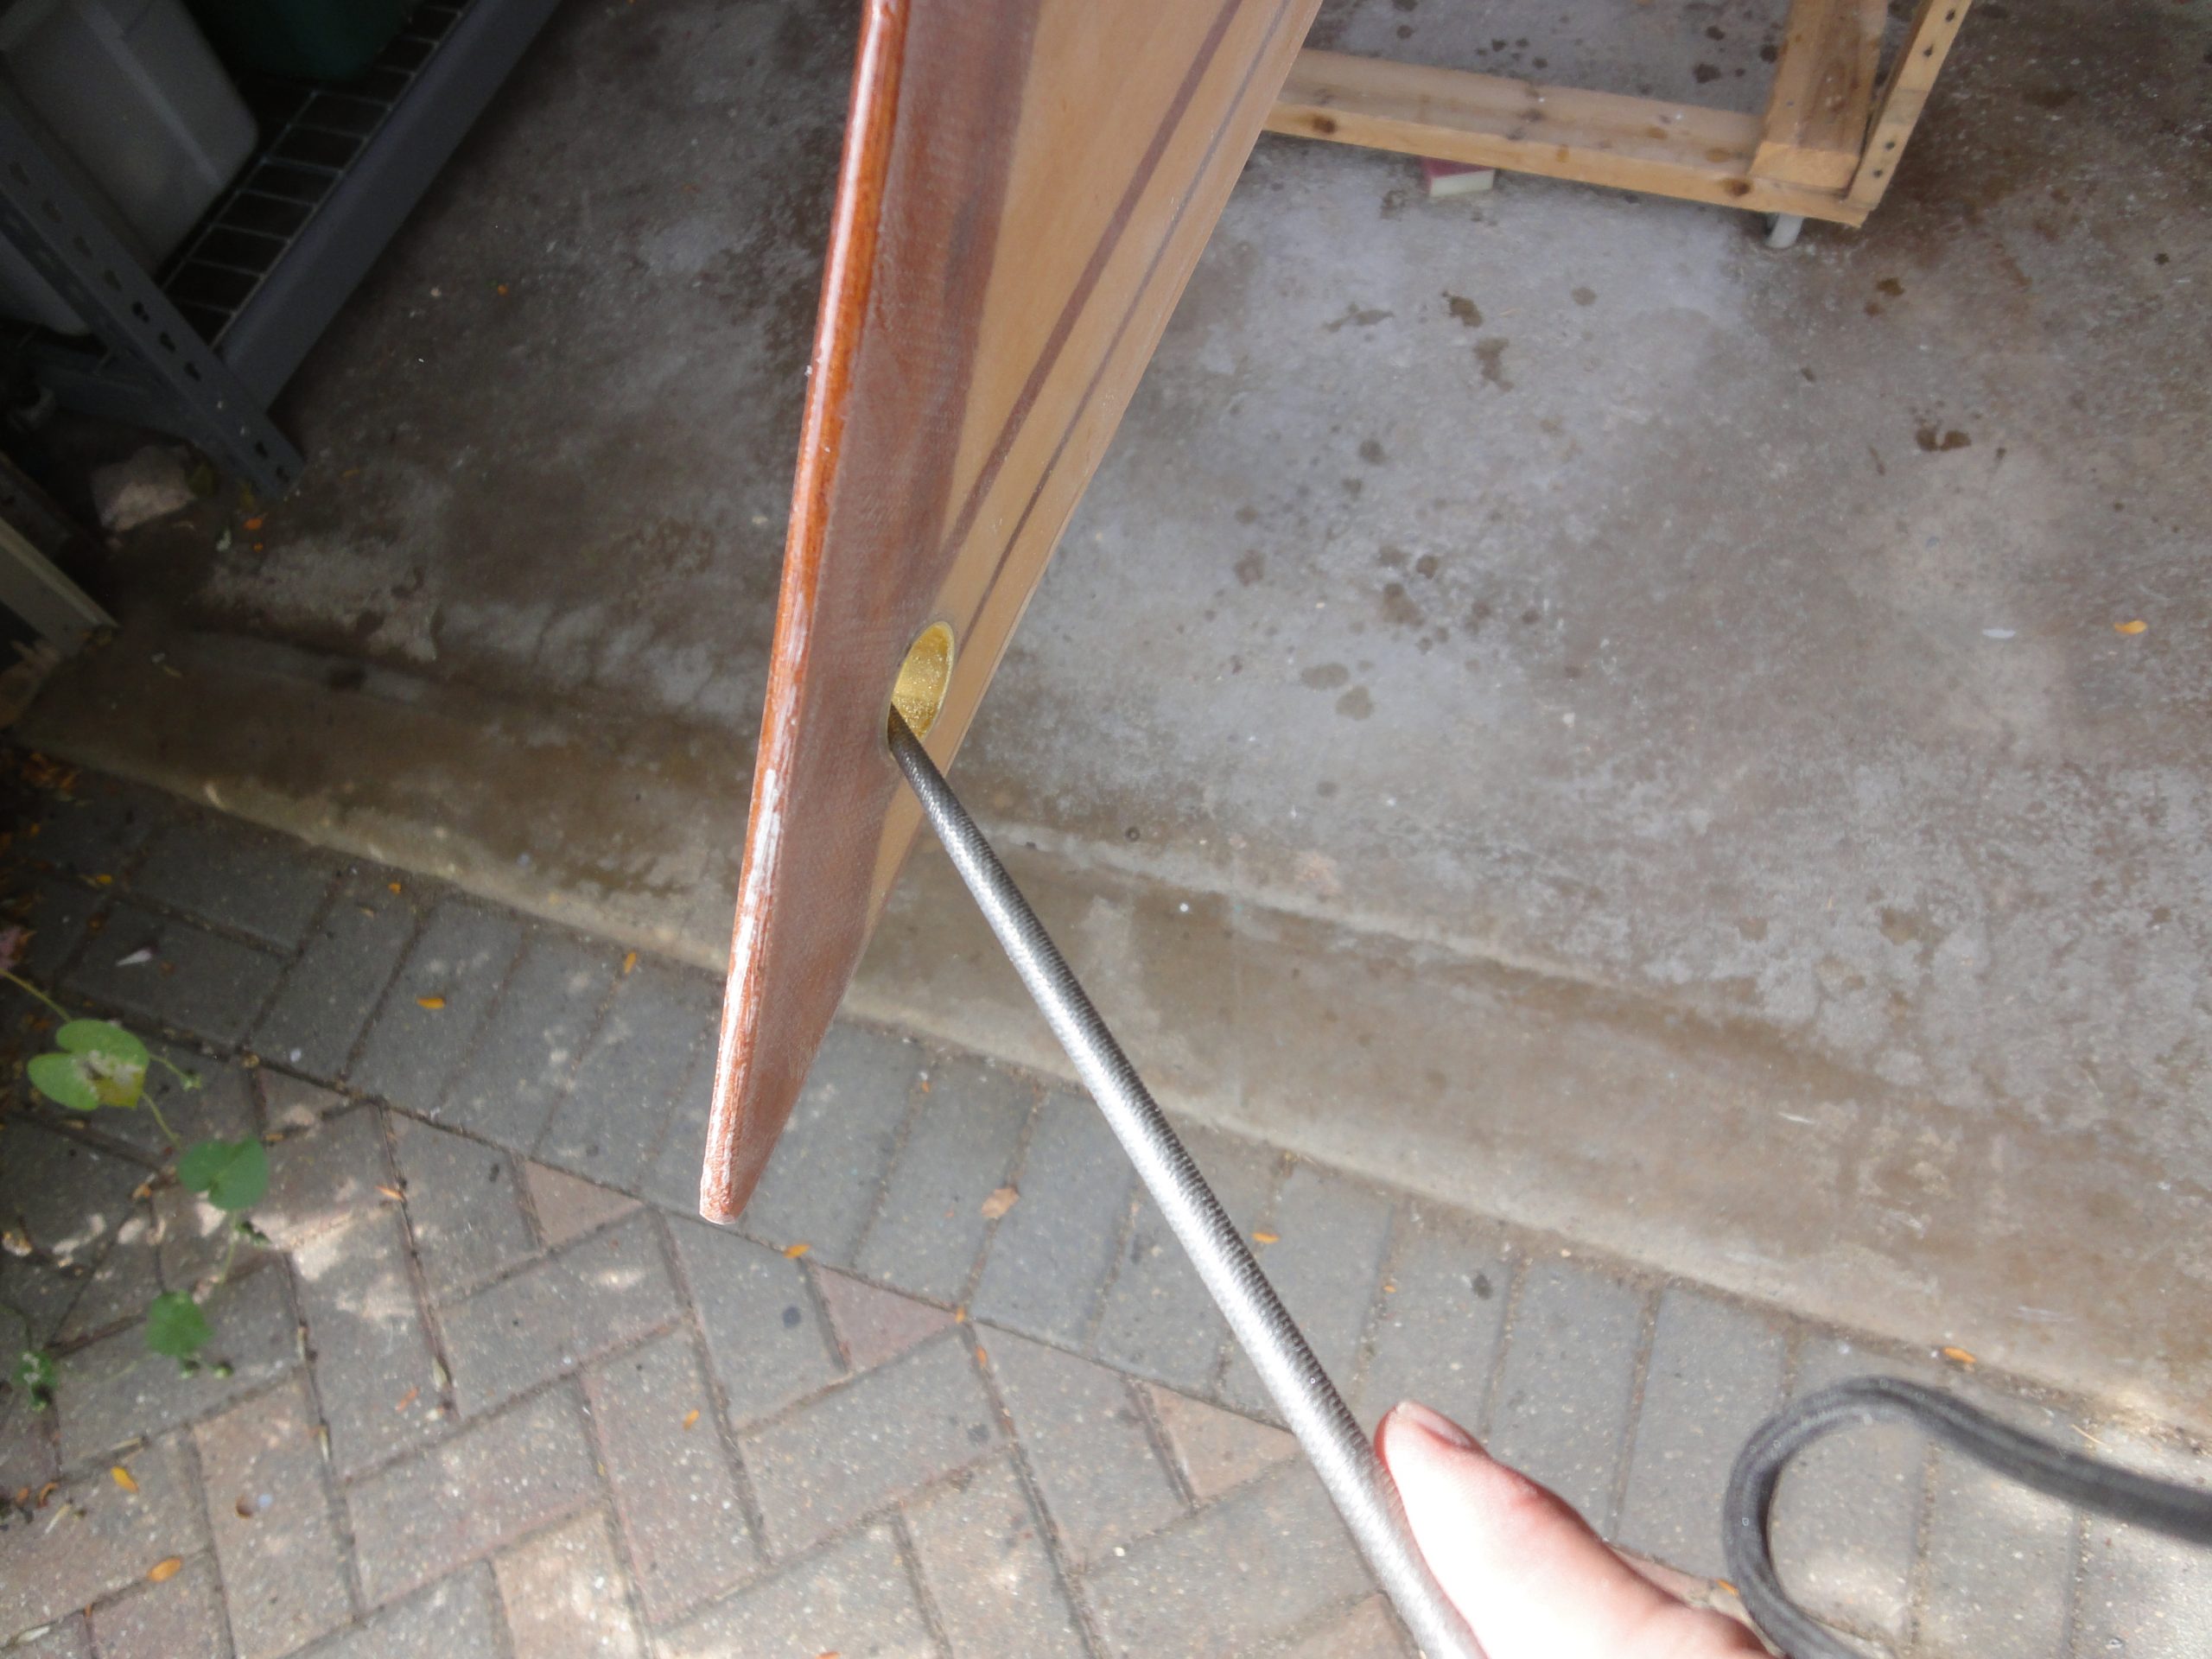
So after completing the sanding I grabbed a round file and knocked off the edge of the tie downs. They didn’t really feel sharp but I didn’t want to take any chances.
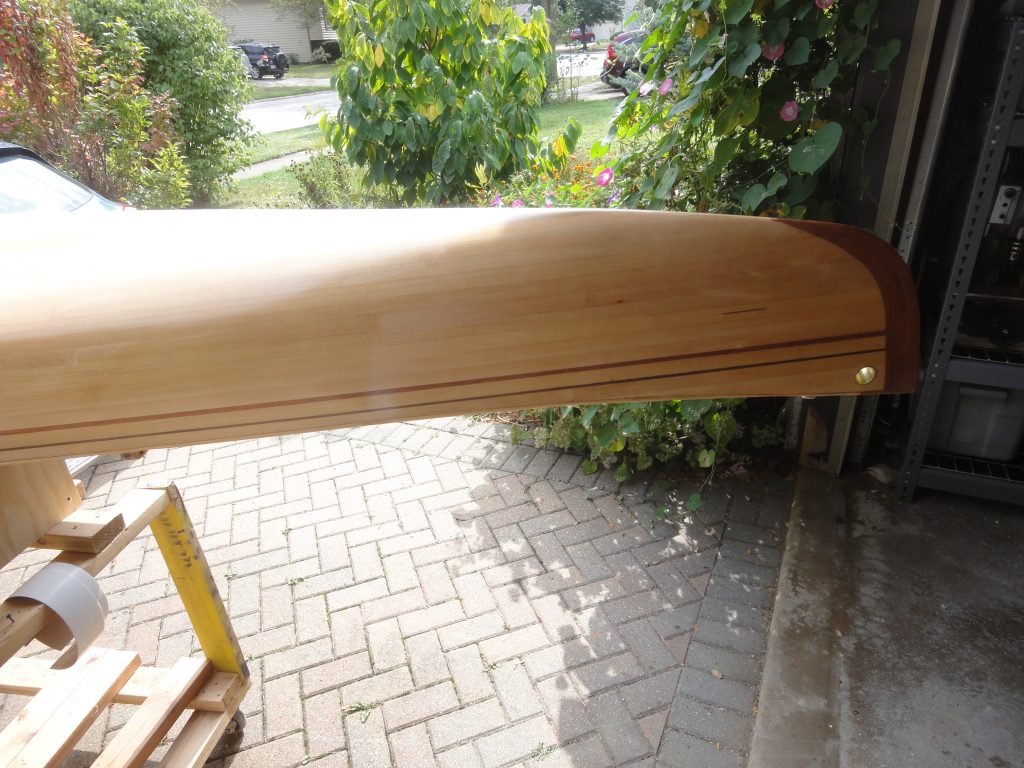
I rolled the stand out into the sun to get good lighting and did a full Bio-Solv wipe down of the entire hull and deck. I then went over it inch by inch looking for any last defects or issues that need to be fixed. Found a bunch but all very minor. Most were just some sanding marks that will easily be removed. A couple of drips to still be removed. A few were slightly rough patches that I hit with another thin coat of epoxy and a few spots I found along the part line (where the hull and deck were joined) that look to have a 1/4″ paper thin gap that needs filling. I marked them all with a small piece of tape so I wouldn’t forget any. Unfortunately many of those shots were blurry so only a few are shown below.
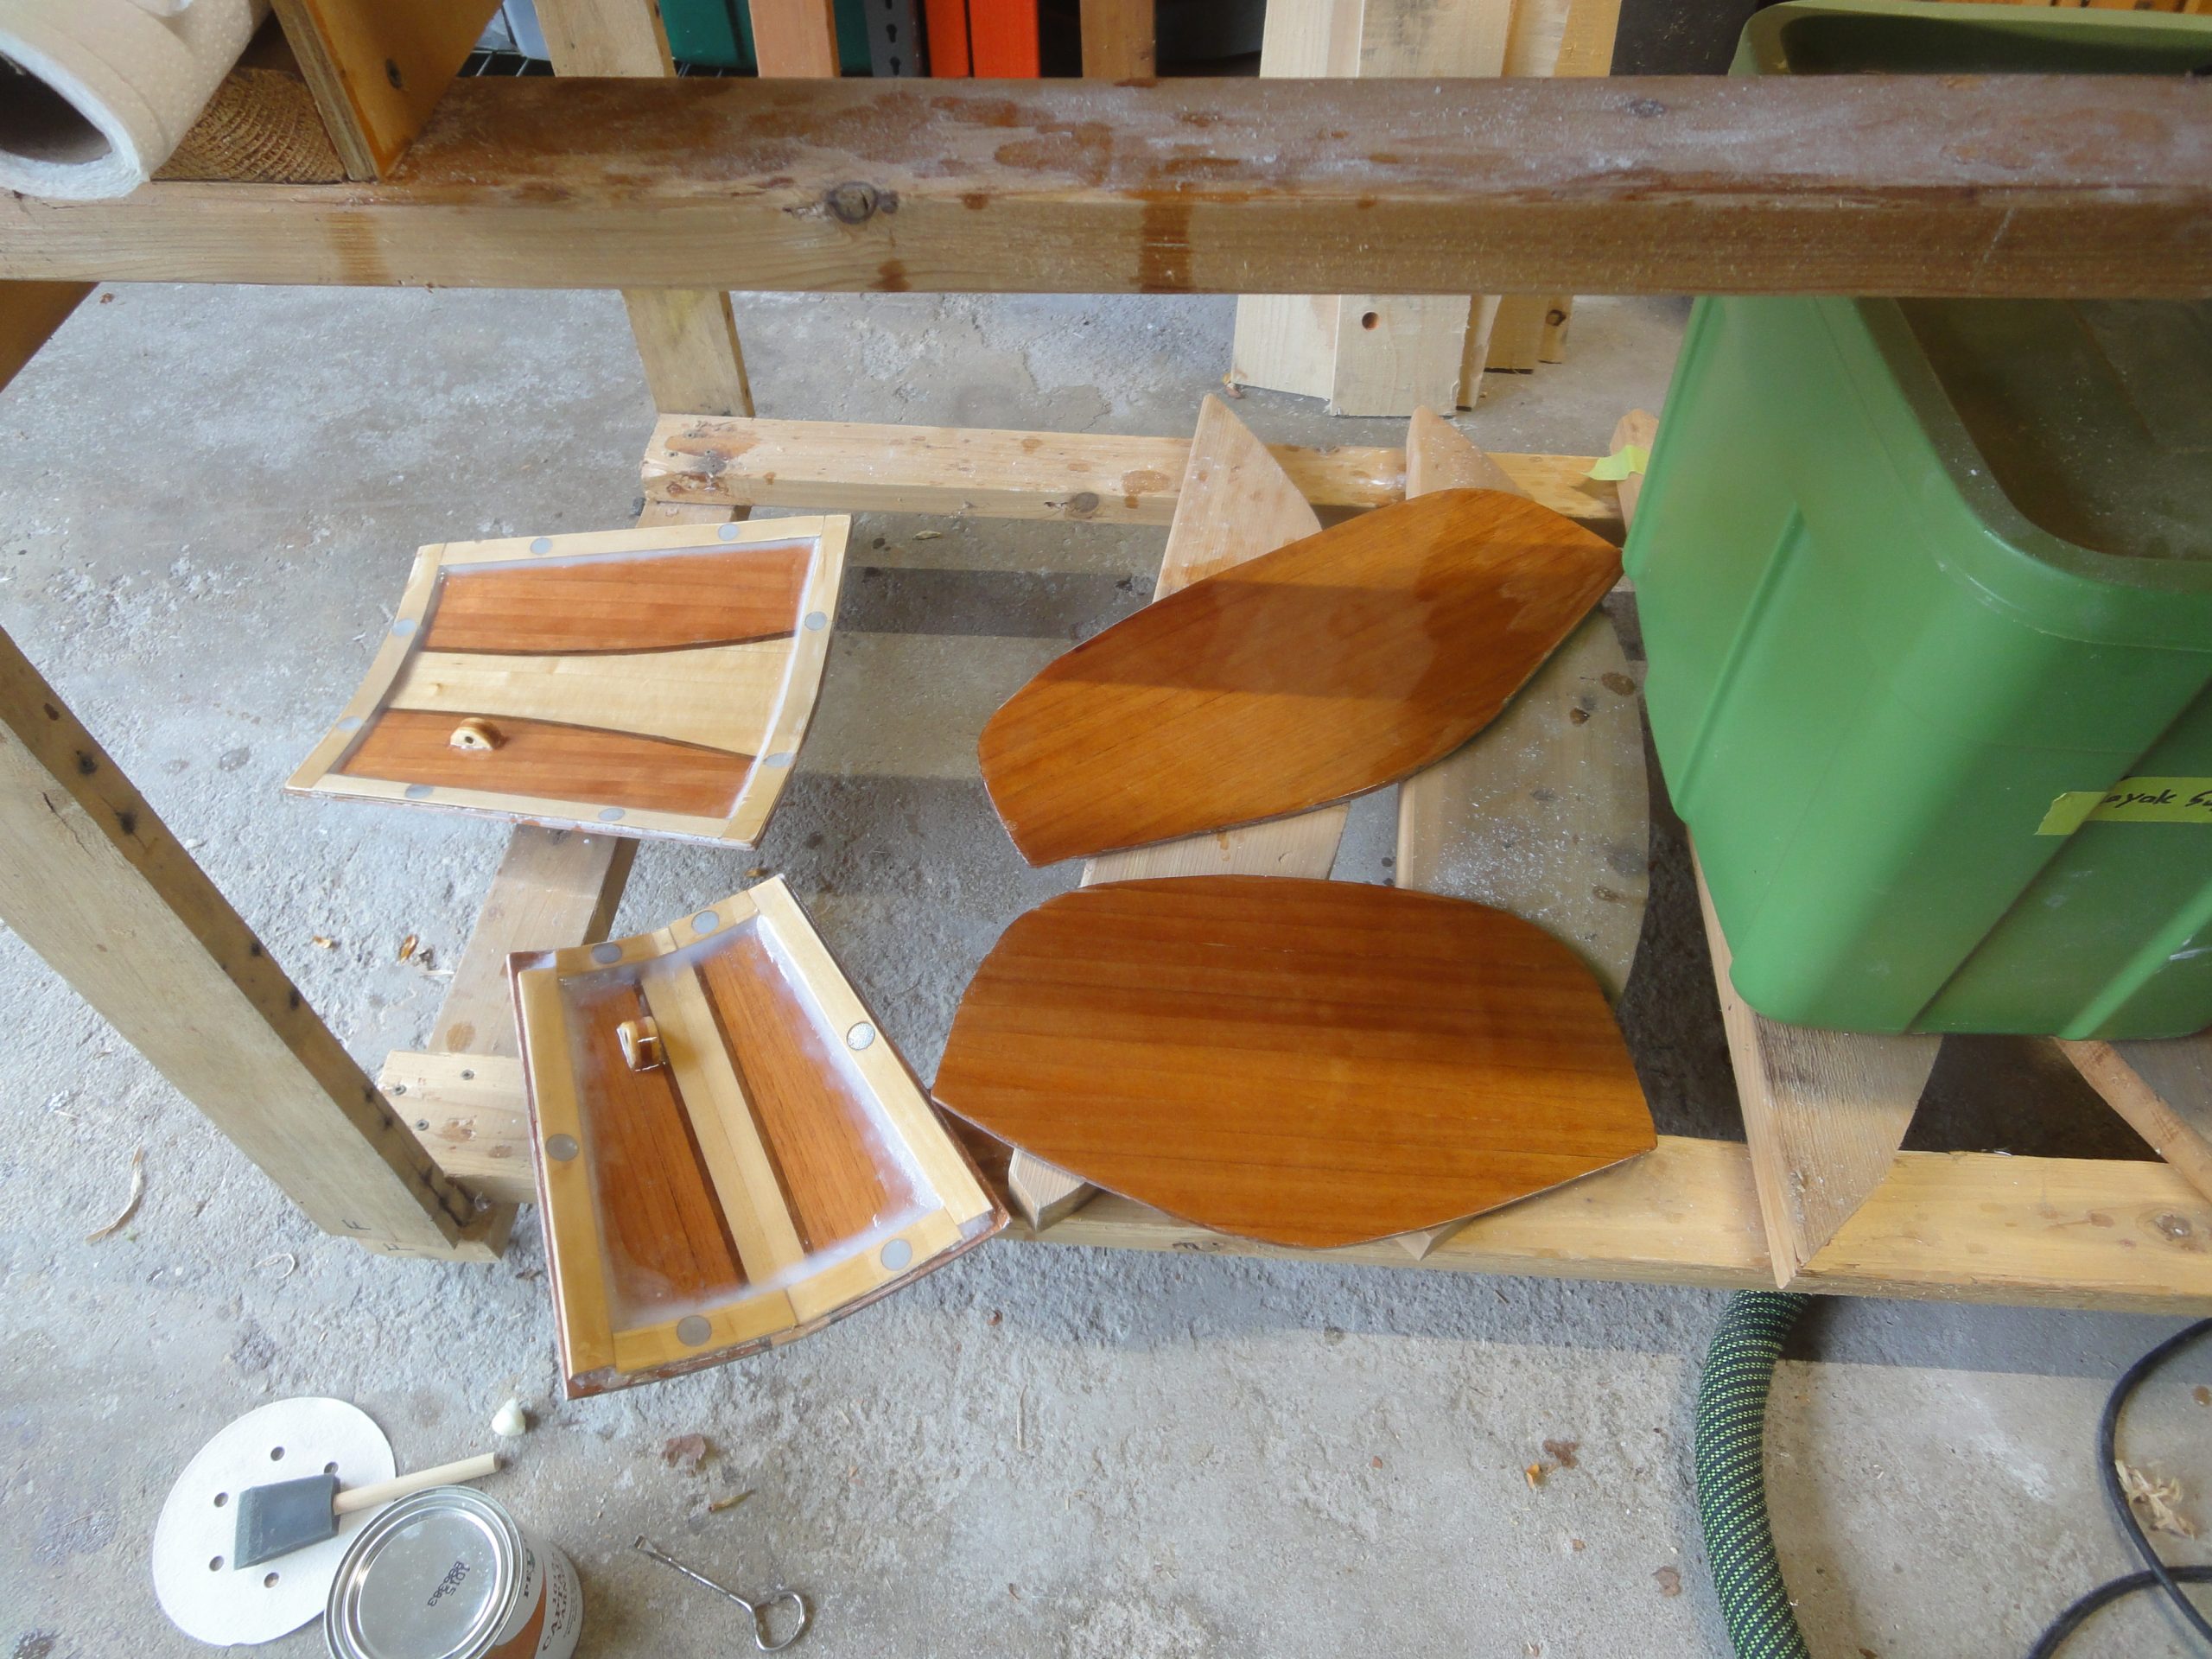
With a few small patches of epoxy drying on the kayak I moved to the bulkheads and inside of the hatches. Gave the hatches a thorough sanding through the grits and then applied a coat of varnish. The bulkheads, at different stages in the process, received either a 120/220 or a 400 grit sanding and a coat of varnish. The 400 grit smaller bulkhead is now on the 4th coat and I think this will be the final.
Prior to varnishing I also did a sanding on the cockpit interior to take care of a few last drips and then gave that a coat of varnish too.
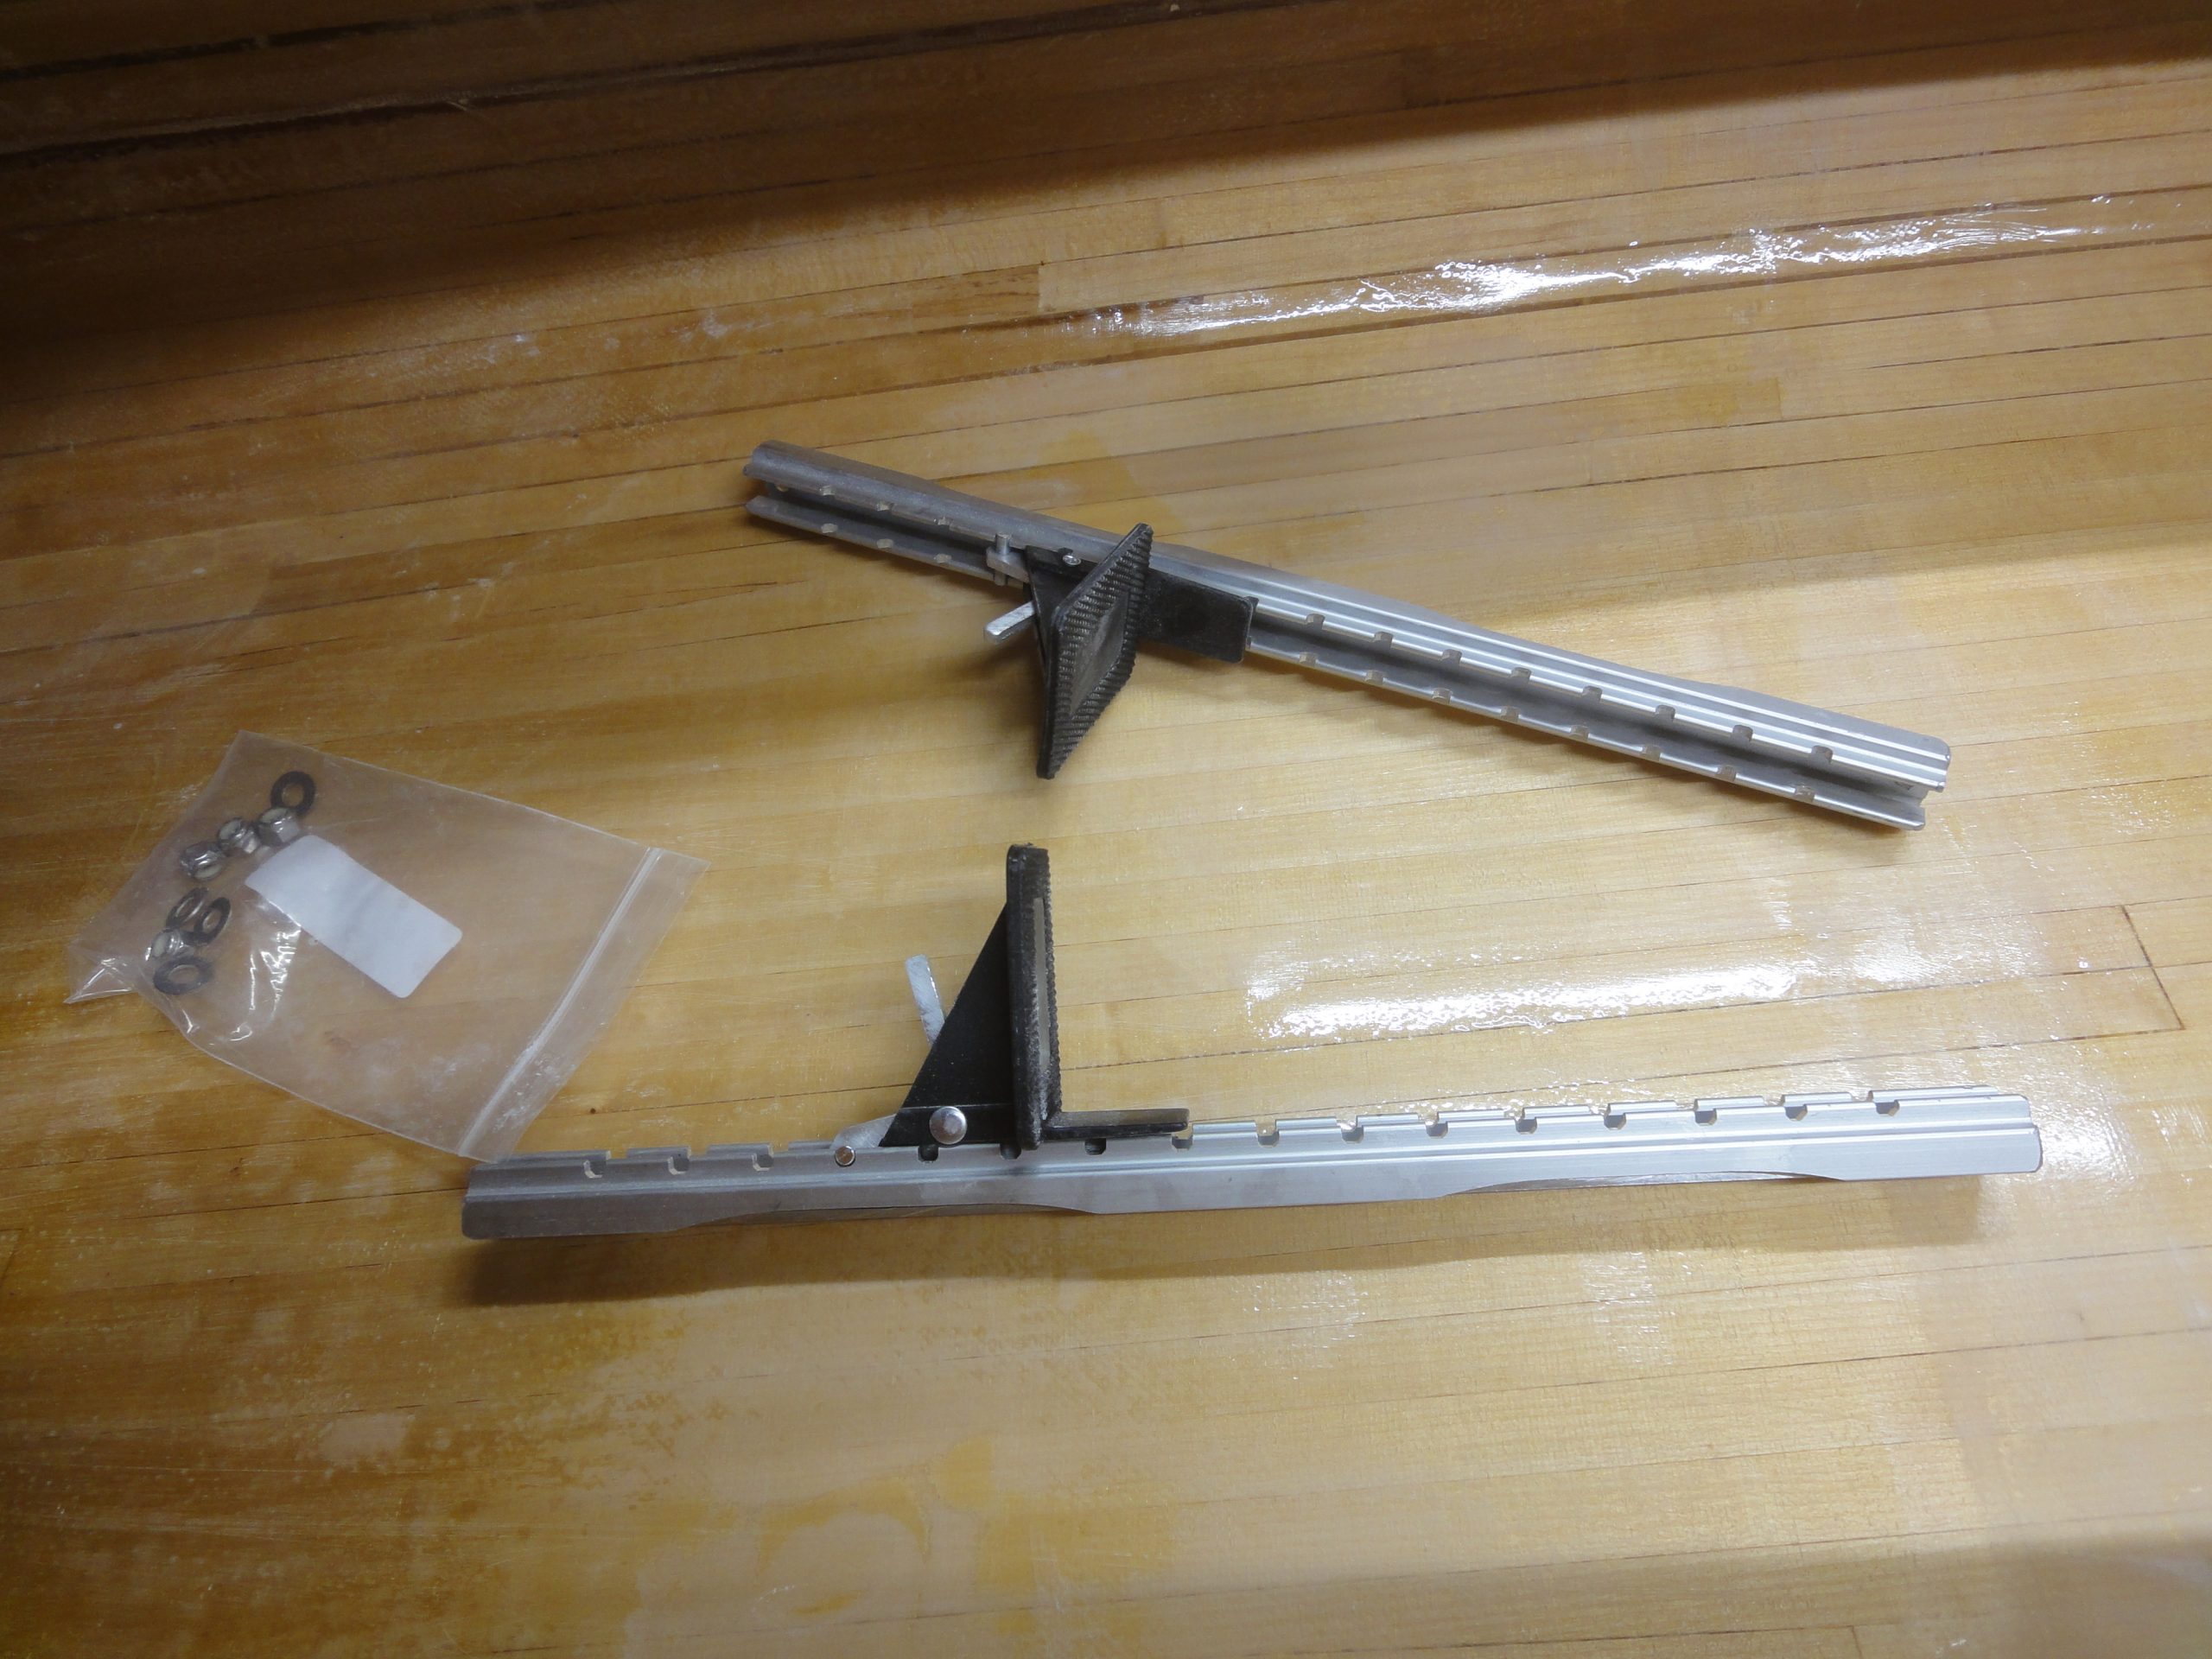
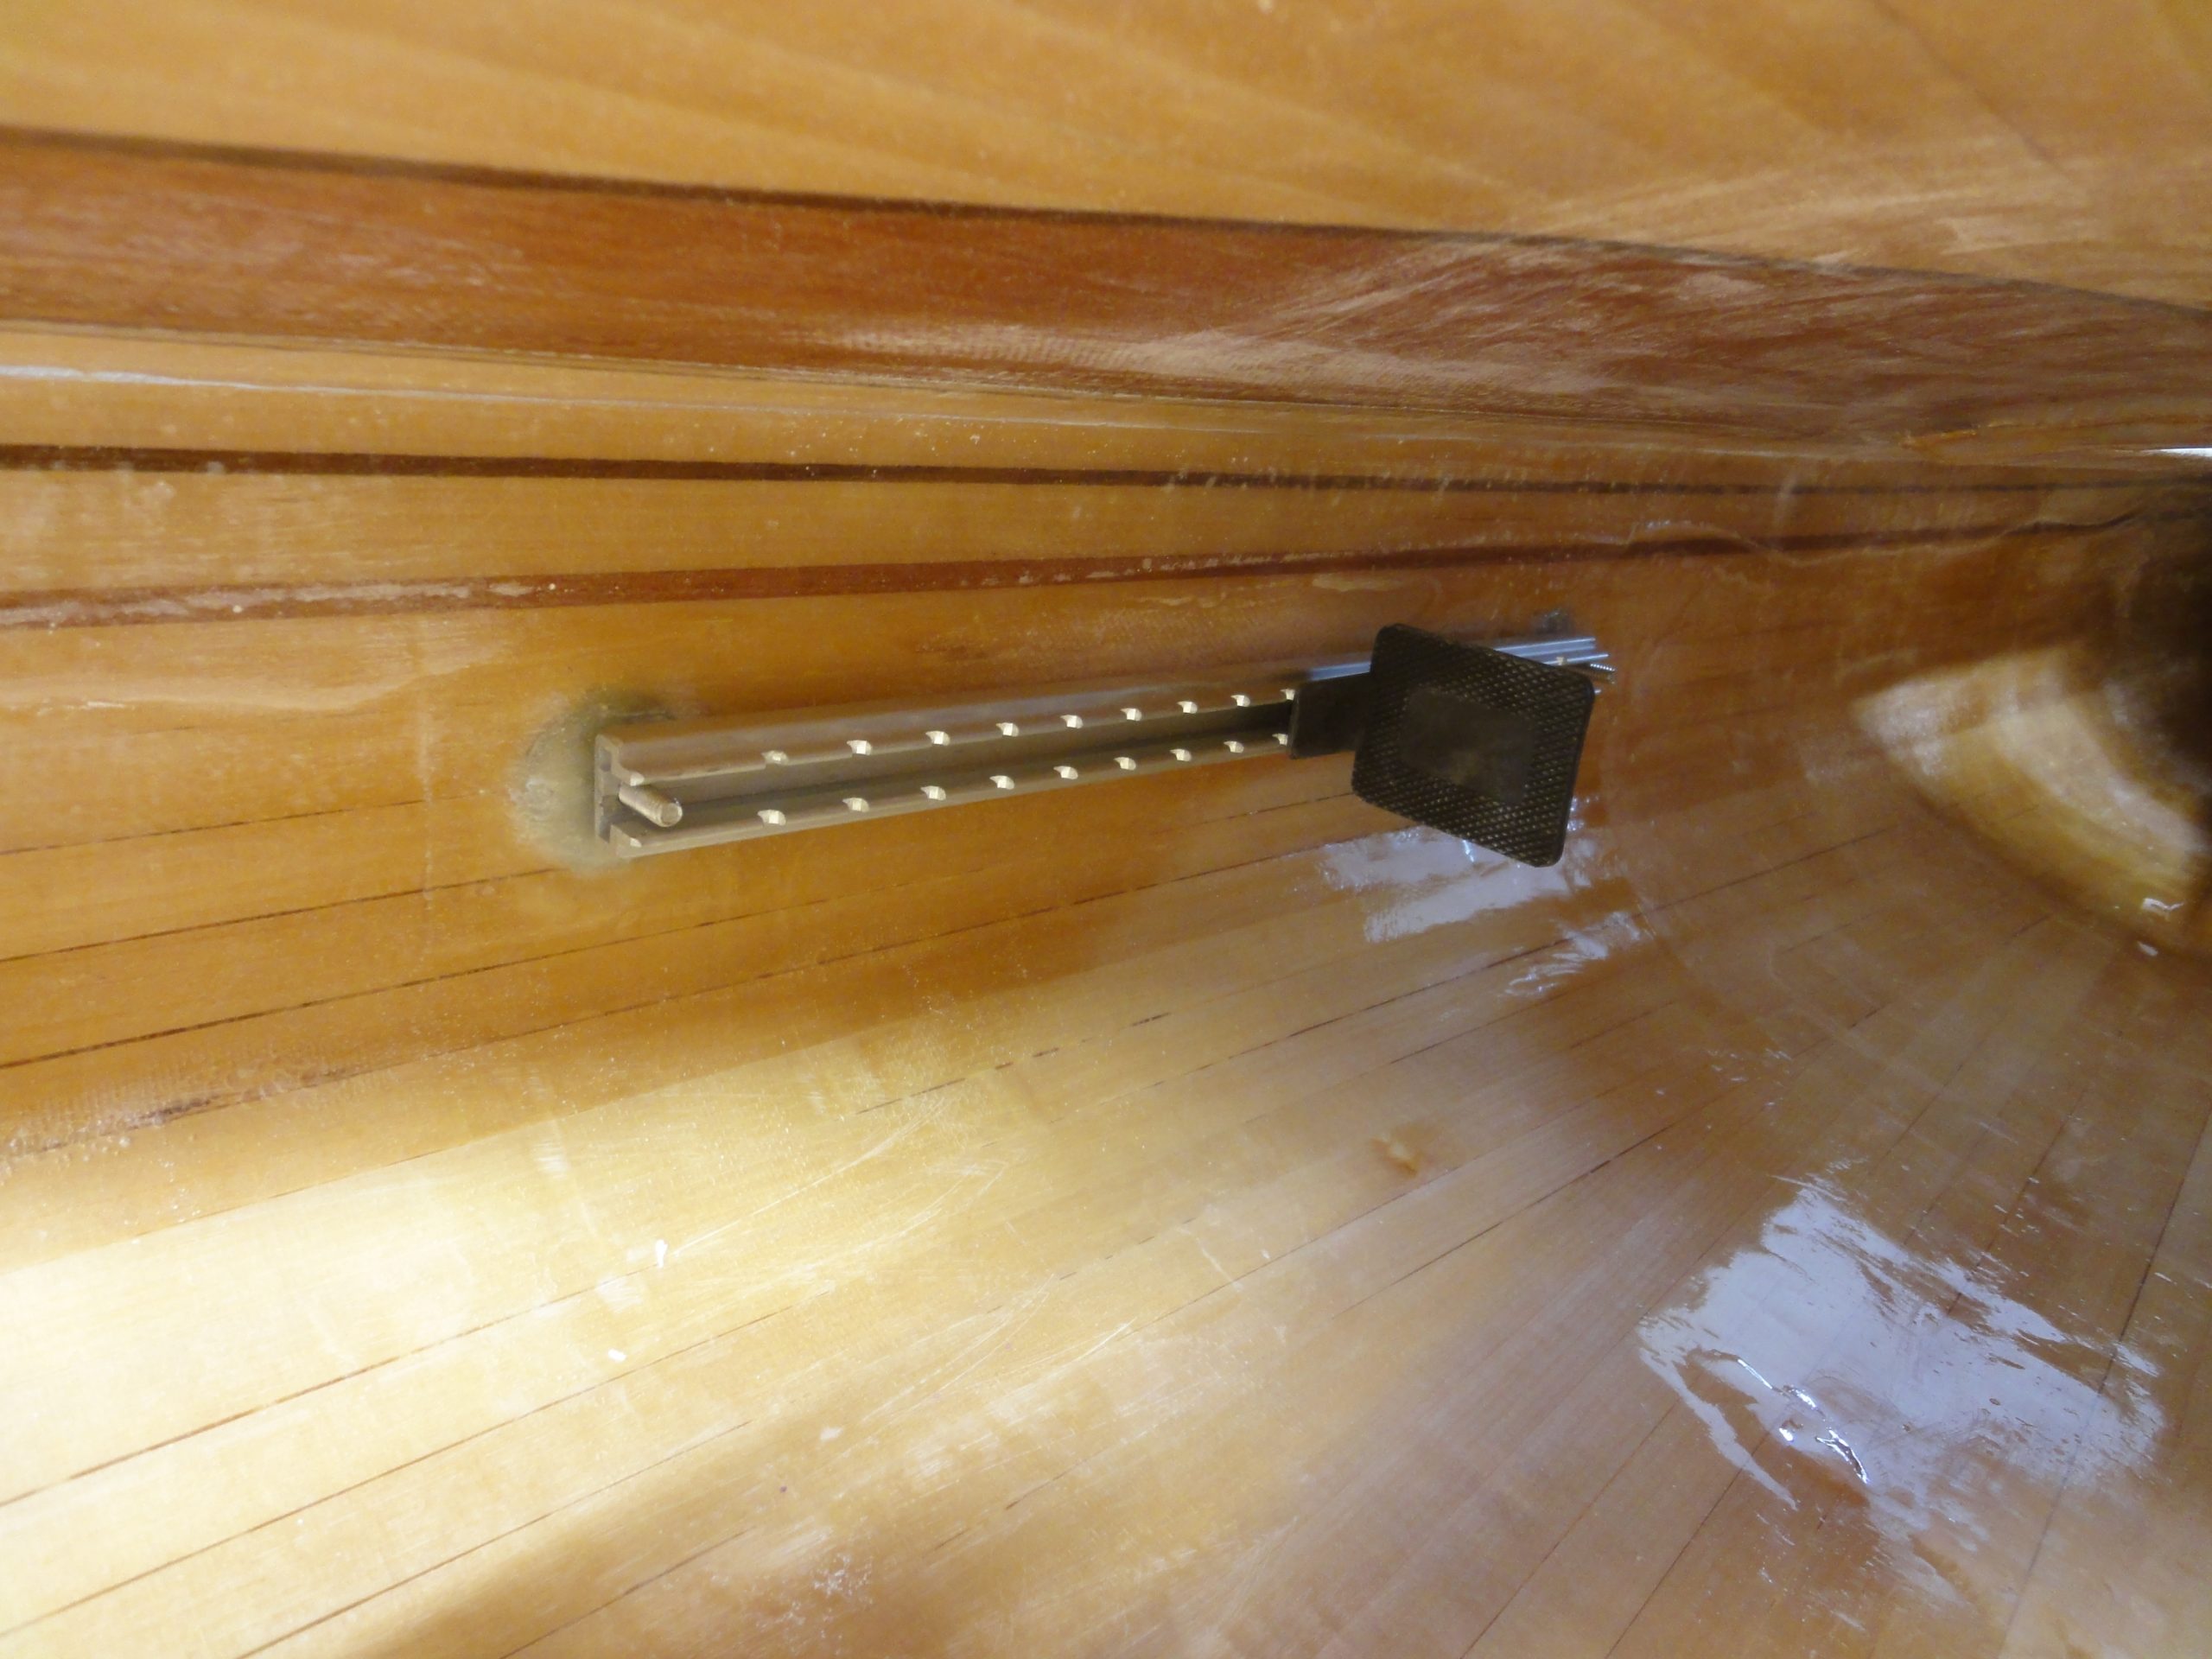
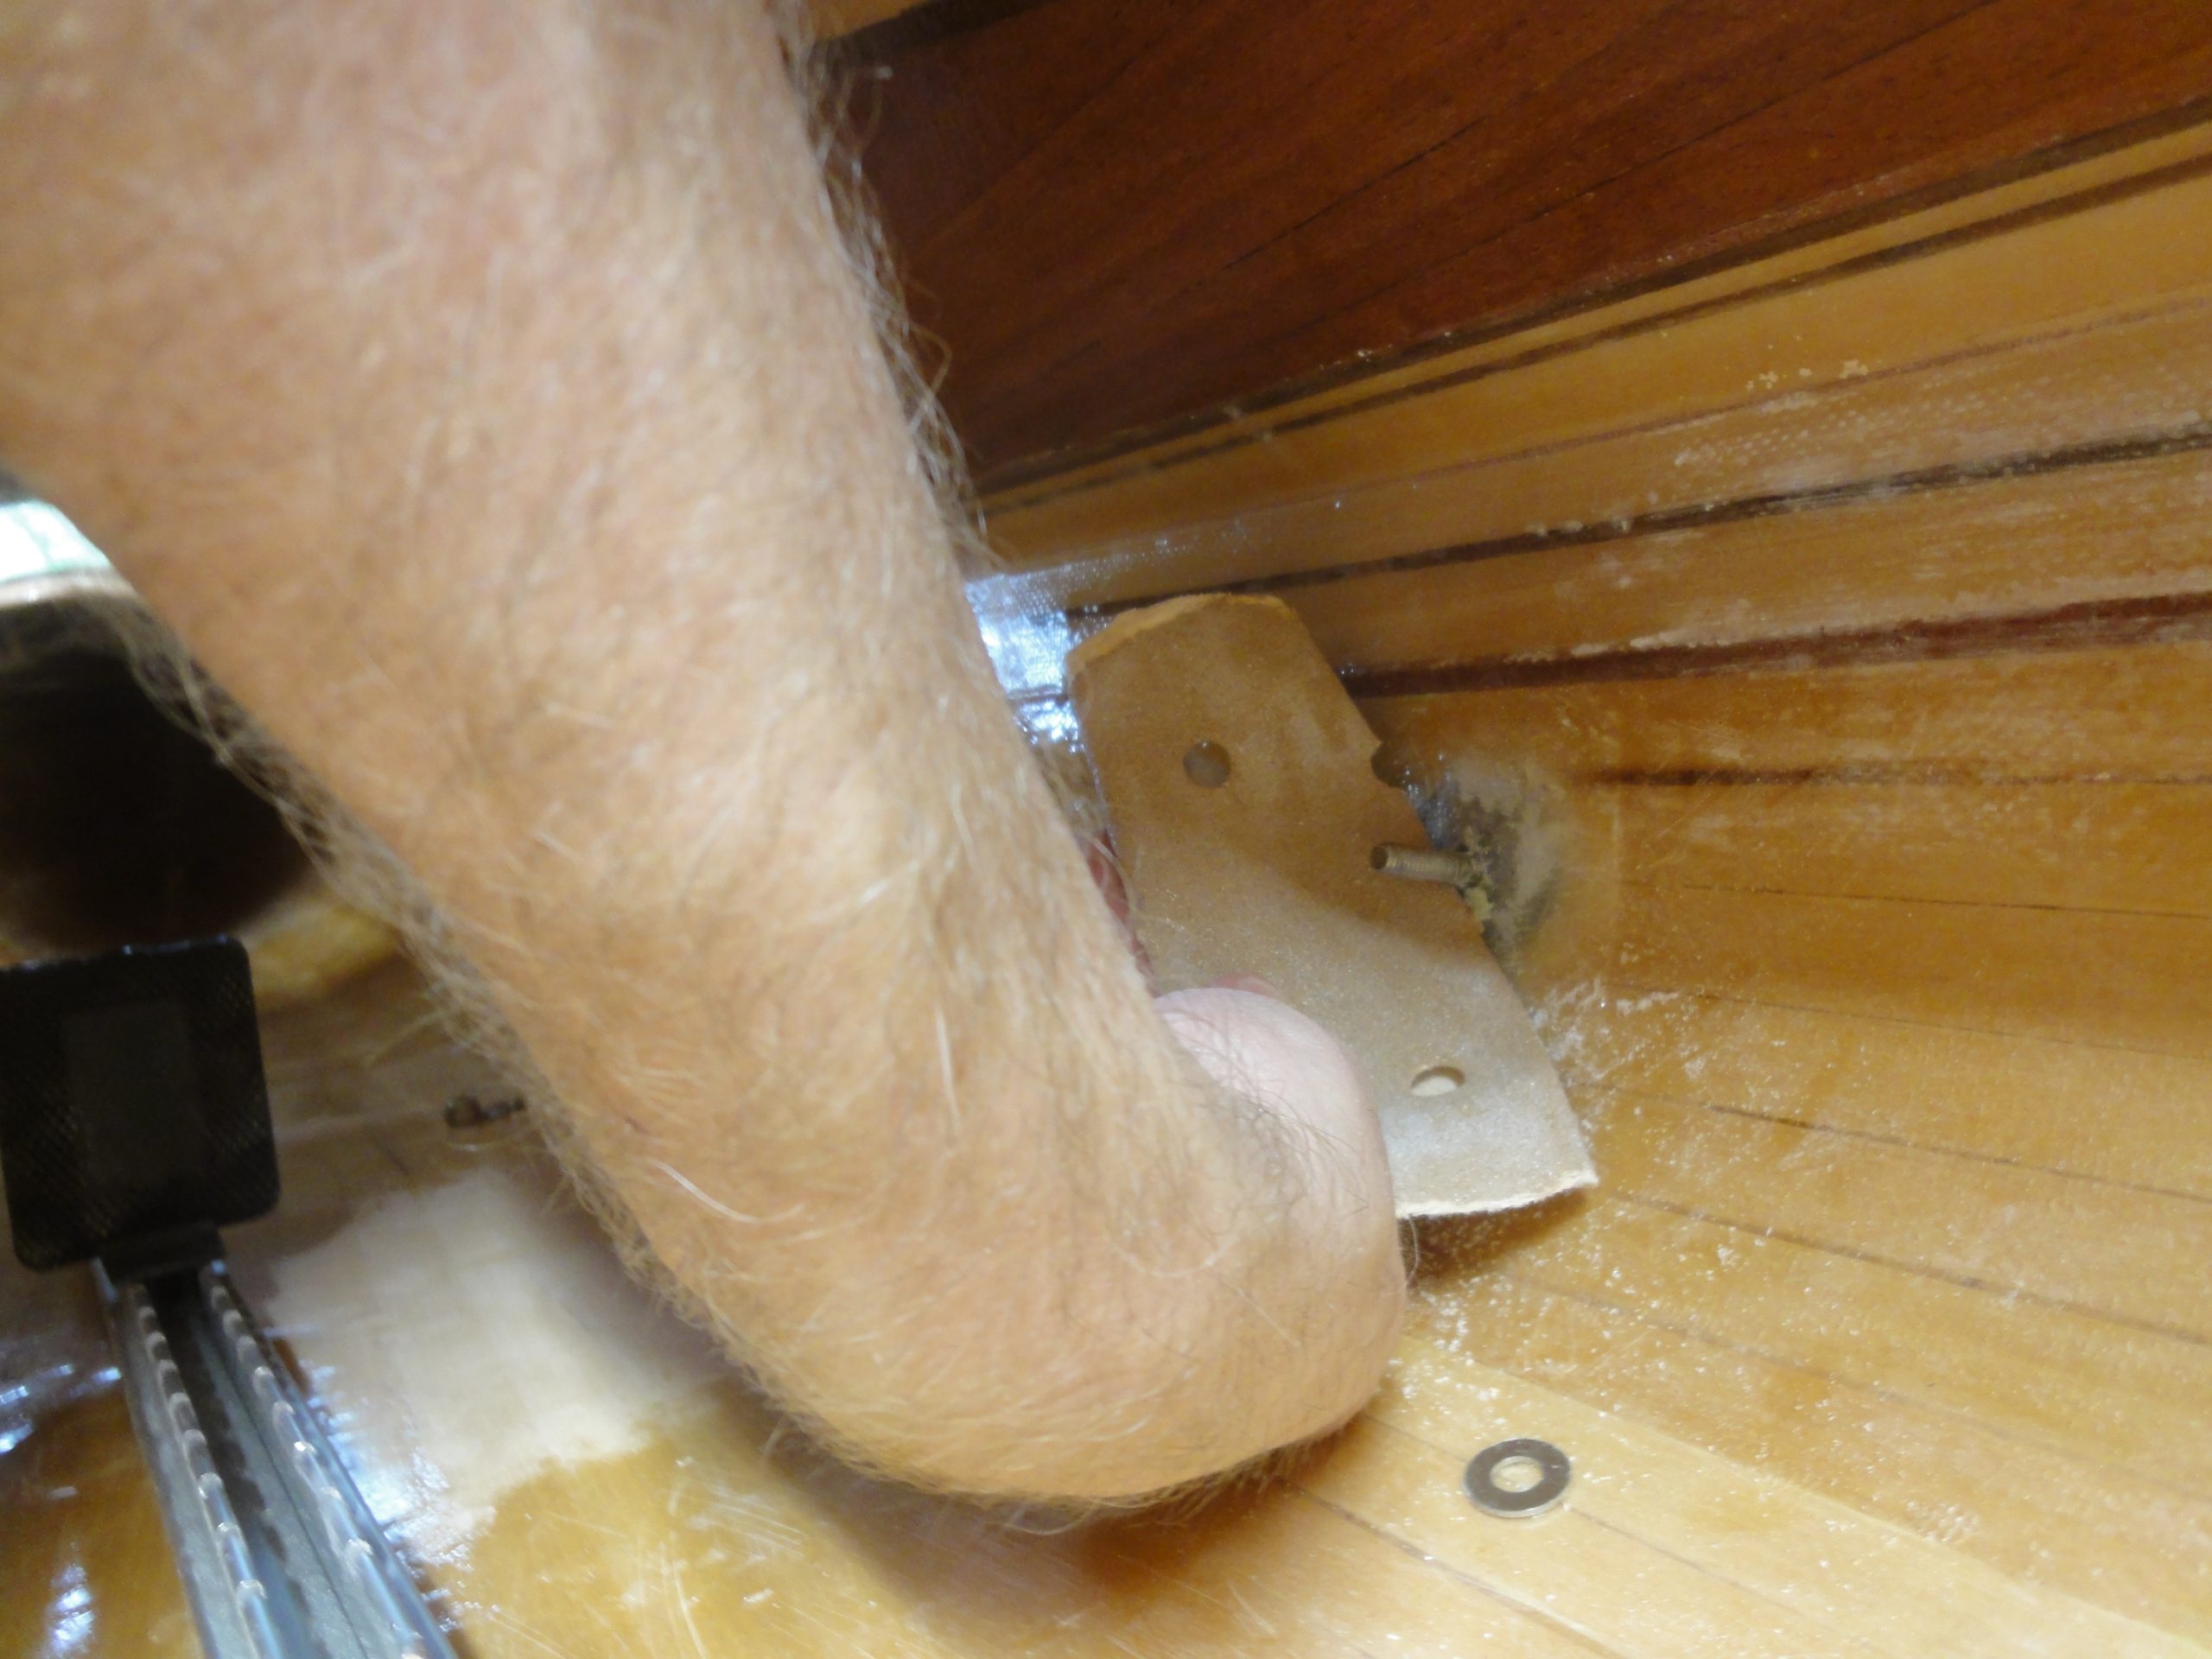
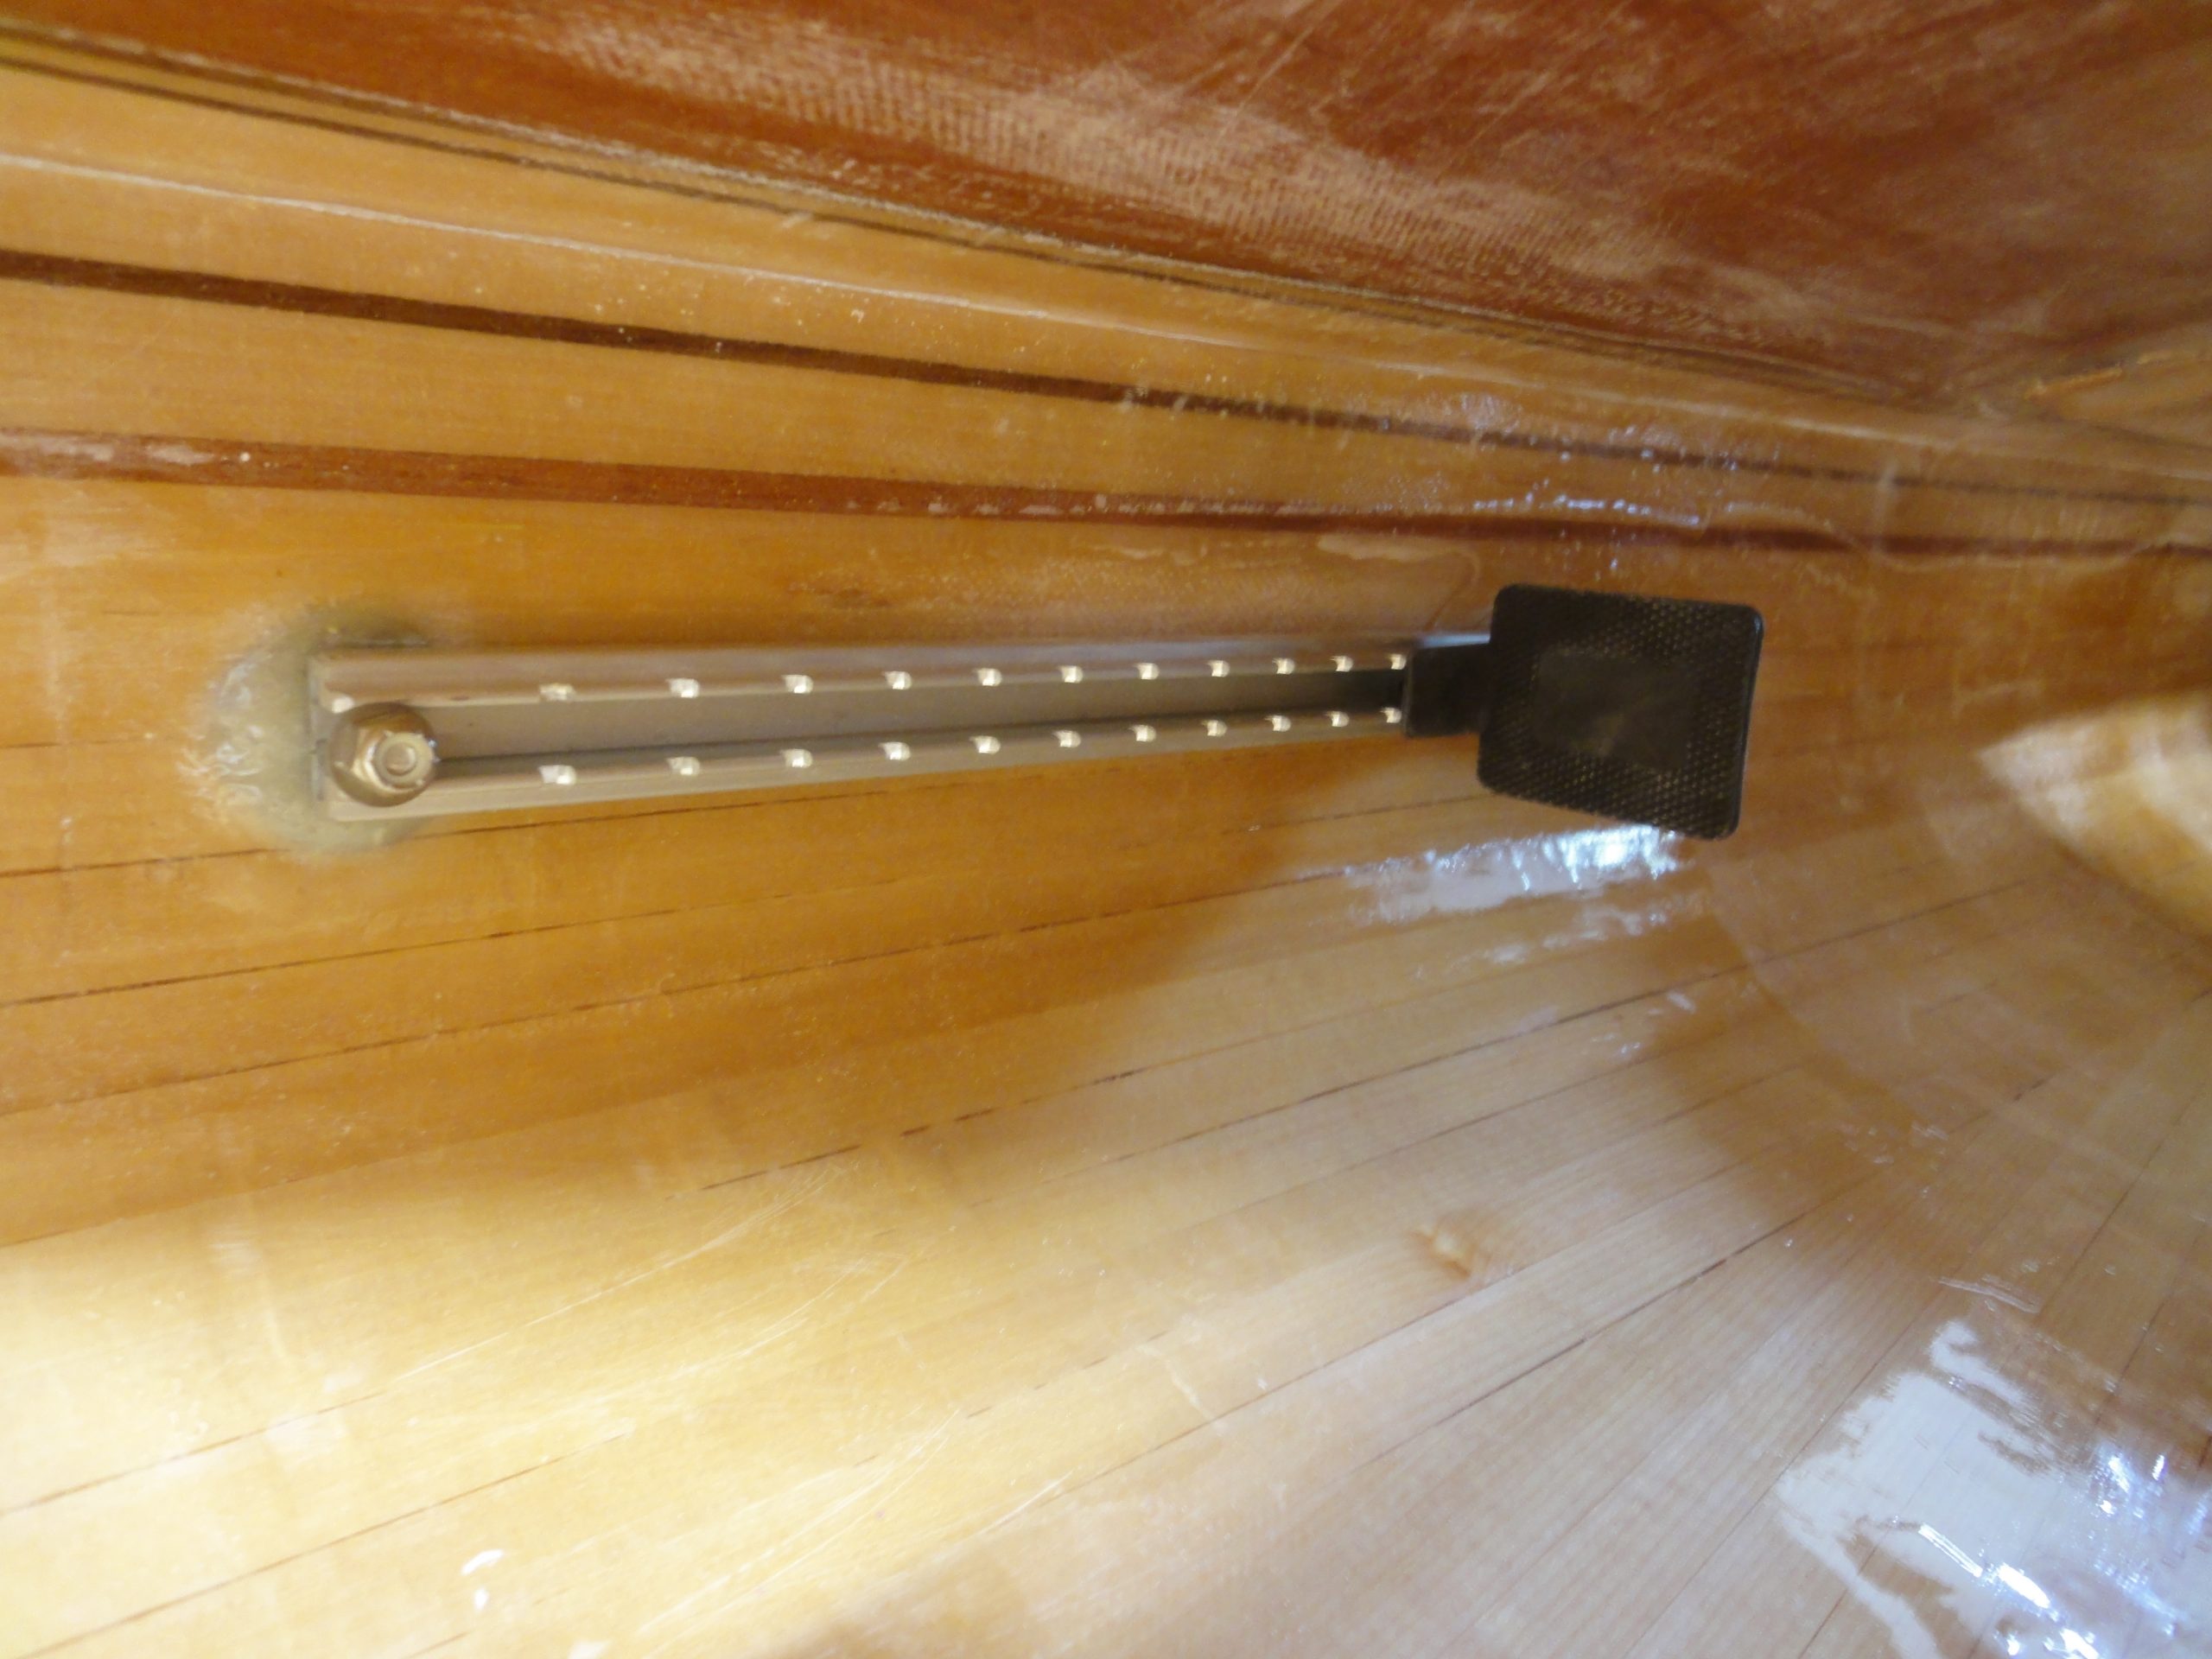
Lastly I installed the foot braces. Well, last in the list, actually I installed them before varnishing the cockpit as you can probably tell from the pictures. I simply matched each one up to the corresponding side (drain slots facing down keyed which one went where), slipped them over the bolts and installed the washer and nut. A nut driver was used to snug them up. The first went on easy, the second didn’t want to slip down enough to accommodate the nut so I had to sand off a bit of epoxy that got on the bottom of the bolt stud. Literally just a few seconds and then brace guide slipped all the way on.
So after the interior sanding and brace installation I then applied a coat of varnish on the inside. I won’t get much time this week to work on it but am hoping for a few minutes each evening to put another coat of varnish on the hatches and bulkheads as needed. This should have me ready for final touch up sanding of the recent patches next weekend and then I can start with final varnishing of the whole kayak. Somewhere in that mix, when the bulkheads are done, I’ll install them too. Thankfully the varnish is fine to brush on in cooler weather. Not sure if I get an early start if I can do two coats in one day or just one. I’ll have to check it as I go.
Remaining to do list:
- Last minor defect sanding
- Install bulkheads
- Hatch – final fitting/tweaking
- Varnish, varnish, varnish
- Install deck lines
- Install foam seal on hatches
- Install seat