
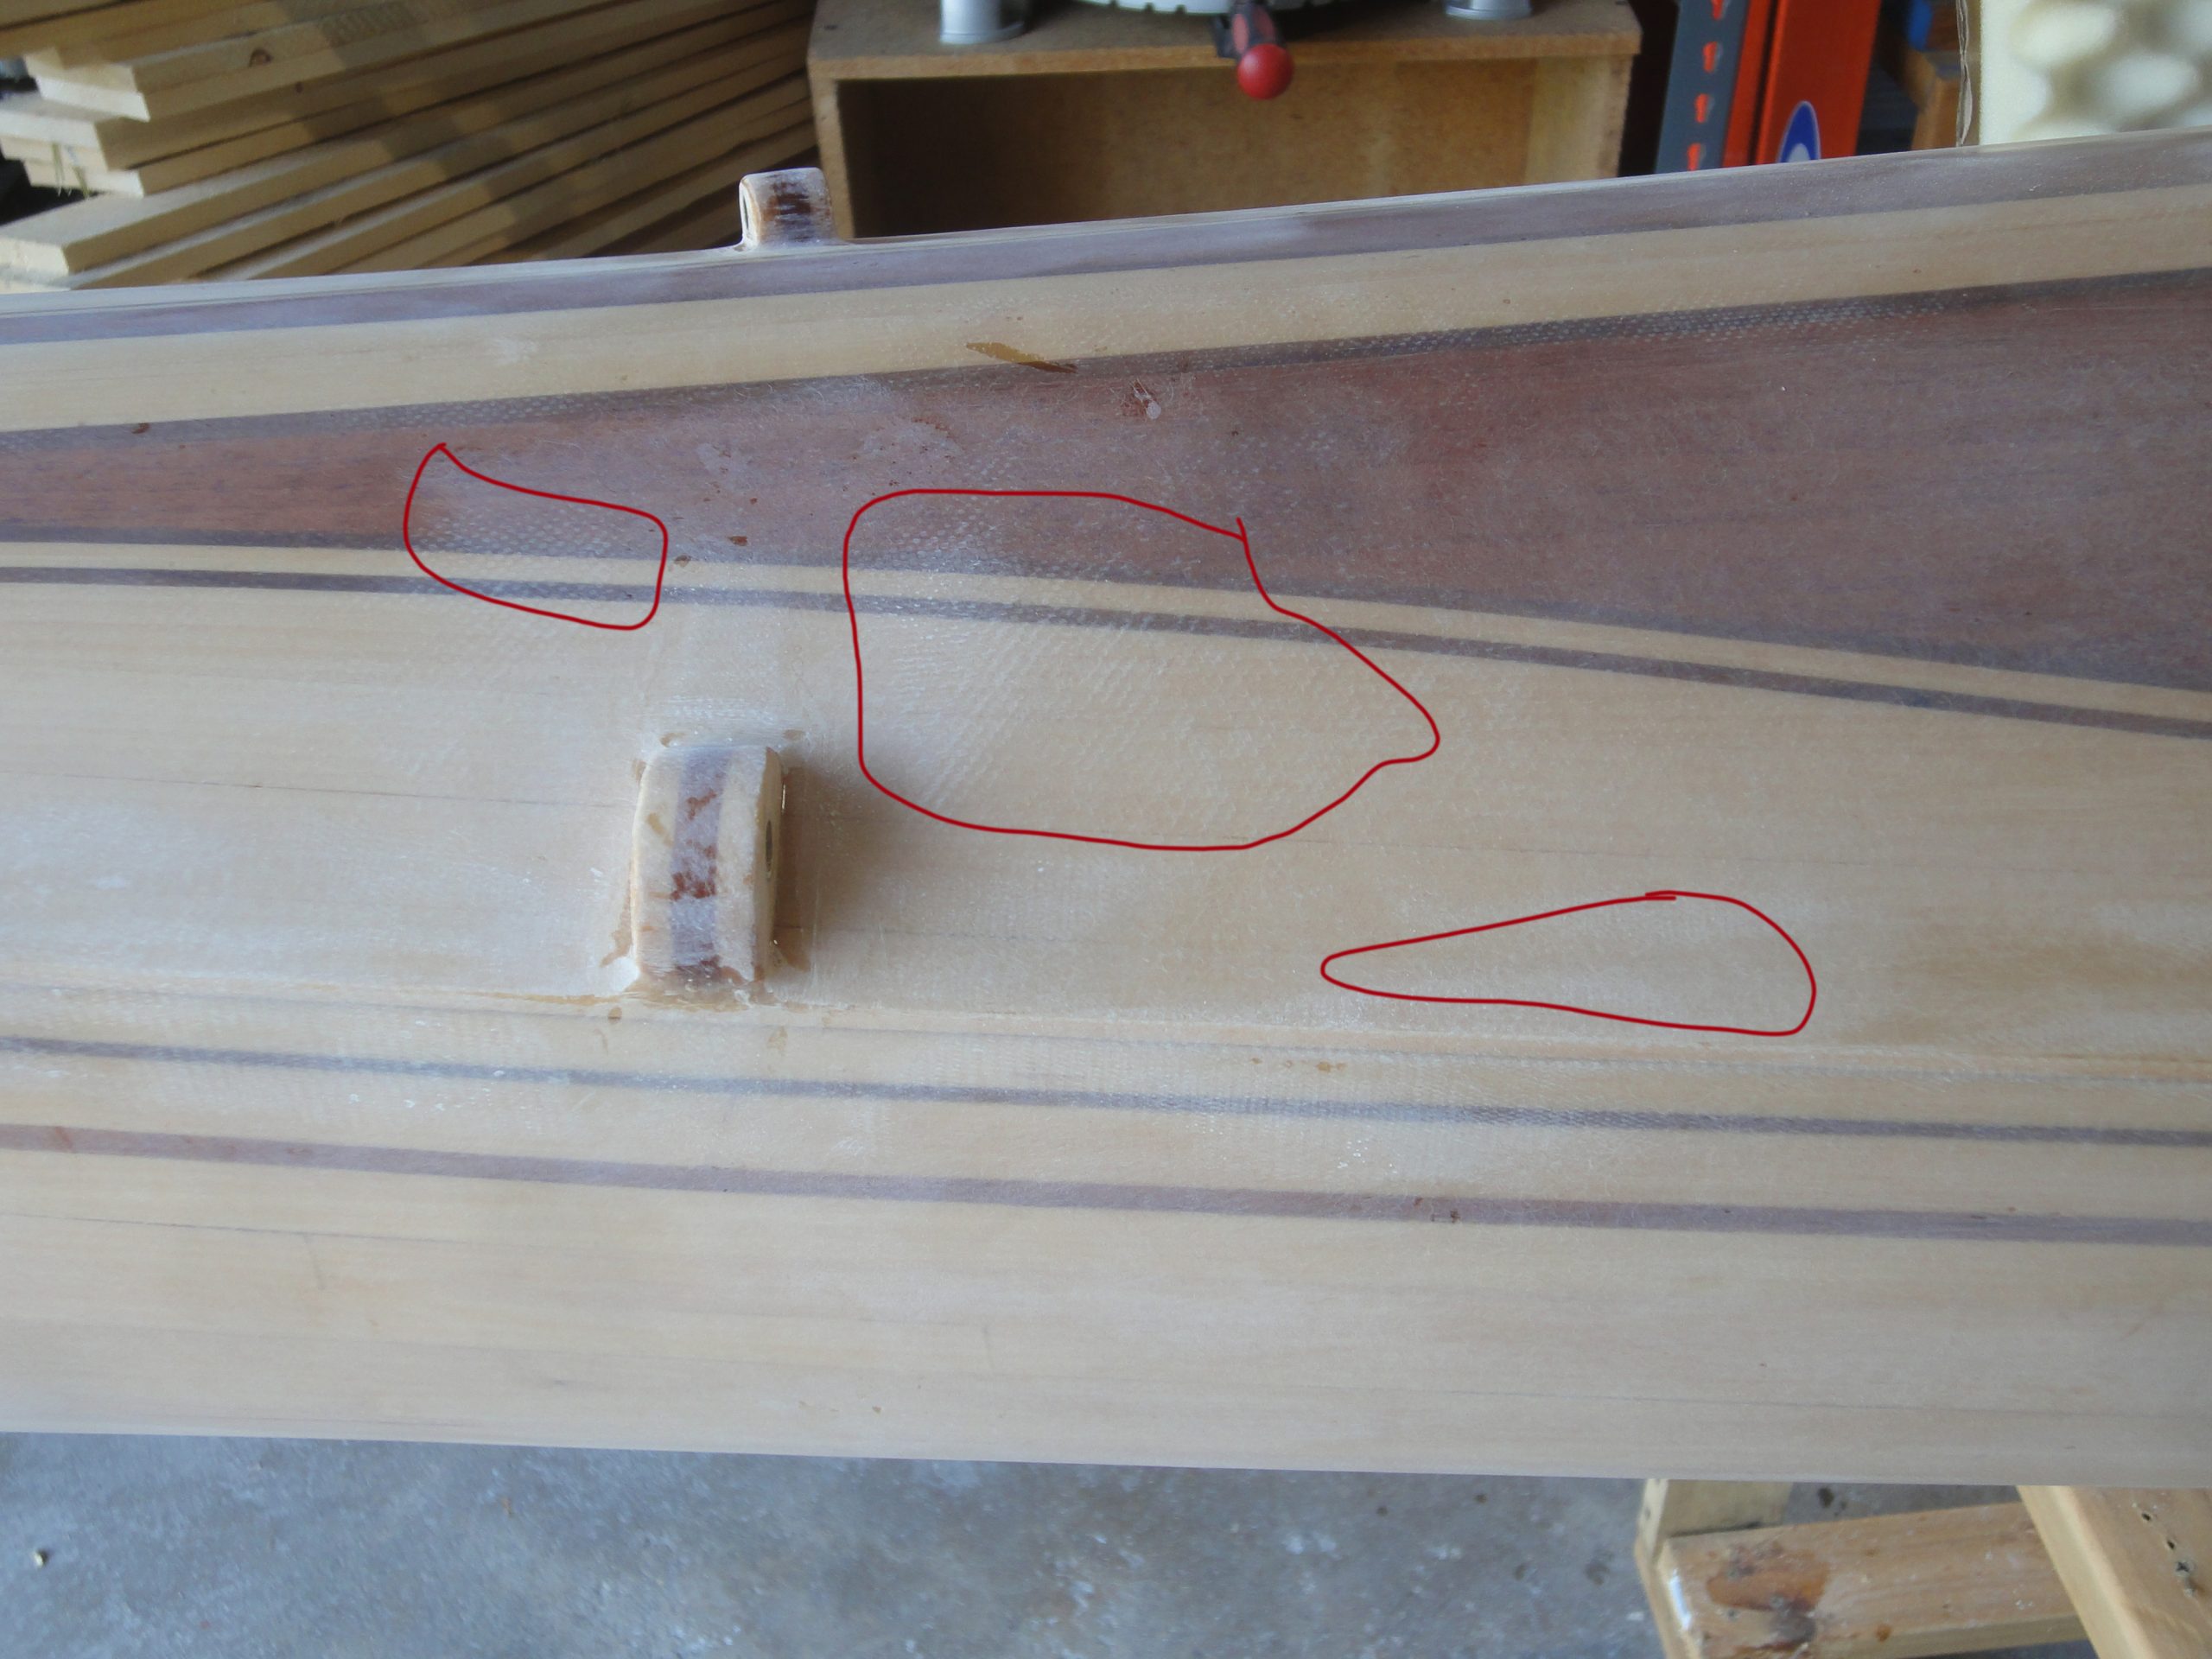
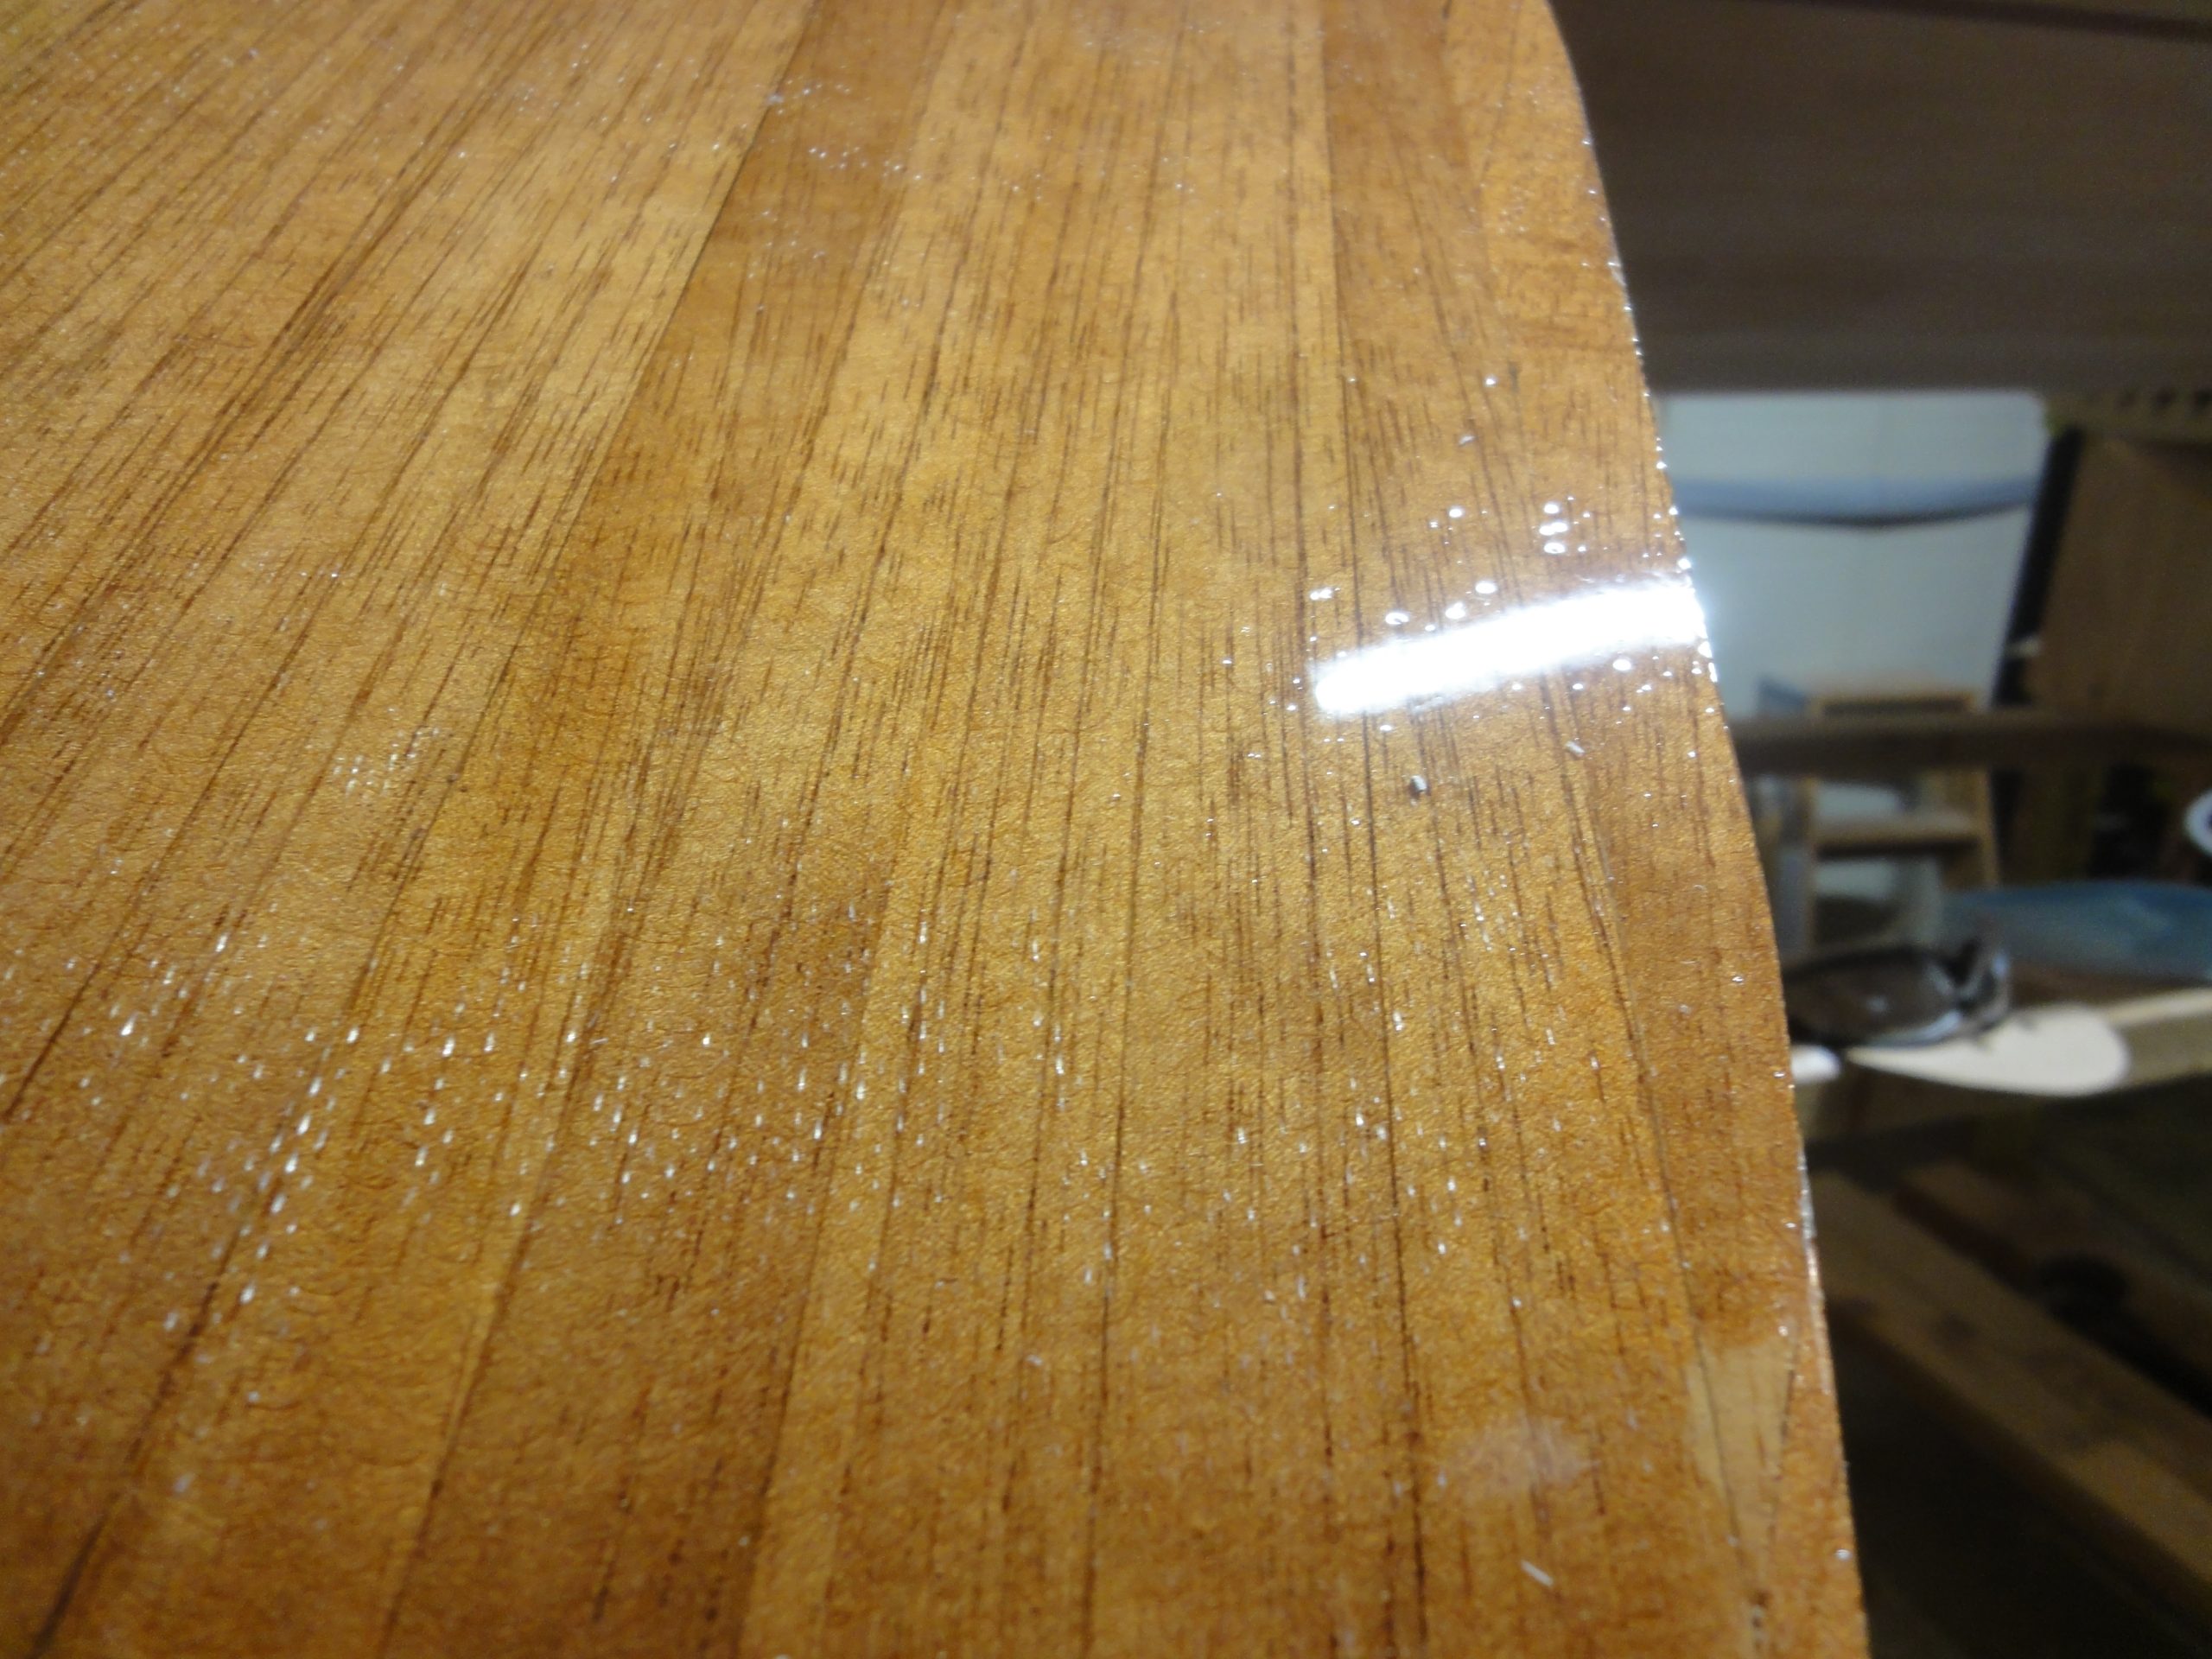
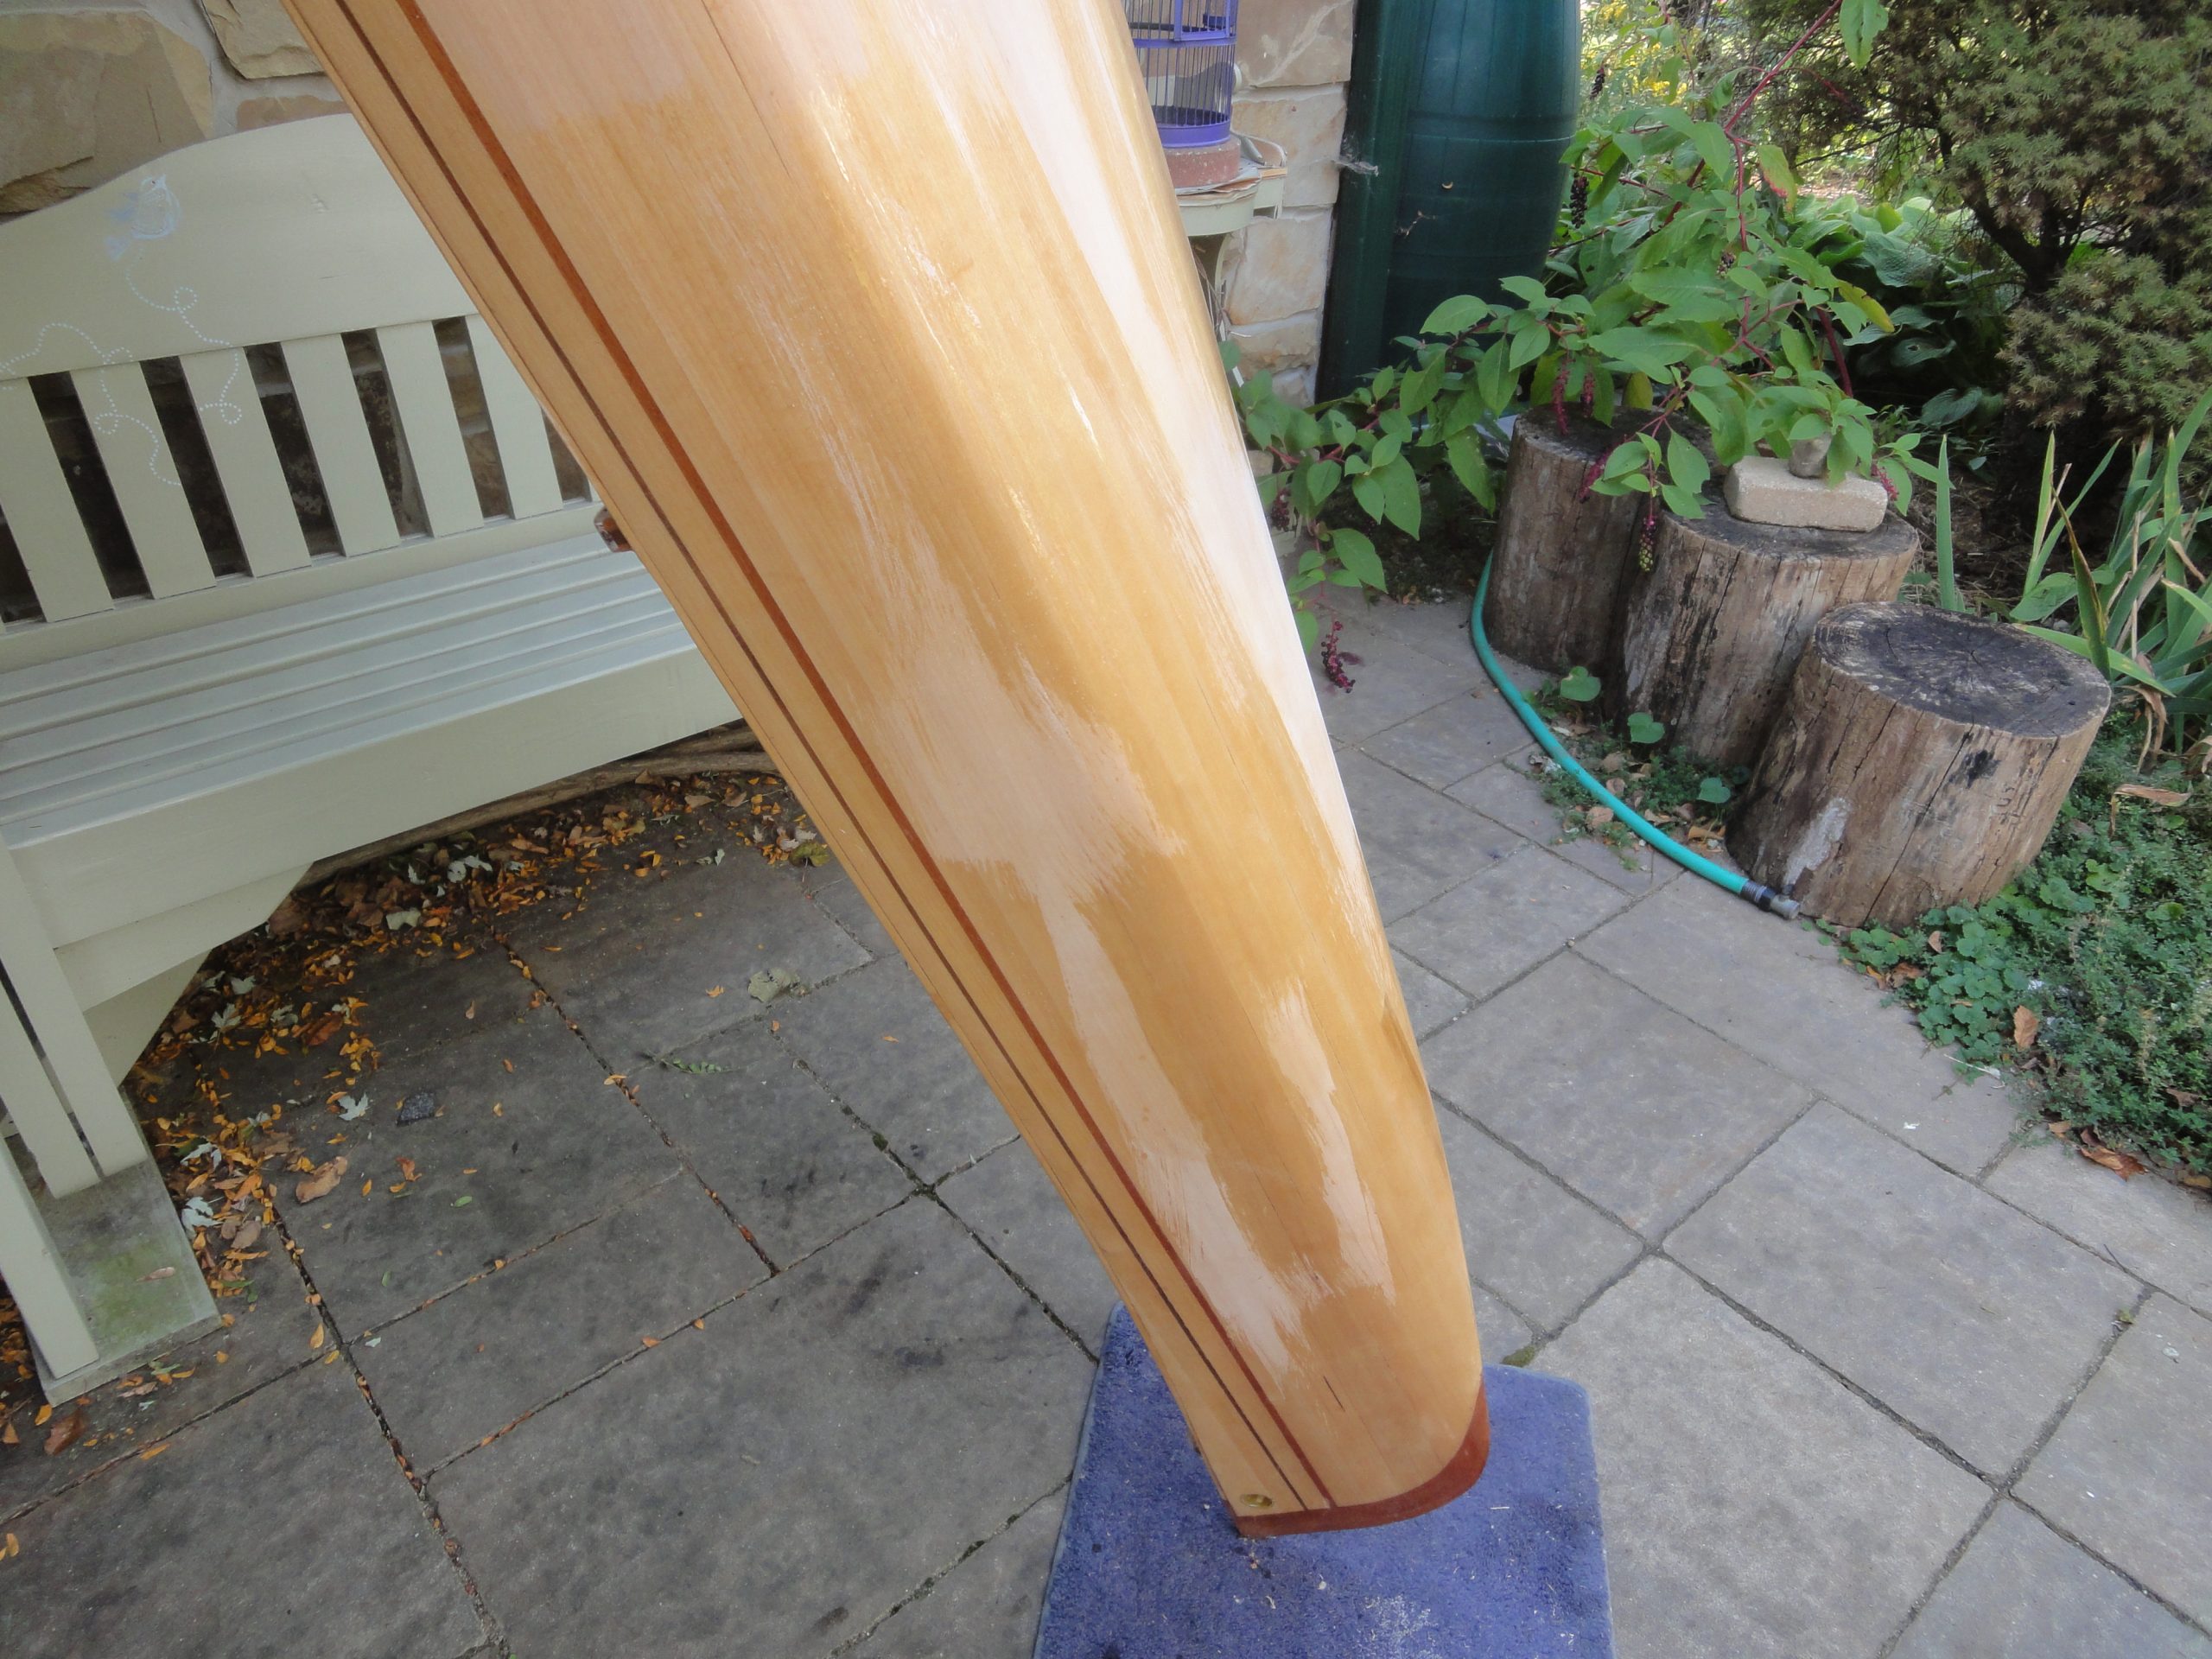
Let’s start with the oops. During the last few sanding sessions I’ve noticed some of the fiberglass weave showing through. I checked on some of the kayak building forums and the general consensus is that I’m hitting the top of the weave but it’s not really anything to worry about. But it will be at least a little visible, with light in the right direction, even after varnishing. Most builders say they have this, usually in more places than they want, too and not to worry. I could put on another thin epoxy coat and then resend more gently and that might hide the weave, but it might not. In the picture below I’ve highlighted a section of the deck where this is visible. In the other picture, this shows three coats of varnish on one of the bulkheads and you can see short “lines” in the lower part of the picture which is the weave showing through.
More later on what I decided to do about this.
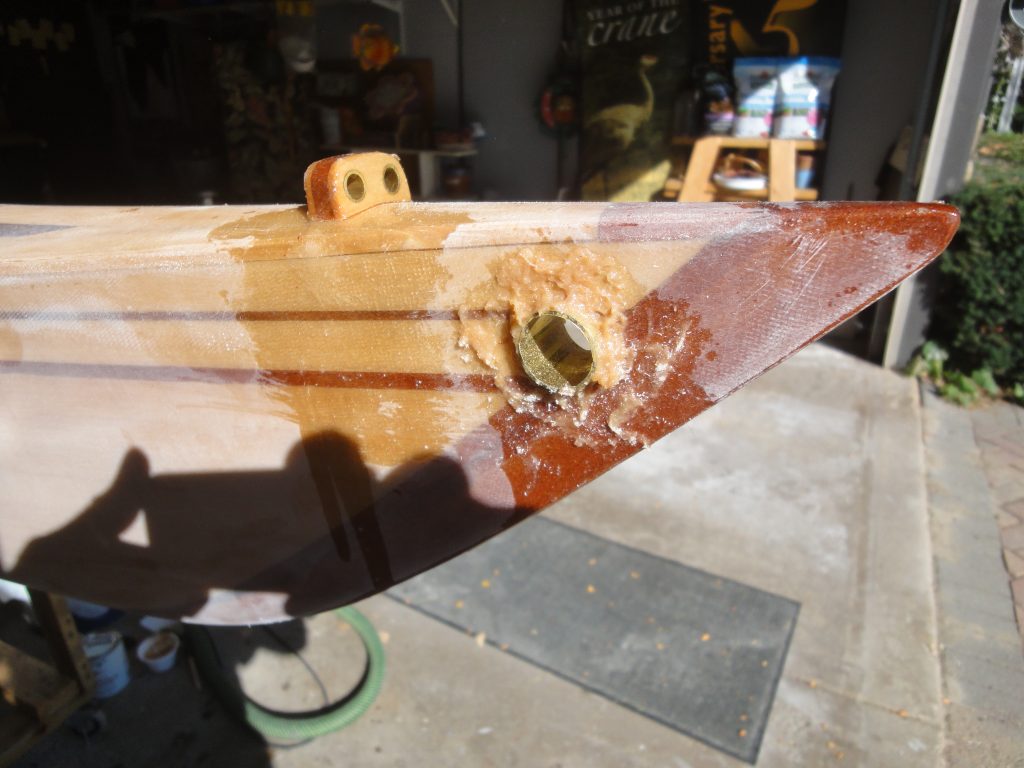
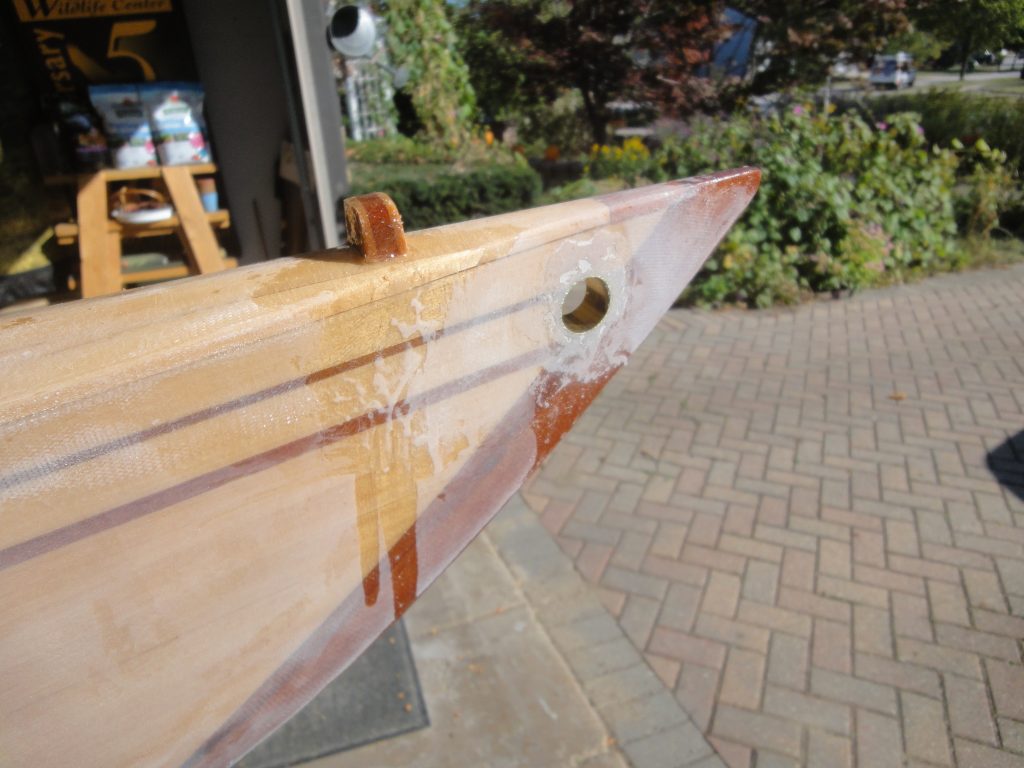
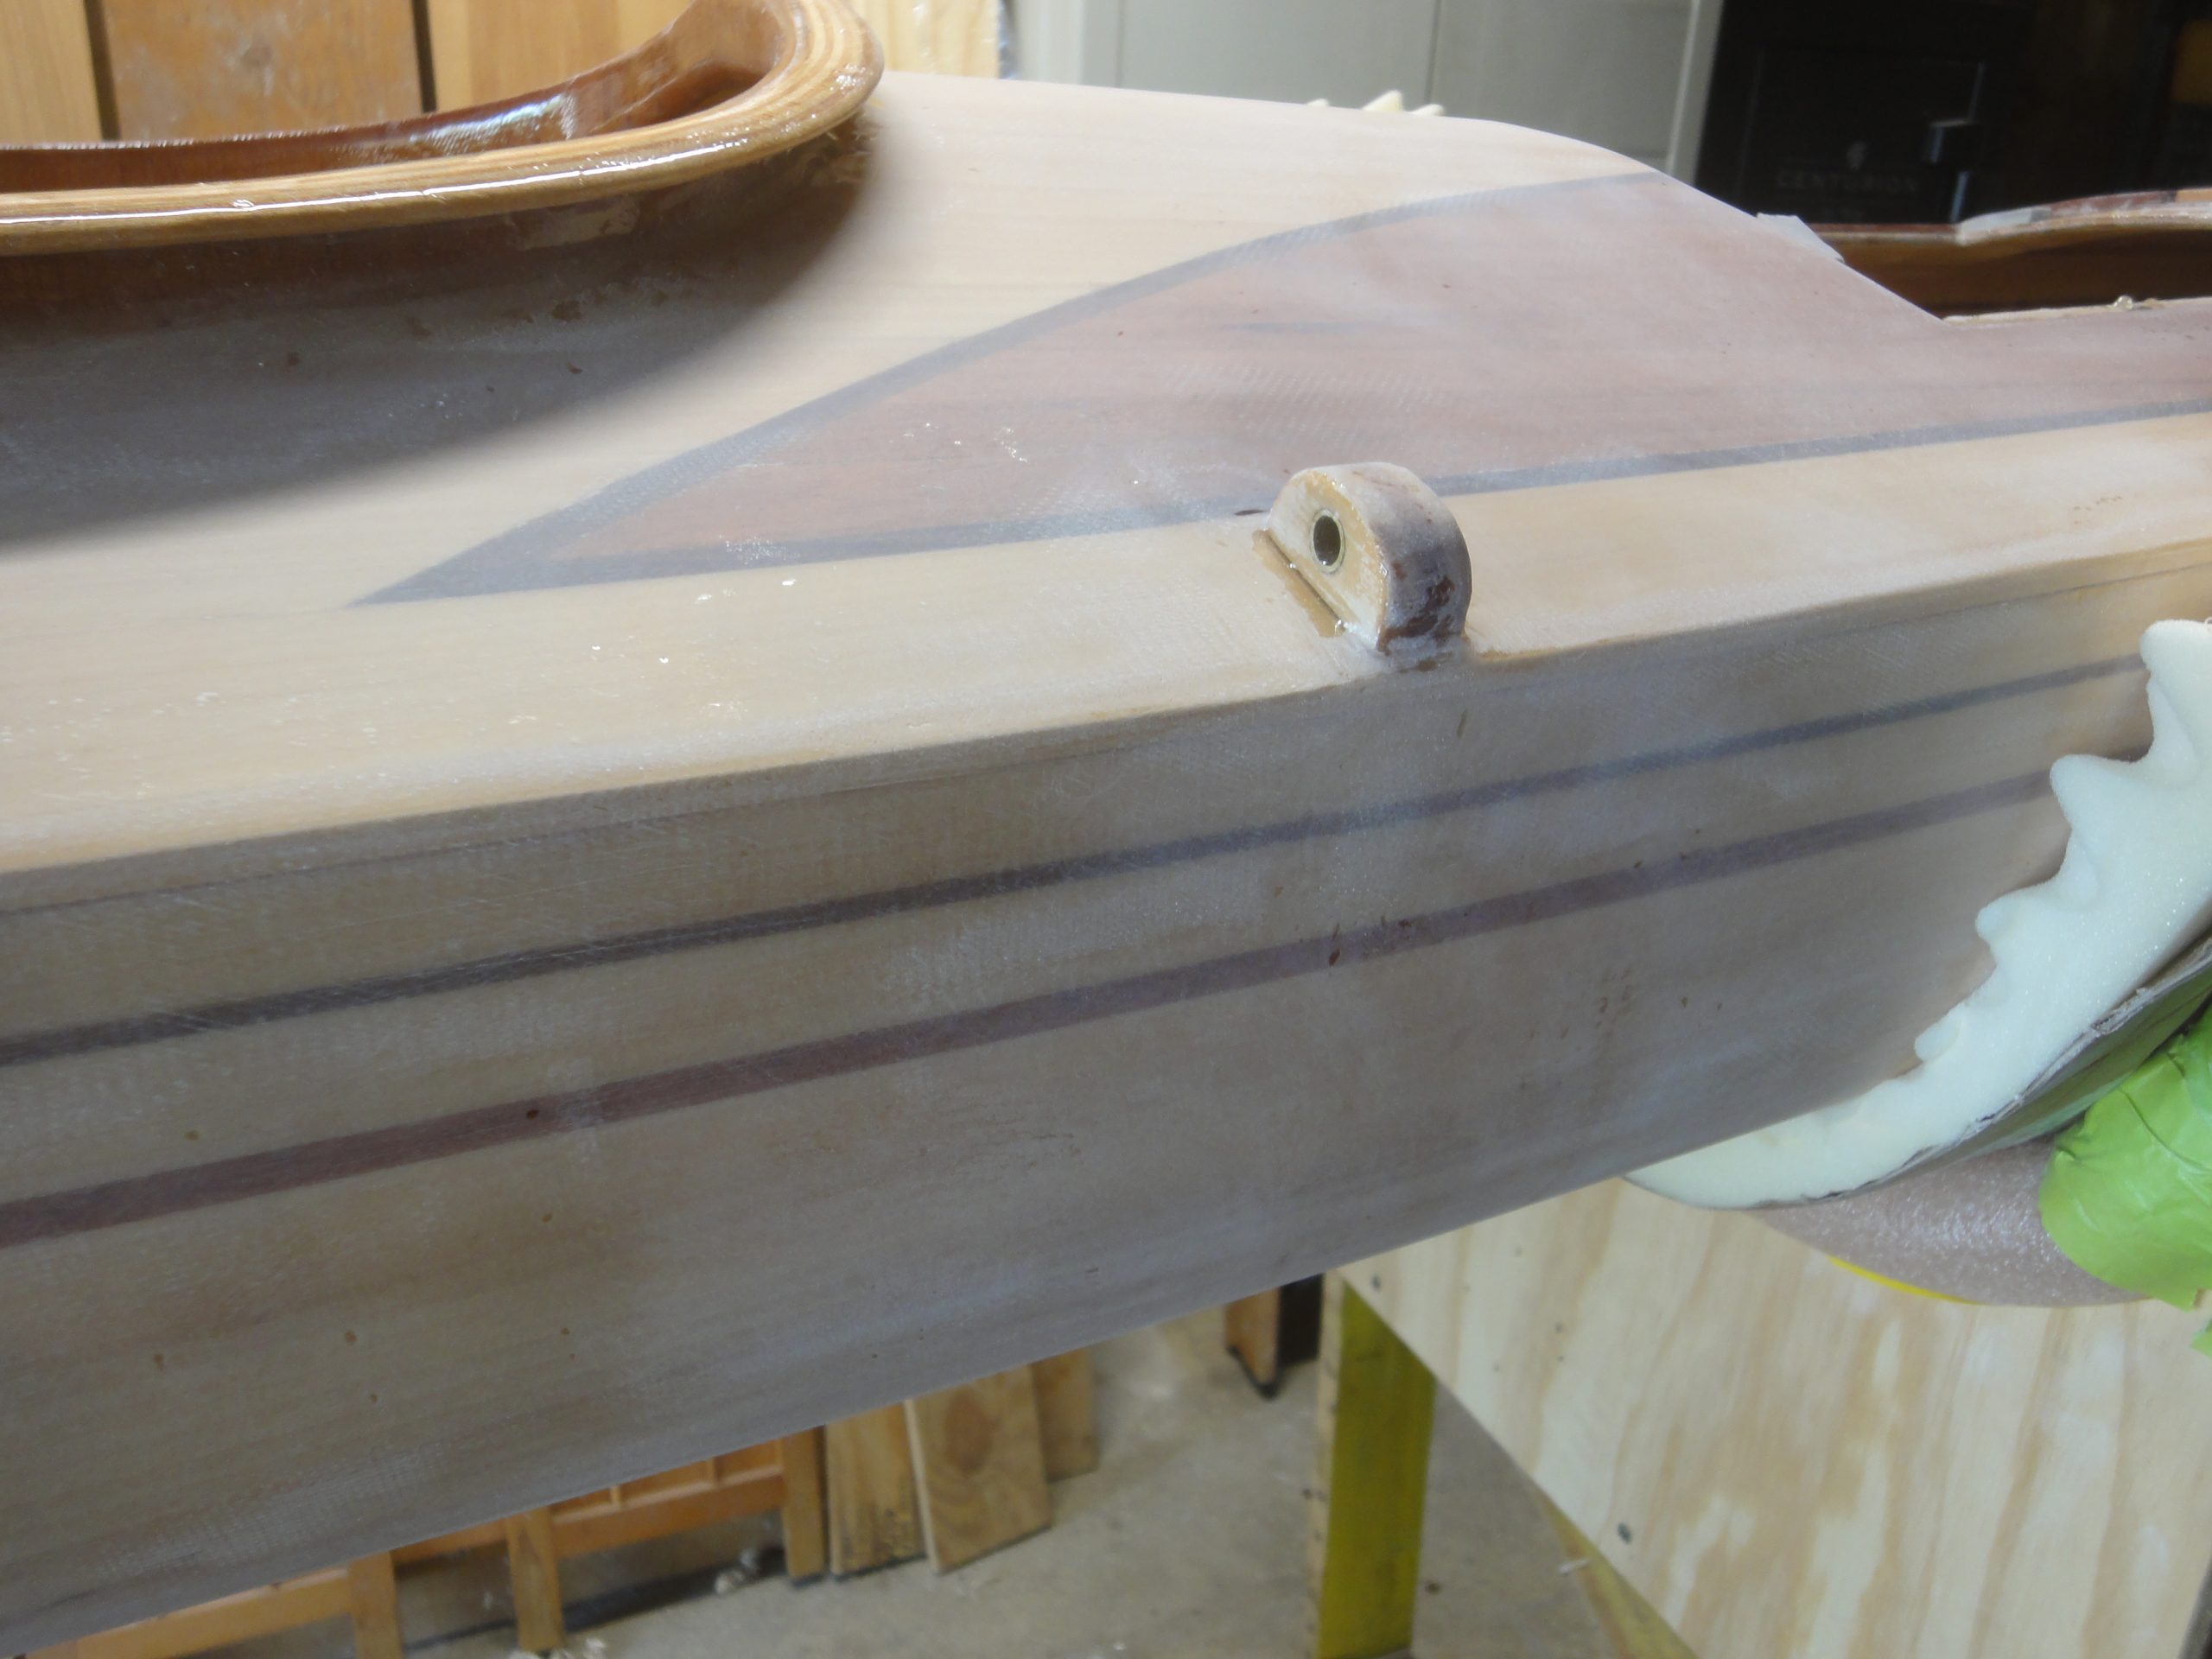
The main goals today were to sand out the tie down points and the line guides. They were pretty rough to start with, but a bunch of sanding later and all are looking really good. I went through a LOT of 60 grit discs on the tie downs and line guides then a moderate amount of 80 grit to finish these off.


Once done with the sanding I was still debating with myself what to do about the weave. I did a vacuum and tack cloth and then a bio-solv wipe down to see how it would look. Cleaned up nice but the weave is still visible. I’ll probably have to consider trying another fill coat to see if it will help. That can happen another day though as I have the time and the weather is good for doing the end pour.
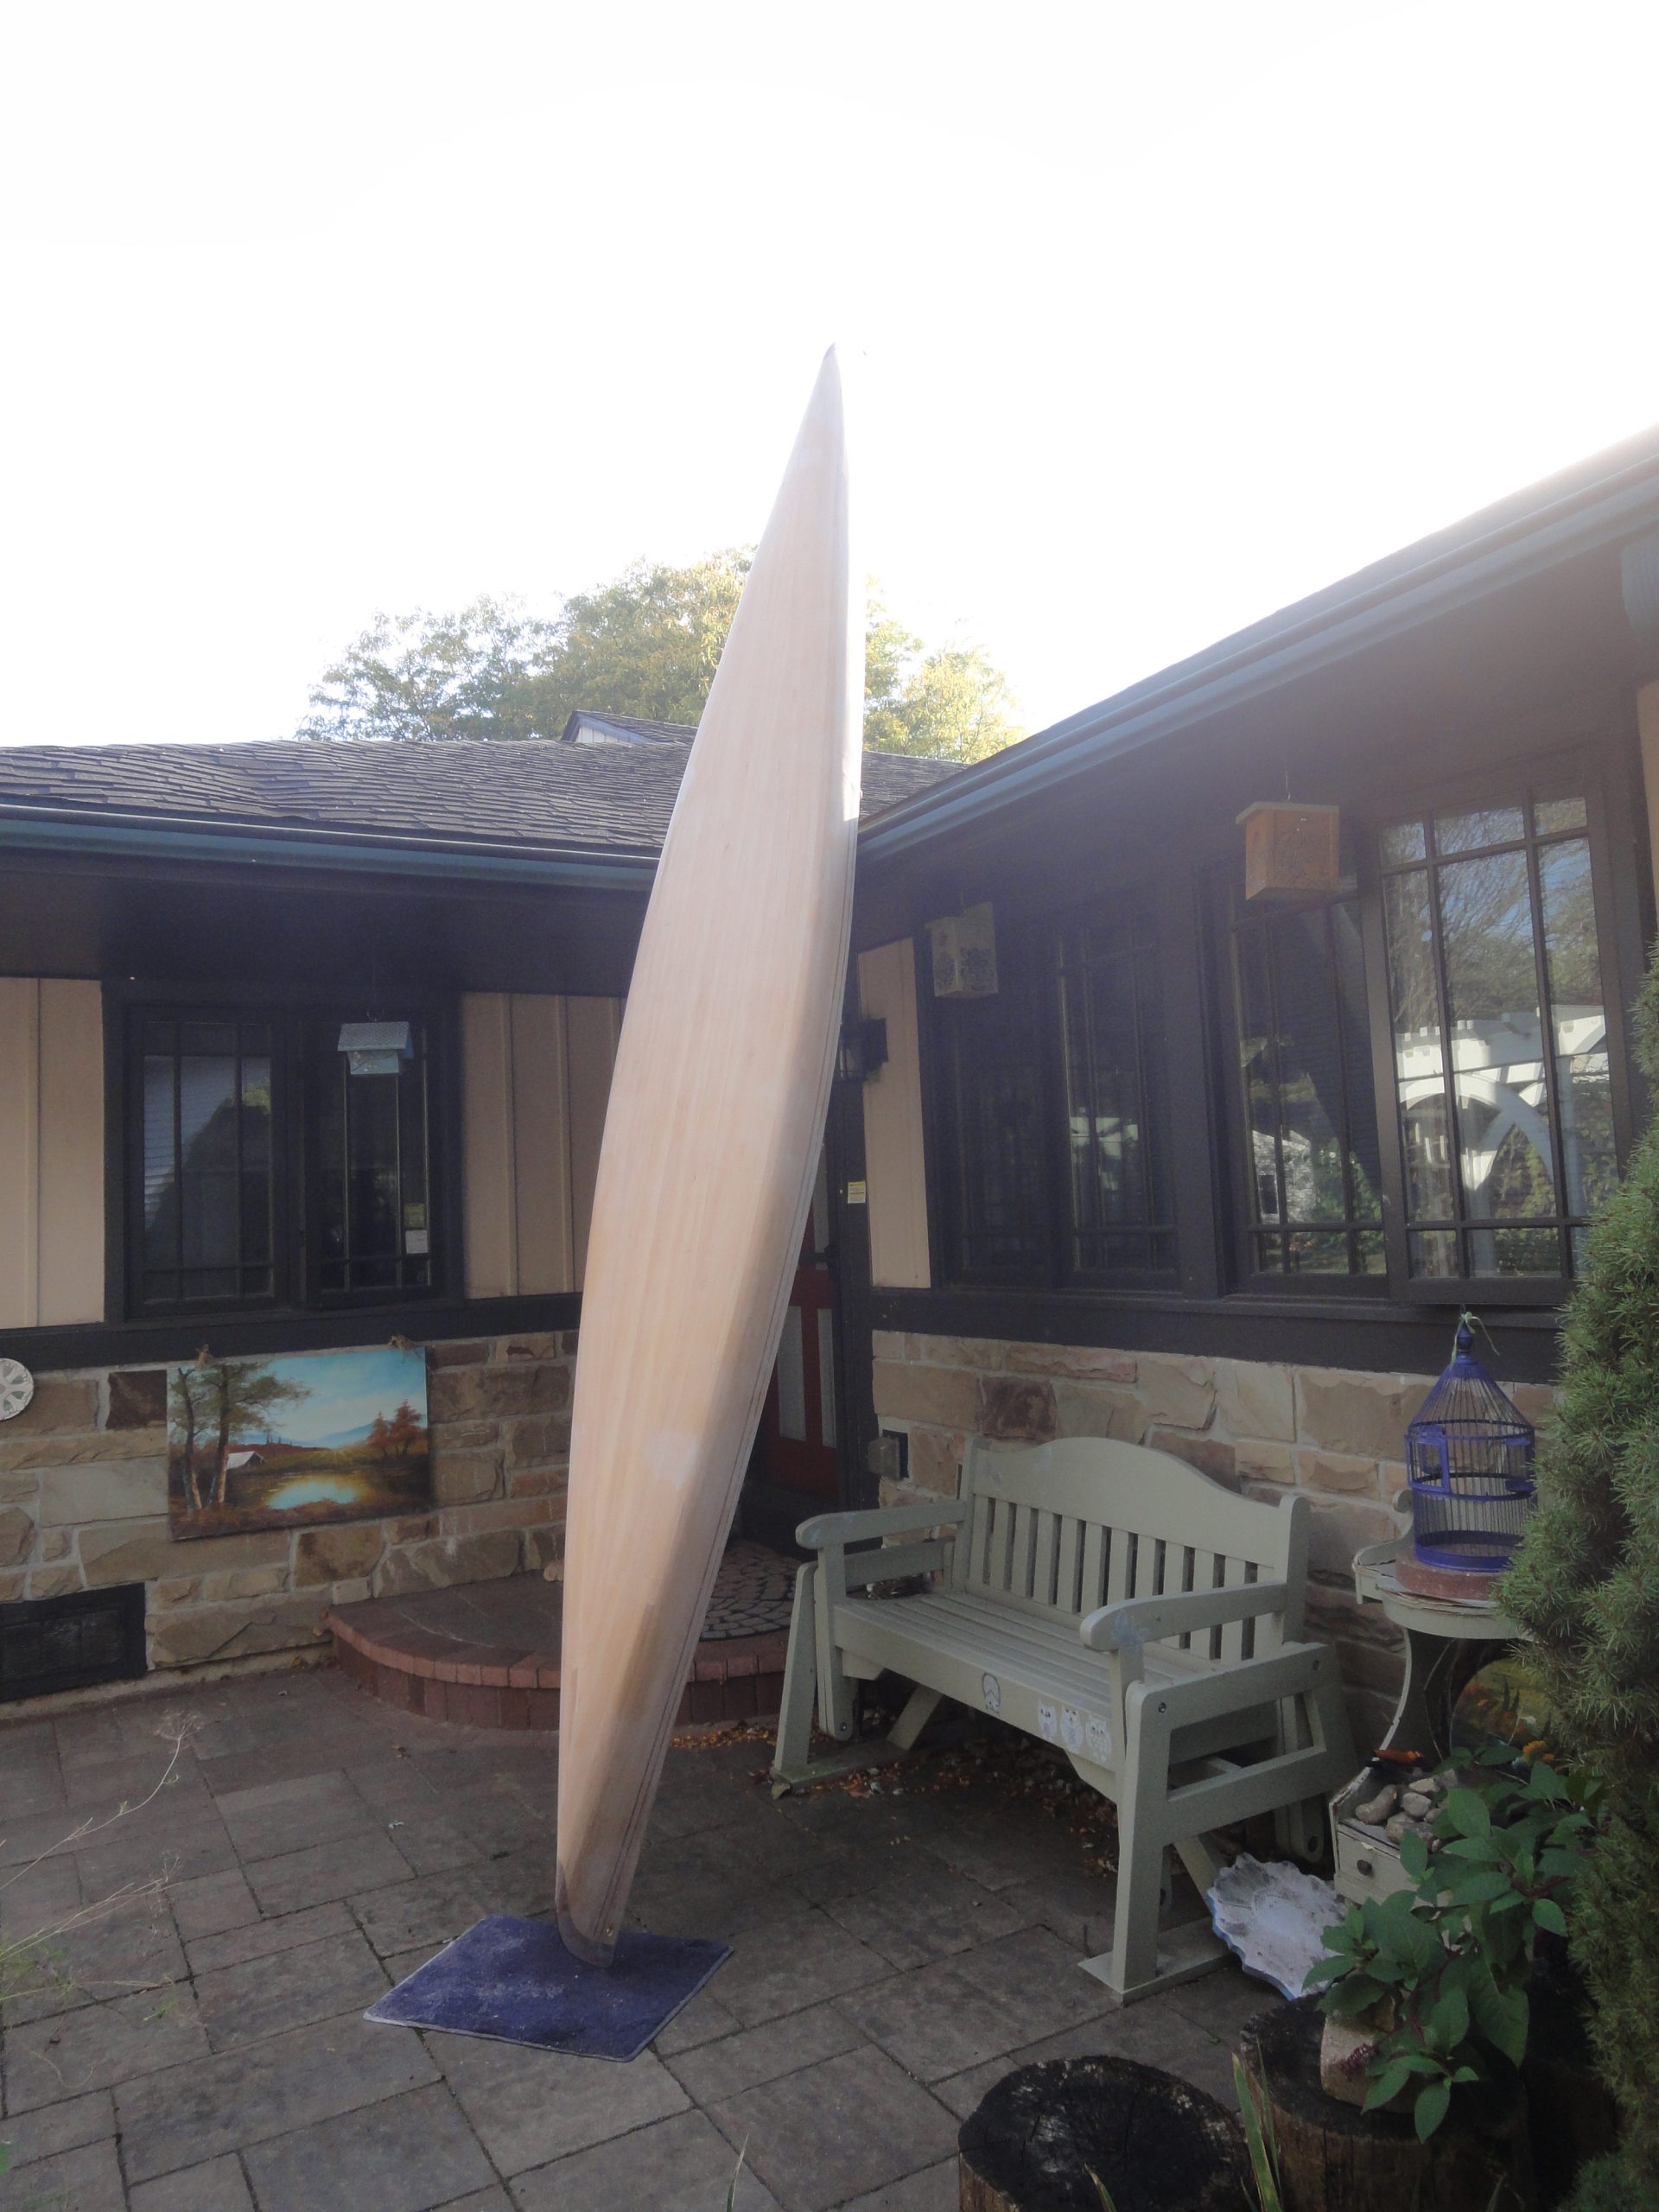
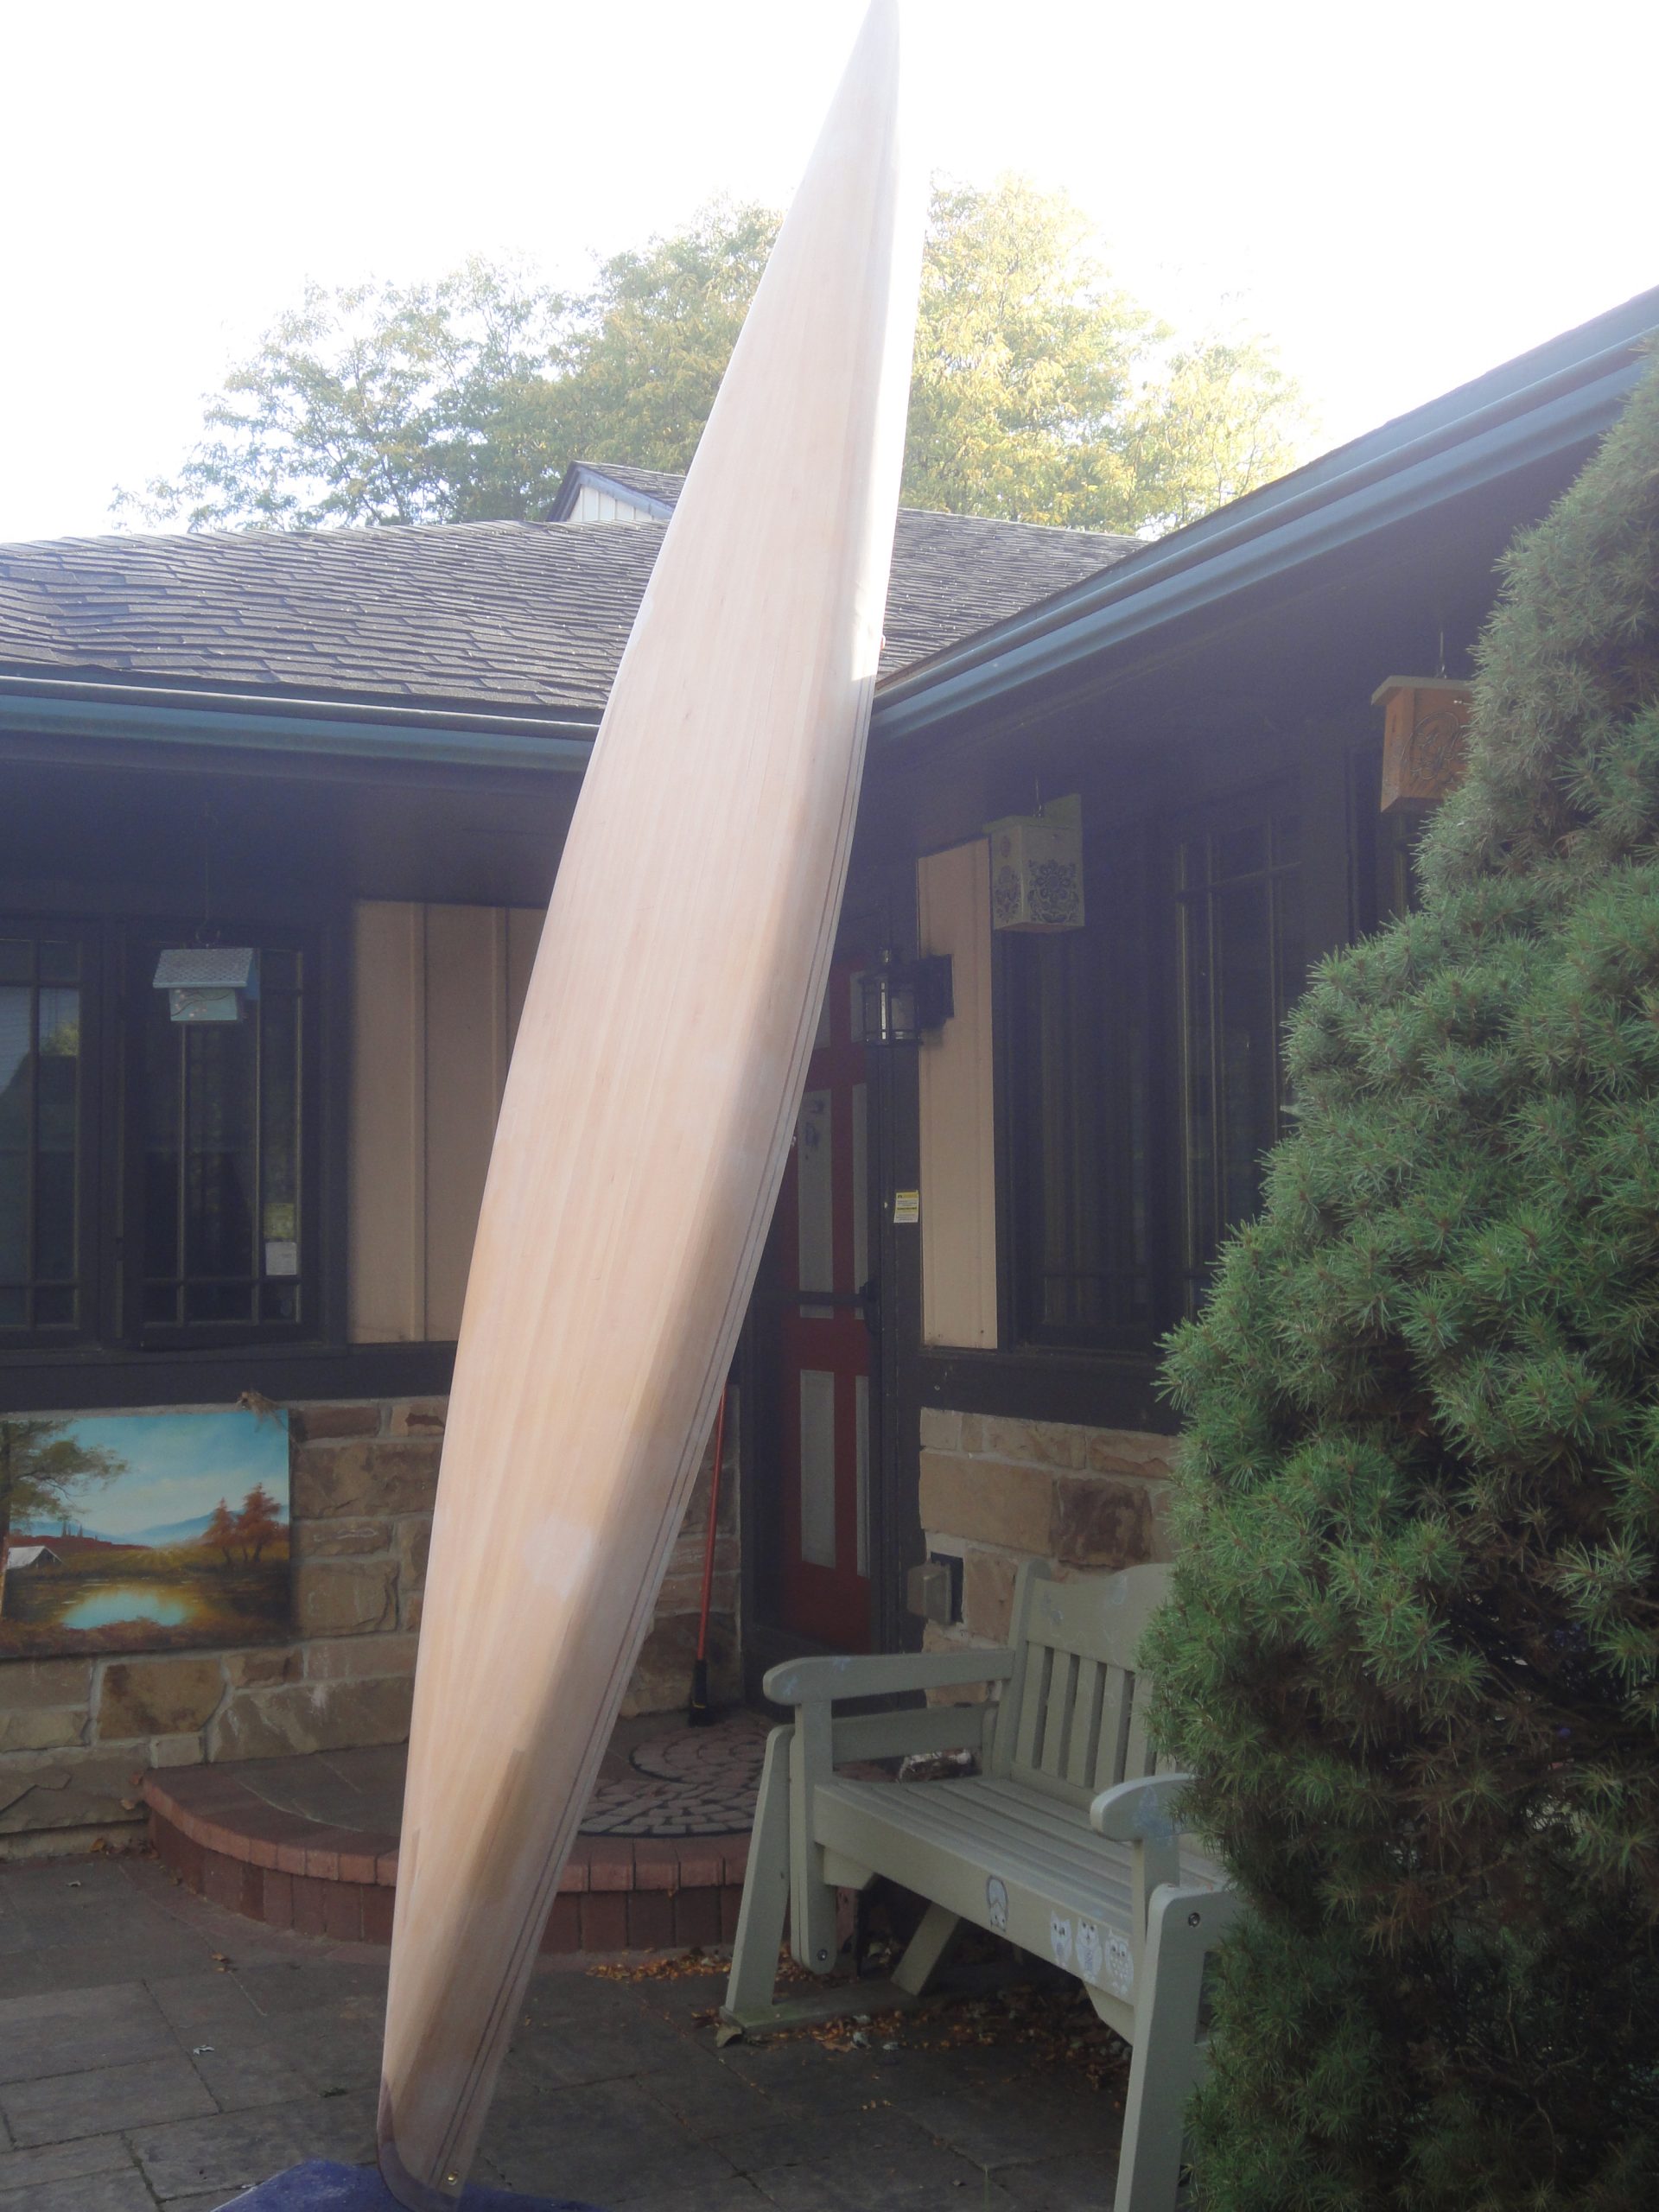
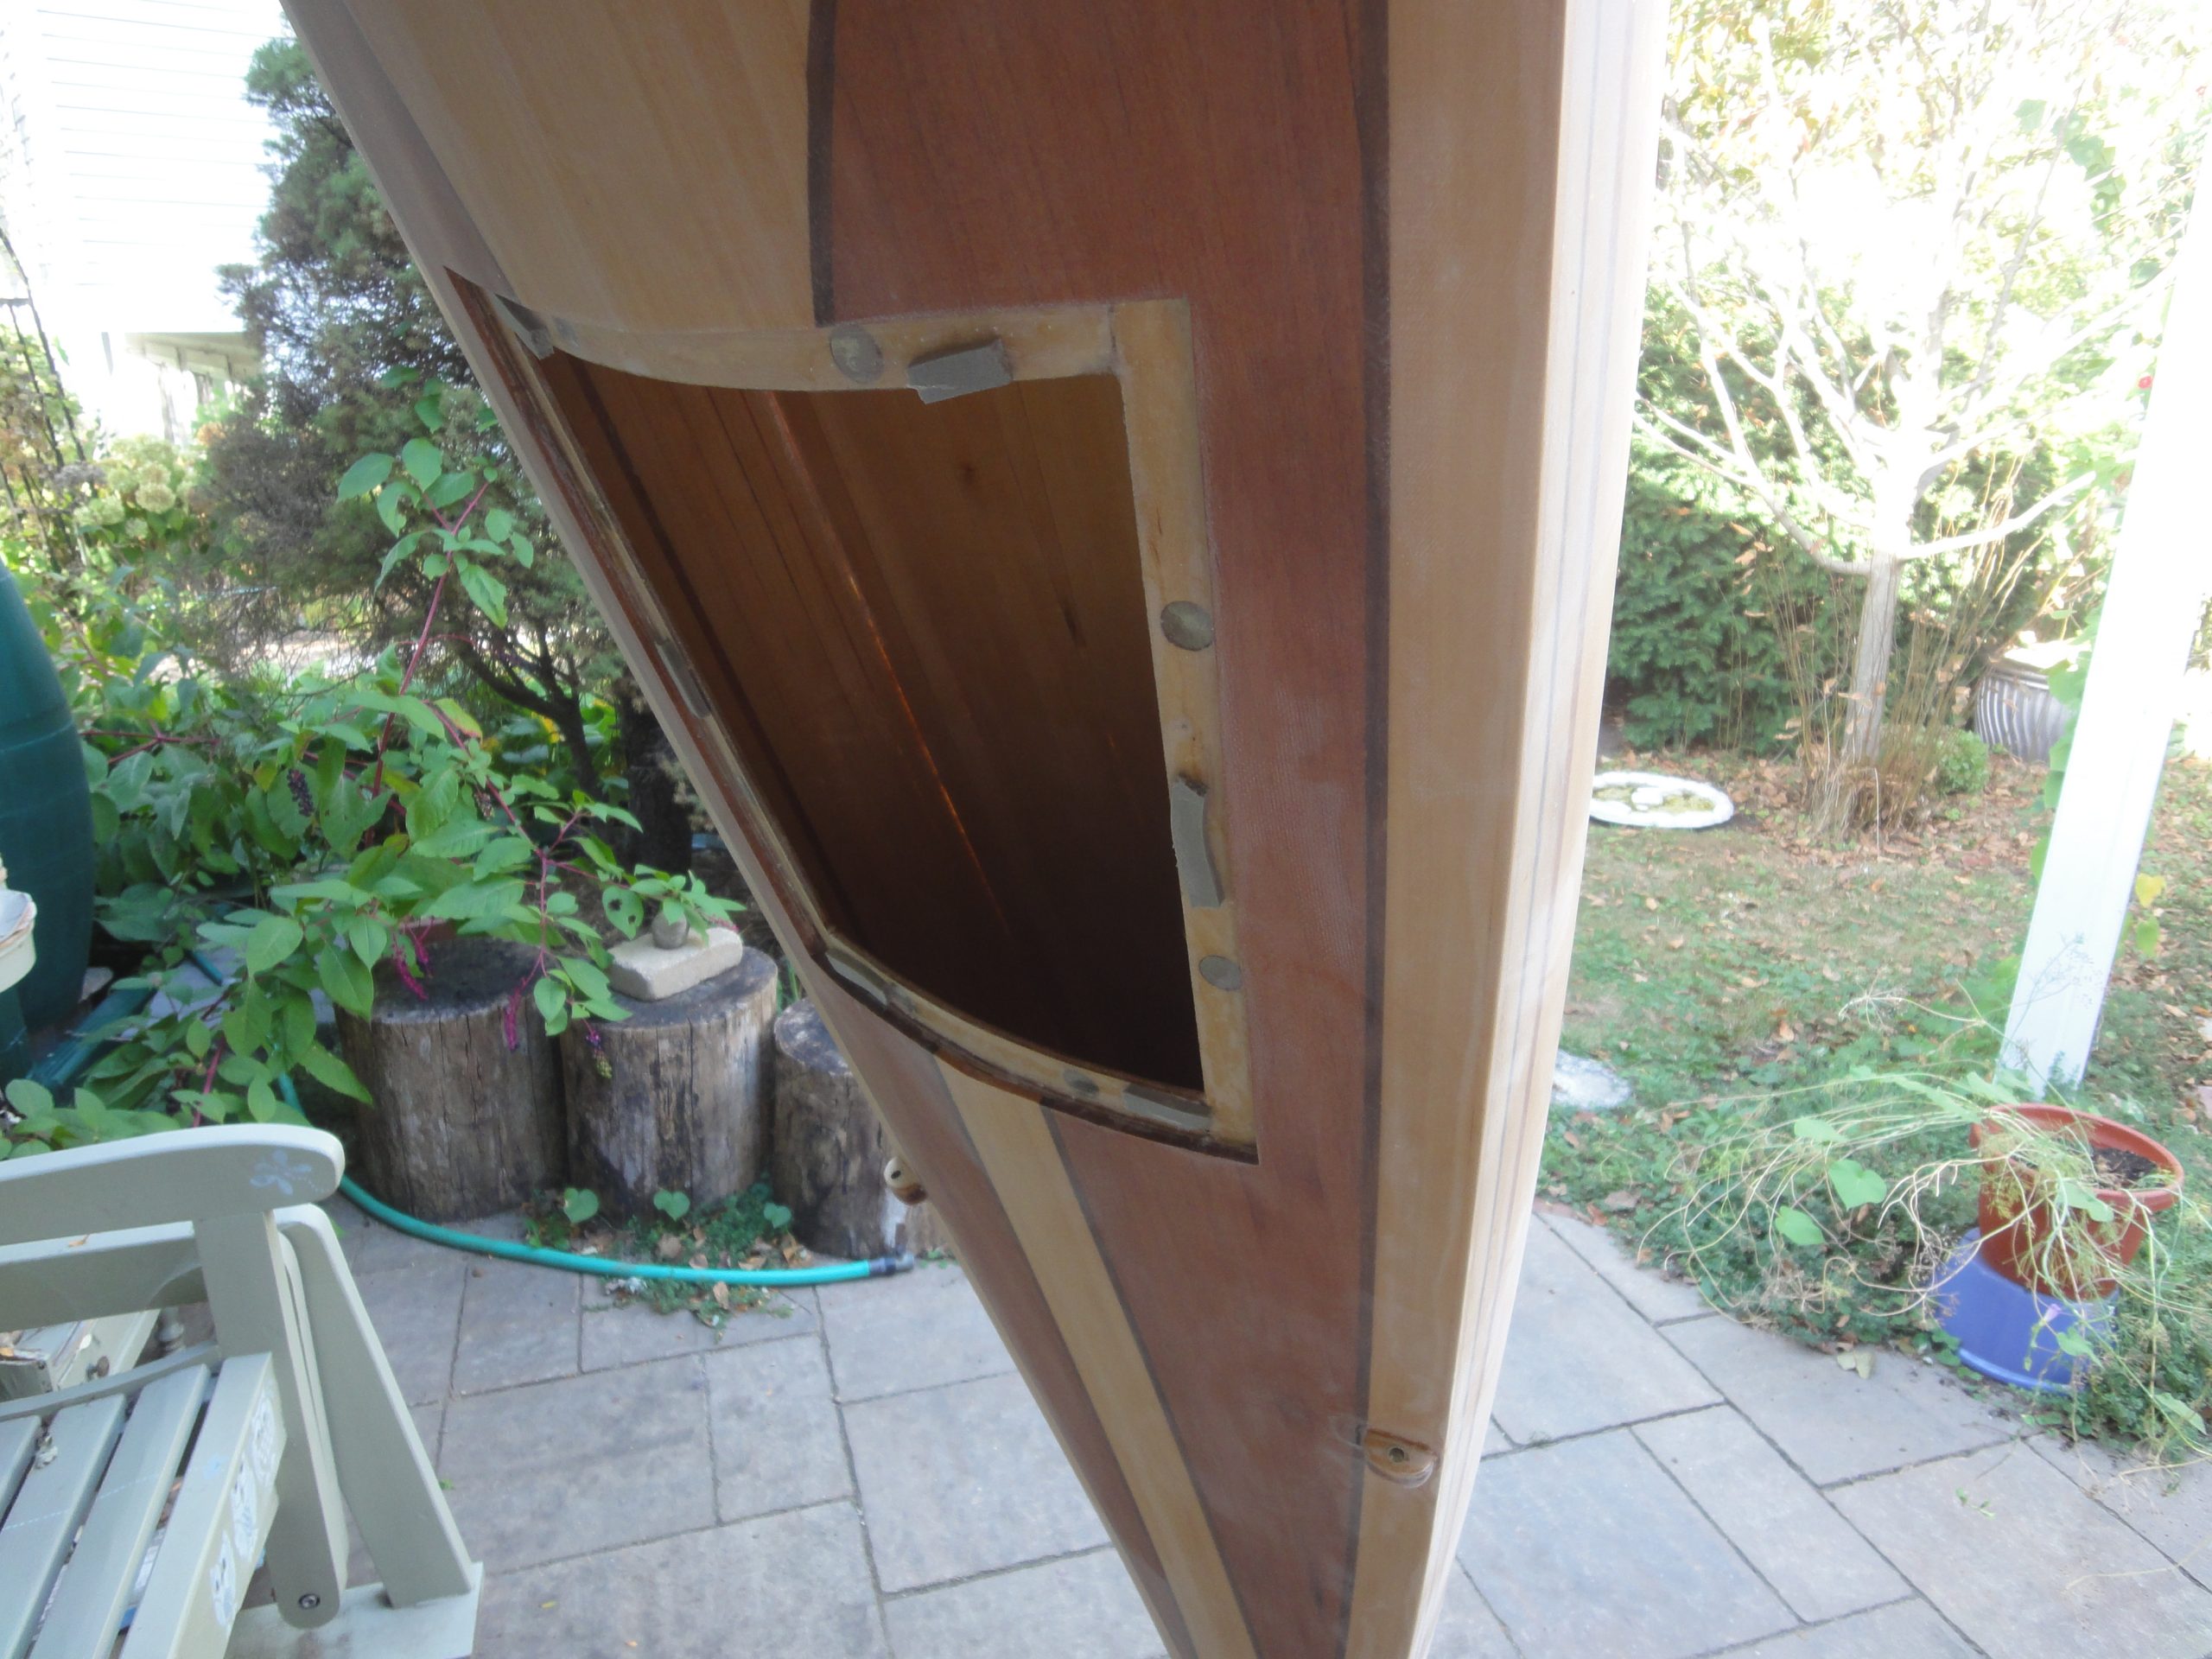
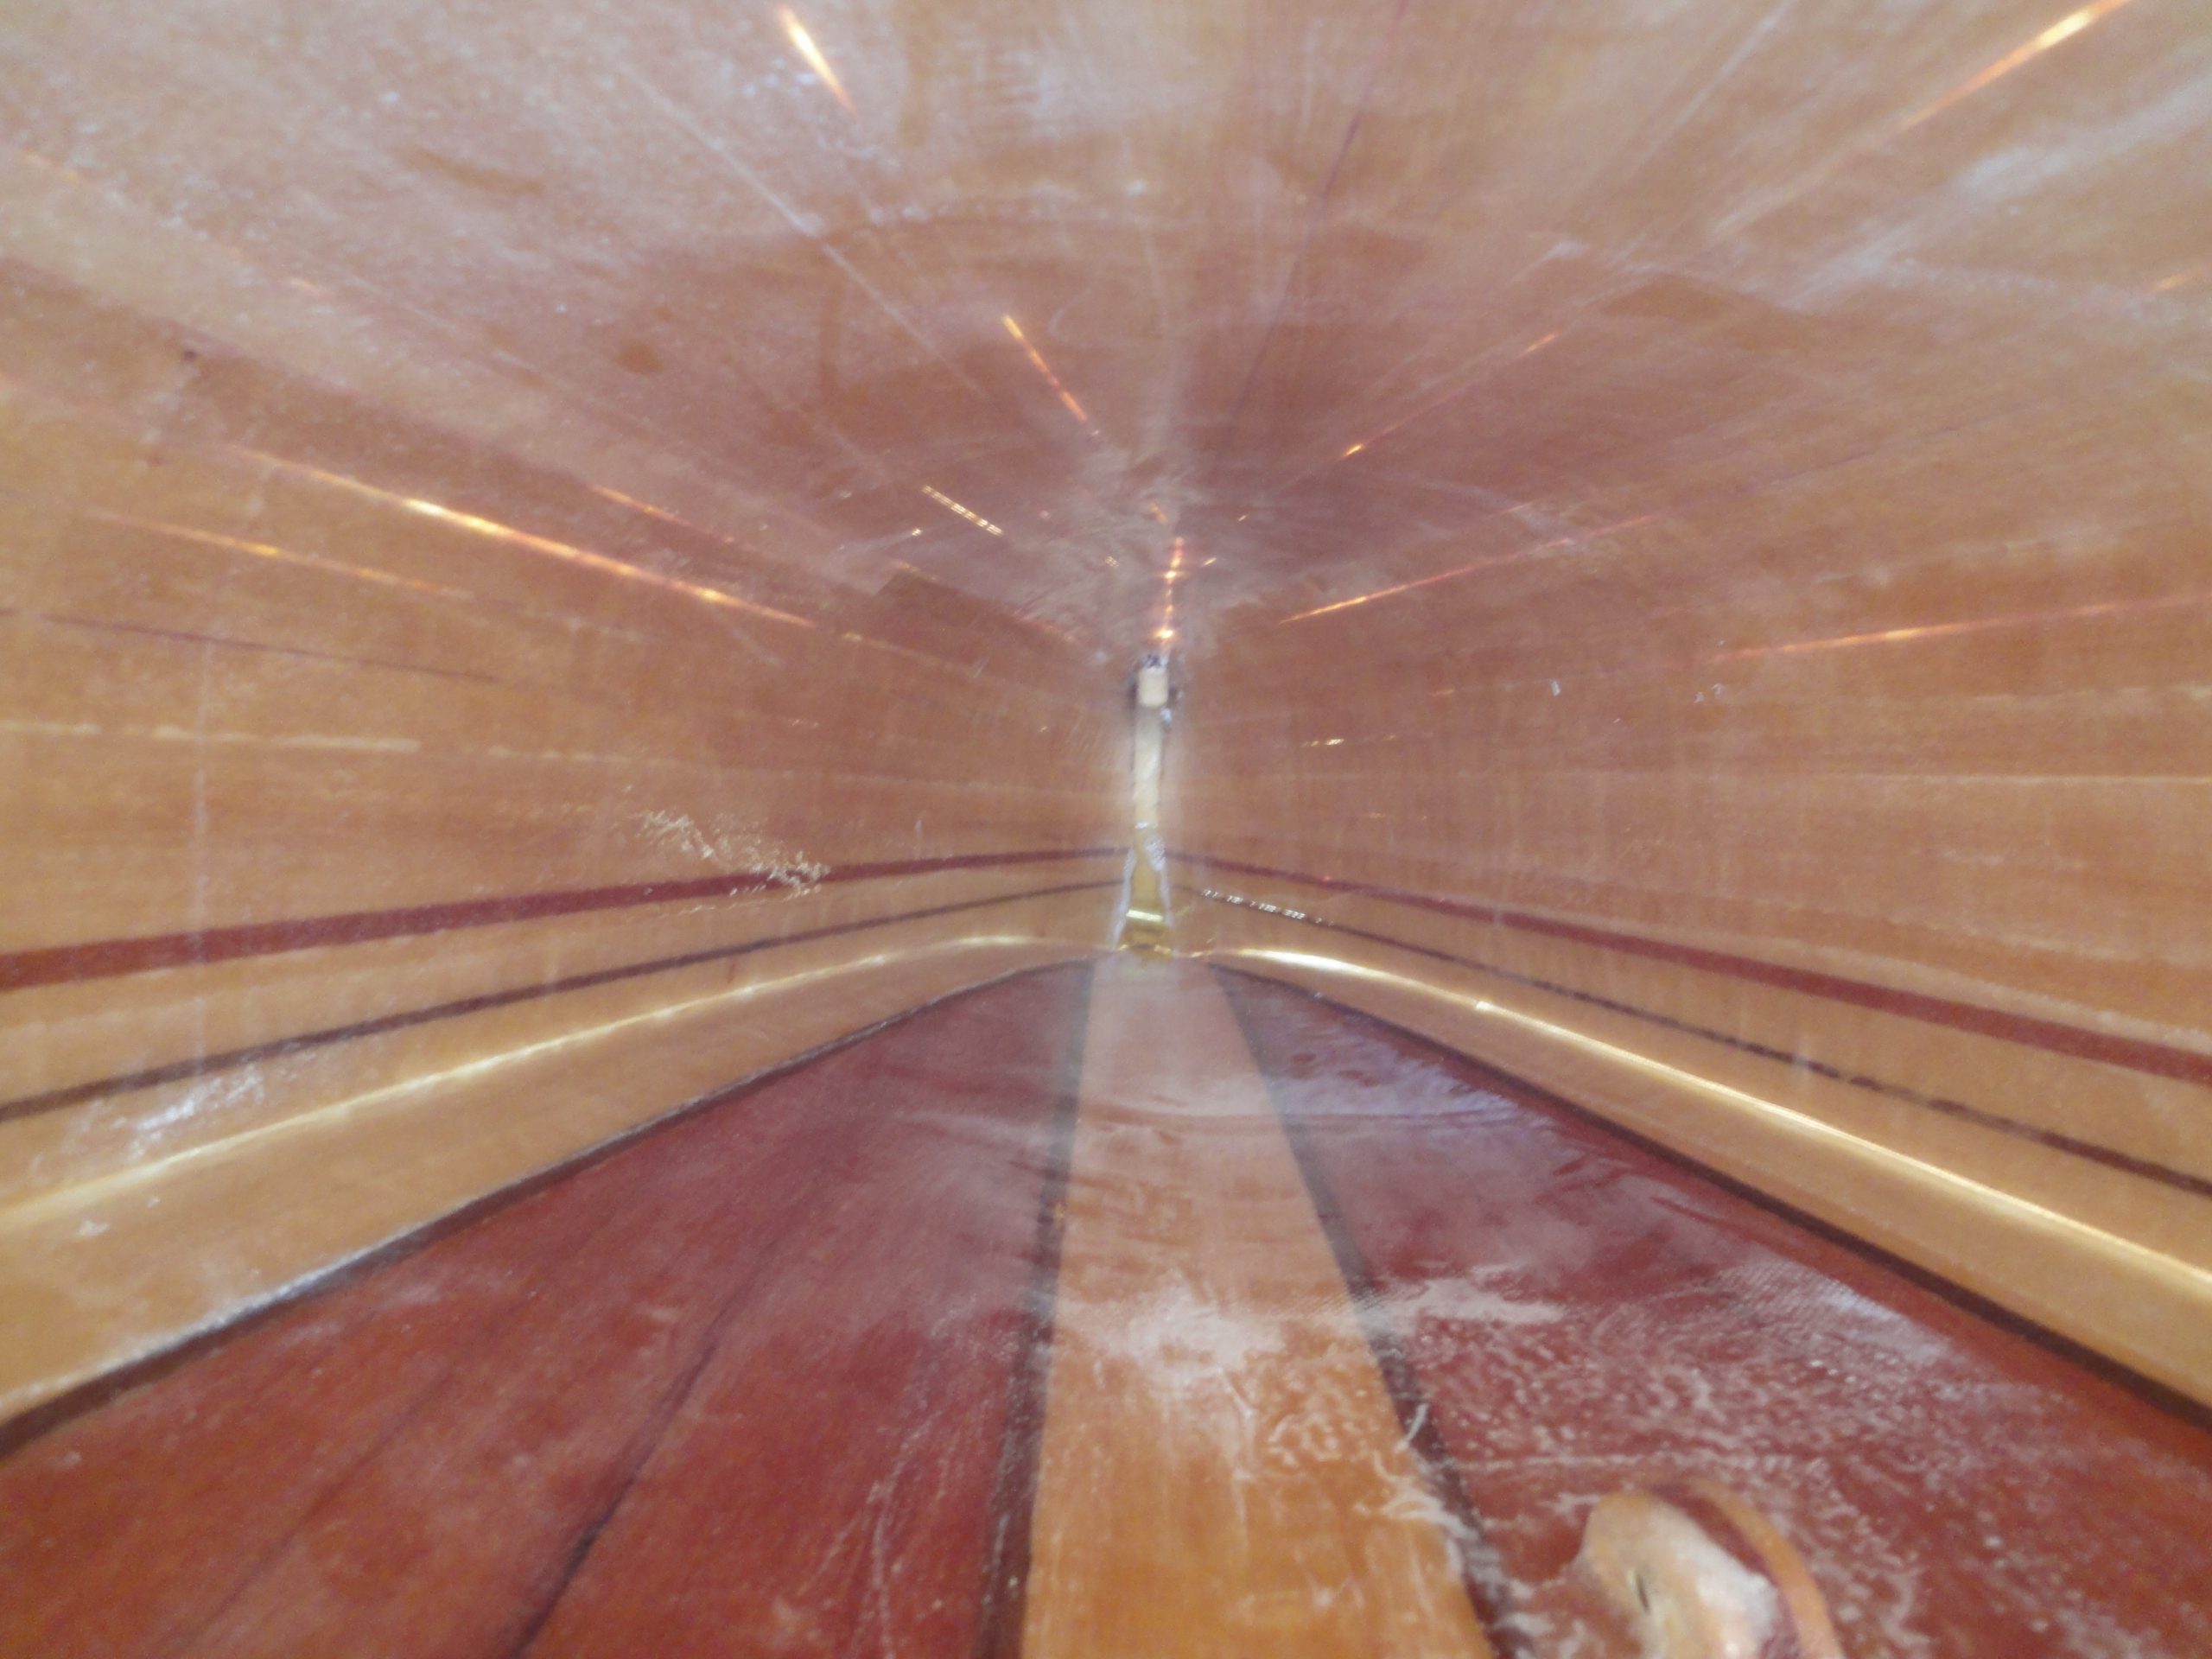
I started by getting the kayak to the front of the house where there is a 90 degree inside corner that I can prop it up on. An old rug section was placed on the ground in an attempt to avoid damaging the tip. With a bit of wrestling and only banging the end on the ground once (I’ll have to see what if any damage this did later) I finally got it into place. It’s pretty much straight down through the access hatch to the end point.
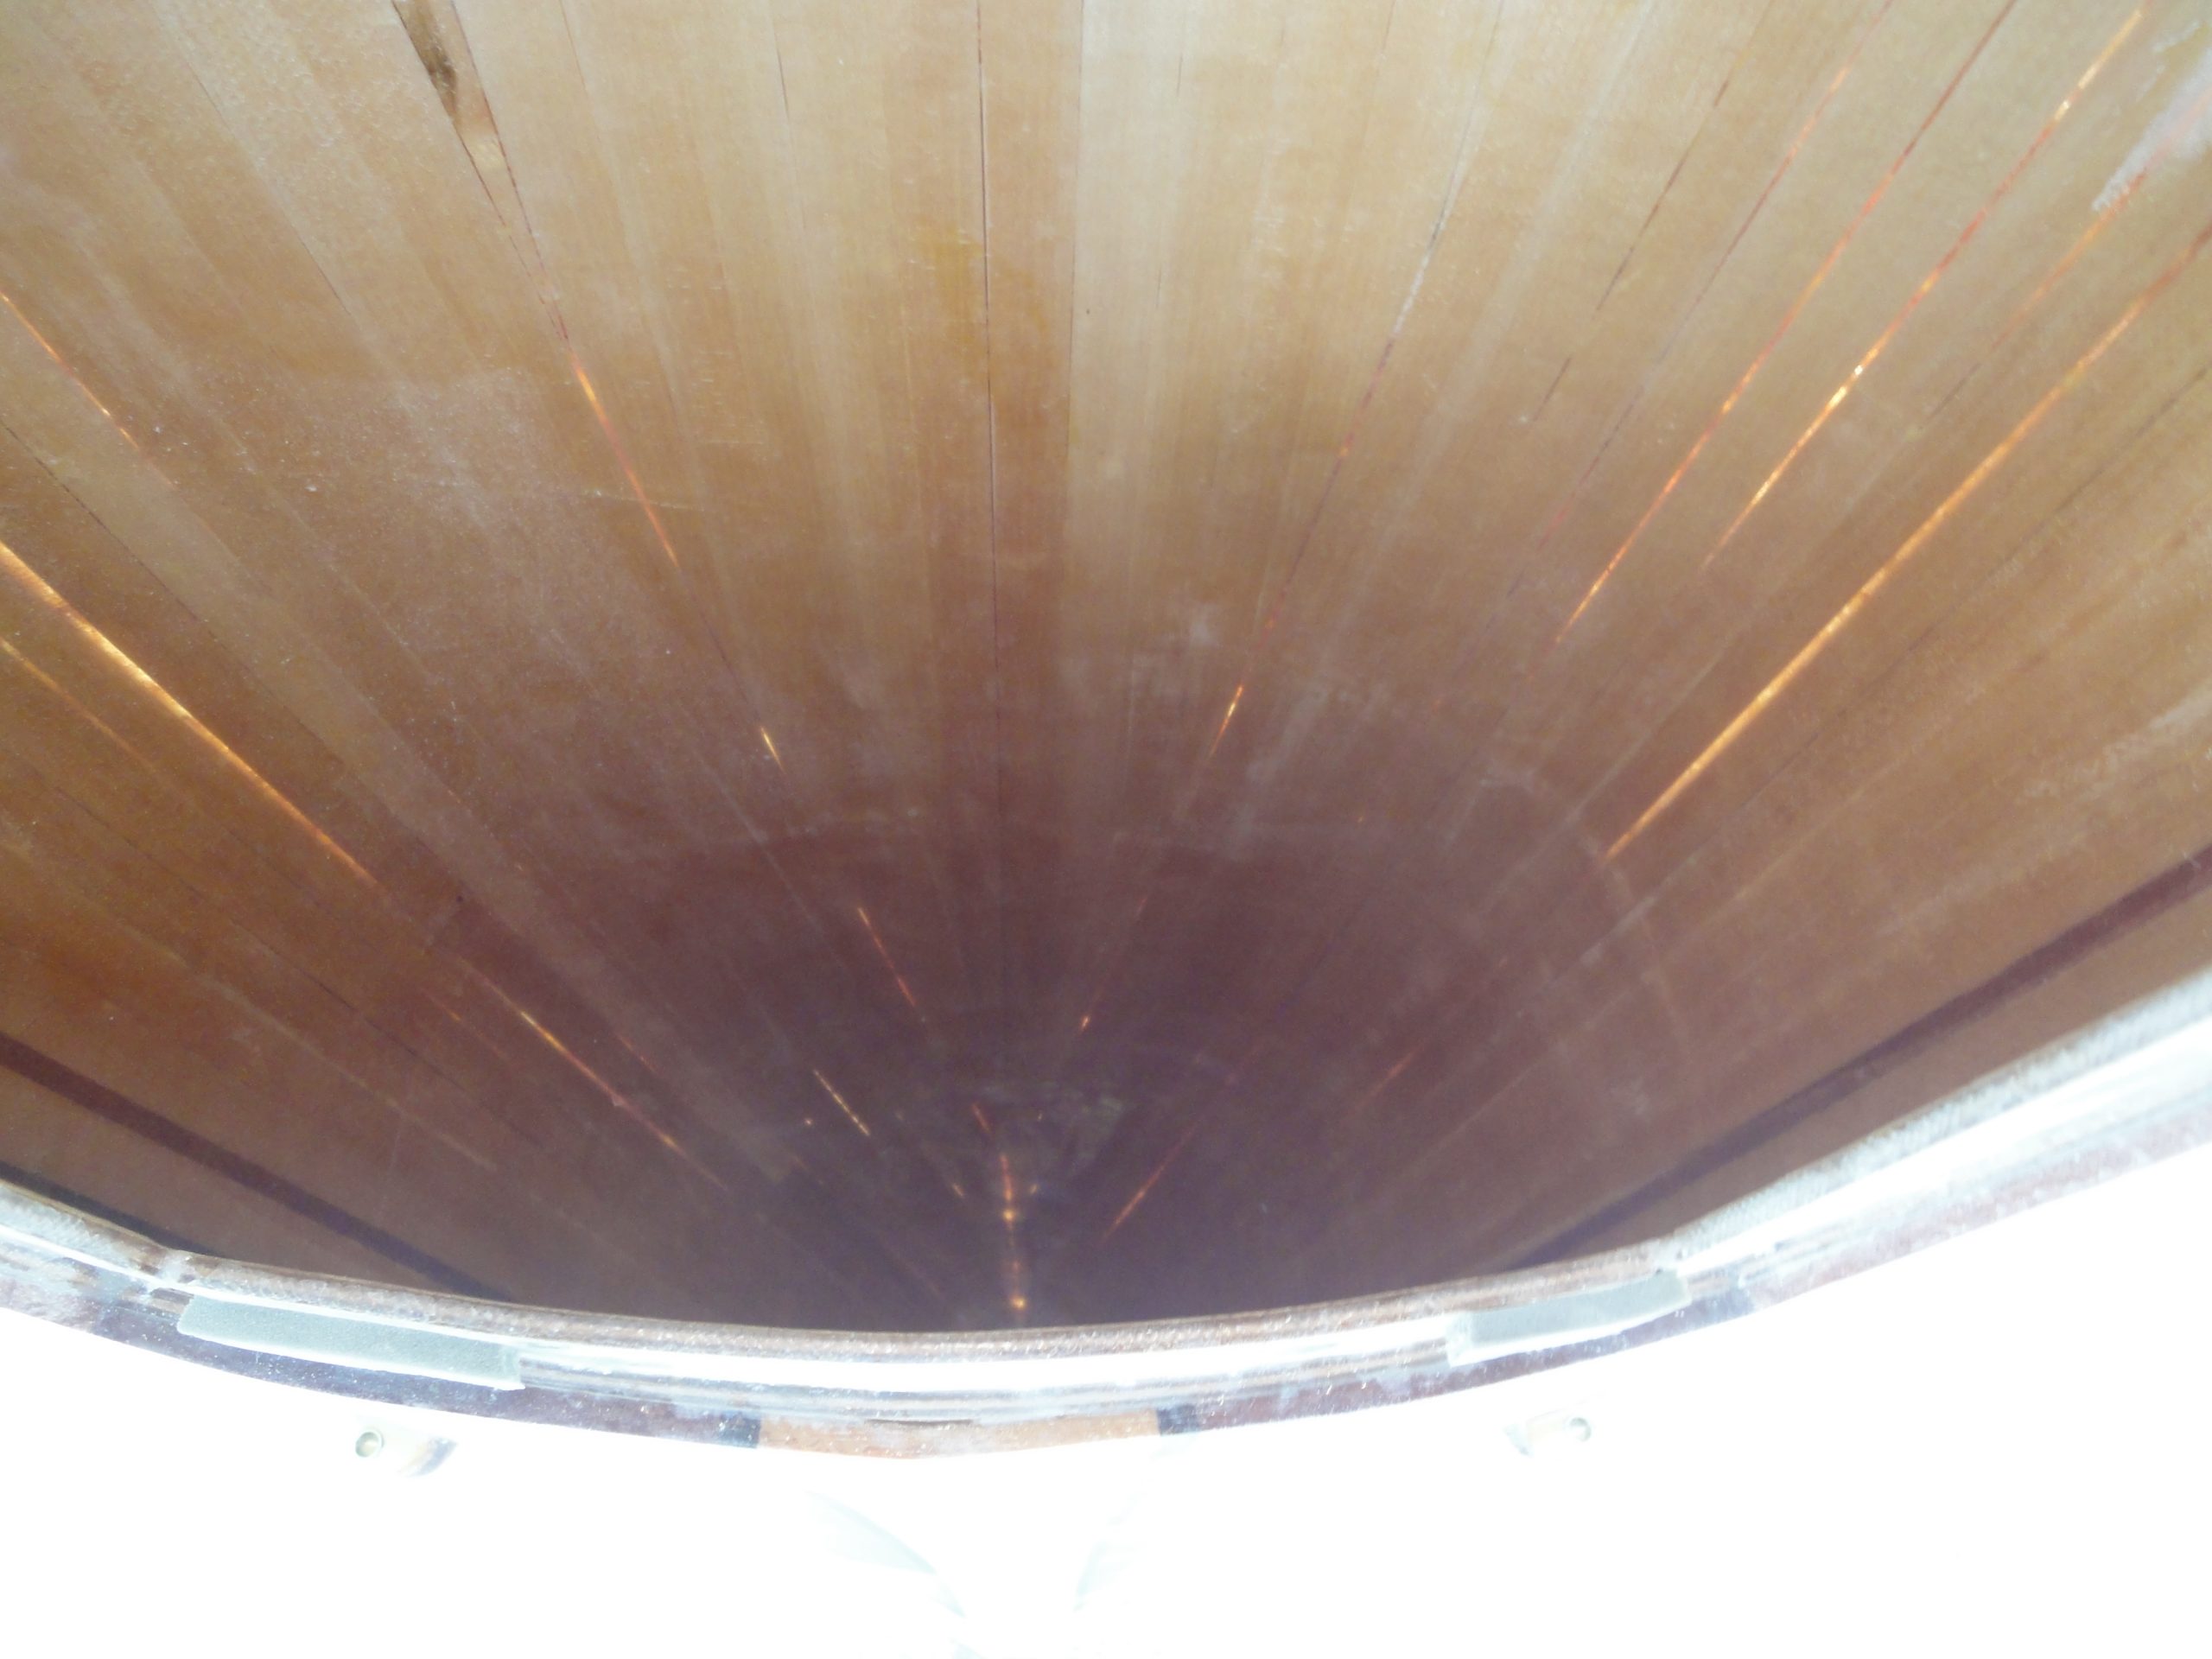

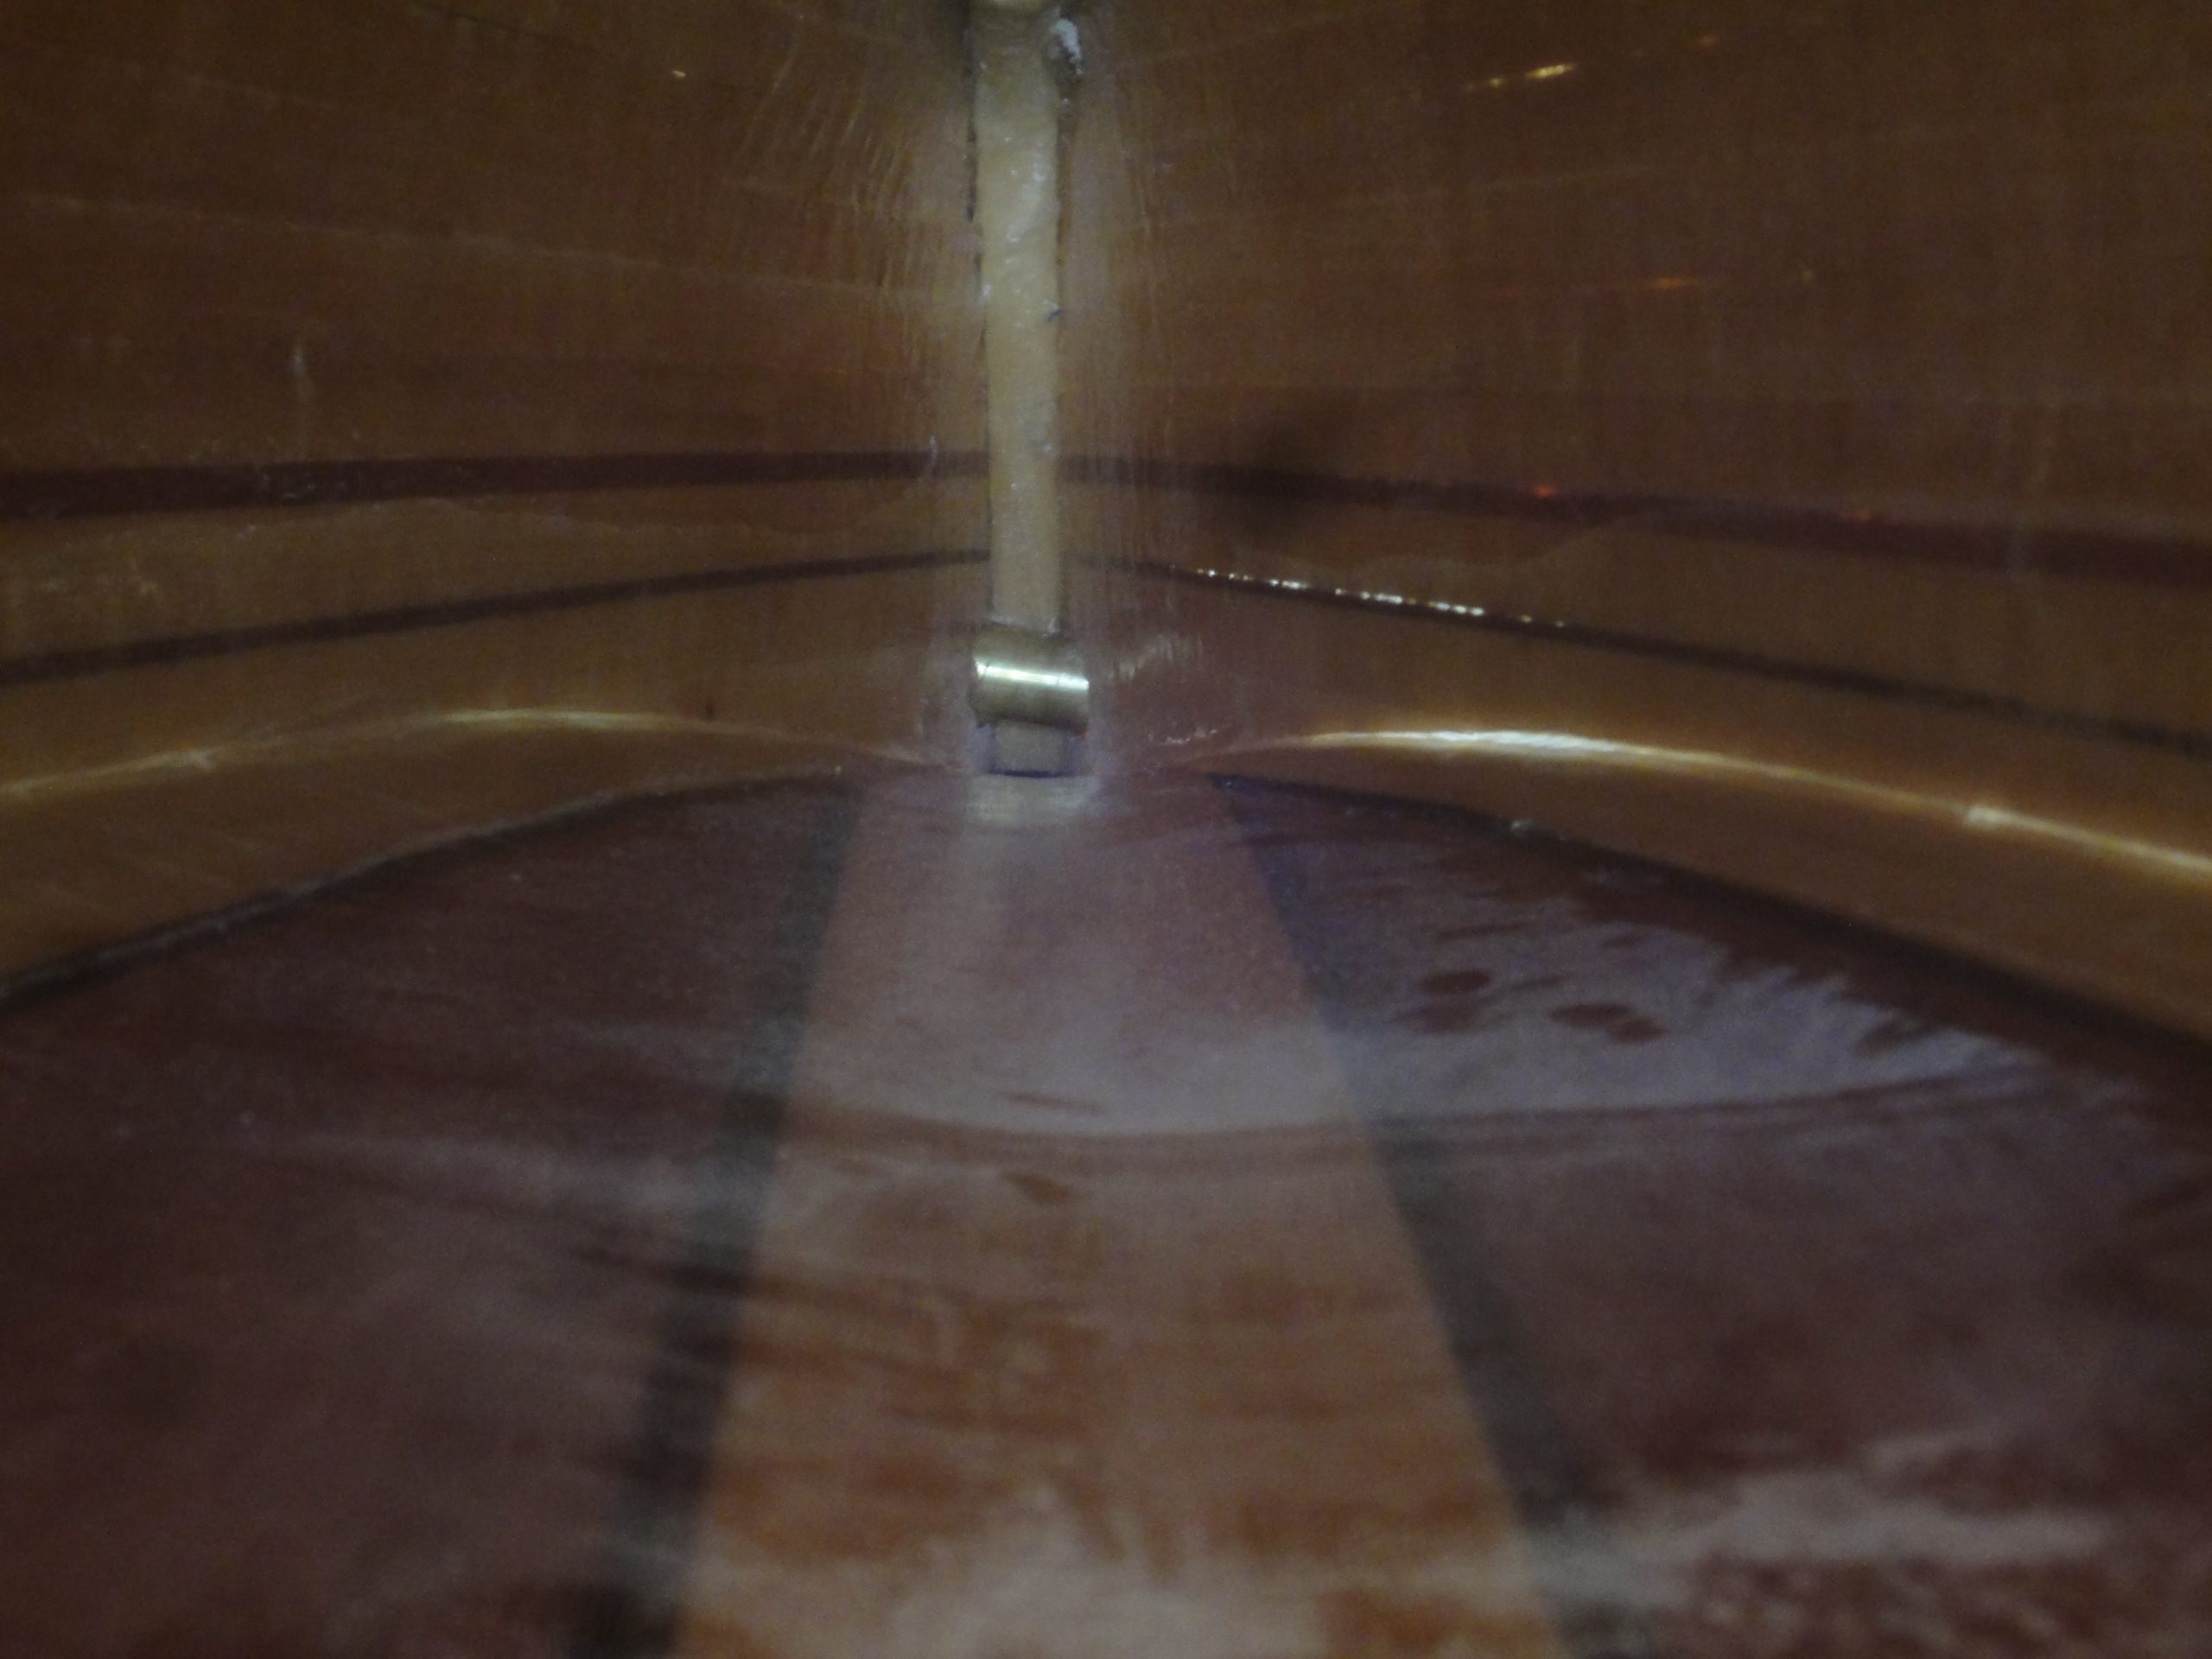
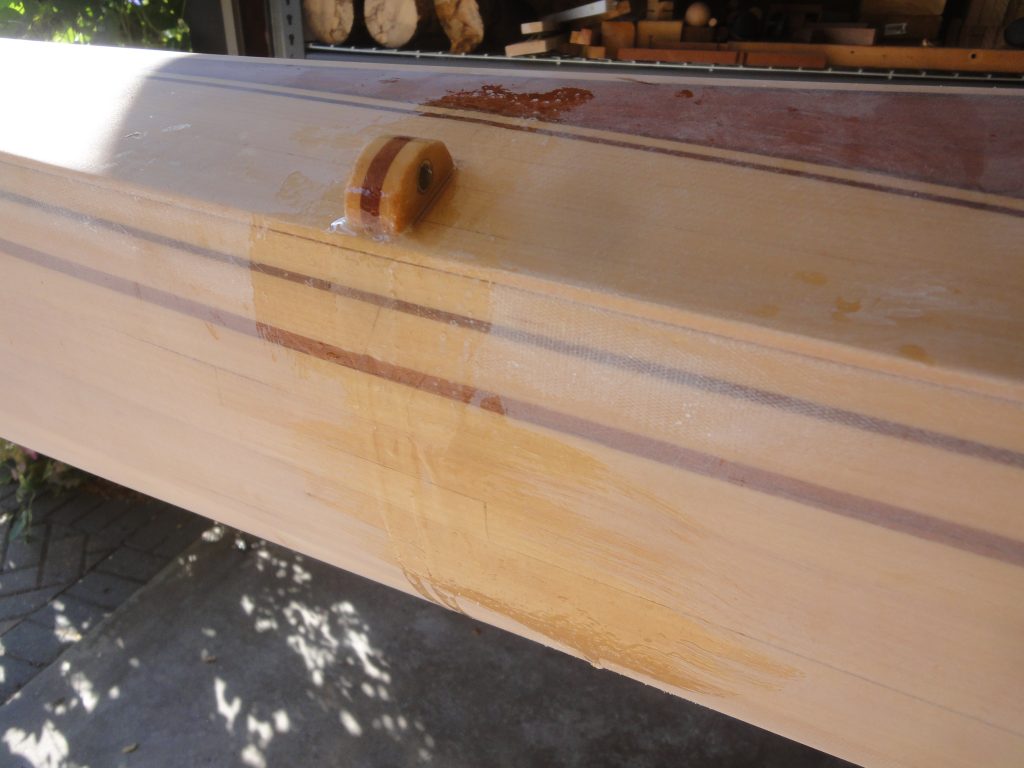
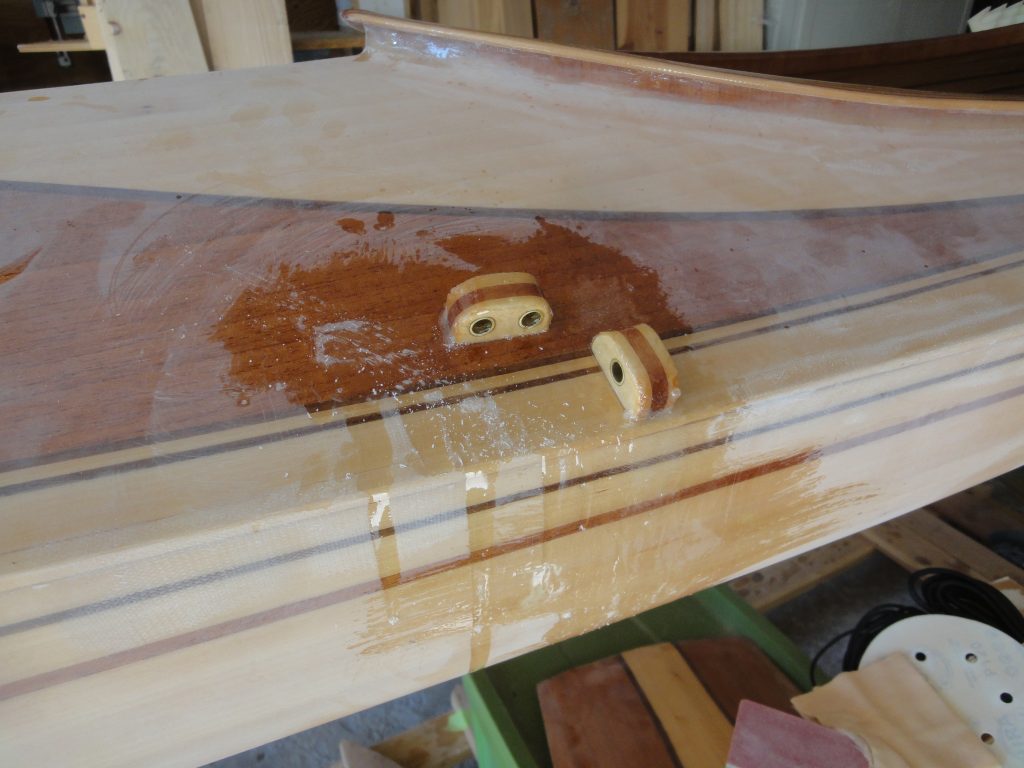
Normally a batch of epoxy is 2 or 3 pumps of epoxy and hardener. Even during the initial wetting out where I needed a lot I still did not do more than 5 as the one time I tried more it started to set up before I was done applying. But being as this wouldn’t be applying but rather just pouring it in I mixed up a 10 pump batch to ensure I had enough. Turns out this was WAY more than I needed. Filling the end well past the pipe only would have needed 4 or 5 pumps. This also, unfortunately, is a good opportunity to see the angle that the pipe ended up getting installed at. From the outside I don’t expect anyone will really notice this but I’ll still know it is there crooked.
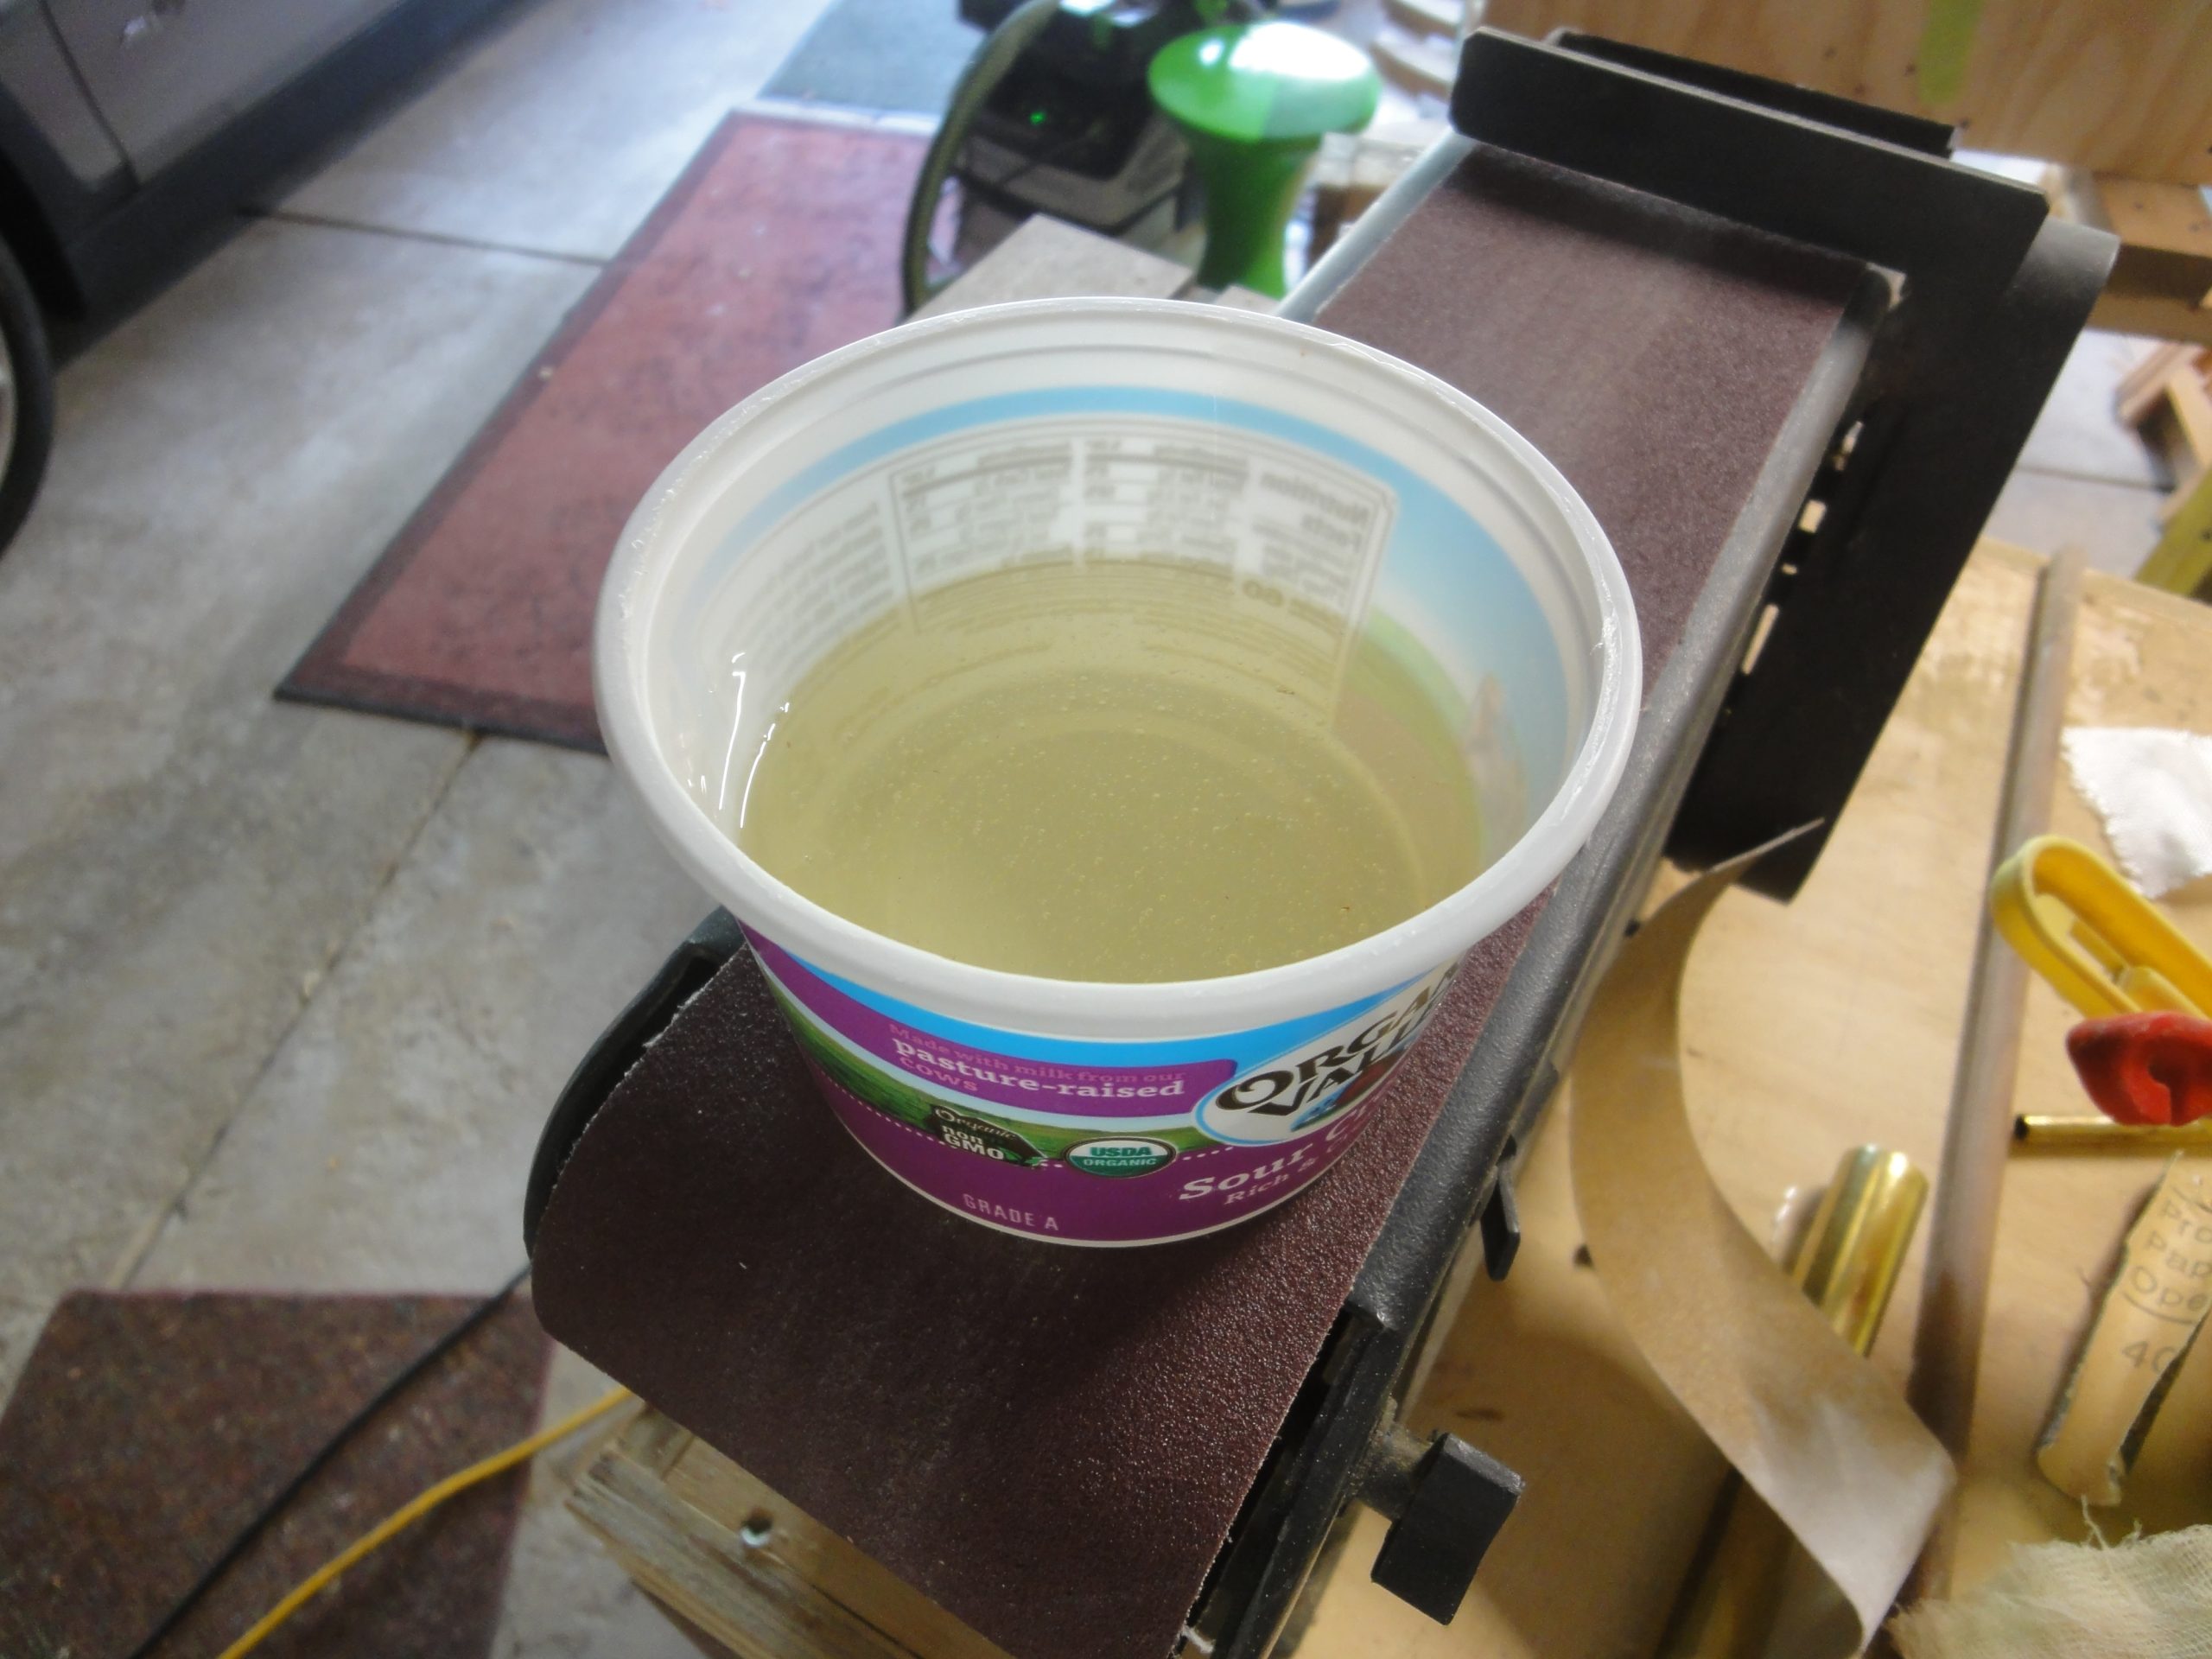
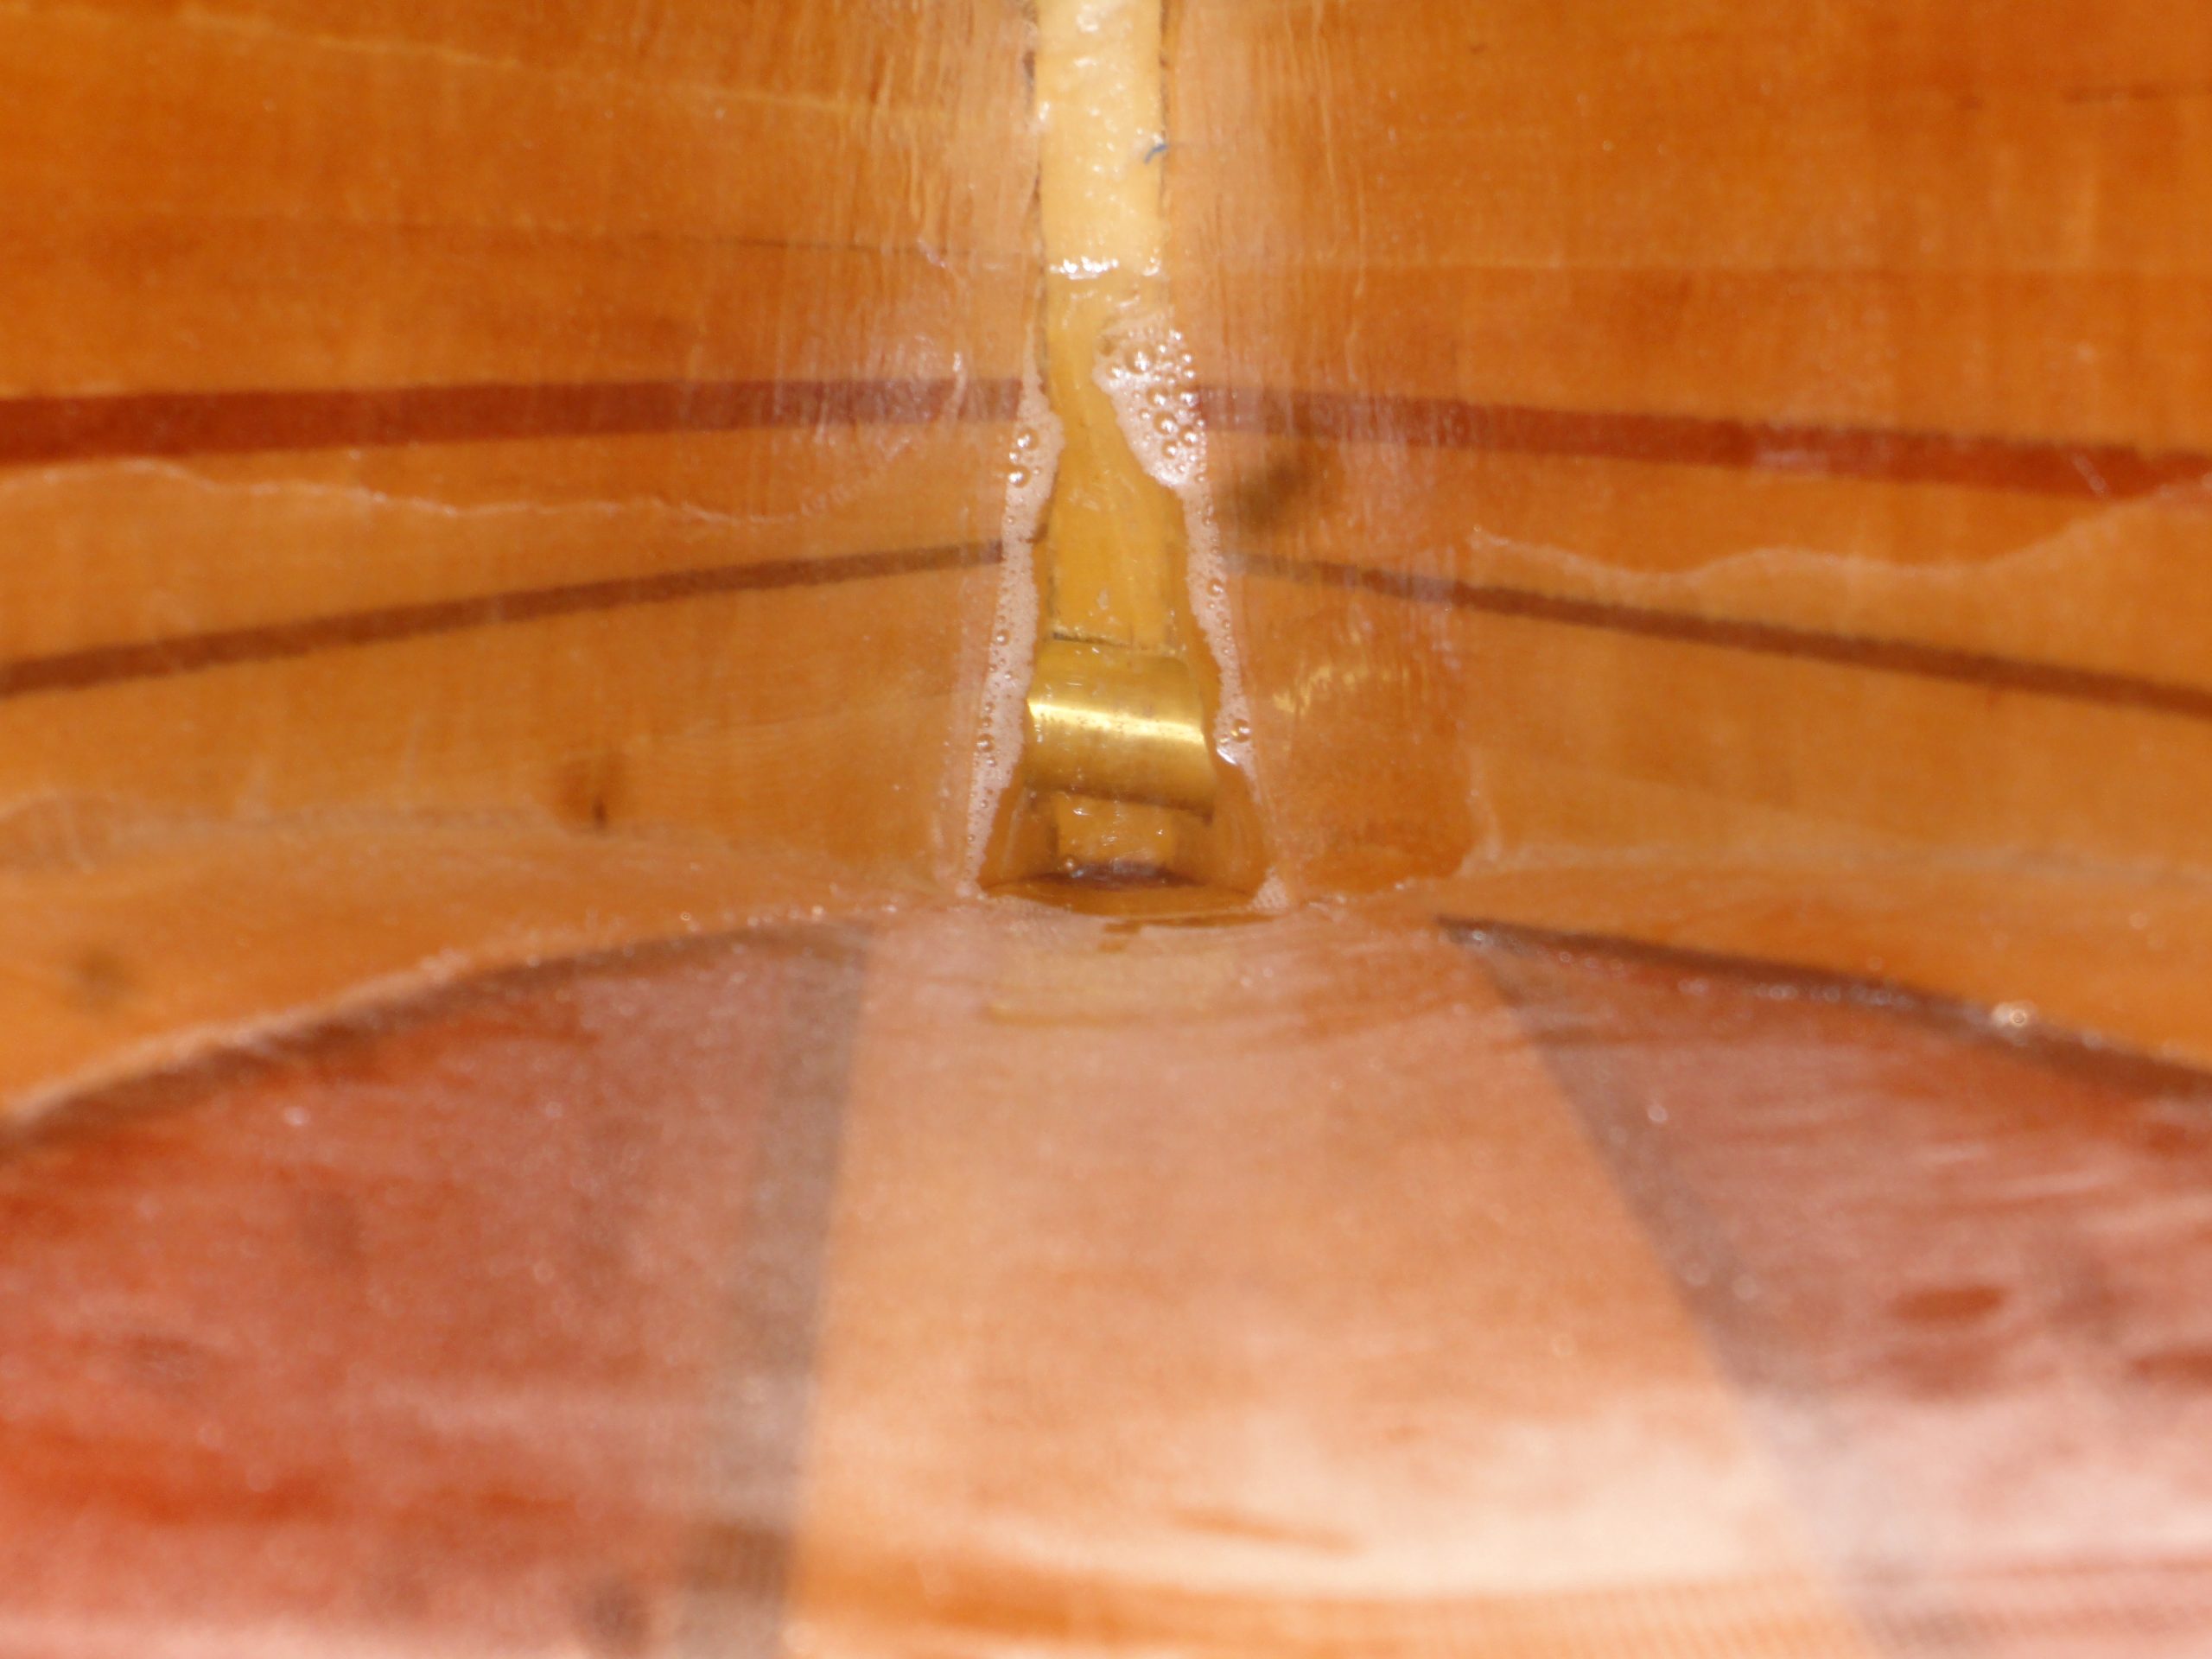
So with about half the batch available I decided today was “another day” and grabbed a brush and got as much visible weave as I could reach covered with a thin coat. When done I checked the end by the pipe and saw nothing leaking out so even as is the pipe was a good solid waterproof connection, this end pour will only help. It’ll also make good reinforcement for any stresses put on the tie down during transport.


So, the to do list with the deletions and the additions is:
- Full once over to look for any defects or other stuff that needs fixing
- Light fill coat on other half of kayak to cover weave spots
- Final sanding over whole kayak (check inside too for any drips or other issues with the finish in the cockpit
- Install foot braces
- Install bulkheads
- Hatch – final fitting
- Varnish, varnish, varnish
- Install deck lines
I’ve noticed two small areas that were sanded through the weave and into the wood and one area that looks like a 1/2″ stretch or so where there is air under the fiberglass. If I find anything else in the once over it’ll get added to my fix list, otherwise these I already know about are fairly quick fixes although given drying time for epoxy they’ll probably actually take a few days to be completed.