
More progress was made today, unfortunately most of it involved epoxy so now I’m stuck waiting for it to dry and can’t really do anything else.
First I sanded down all the line guides, or specifically the epoxy and fiberglass strips that I put on them. Once cleaned up I applied a second coat of epoxy. I forgot to take any pictures as this is just more of the dozens of other times I’ve done epoxy and sanding now.
Checking a few reference videos (Petrel play for one… see link below) and I realize I should have done the end pours and tie down drilling long before attaching the deck. This would have allowed the end pours to be done easily instead of having to balance the kayak on end. Oh well. I know better for next time.
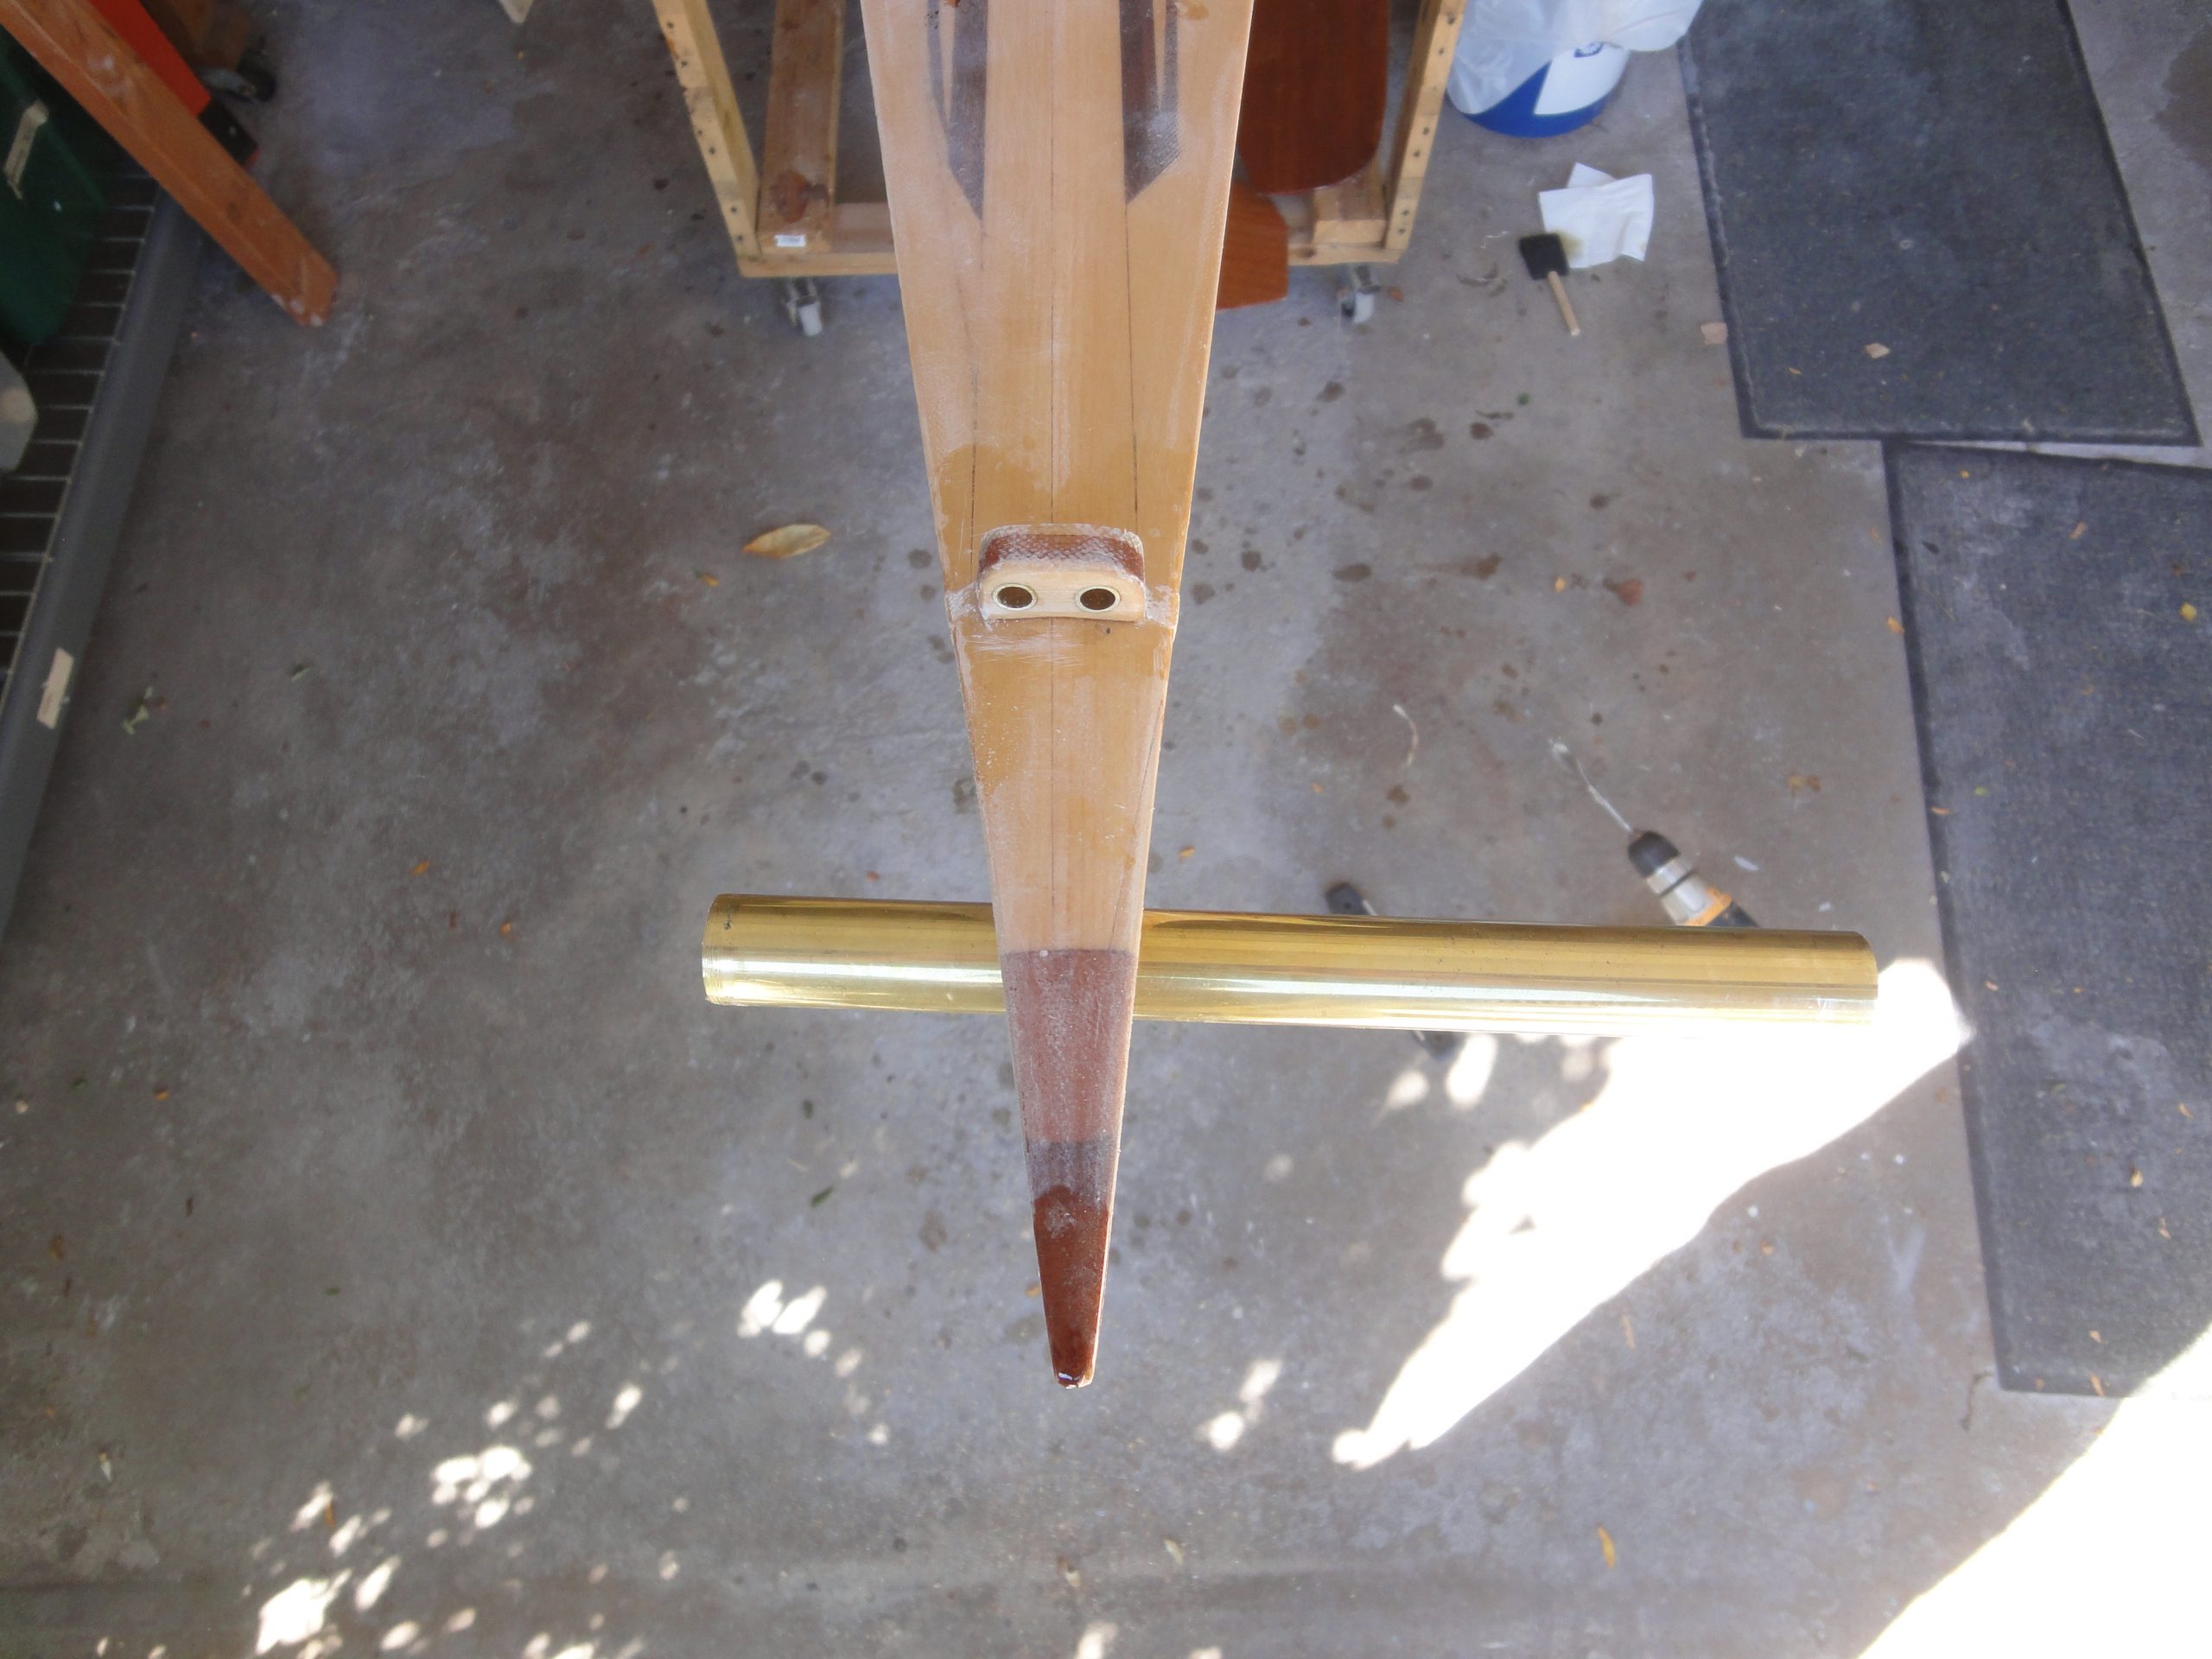
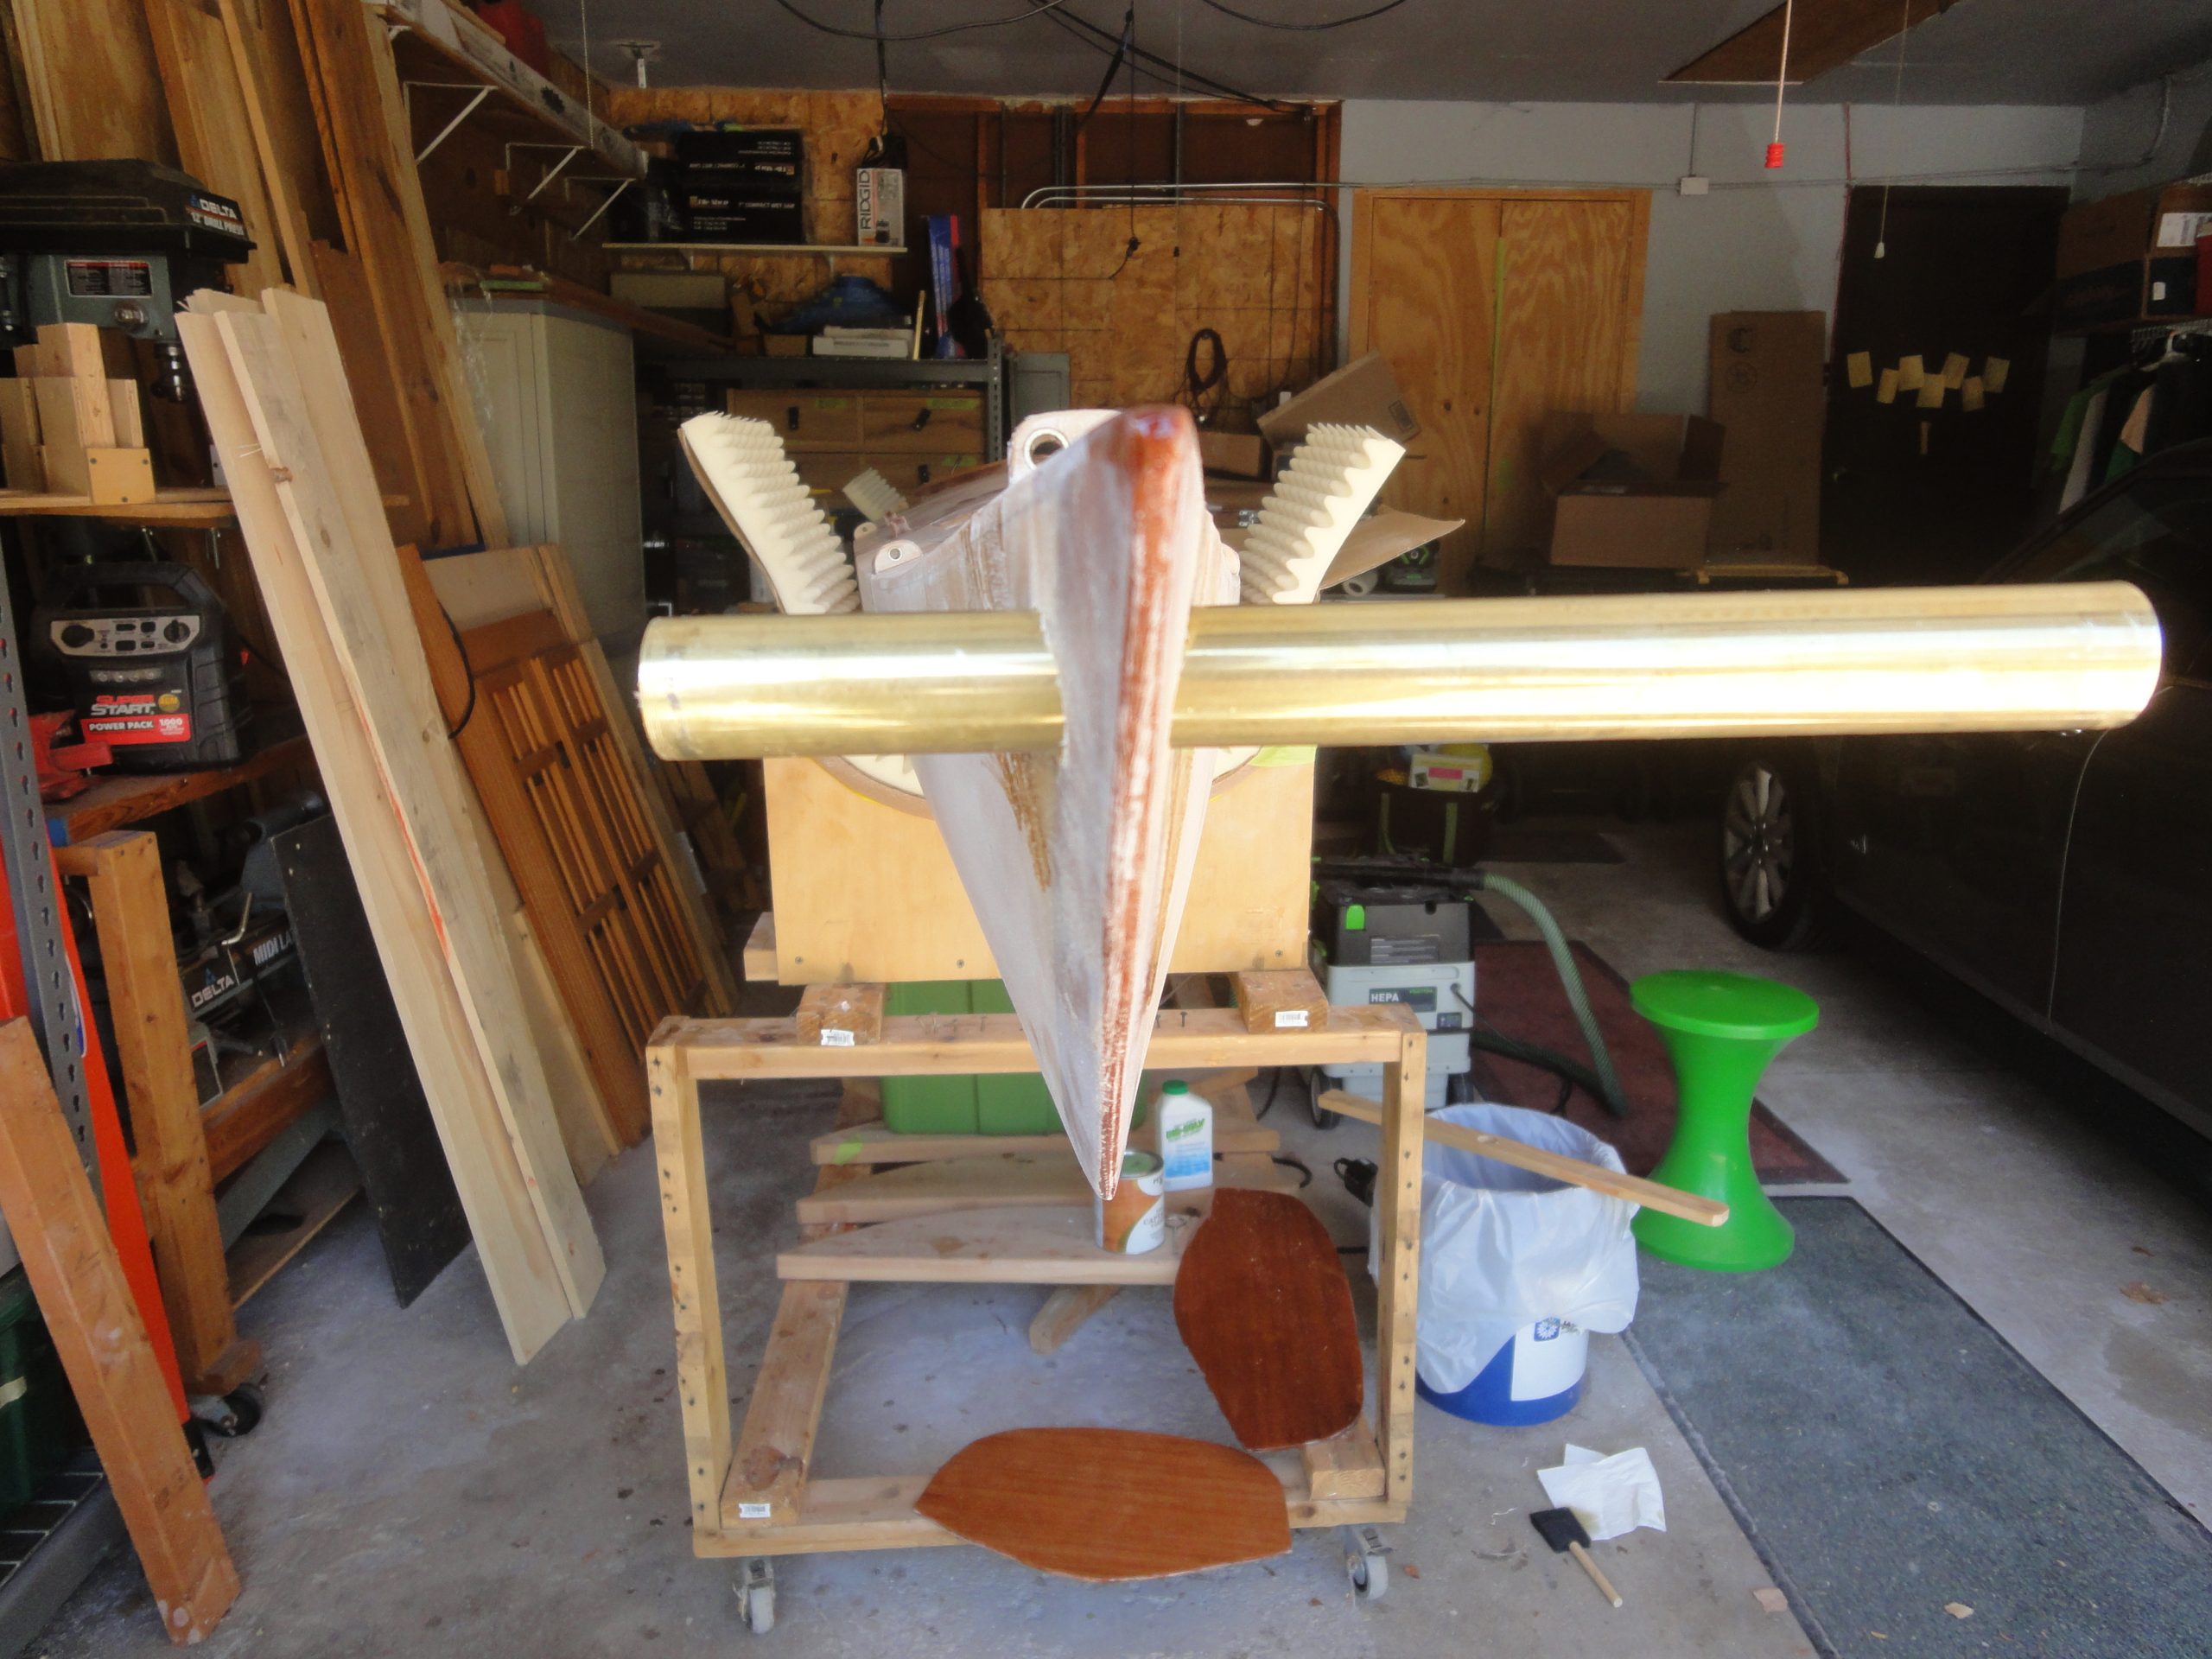
Moving on to the tie downs, I started at the rear, drilled a hole through and found air for part of the hole. So the rear will need an end pour. I went ahead and sanded the hole and then installed the 1″ brass tube that I planned to line it with. So here is one of those oops moments. It went in fine but the hole is slightly over size (even though I checked both the tube and bit with calipers and found them to be nearly identical) and some how I didn’t drill it straight. It’s much more exaggerated with the foot long bar in there. Once trimmed down and sanded to fit it won’t look as crooked, especially since it will only be seen from one side at a time. I probably could have done this better and will try differently at the front.
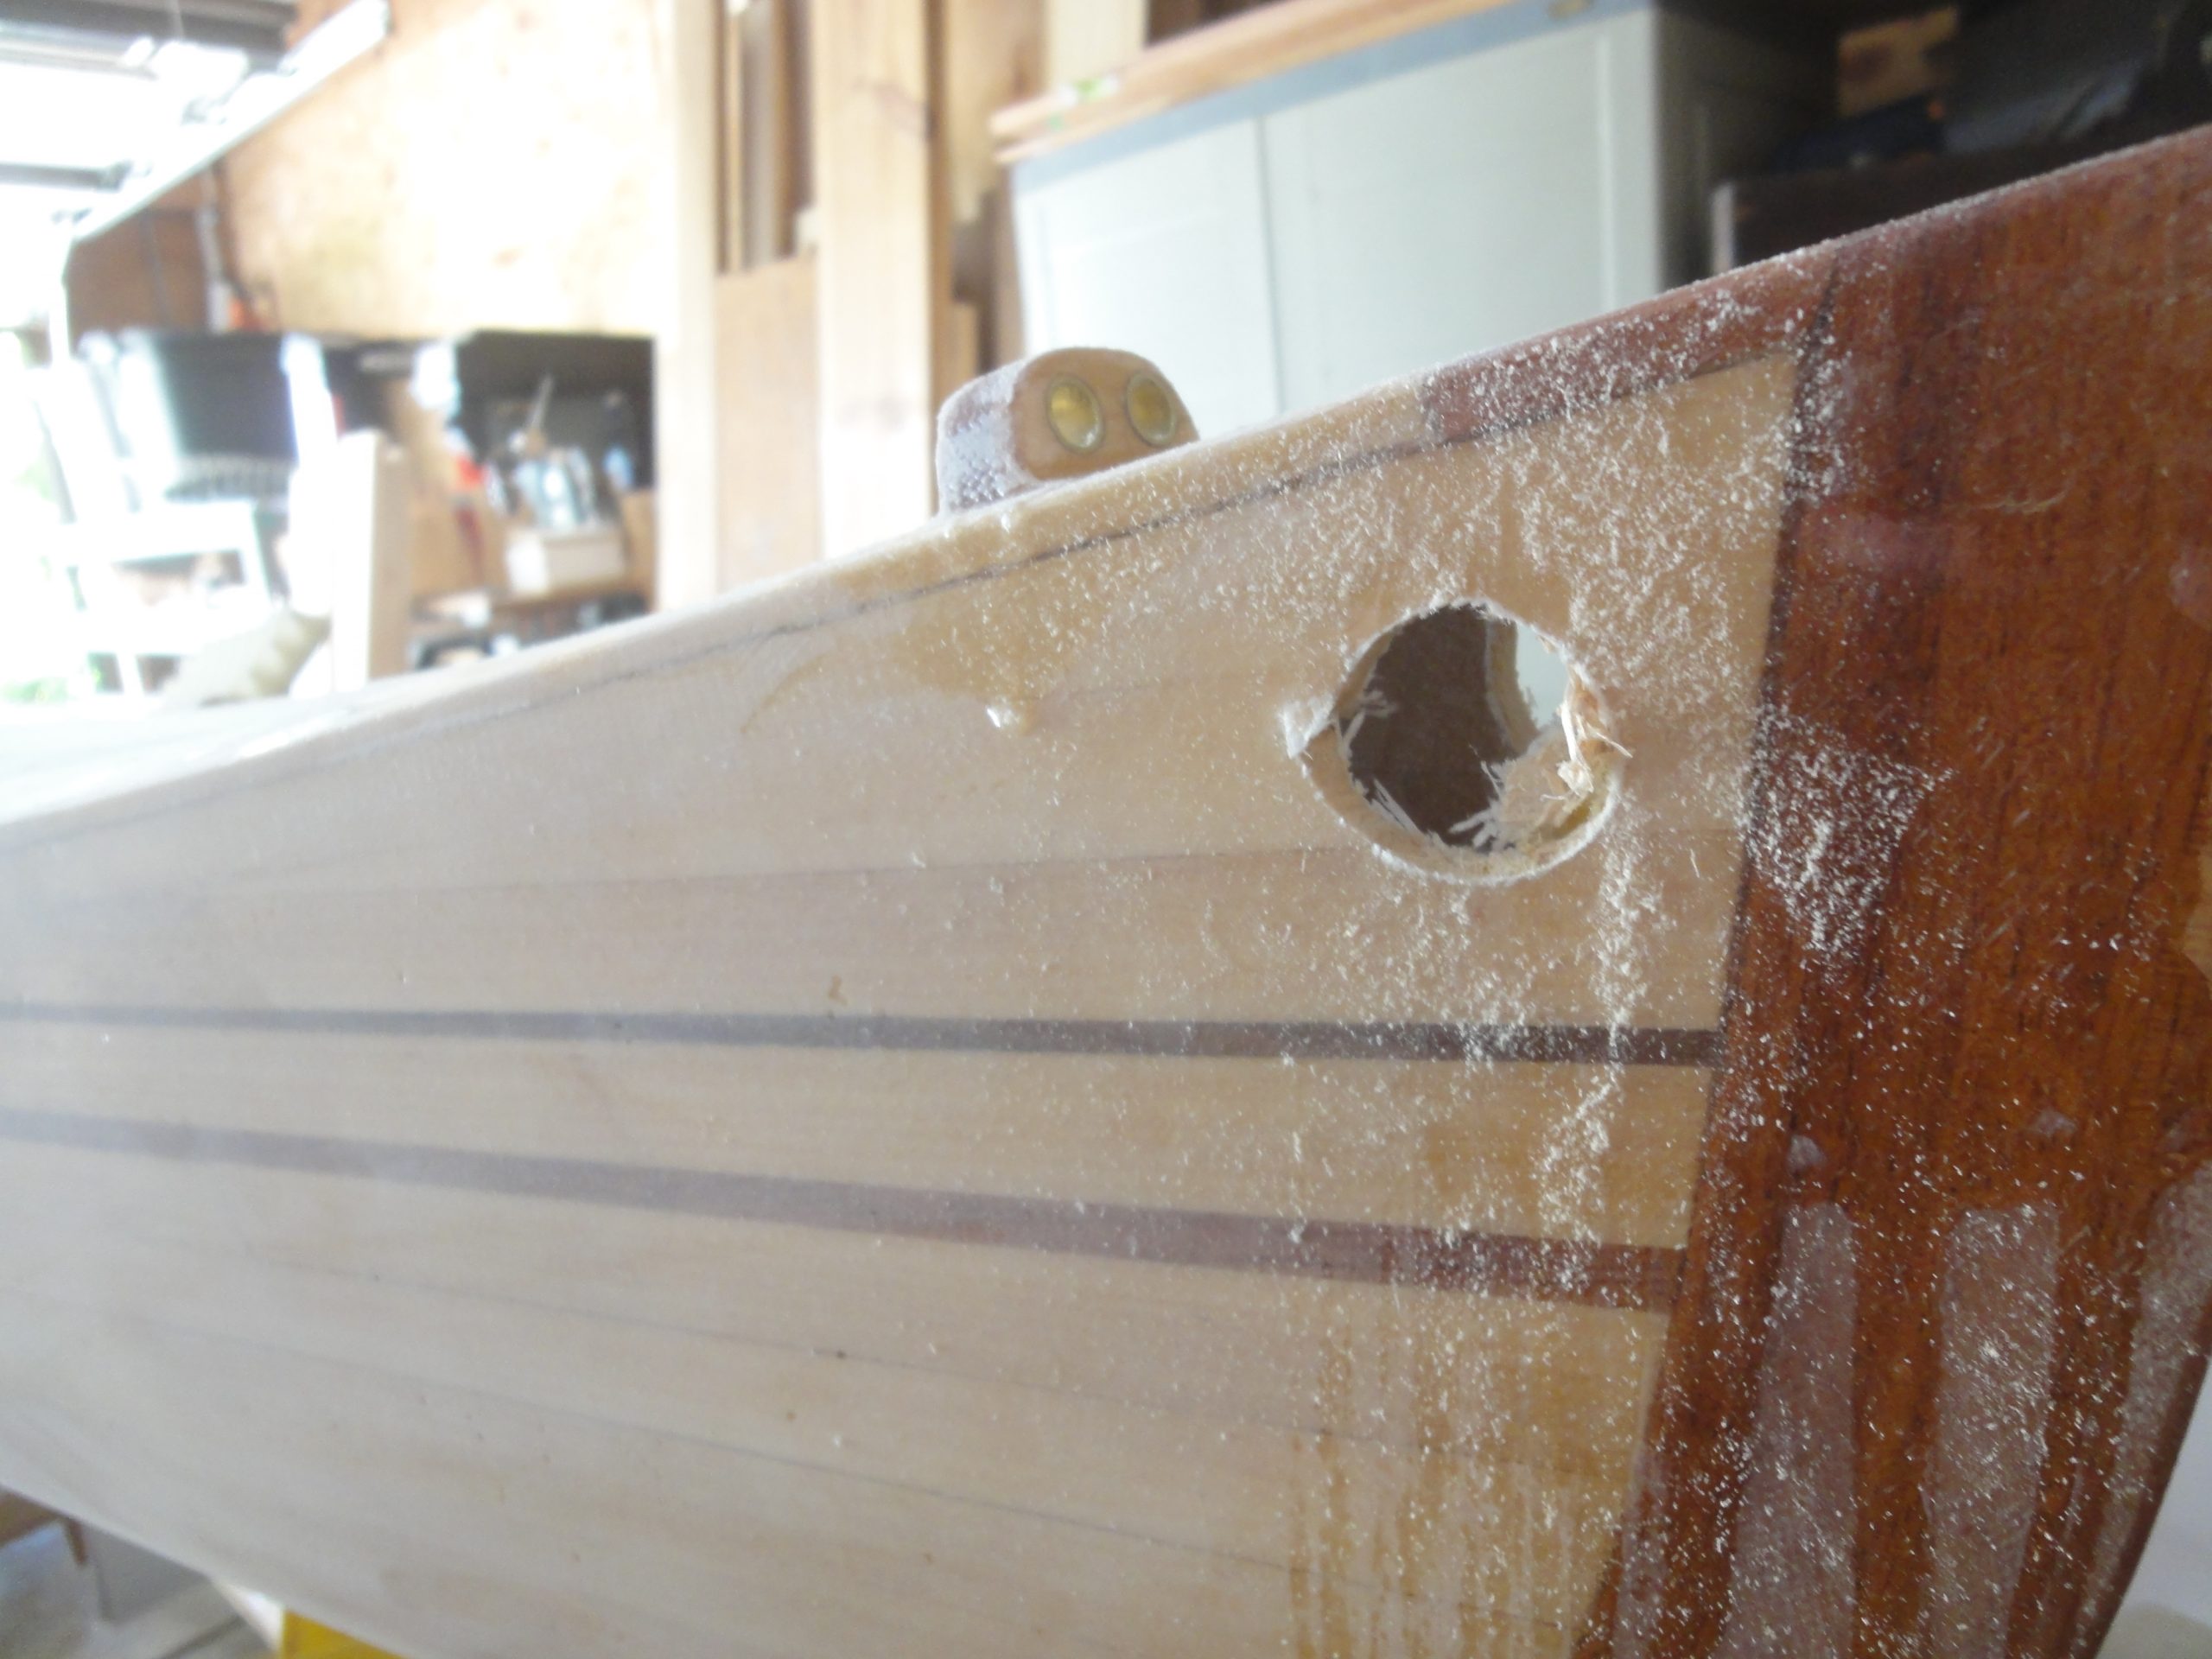
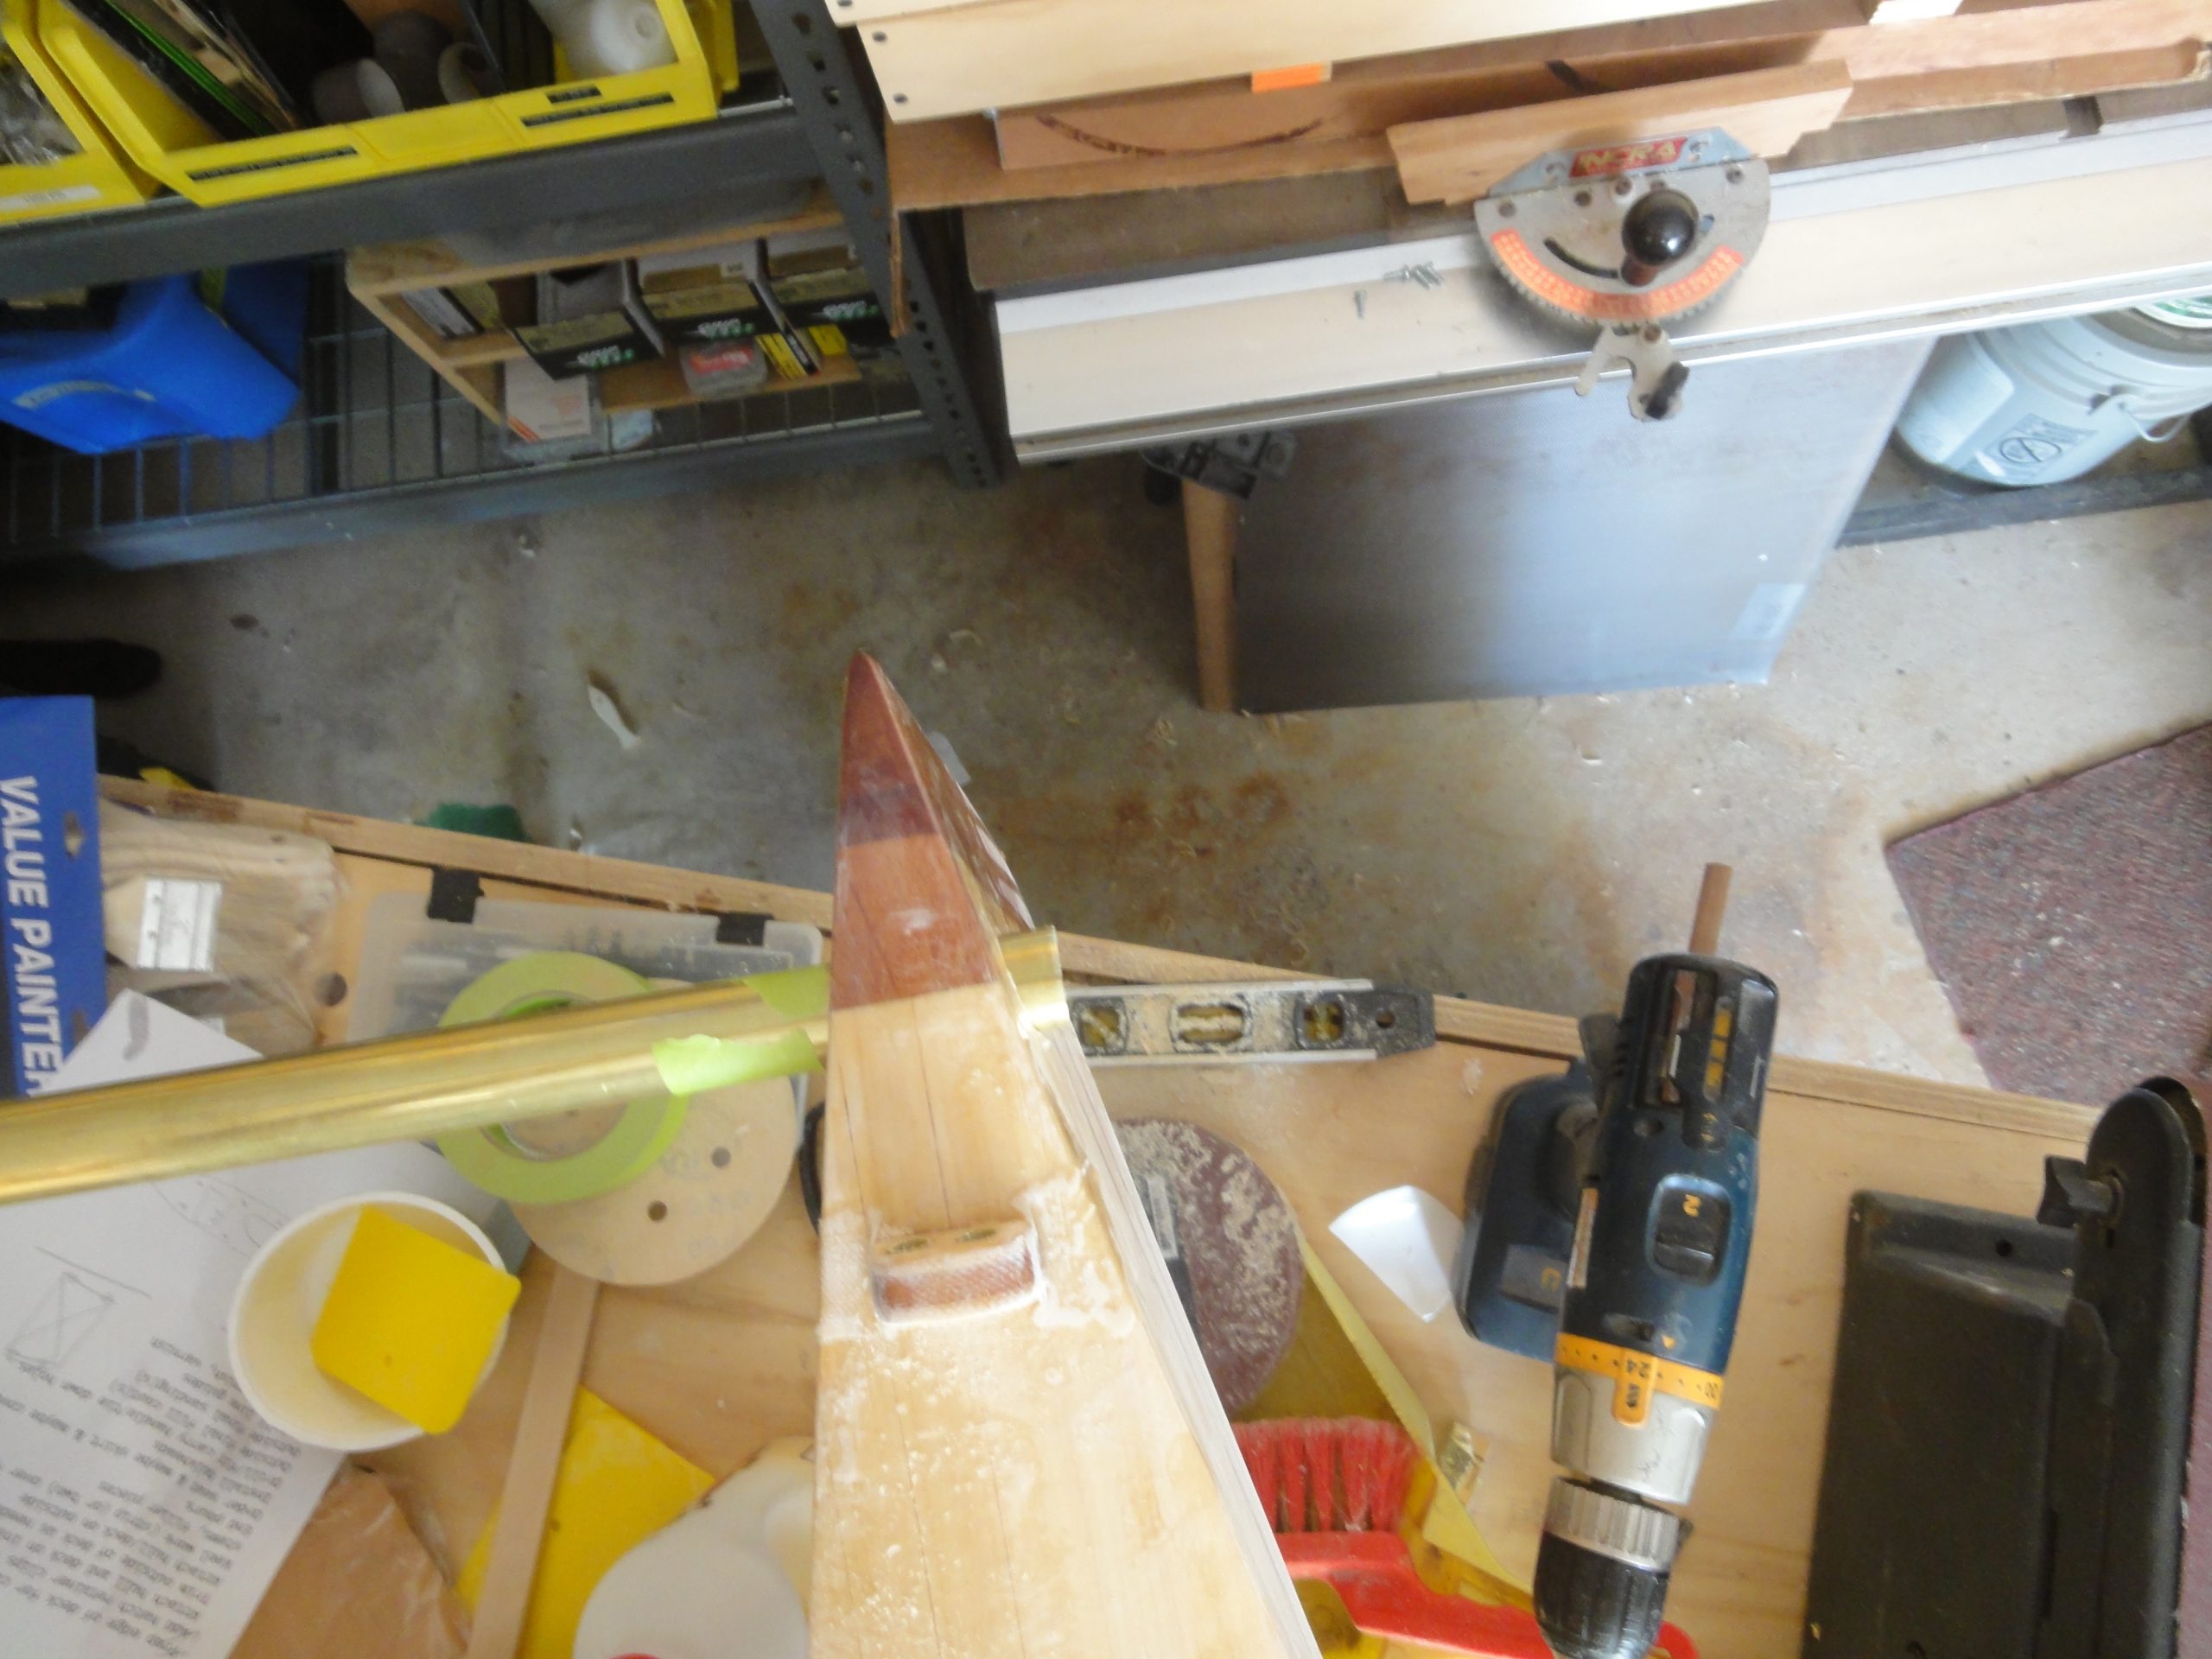
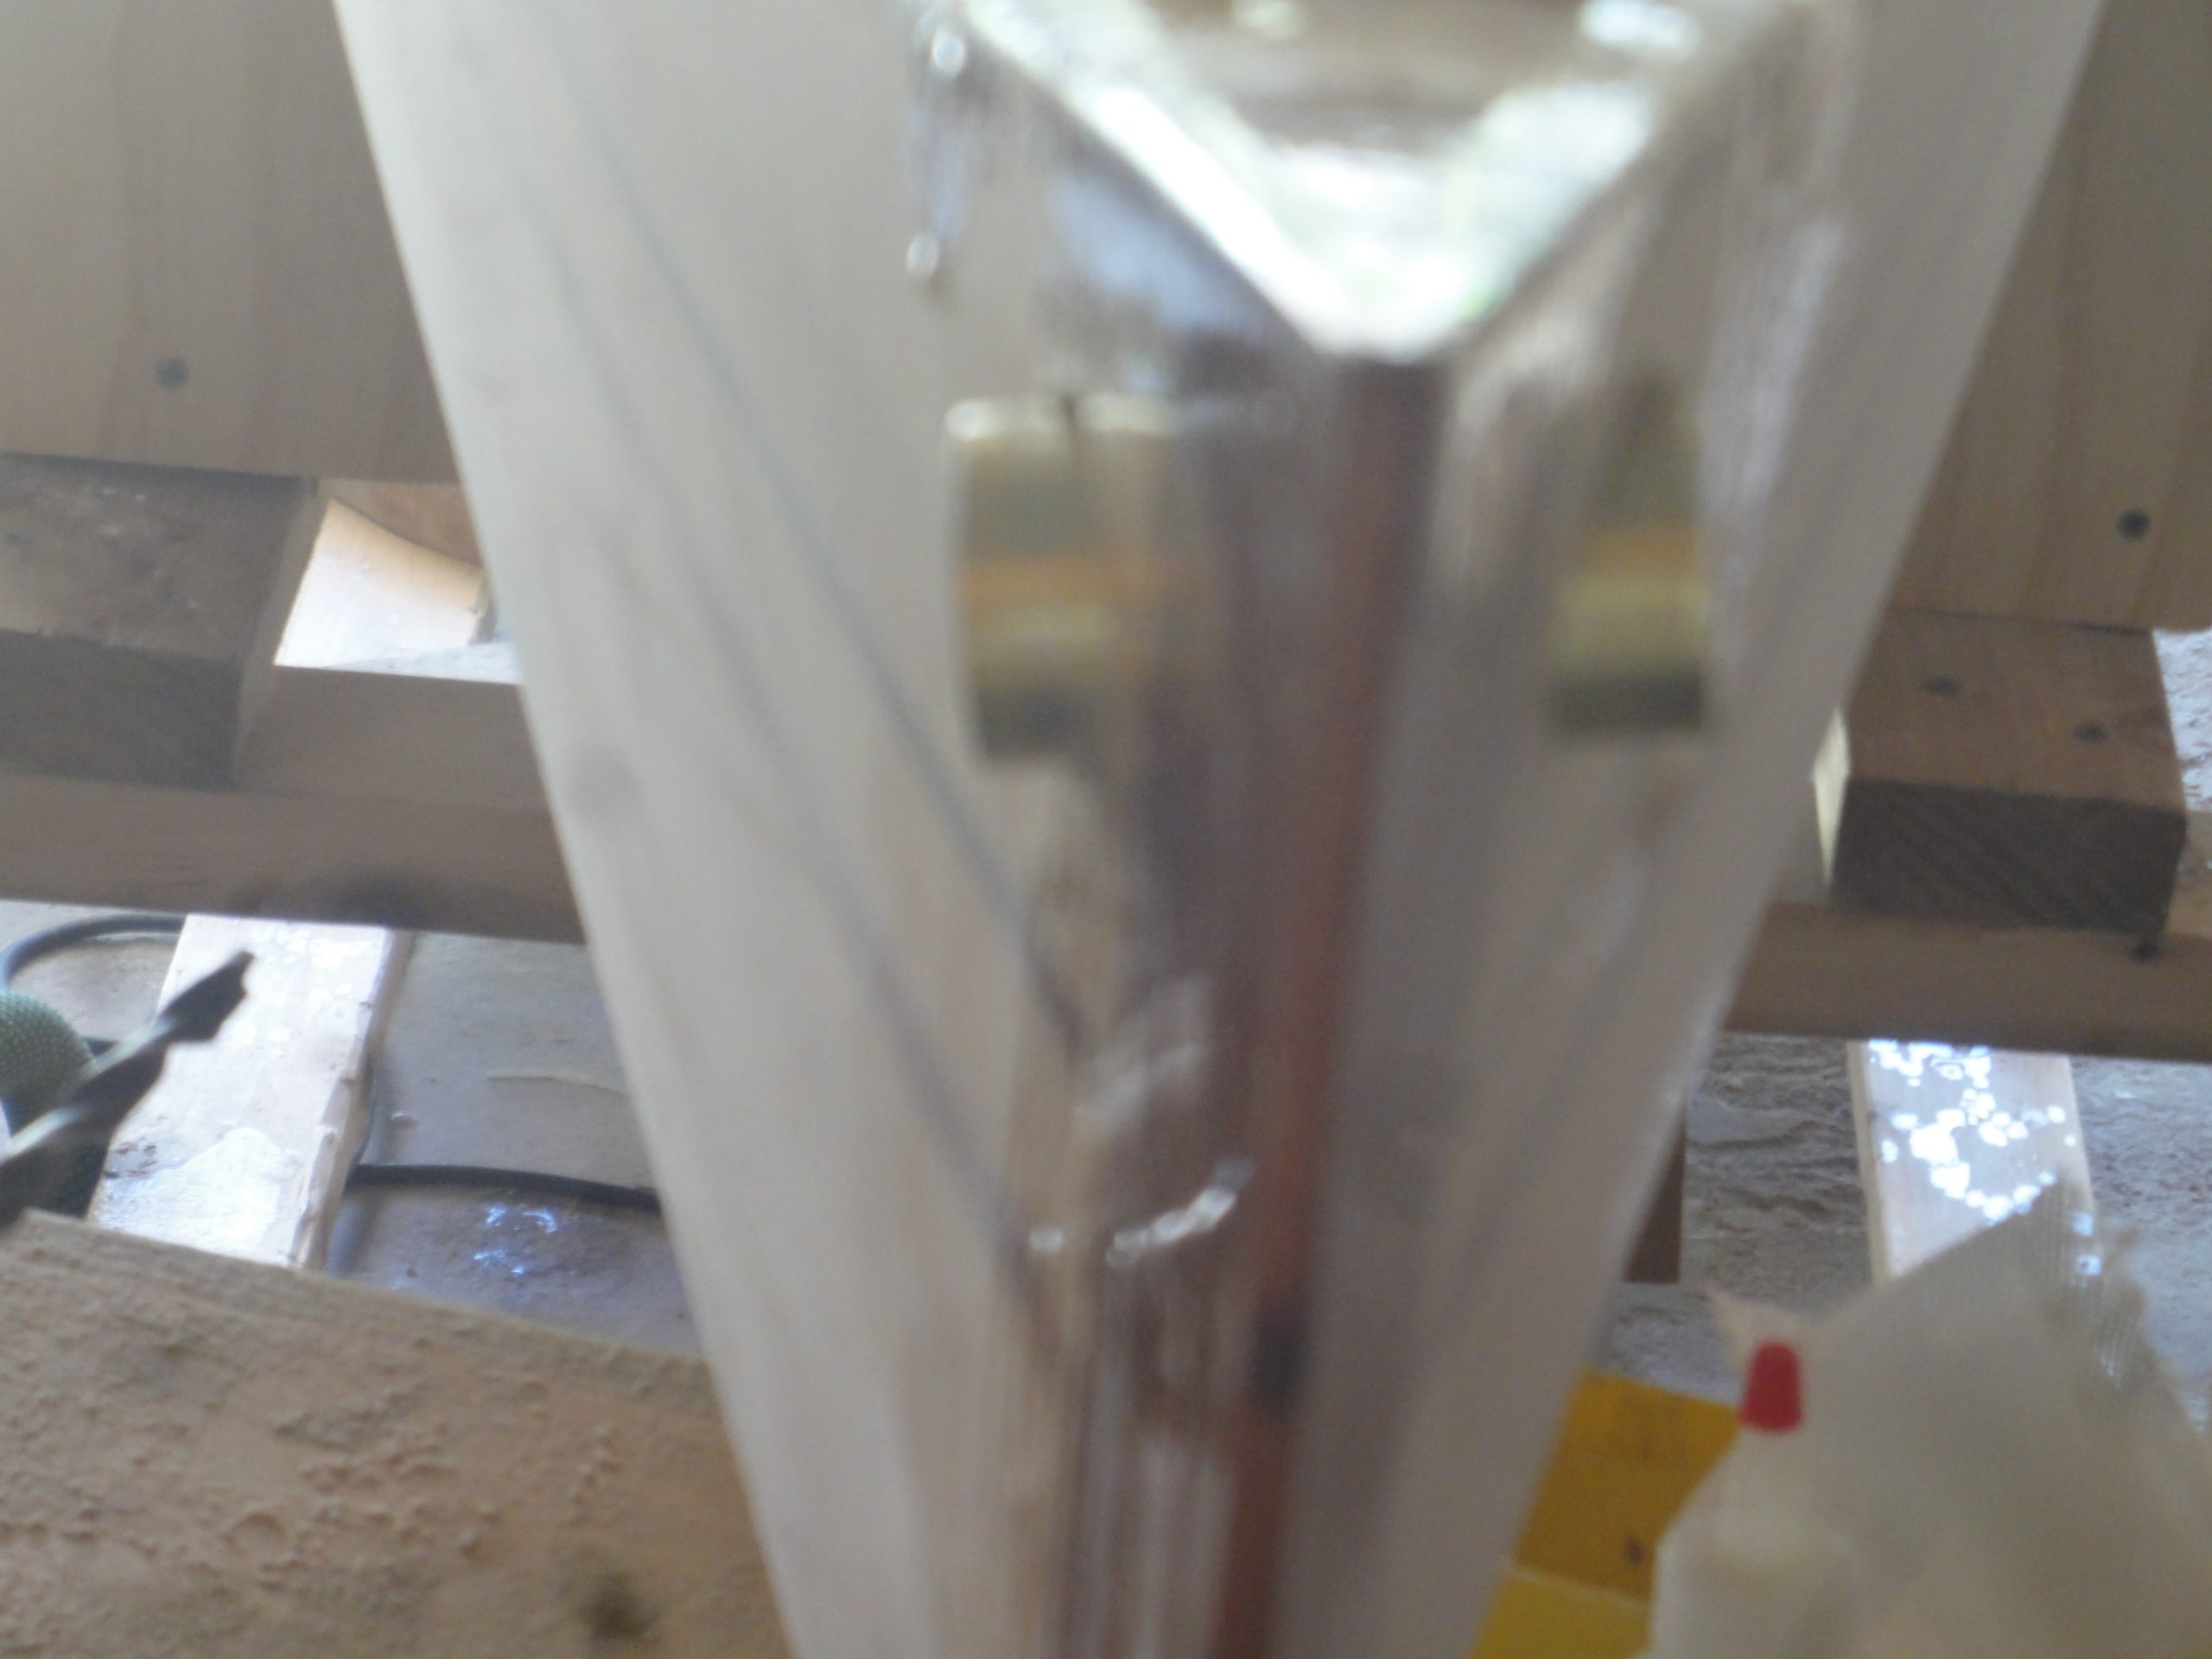
So I moved to the front and tried there. This time I did a small bit pilot hole and paid even more attention to my guide lines and the level and this time the hole was nearly perfect. But it’s a small hole. So back to the 1″ bit and an attempt to enlarge it. Going slow and constantly checking for level and of course coming in from each side to meet in the middle to avoid tear out and I think this one is much better. A piece of tape marks the point to cut the tube. Bonus, on the front I had solid wood all the way around so no need for an end pour.
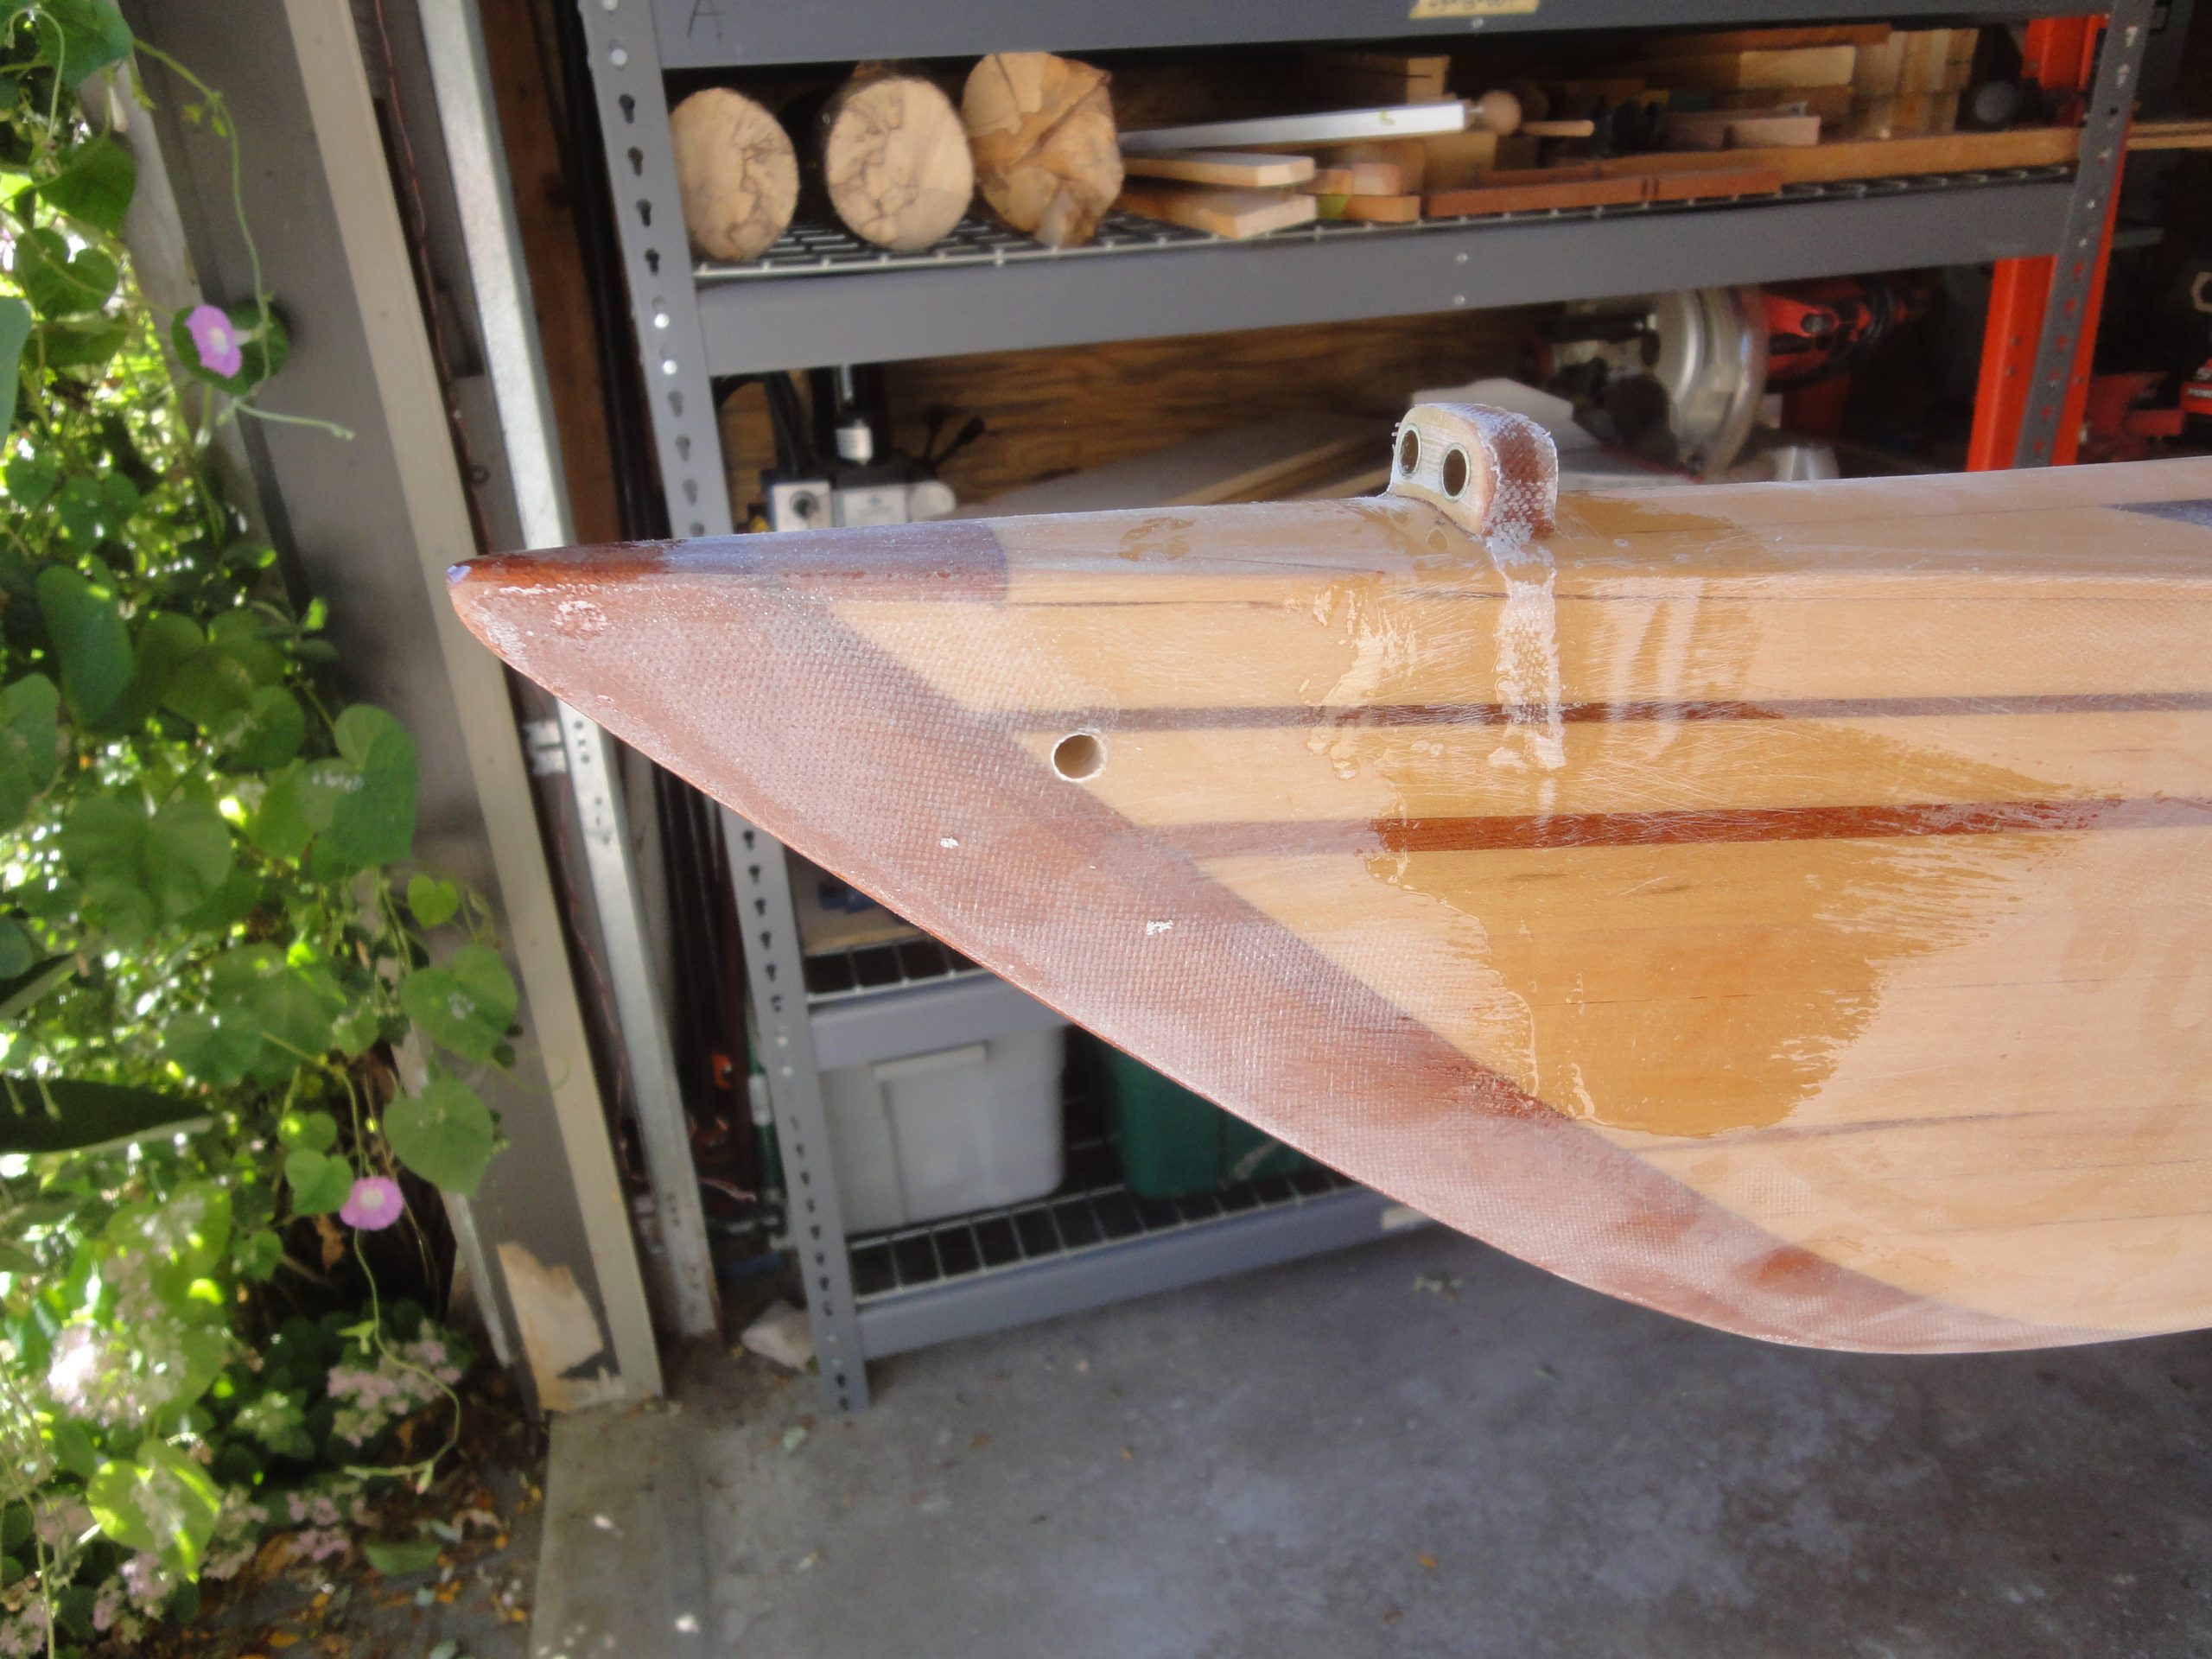


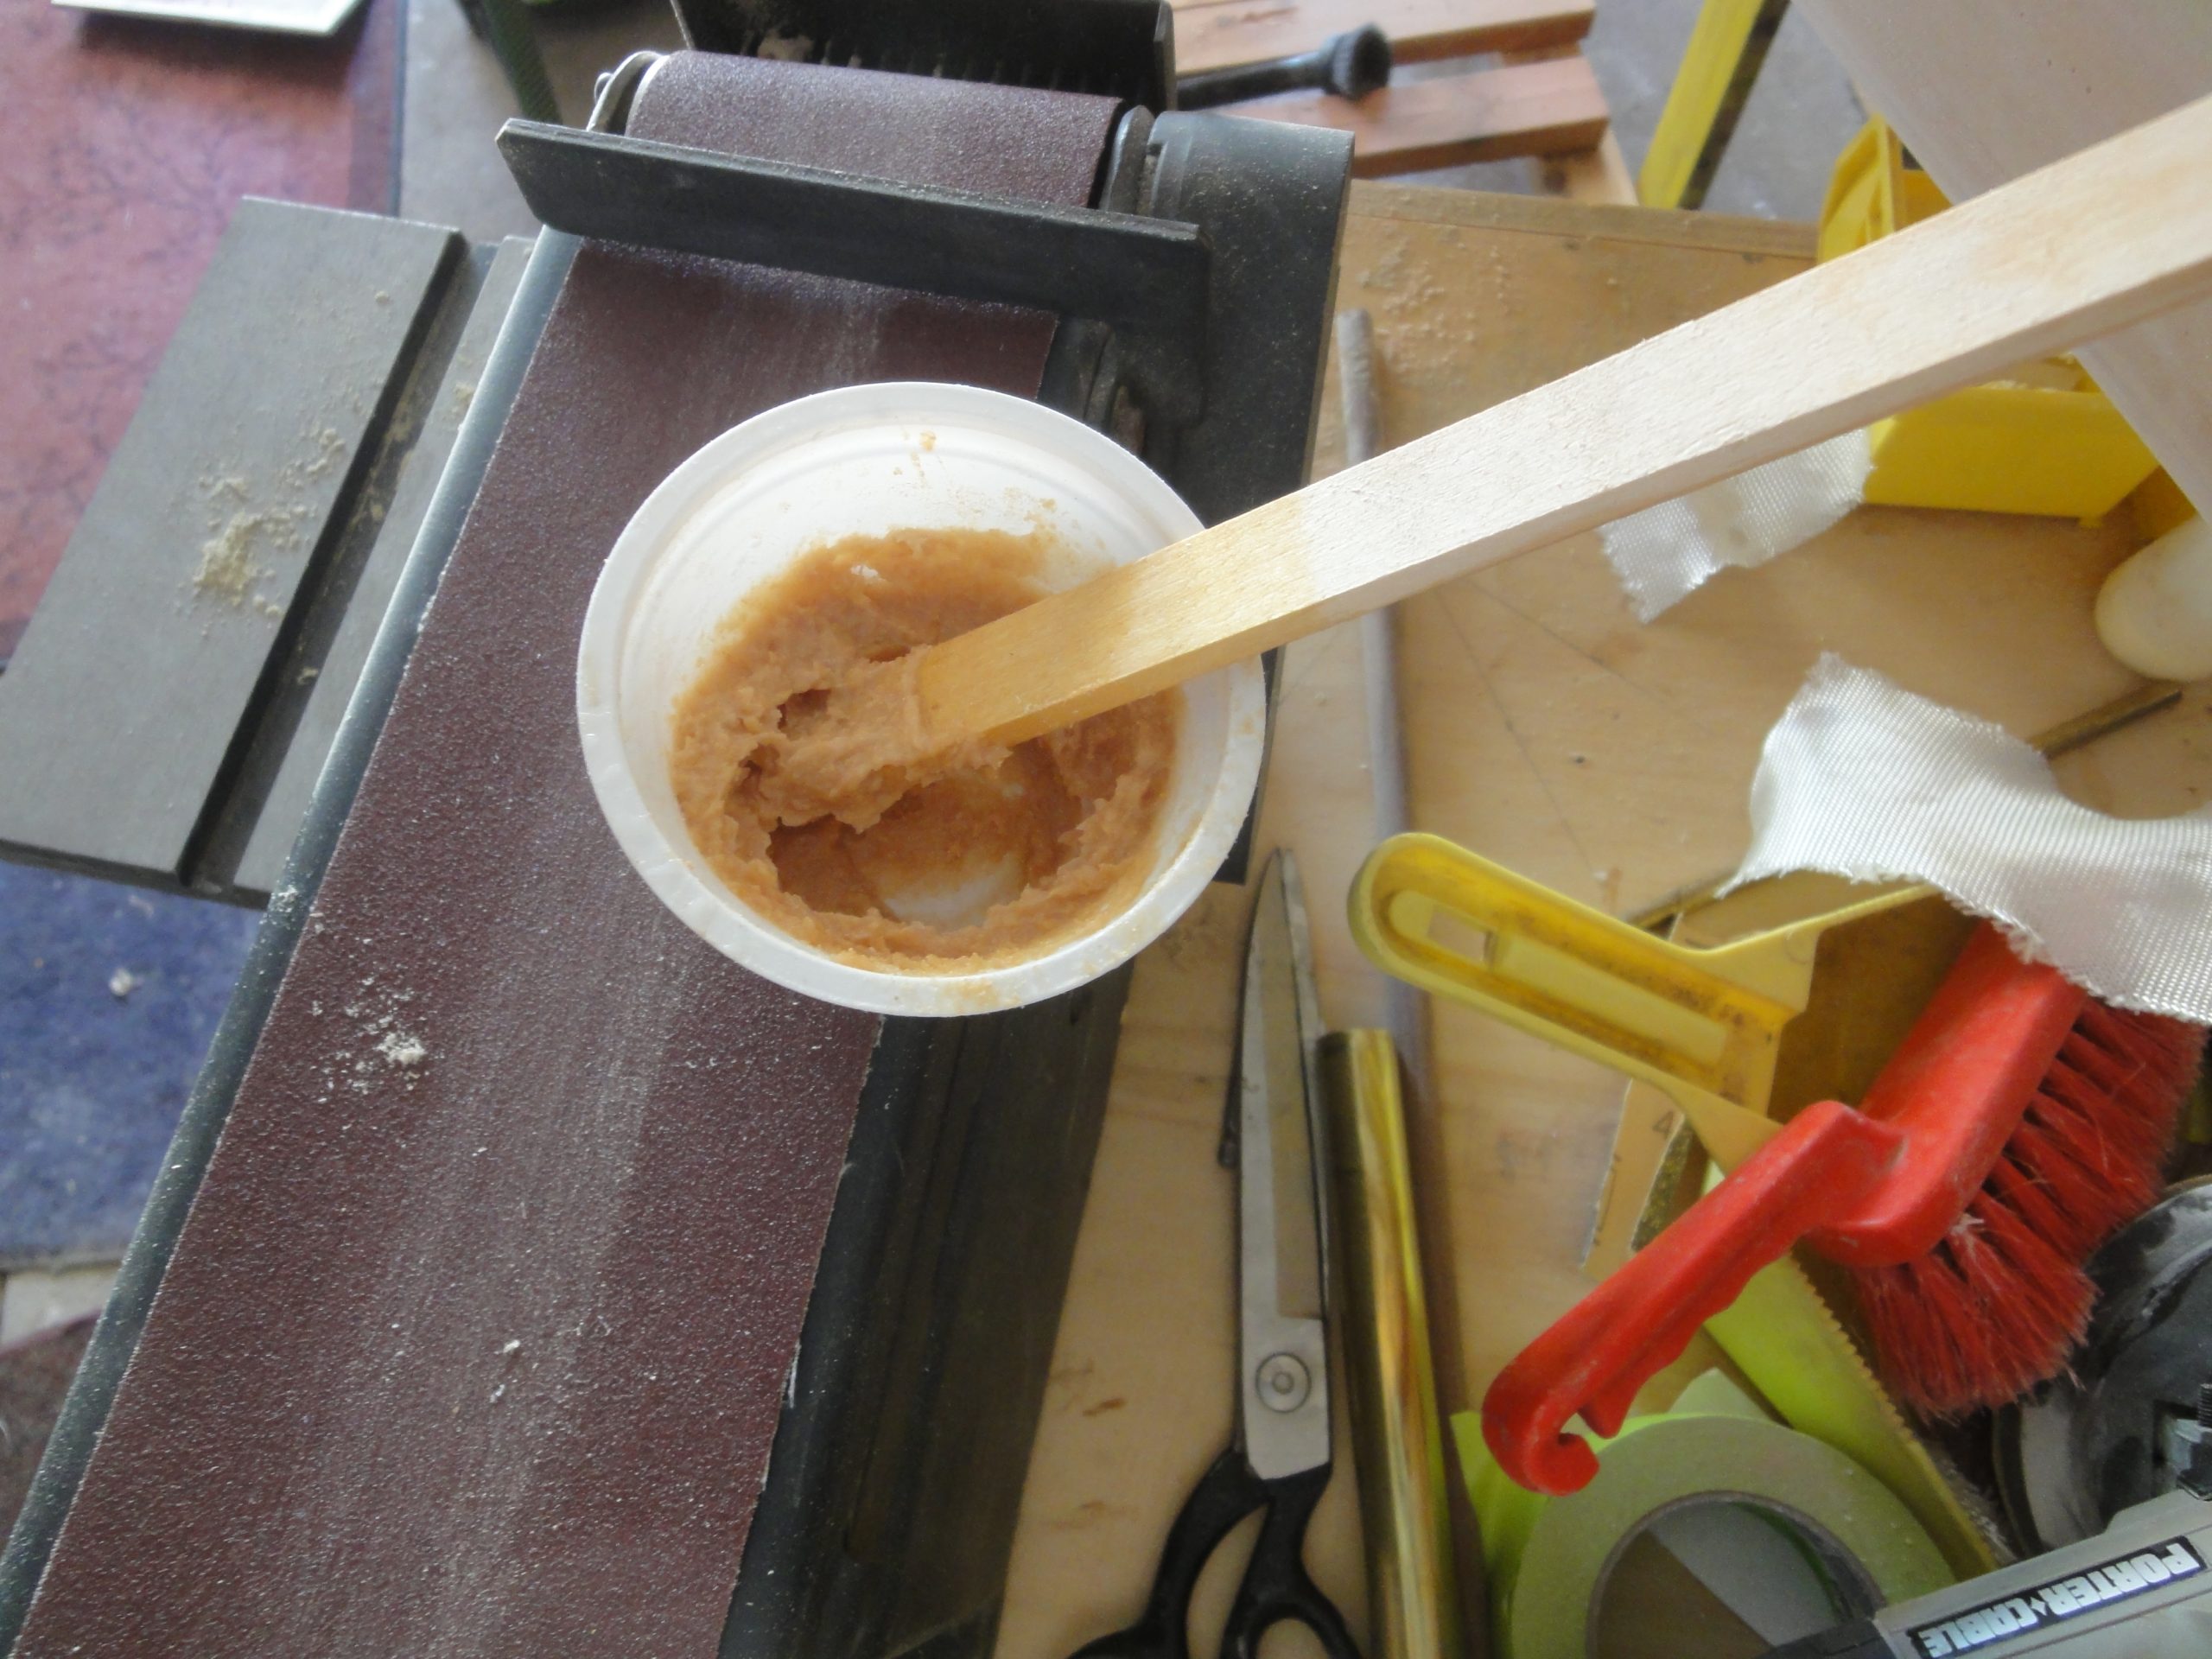
First I epoxied the tubes in place which also provided for sealing of the underlying wood, I also used this epoxy to do the fill coat on the line guides (mentioned earlier). Mixing up some more epoxy, adding adhesive filler to thicken it and then some saw dust to color it and I went ahead an used this to fill any gaps around the tubes and help further lock everything in place. Application was easy… a nitrile glove covered finger to scoop it up and push it into place.
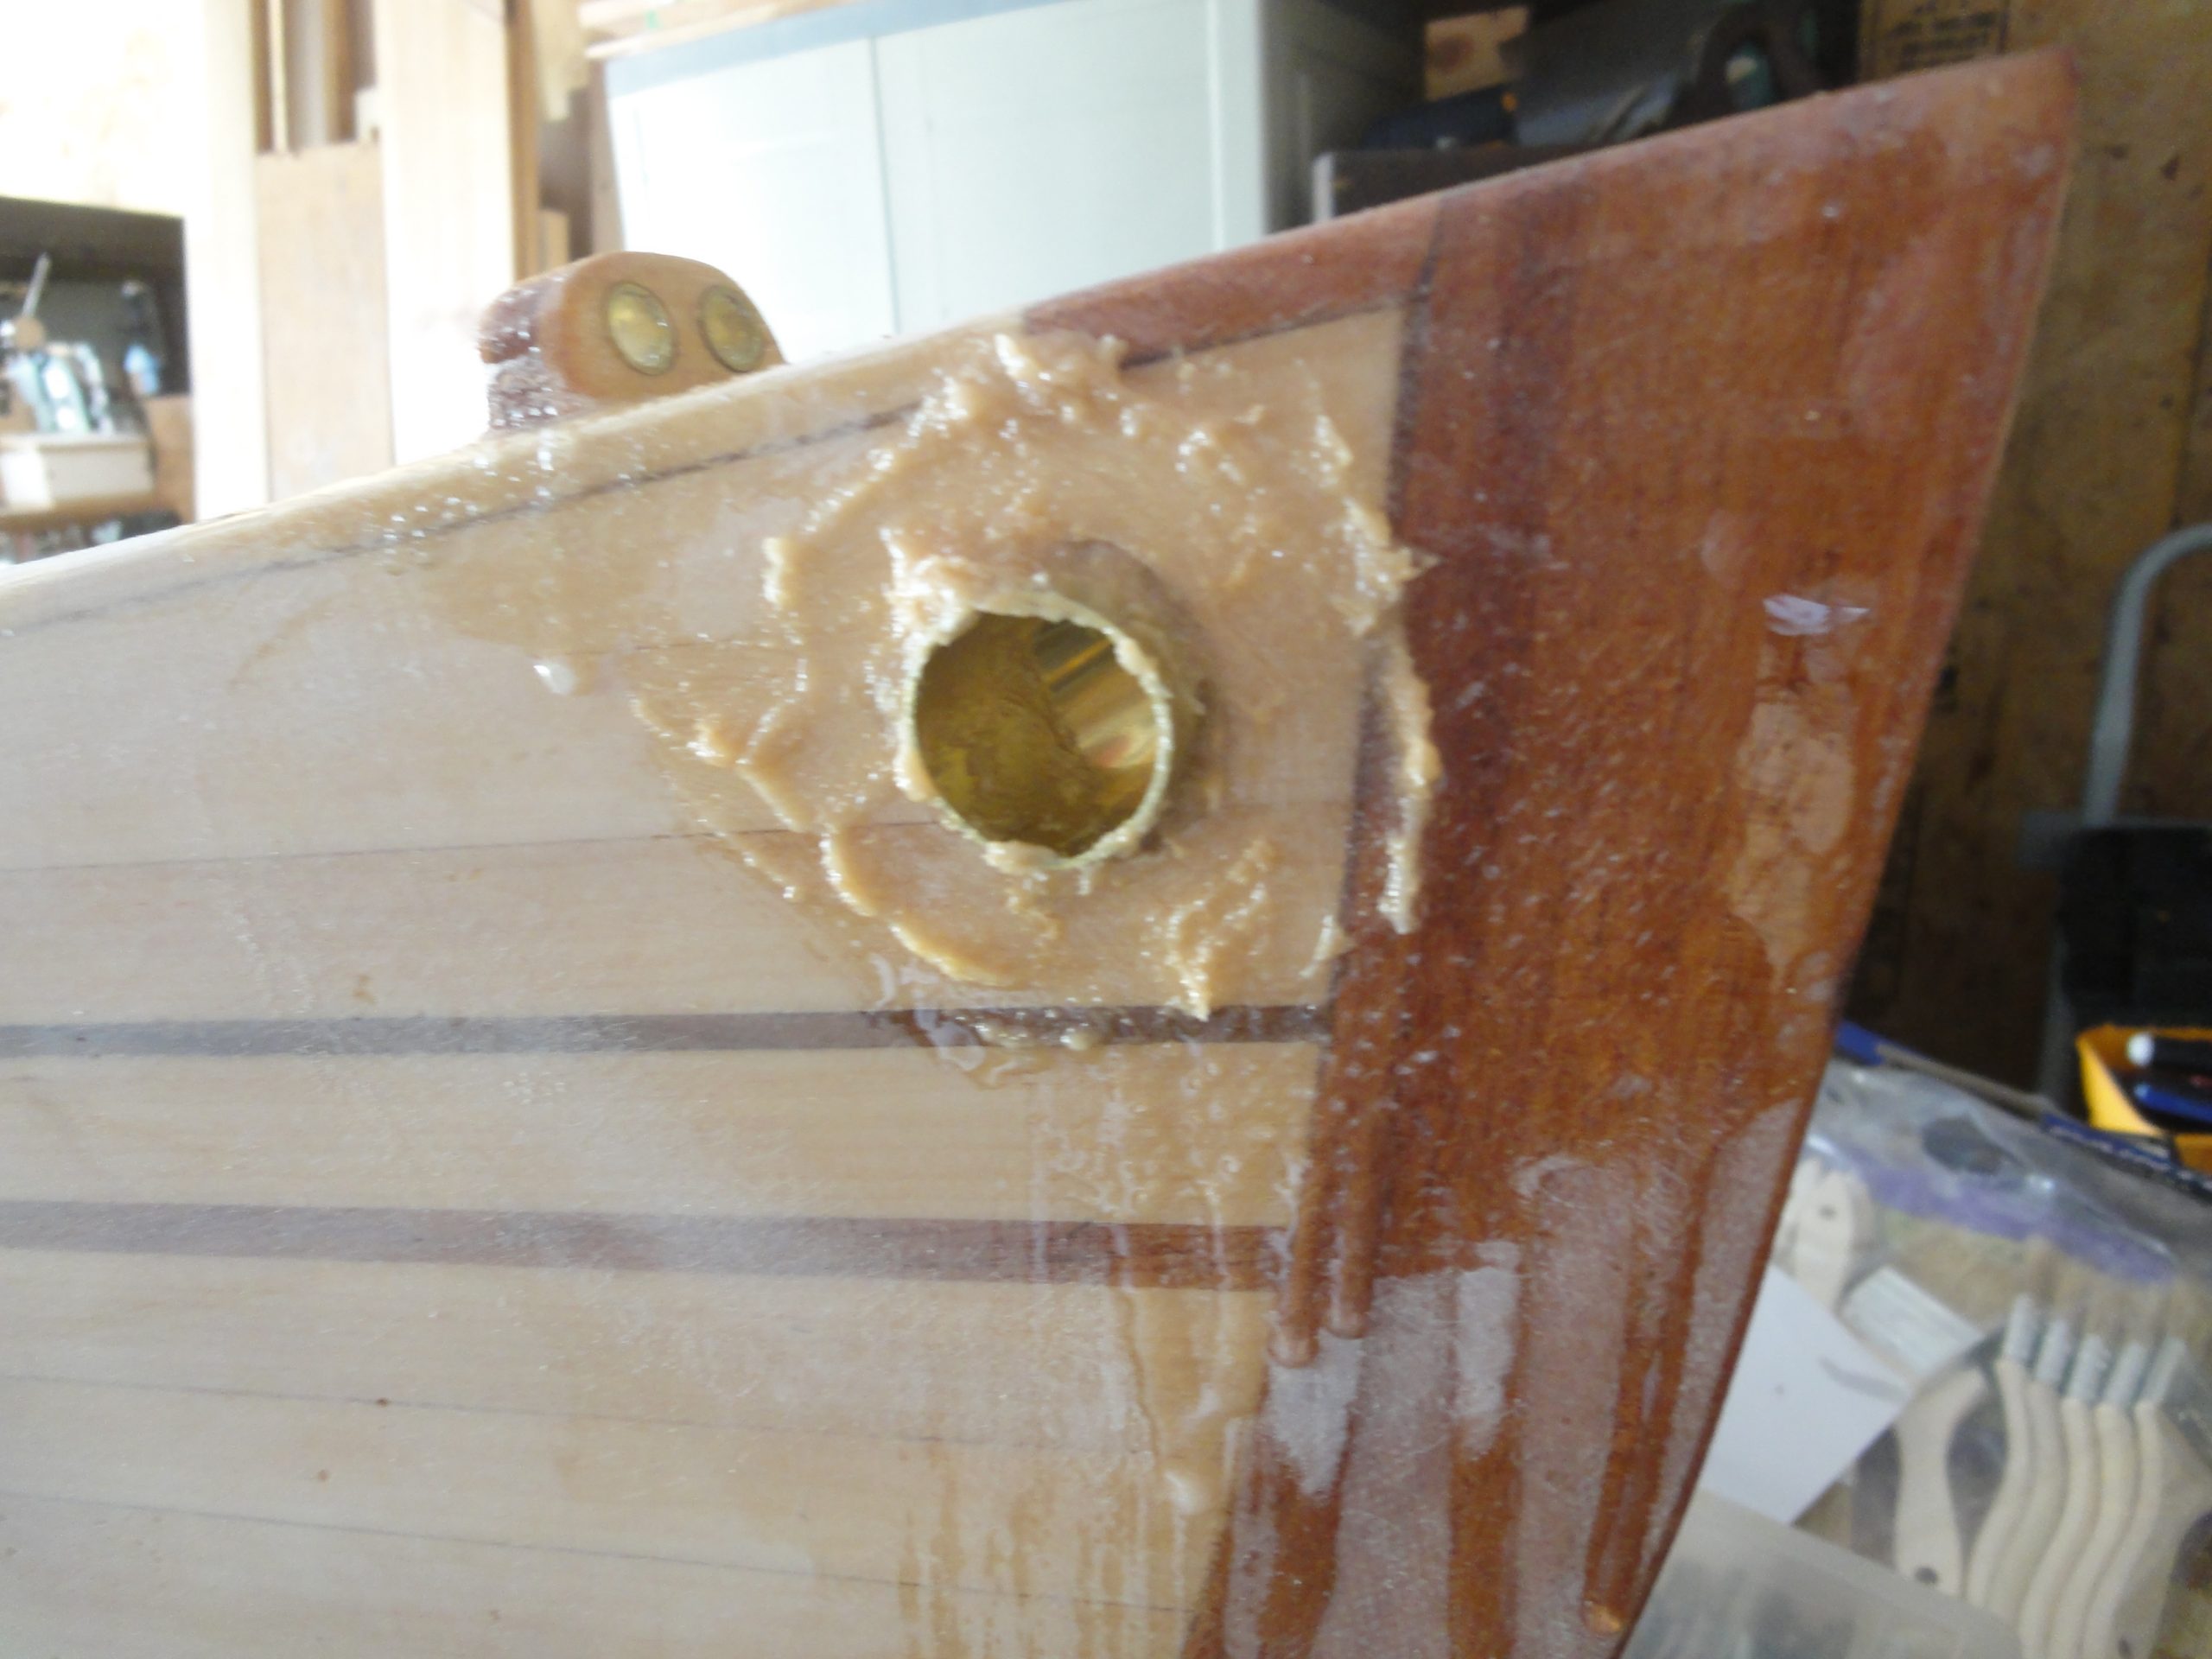
Once this all dries I’ll file/sand down the tubes to be flush with the hull.
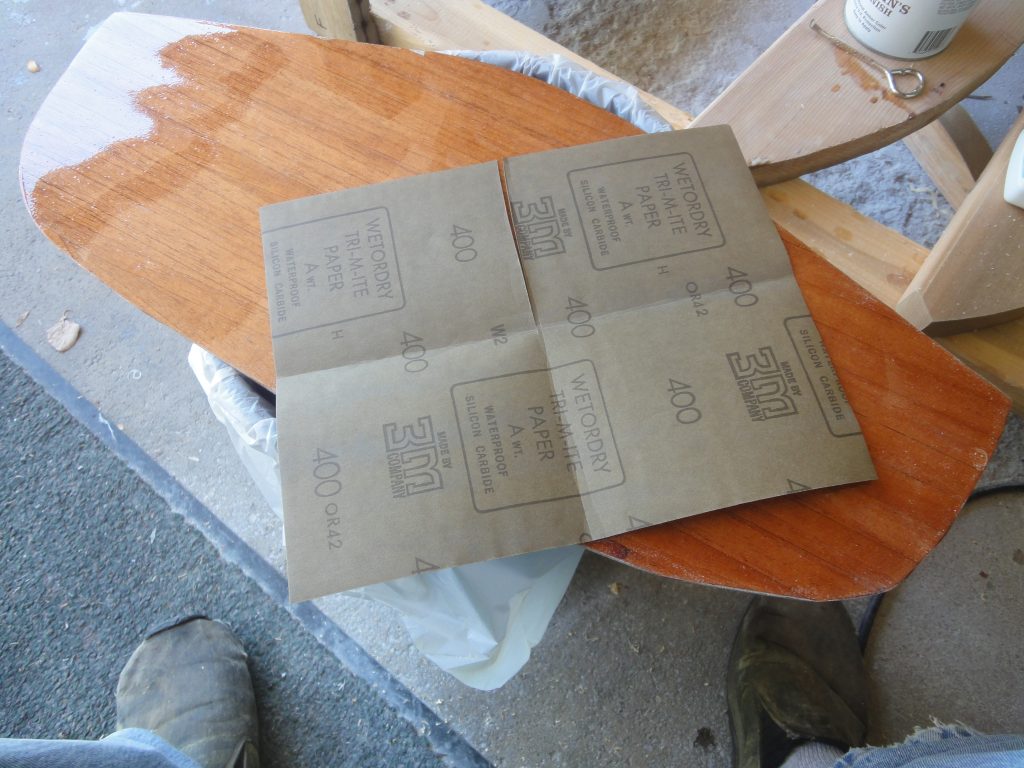
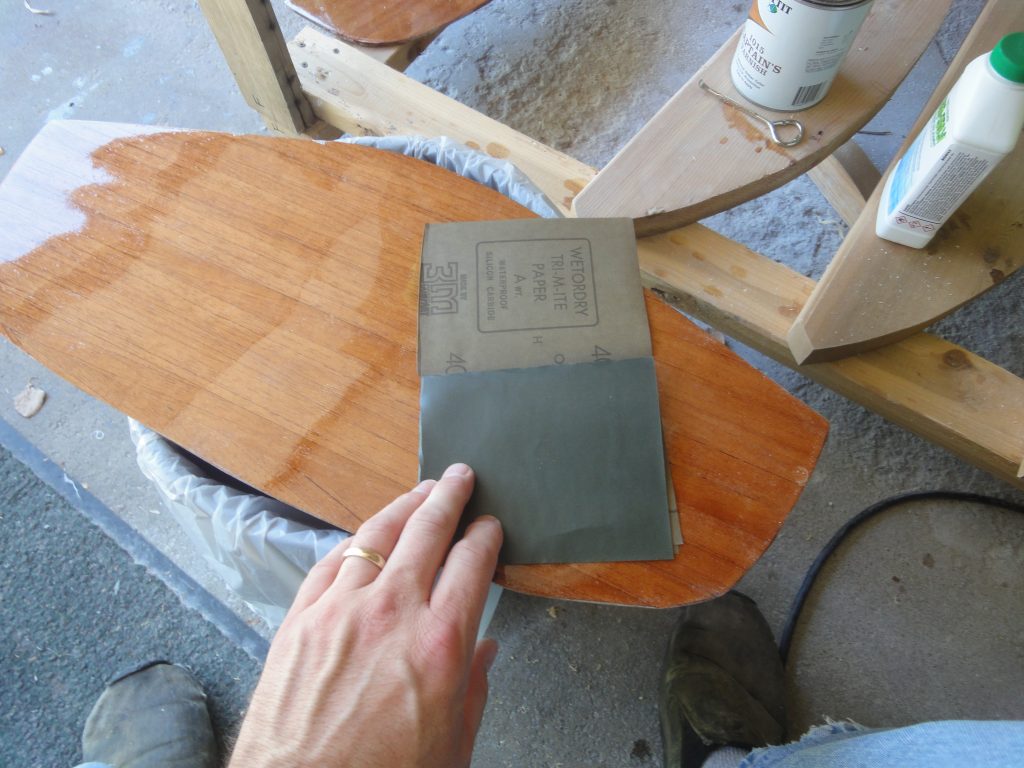
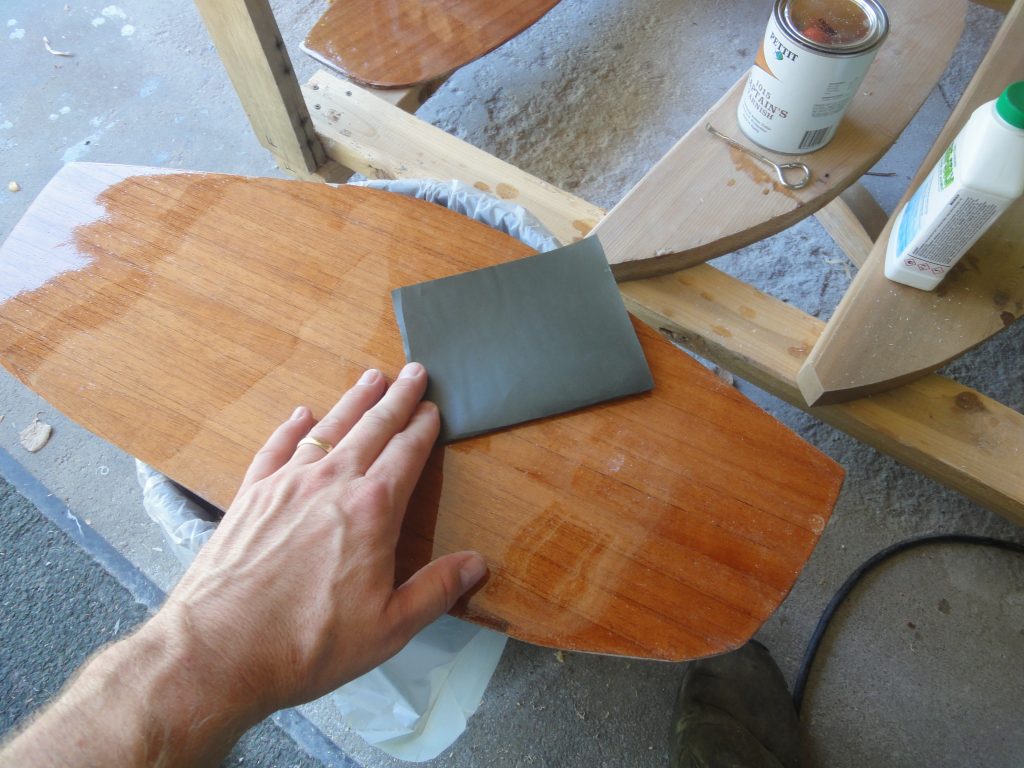
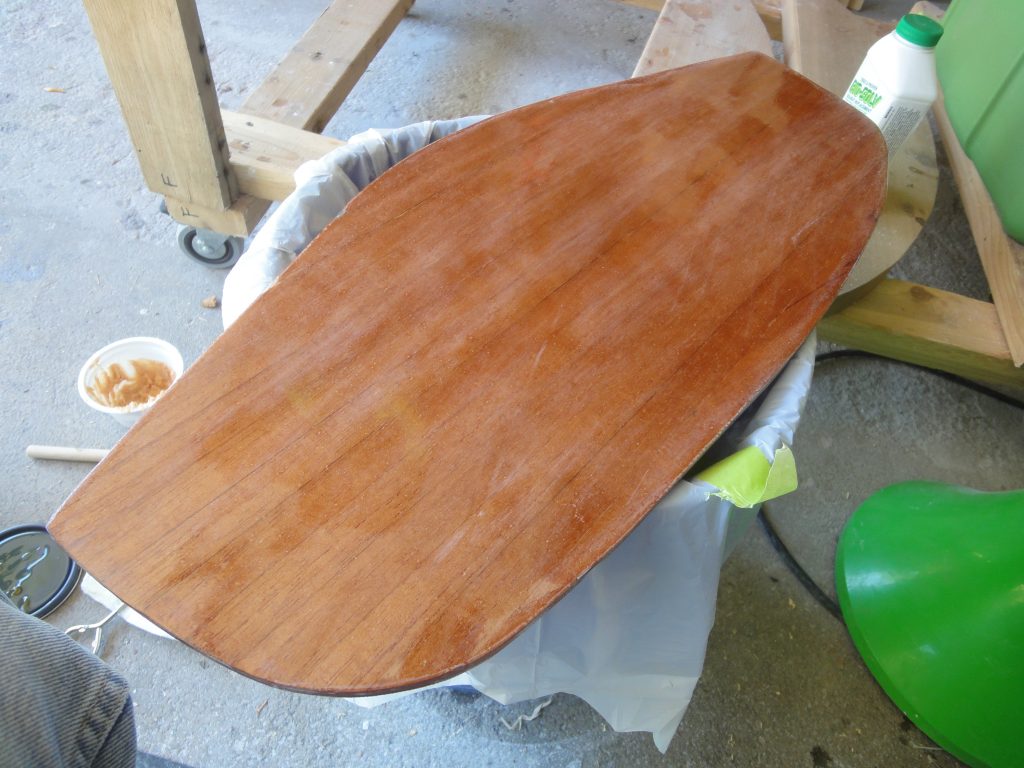
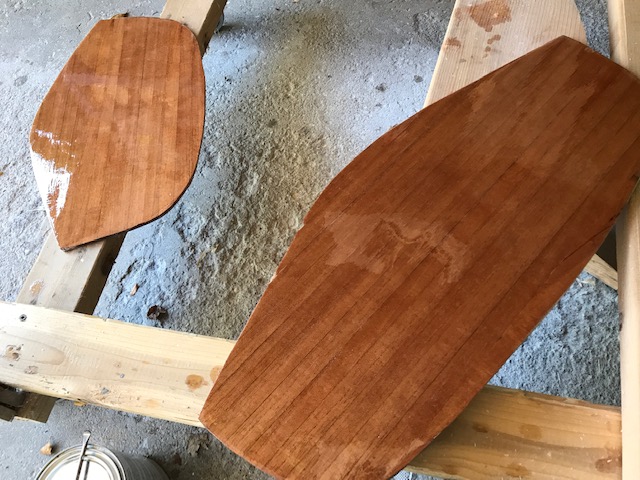
With little else to work on due to the epoxy drying I turned to the bulkheads. The first coat of varnish still had that wet look, although it was dry. Just minor surface contaminates (dust, etc.) was found. I used 400 grit sand paper to give it a quick once over and remove those. The paper was folded, unfolded, cut half way through, then refolded so that the grit side never touches another grit side. Makes for an easy to use size with three more surfaces I can expose by just refolding it. After a quick sanding the feel was back to smooth so I applied another coat. Checking some resources (Nick’s Petrel Play video, episode 18, for one) and I was aiming for 4 coats but three may be sufficient, especially for these internal surfaces. I’ll see how it comes out after coat 3 before deciding.

- Drill/fit carry handle/tie down holes – Done, epoxy and glass still needed.
- End pours – only in the rear
- Line guide fill coat(s) and sanding – in progress. One done, will evaluate if another is needed once dried.
- Install bulkheads
- Hatch – final fitting
- Varnish, varnish, varnish
Next time will be sanding, fill coat evaluation and fiberglassing of the tie down holes. Probably the rear end pour too. If the line guides fill coat is sufficient I can move to final sanding on these, otherwise I’ll need to do one more fill coat on them. I need to get a finish on the other side of the bulkheads so I can then install them. The varnish is such that I can easily do a coat a day so by mid to late week I should have both sides completed.