
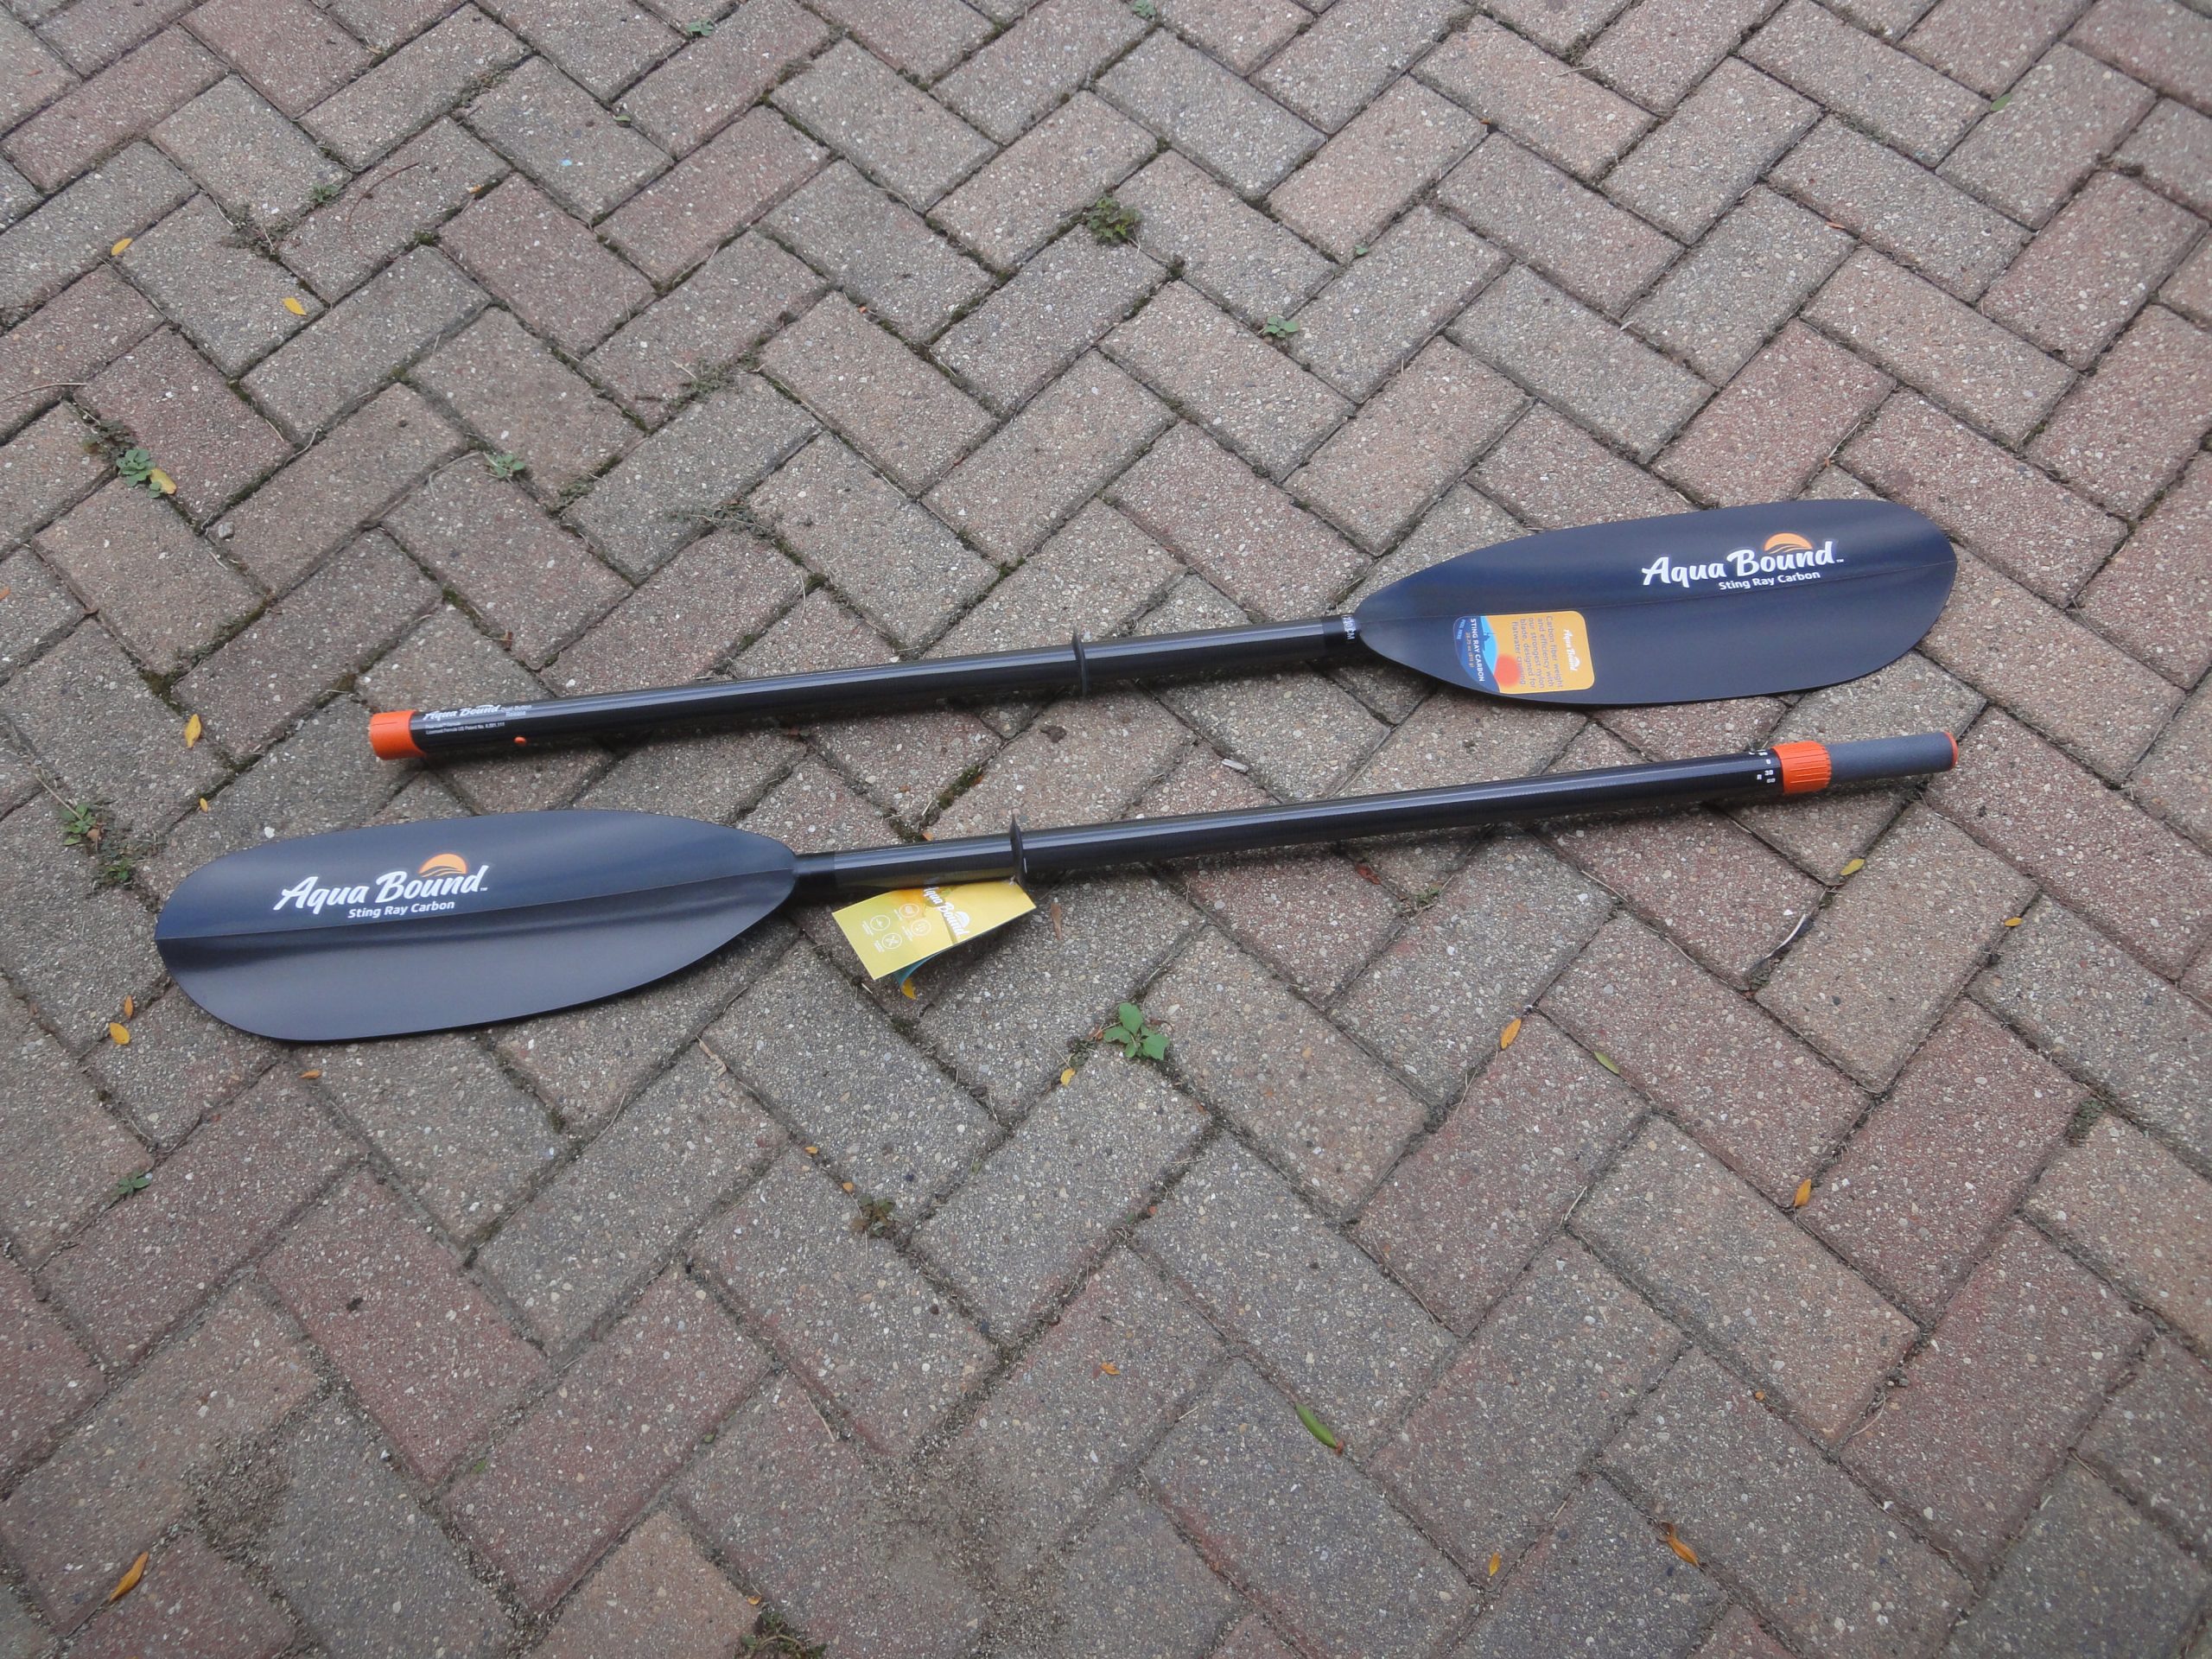
In the last few days both my paddle (main one for now, later it will become the backup/spare when I make one) and the seat arrived. I’m very happy with both choices. The paddle was ordered from REI after researching a whole range of different brands, styles, usage, sites to buy from, etc. Not a top of the line paddle but also not a basic one either. I figure it’s a good option for now.
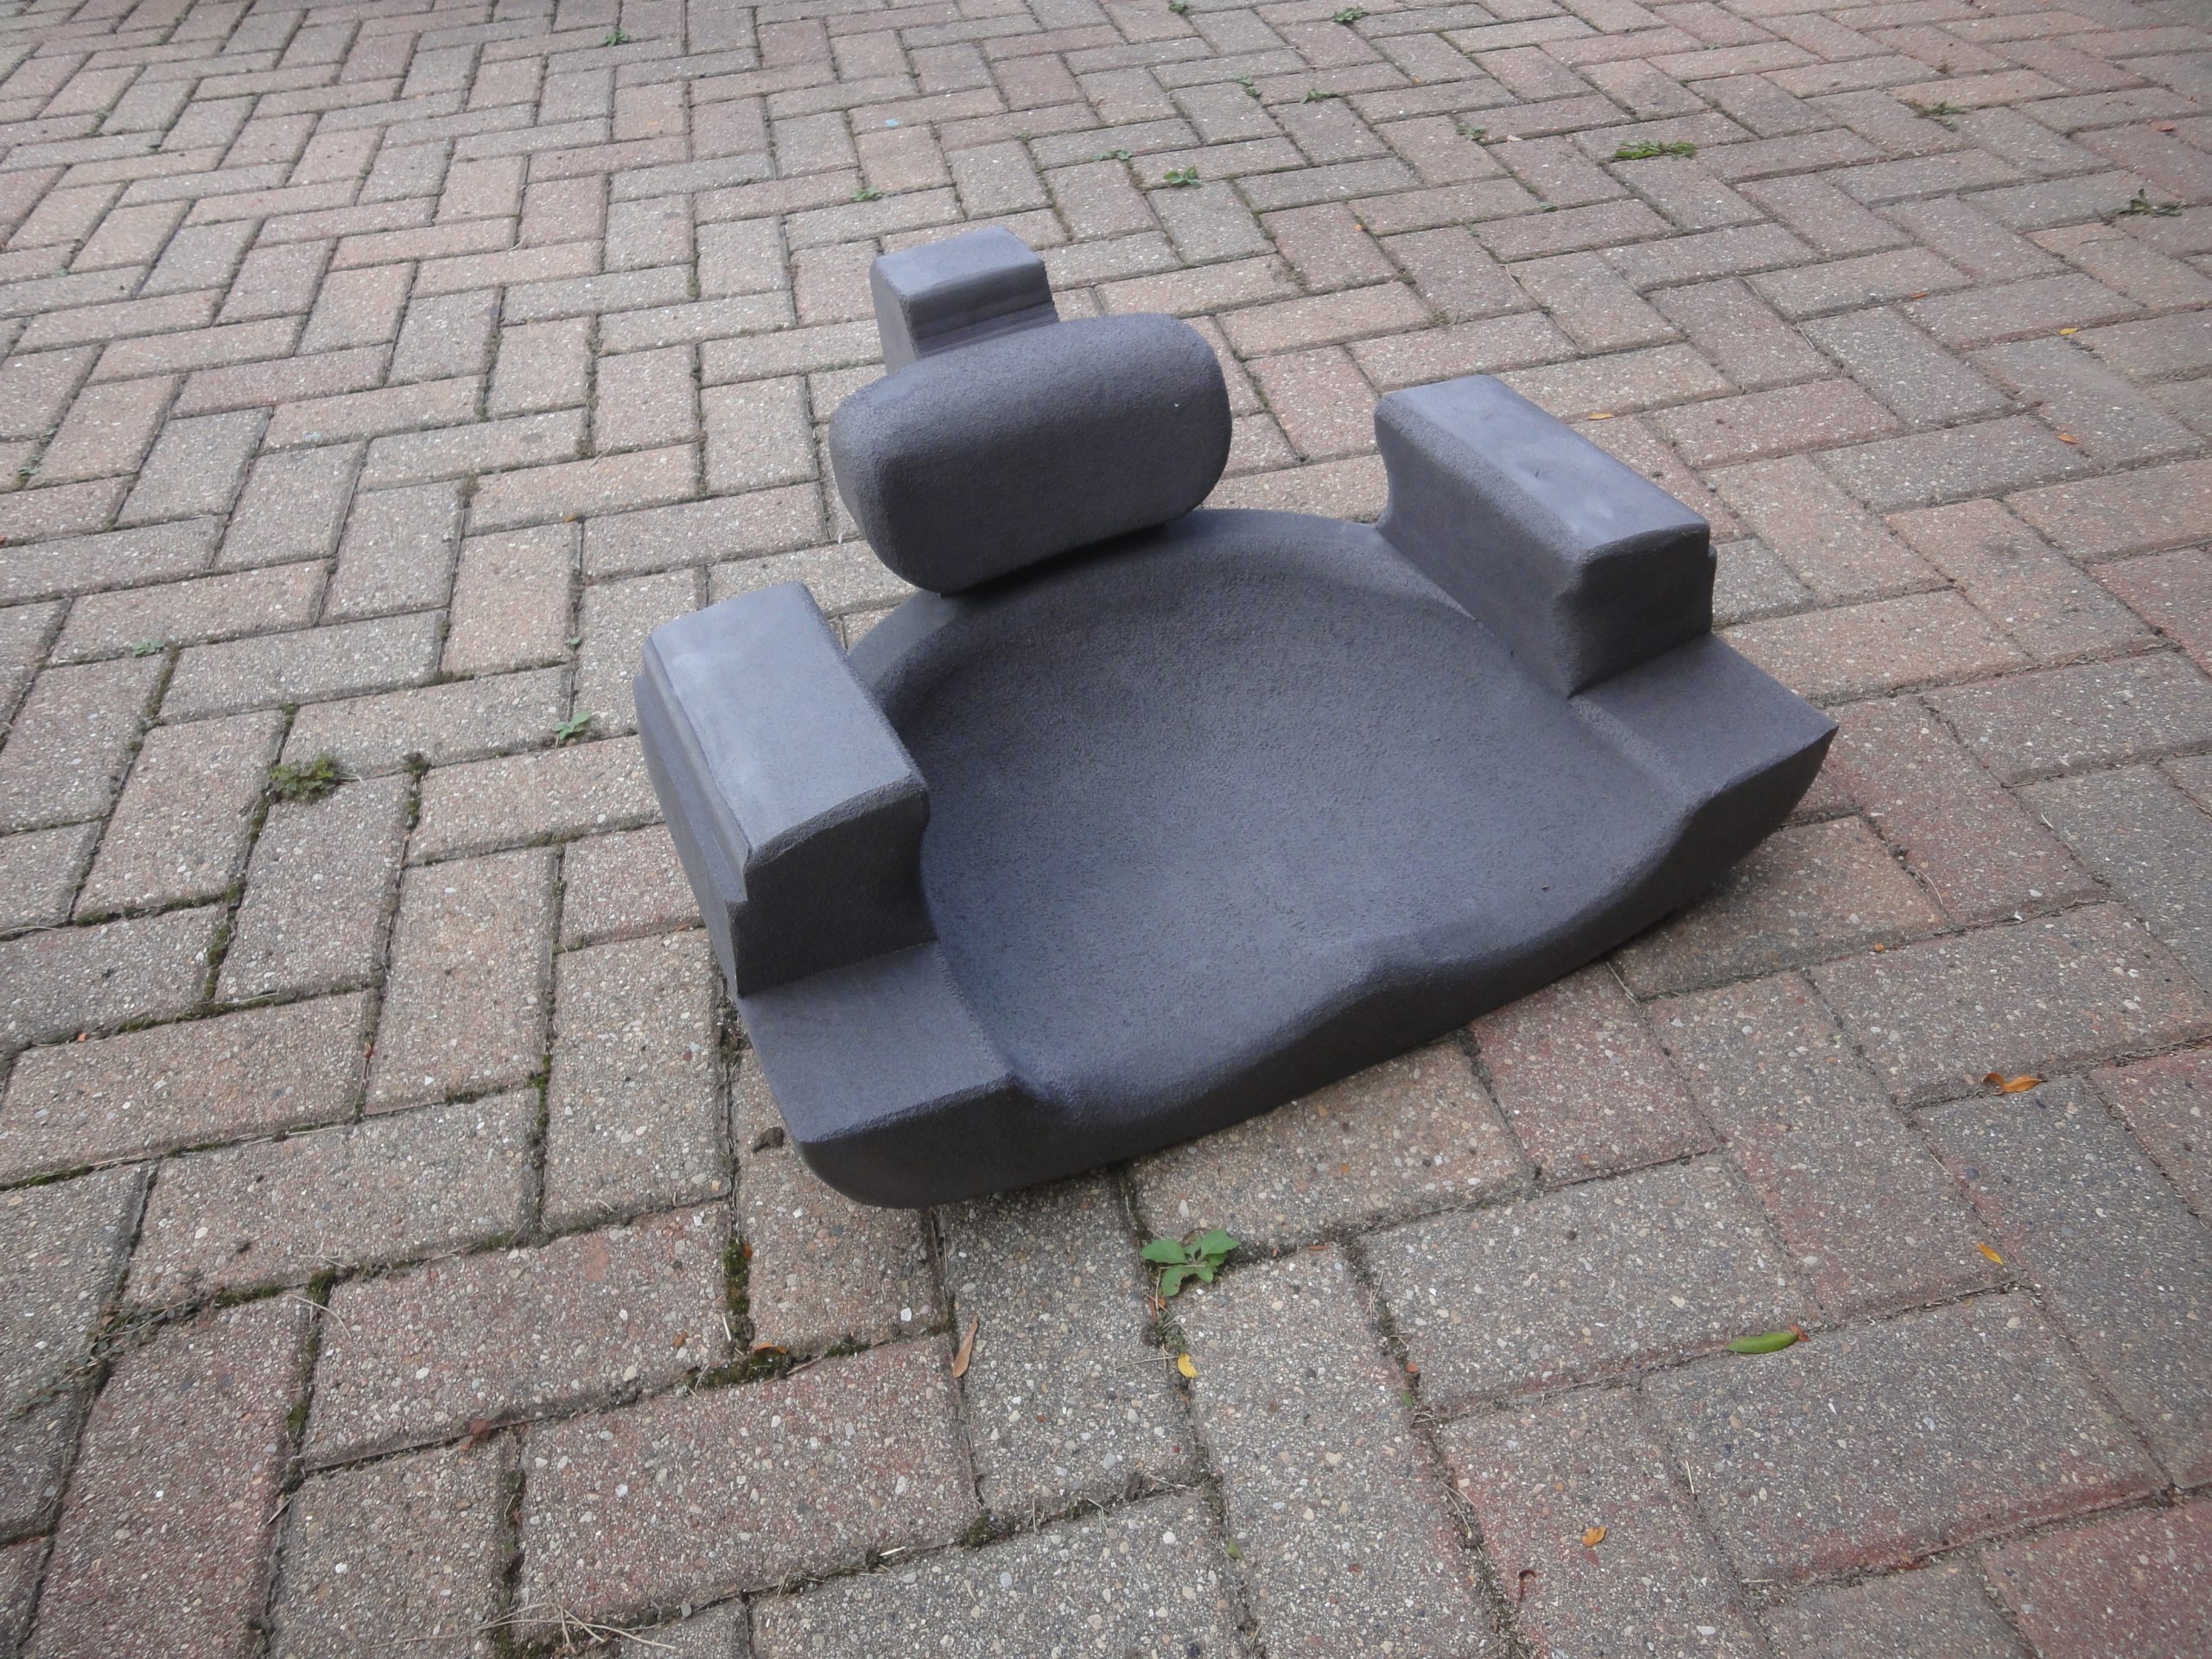
The seat was ordered from Redfish Kayaks and required a number of measurements to be provided. Since the Resolute is a kayak model that they’ve built before I didn’t need to also send a template. From order to receipt was about a week.
It’s made closed cell foam which provides some cushion and comfort with very little weight. The seat is sculpted out to help keep your center of gravity low too. Of course I tried sitting in it on the ground and was very pleased. I did put it in the kayak too and found it such a tight fit that I don’t think I’ll have to mechanically fasten it to keep it in place. Very well designed in my opinion. Of course final judgement will be reserved for when I can actually sit in it with it installed but I see no reason I won’t still be happy.
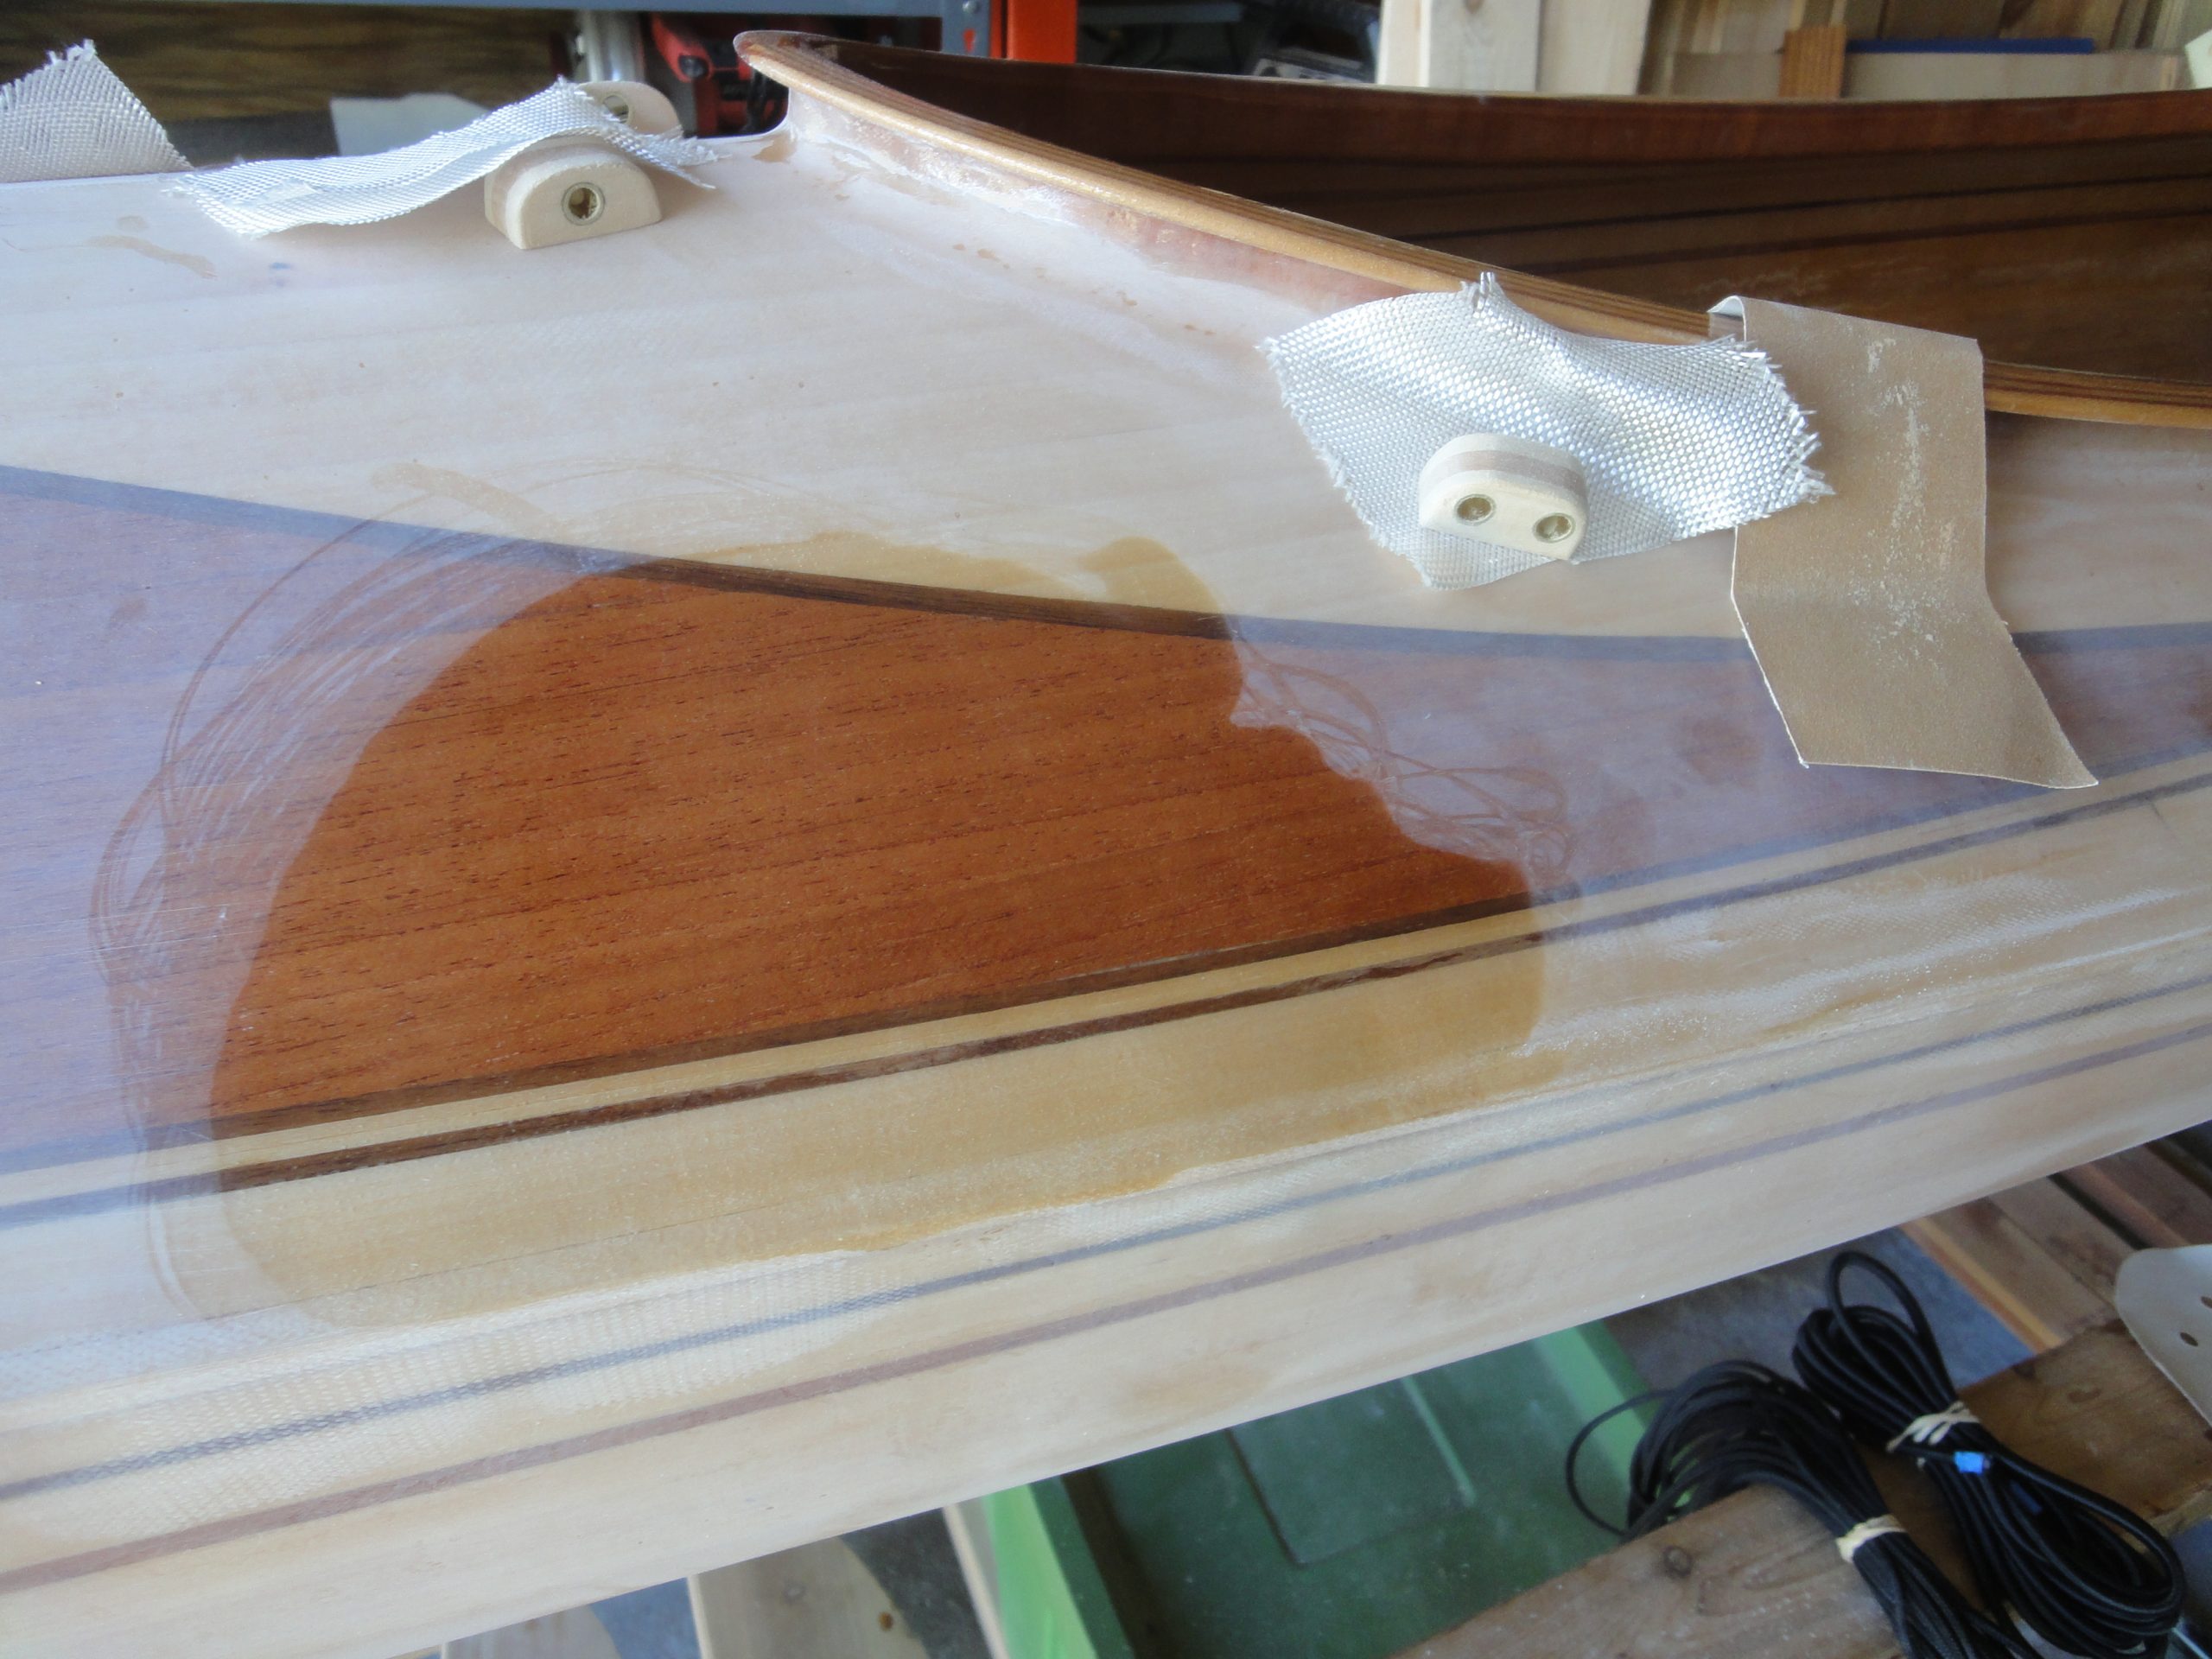
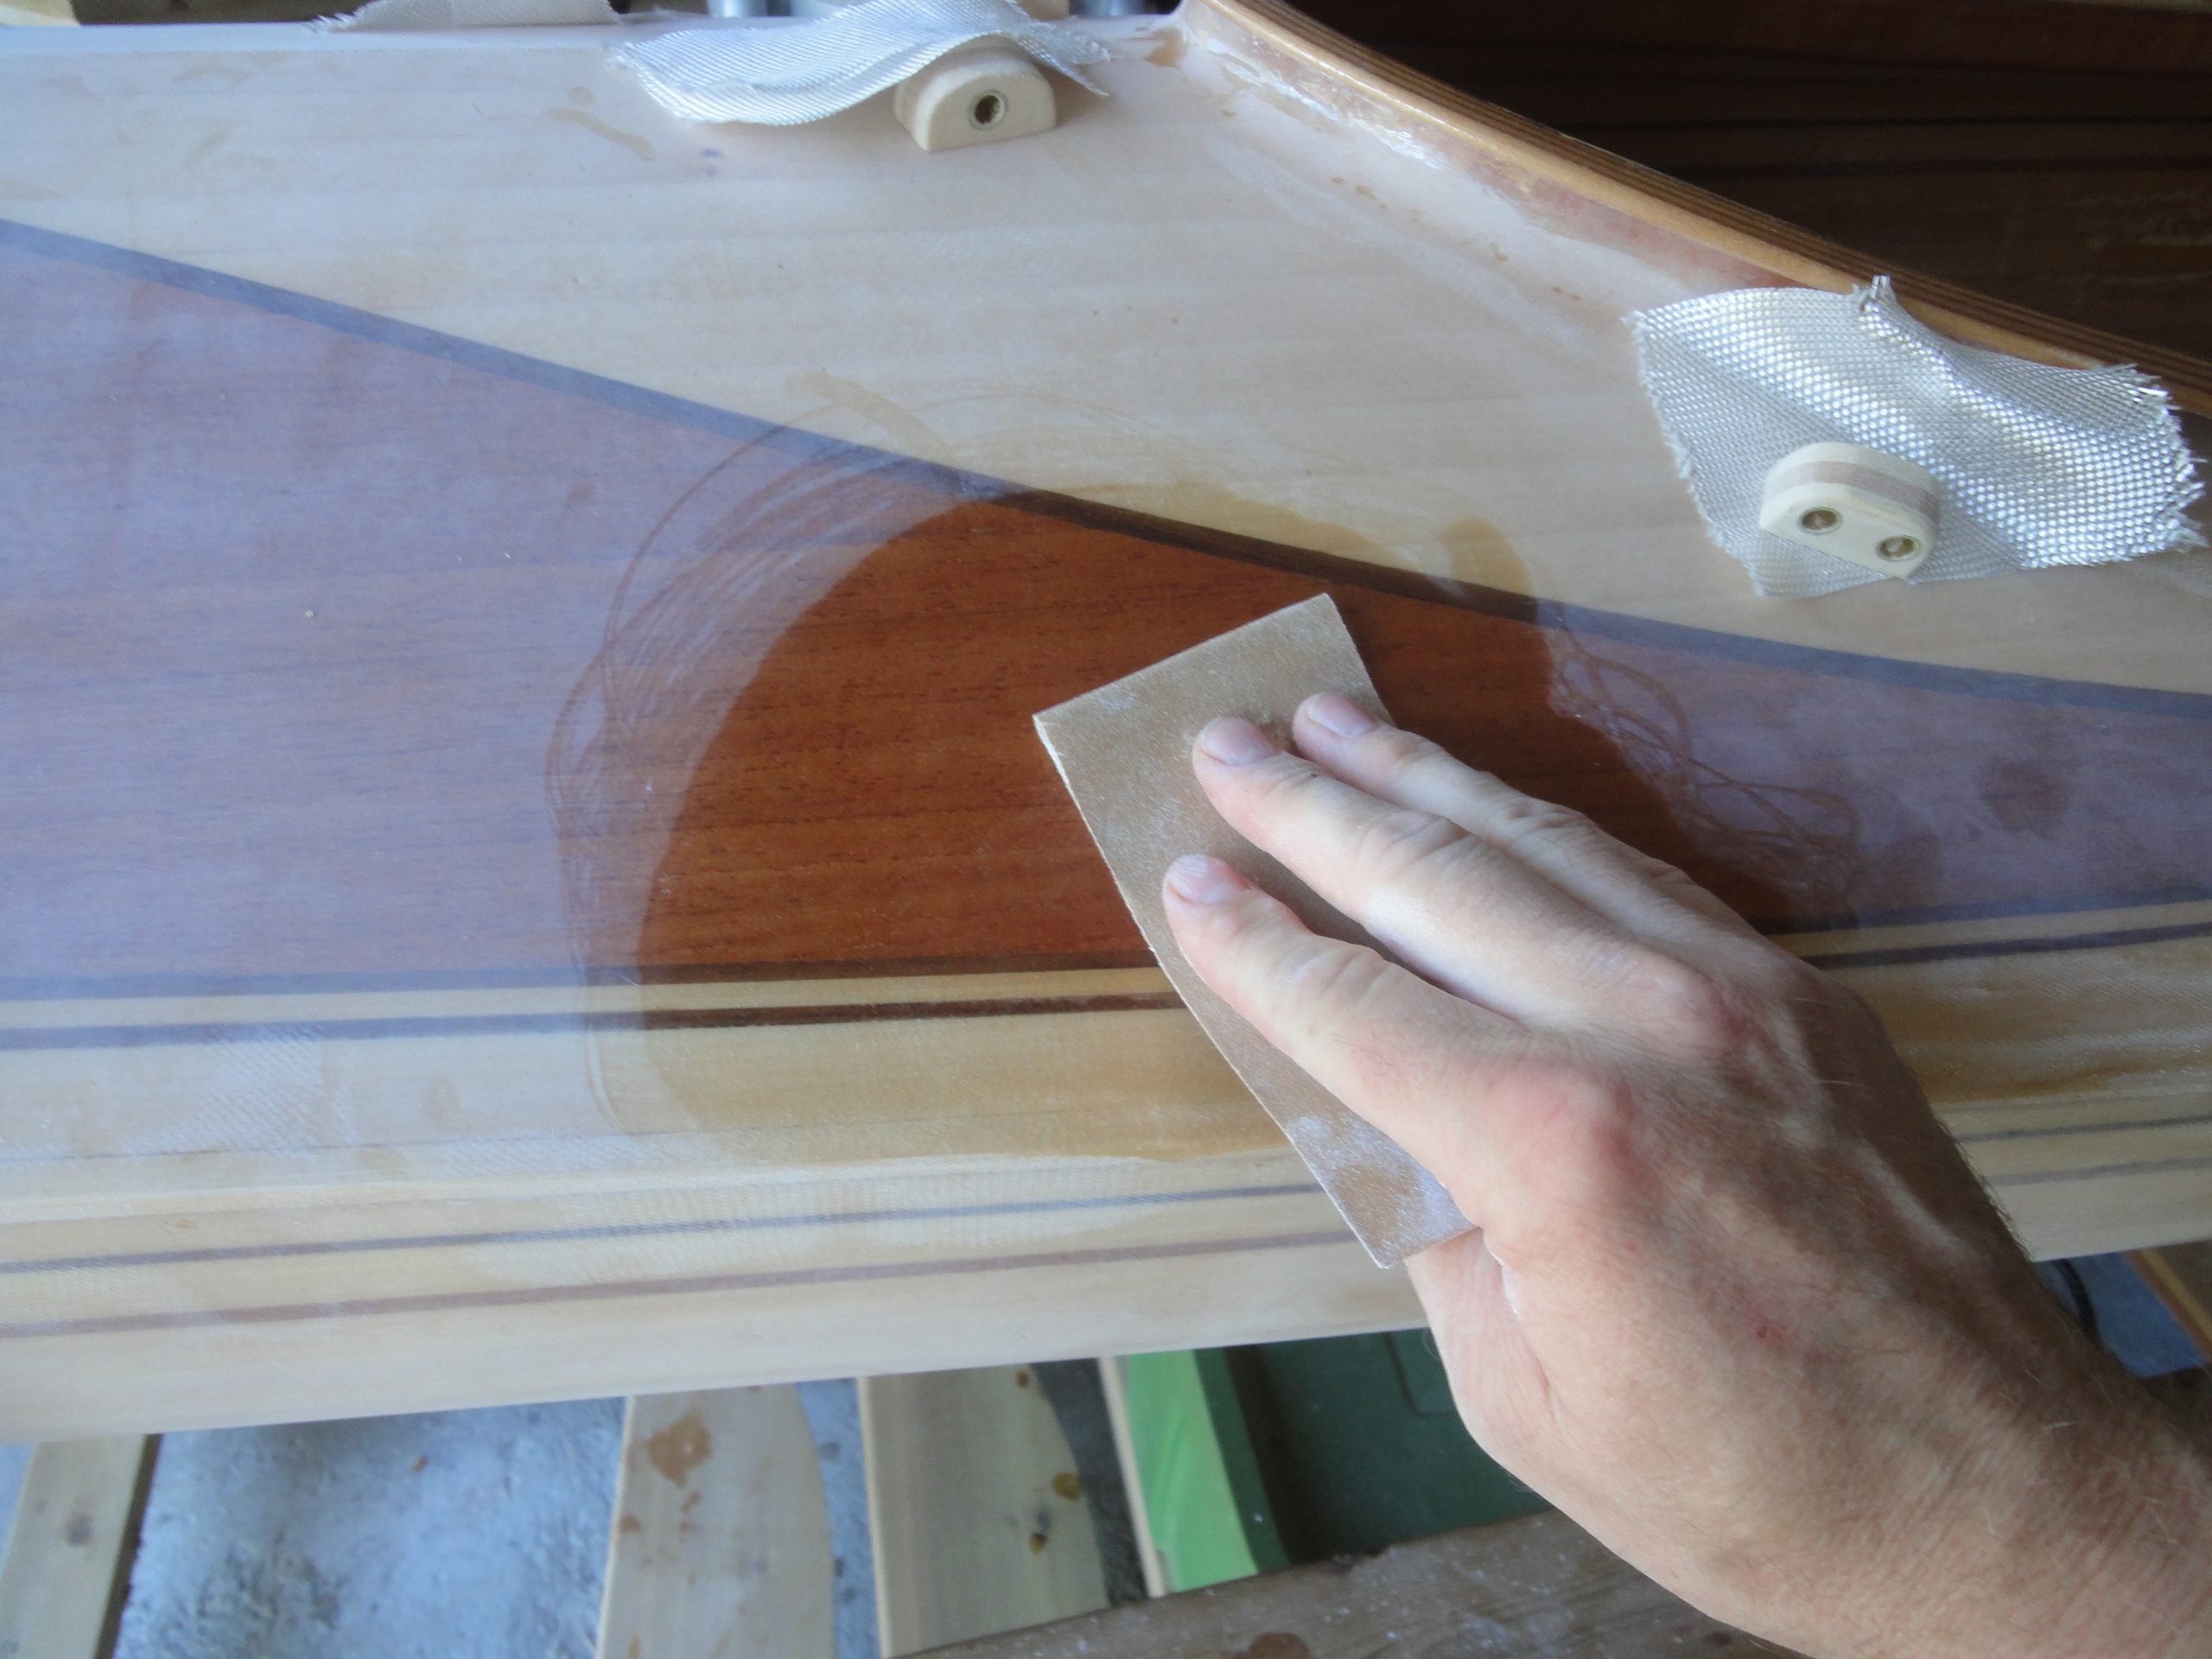
Most of today’s work was shaping the line guides and then installing them. On the disk/belt sander I started by sanding down the brass rods until they were flush with the wood and then a light sanding on the wood to remove any glue from the glue up.
When all six sides were clean and flush I then rounded over the two top corners. Coming off the sander these were a bit rough so I then hand sanded to smooth them out and better refine the shape before then rounding over all the sharp edges that would be sticking up.
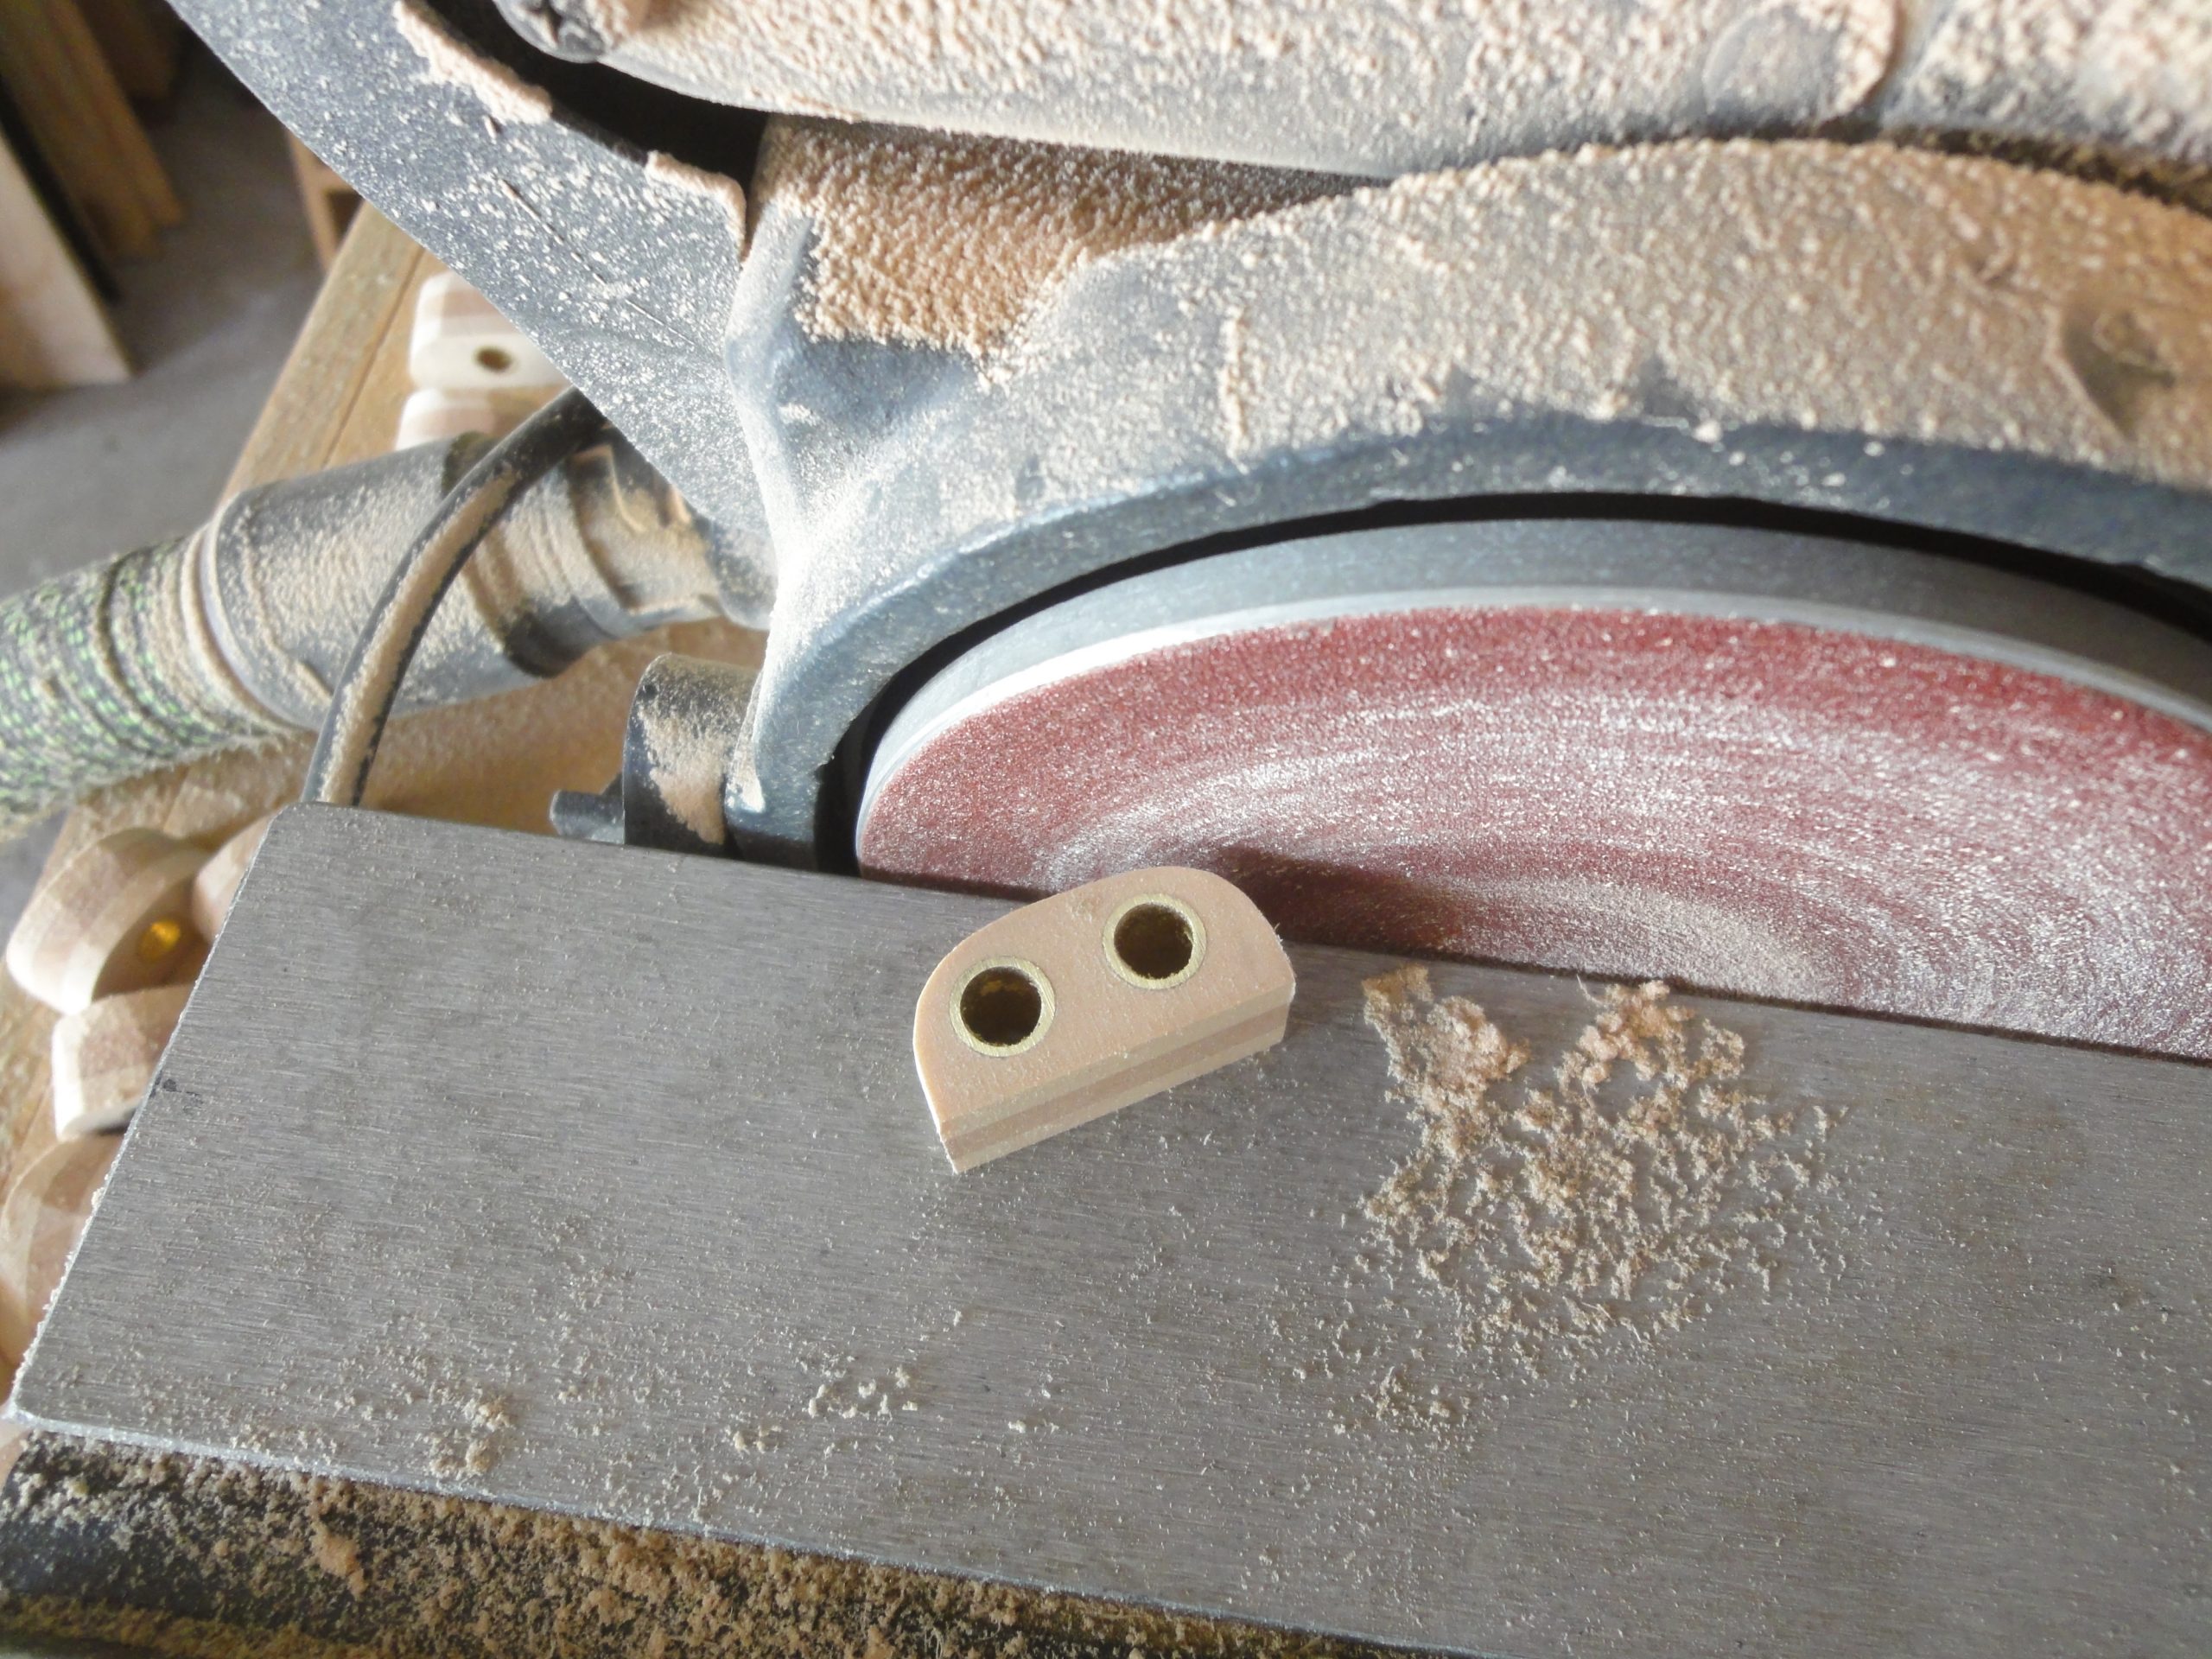

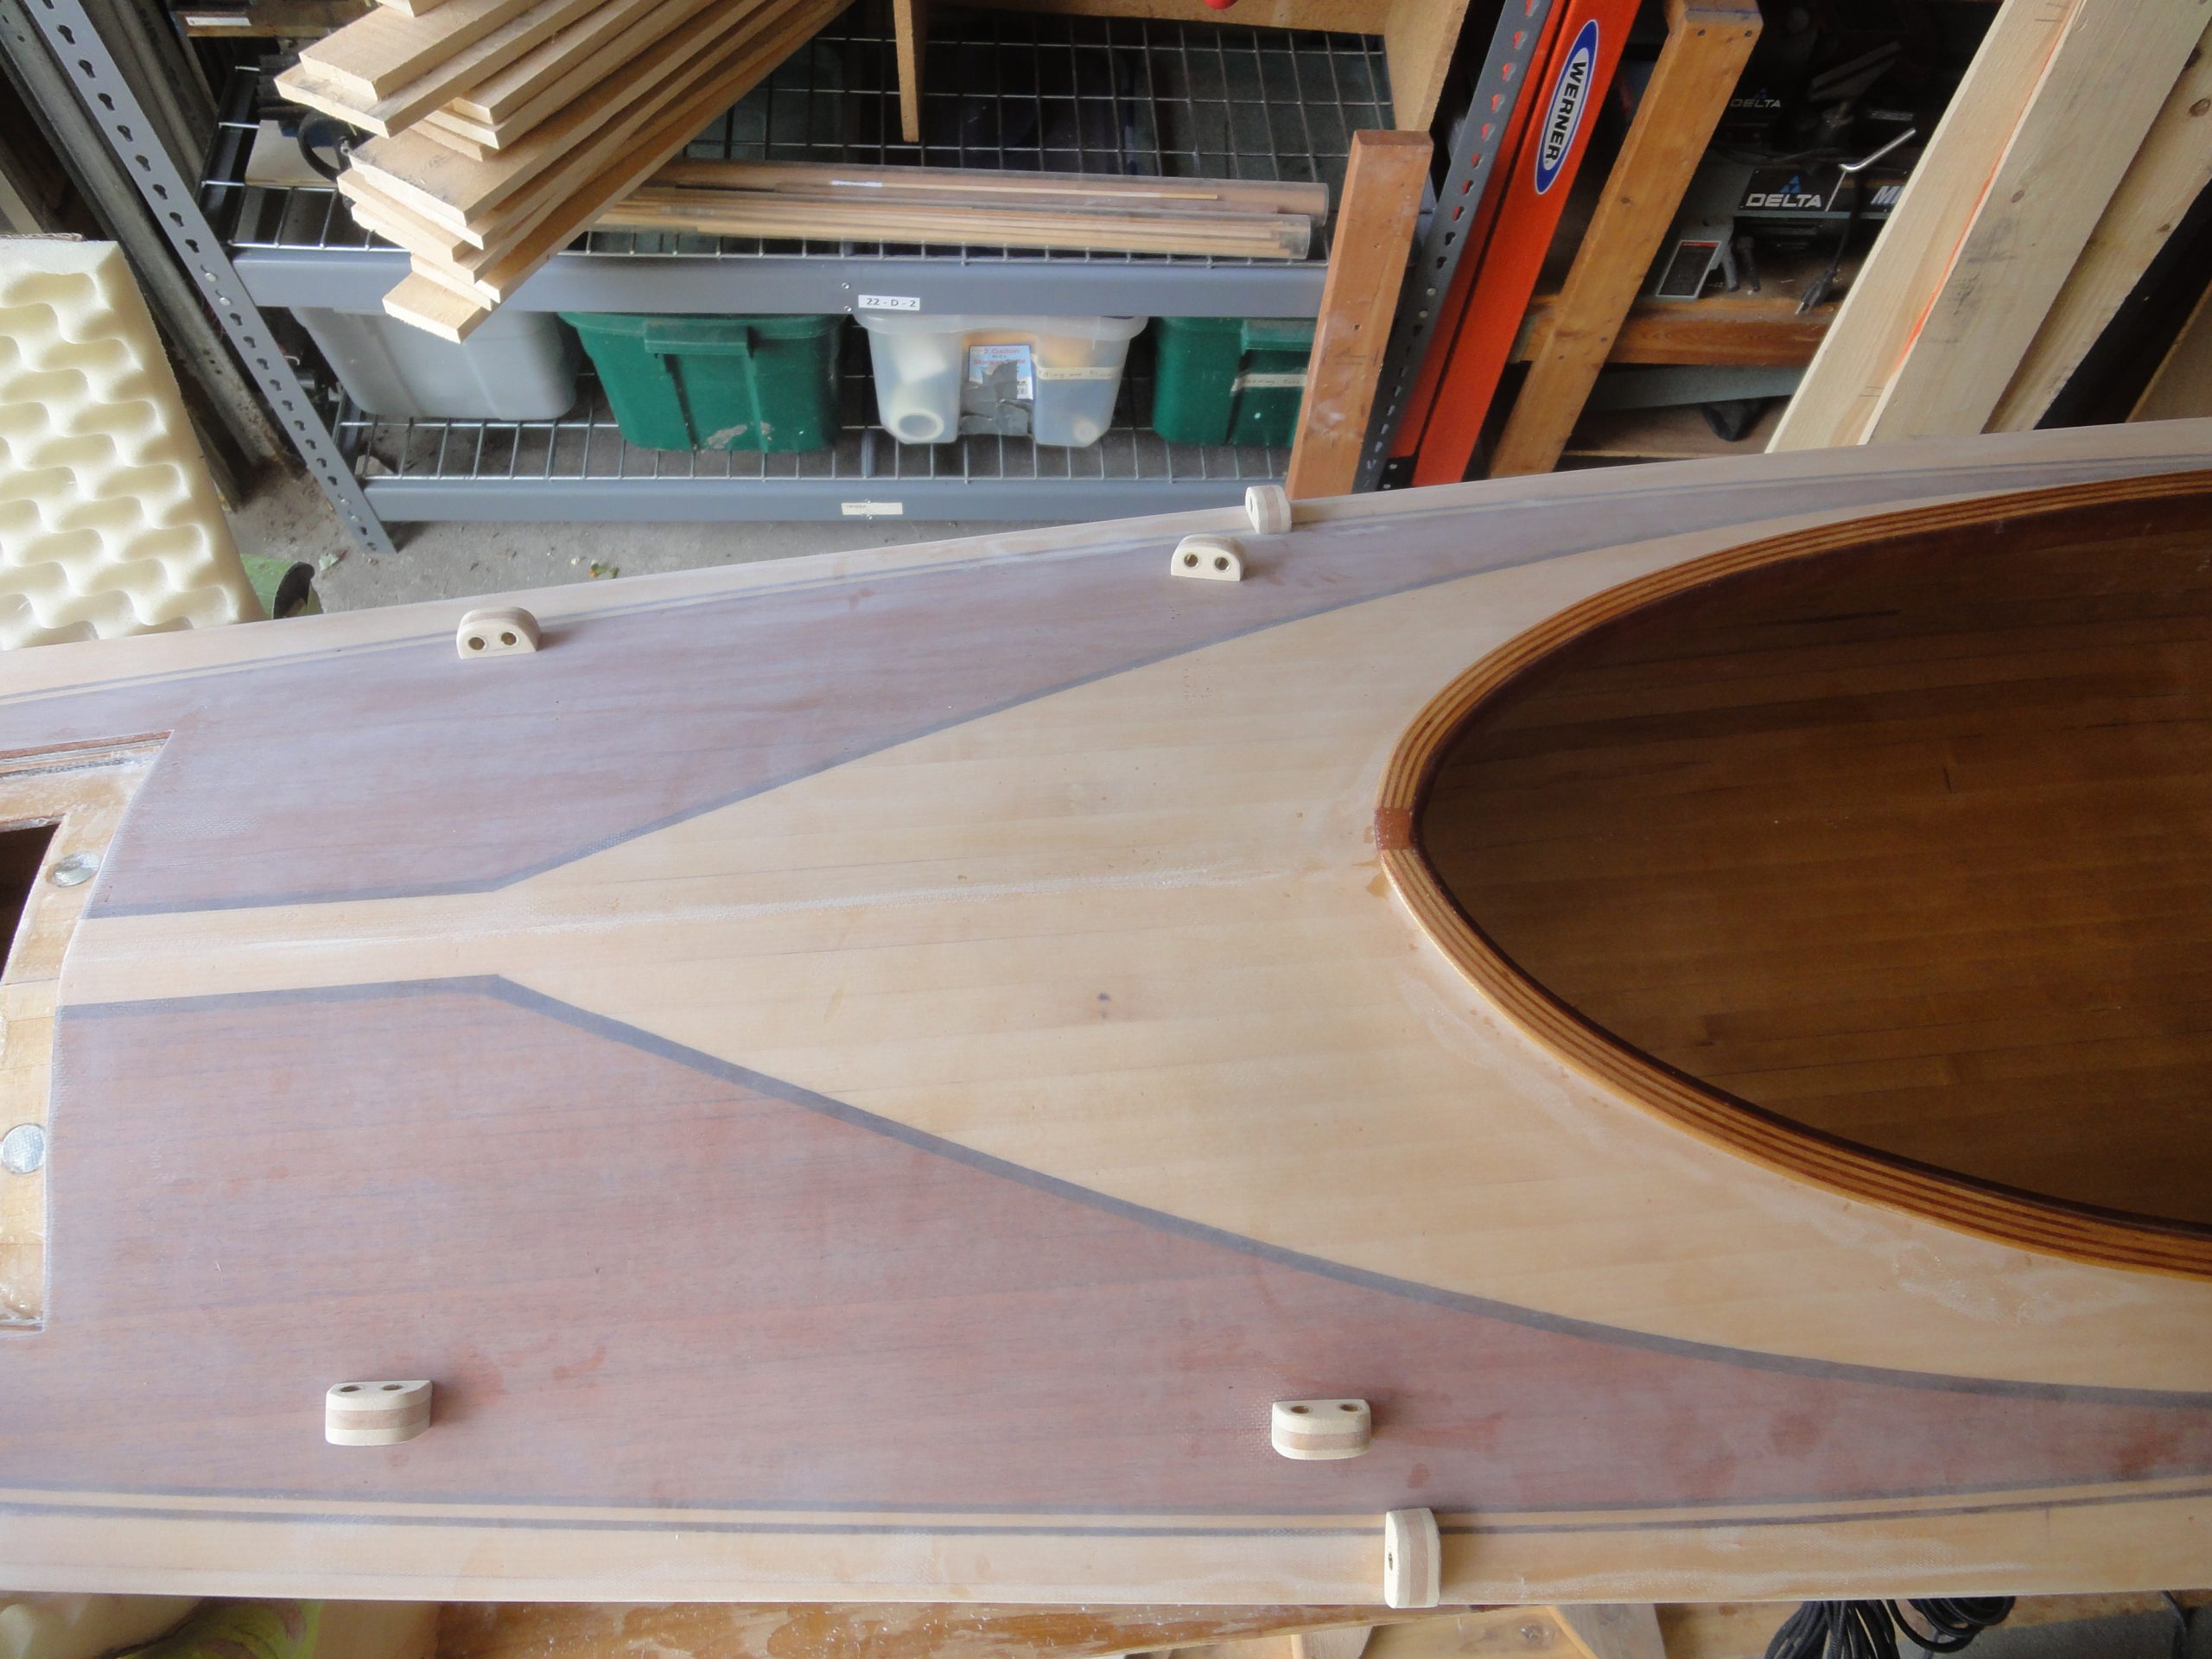
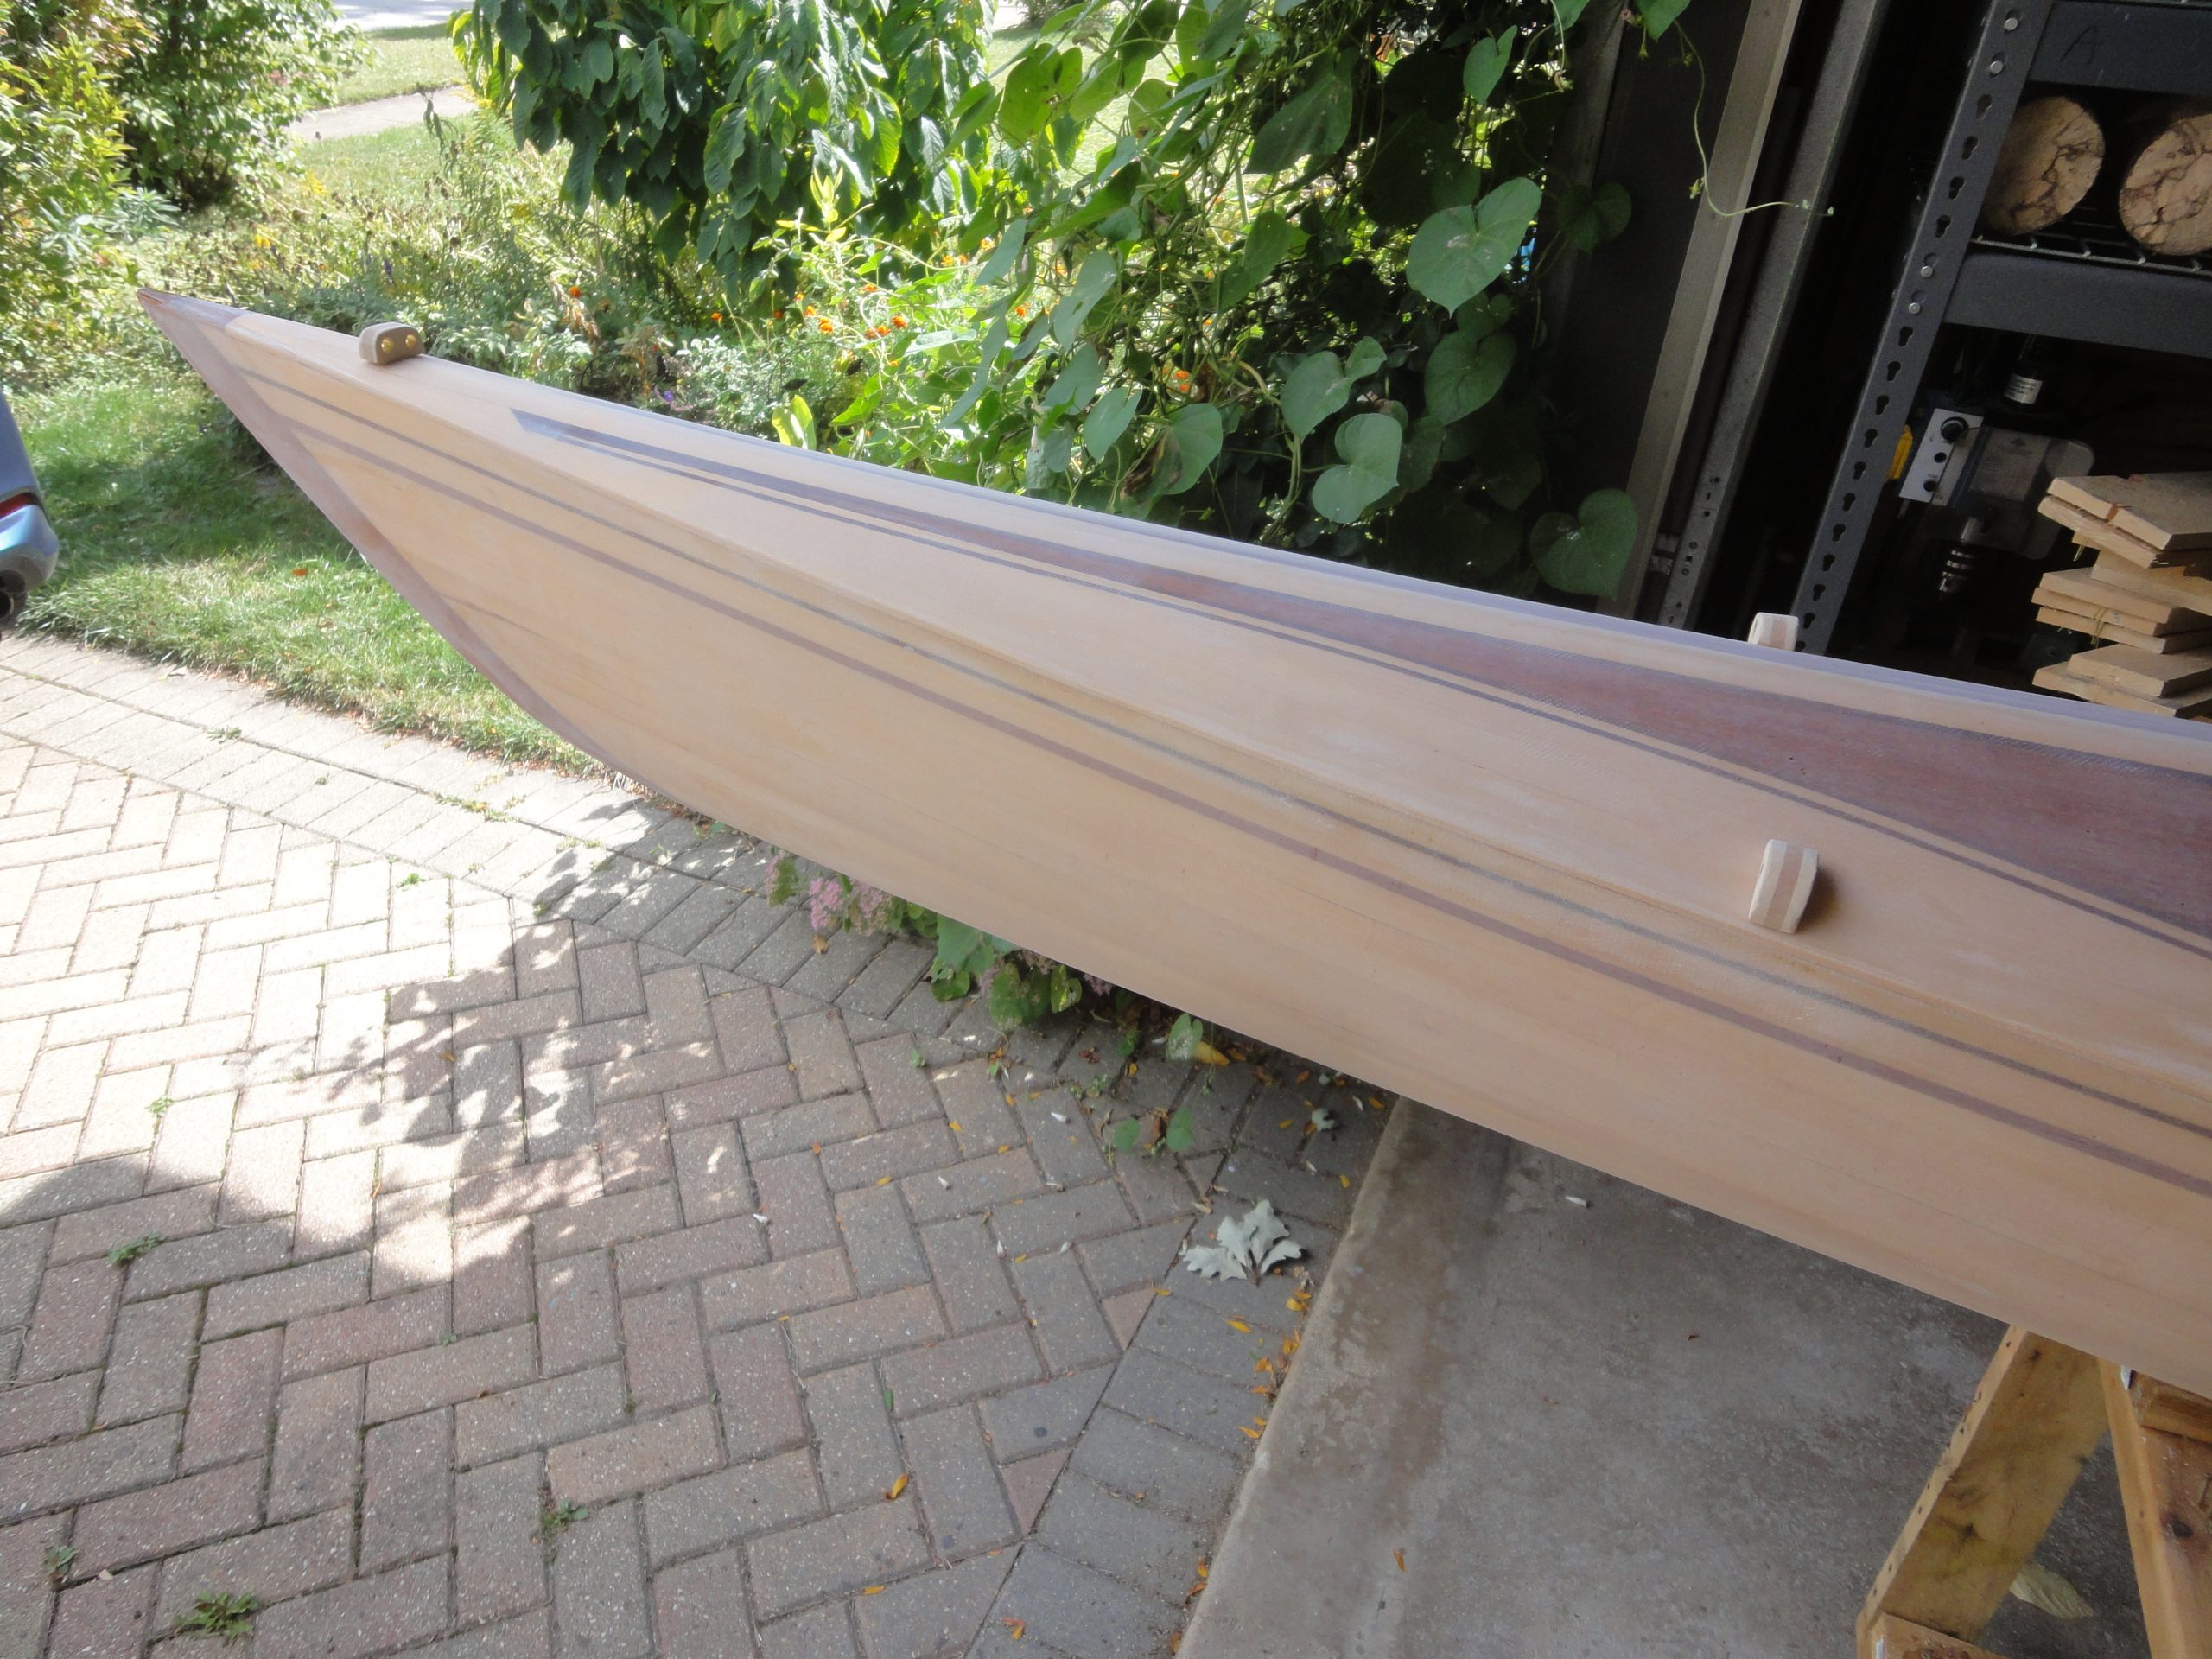
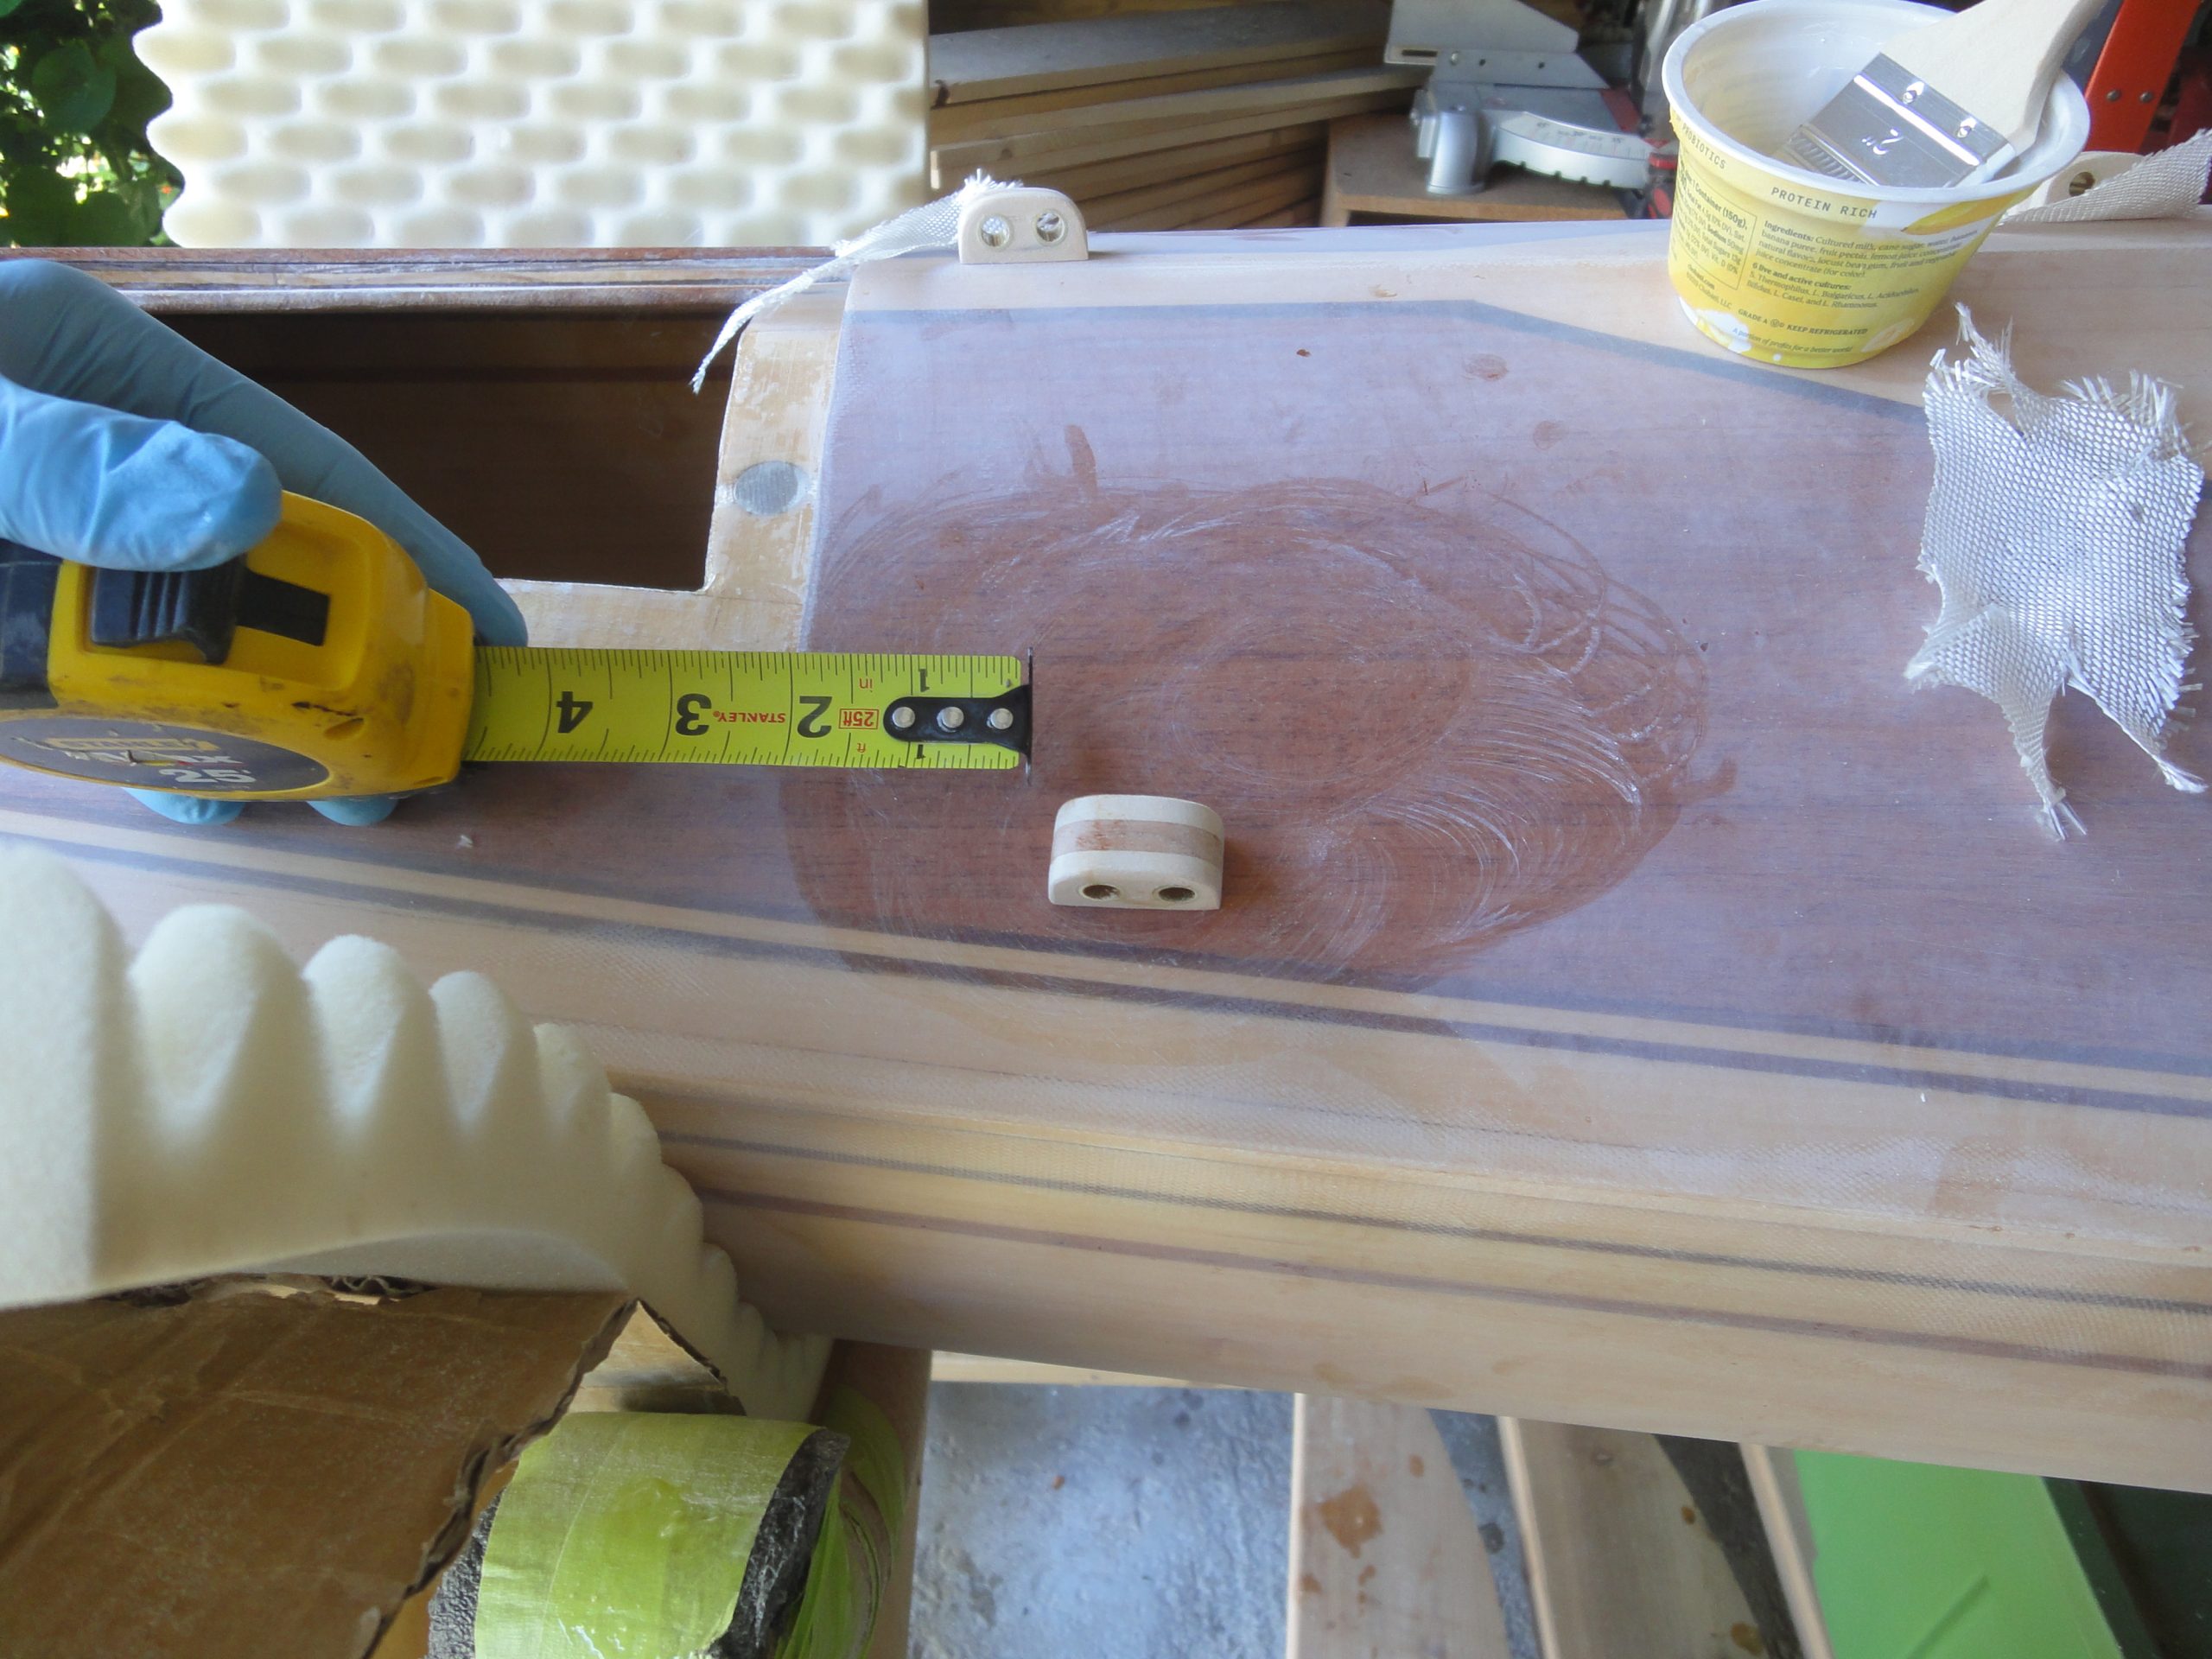
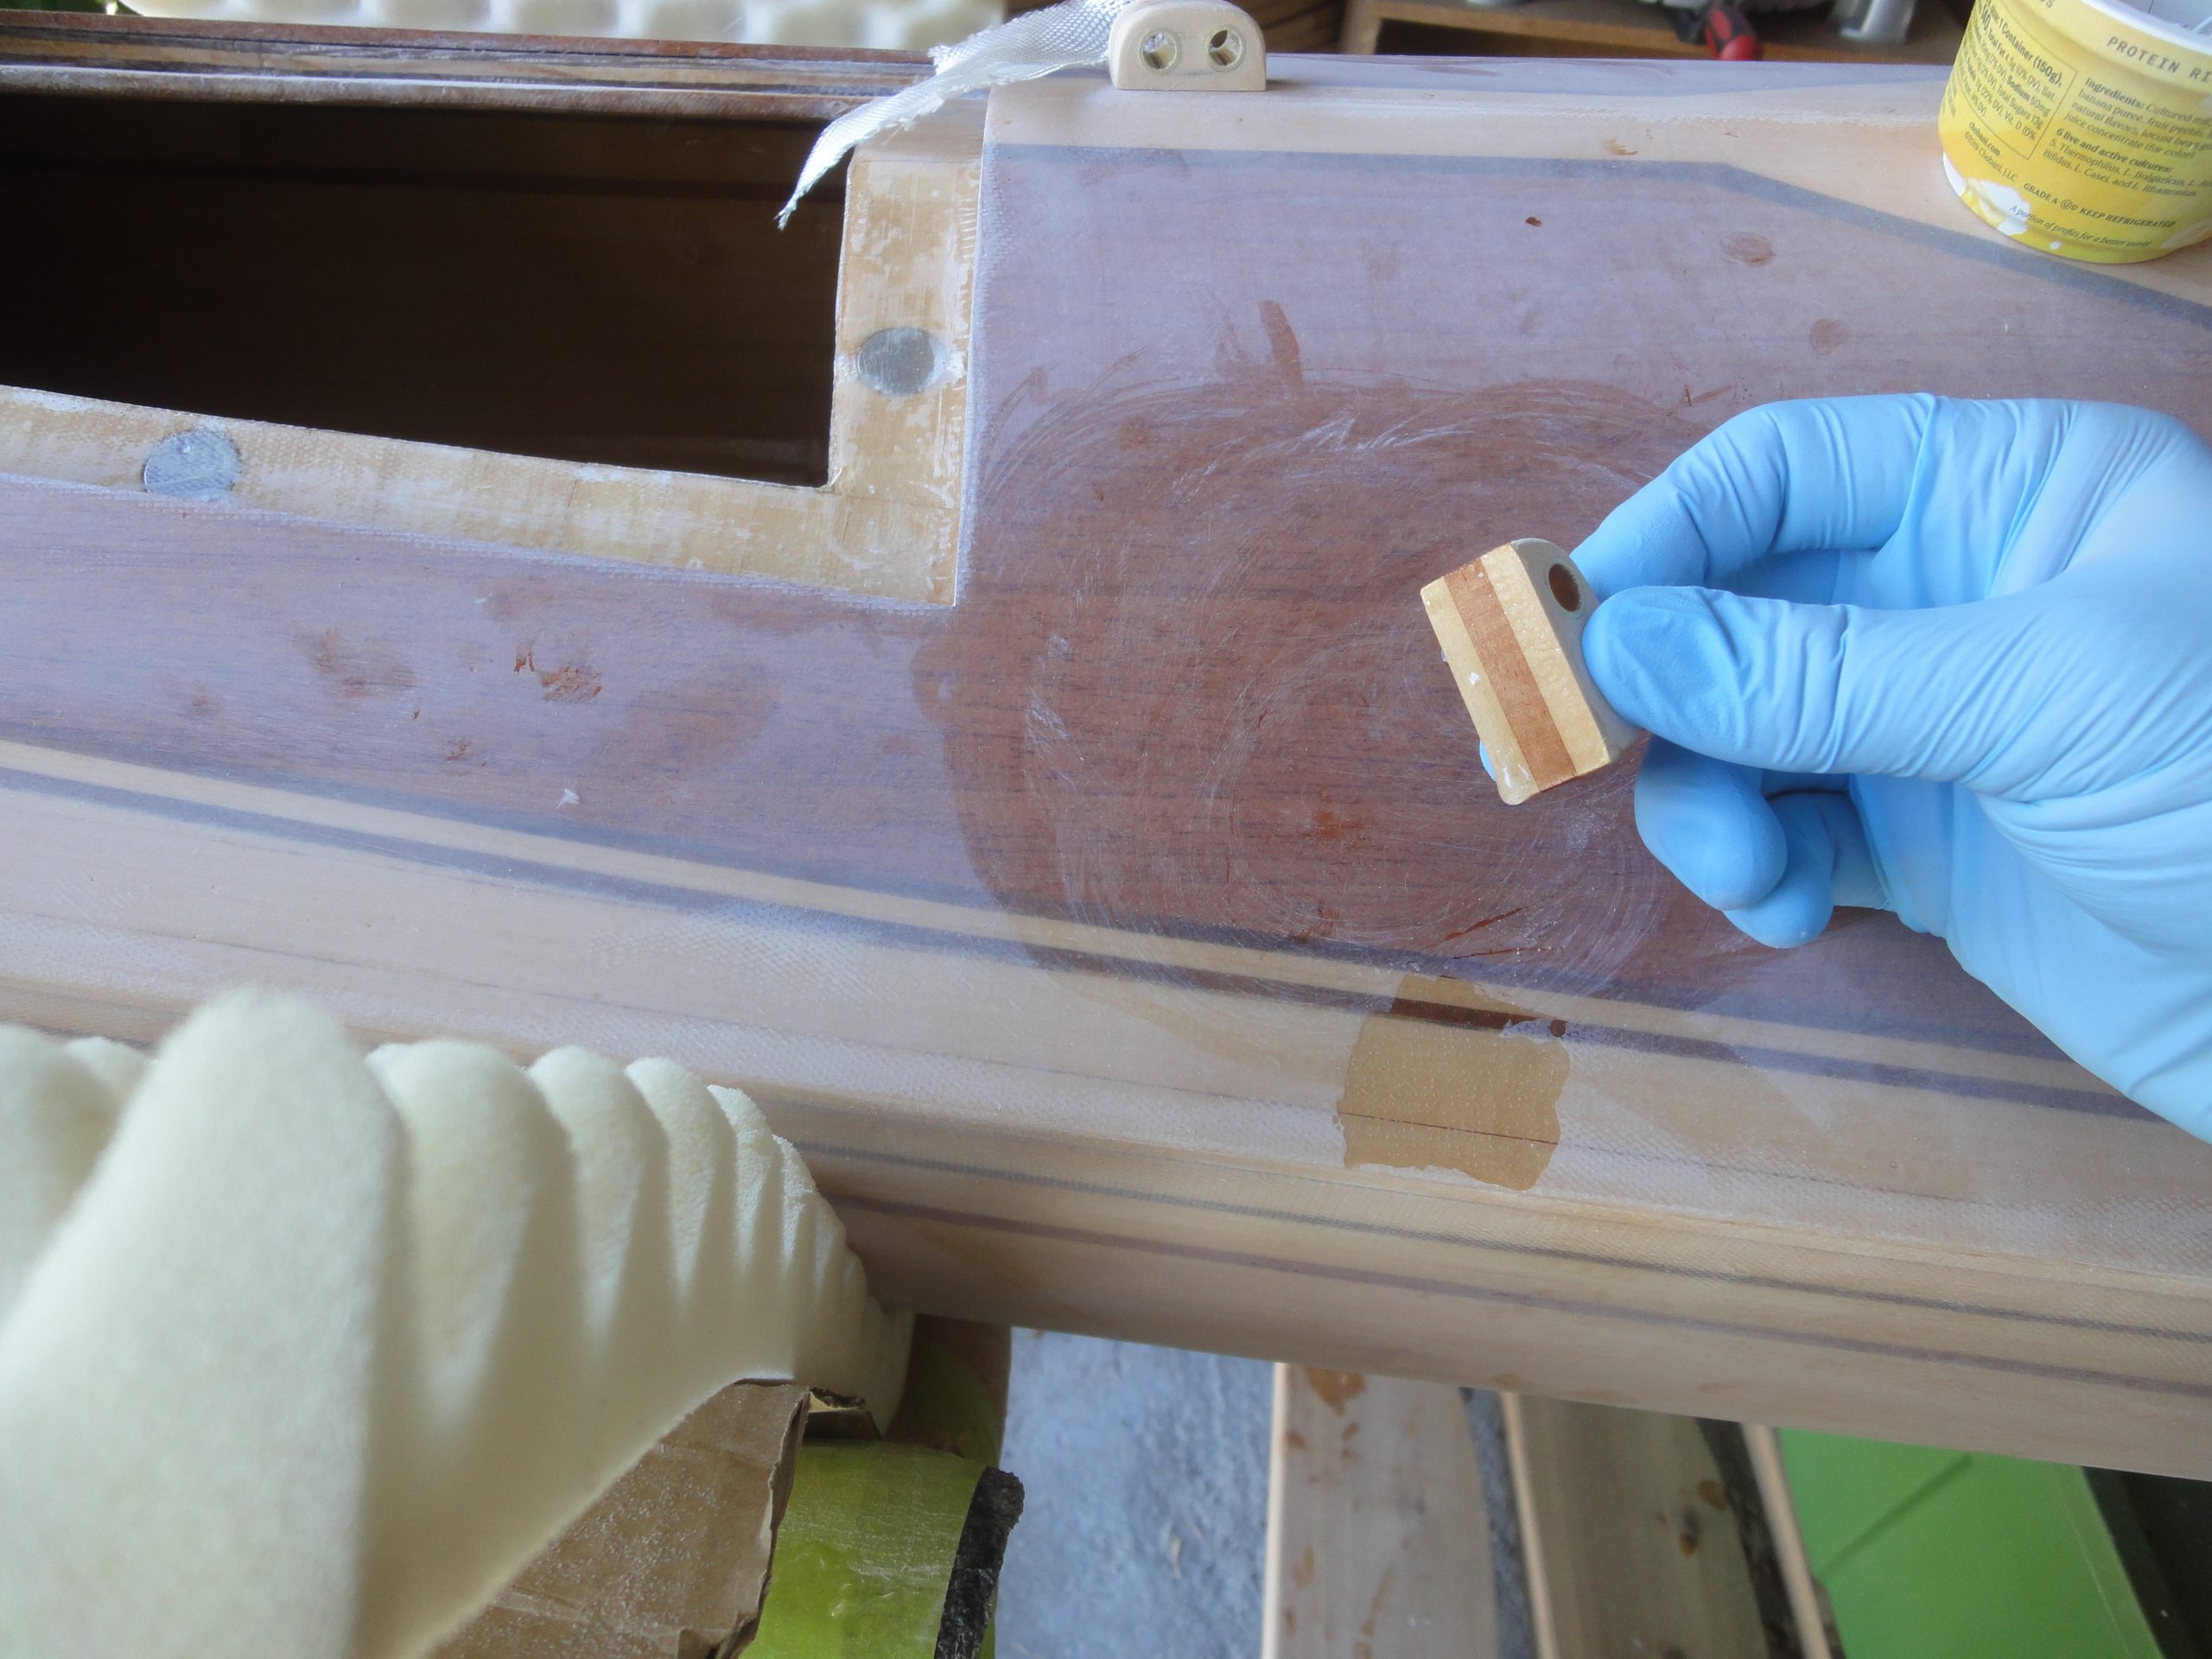
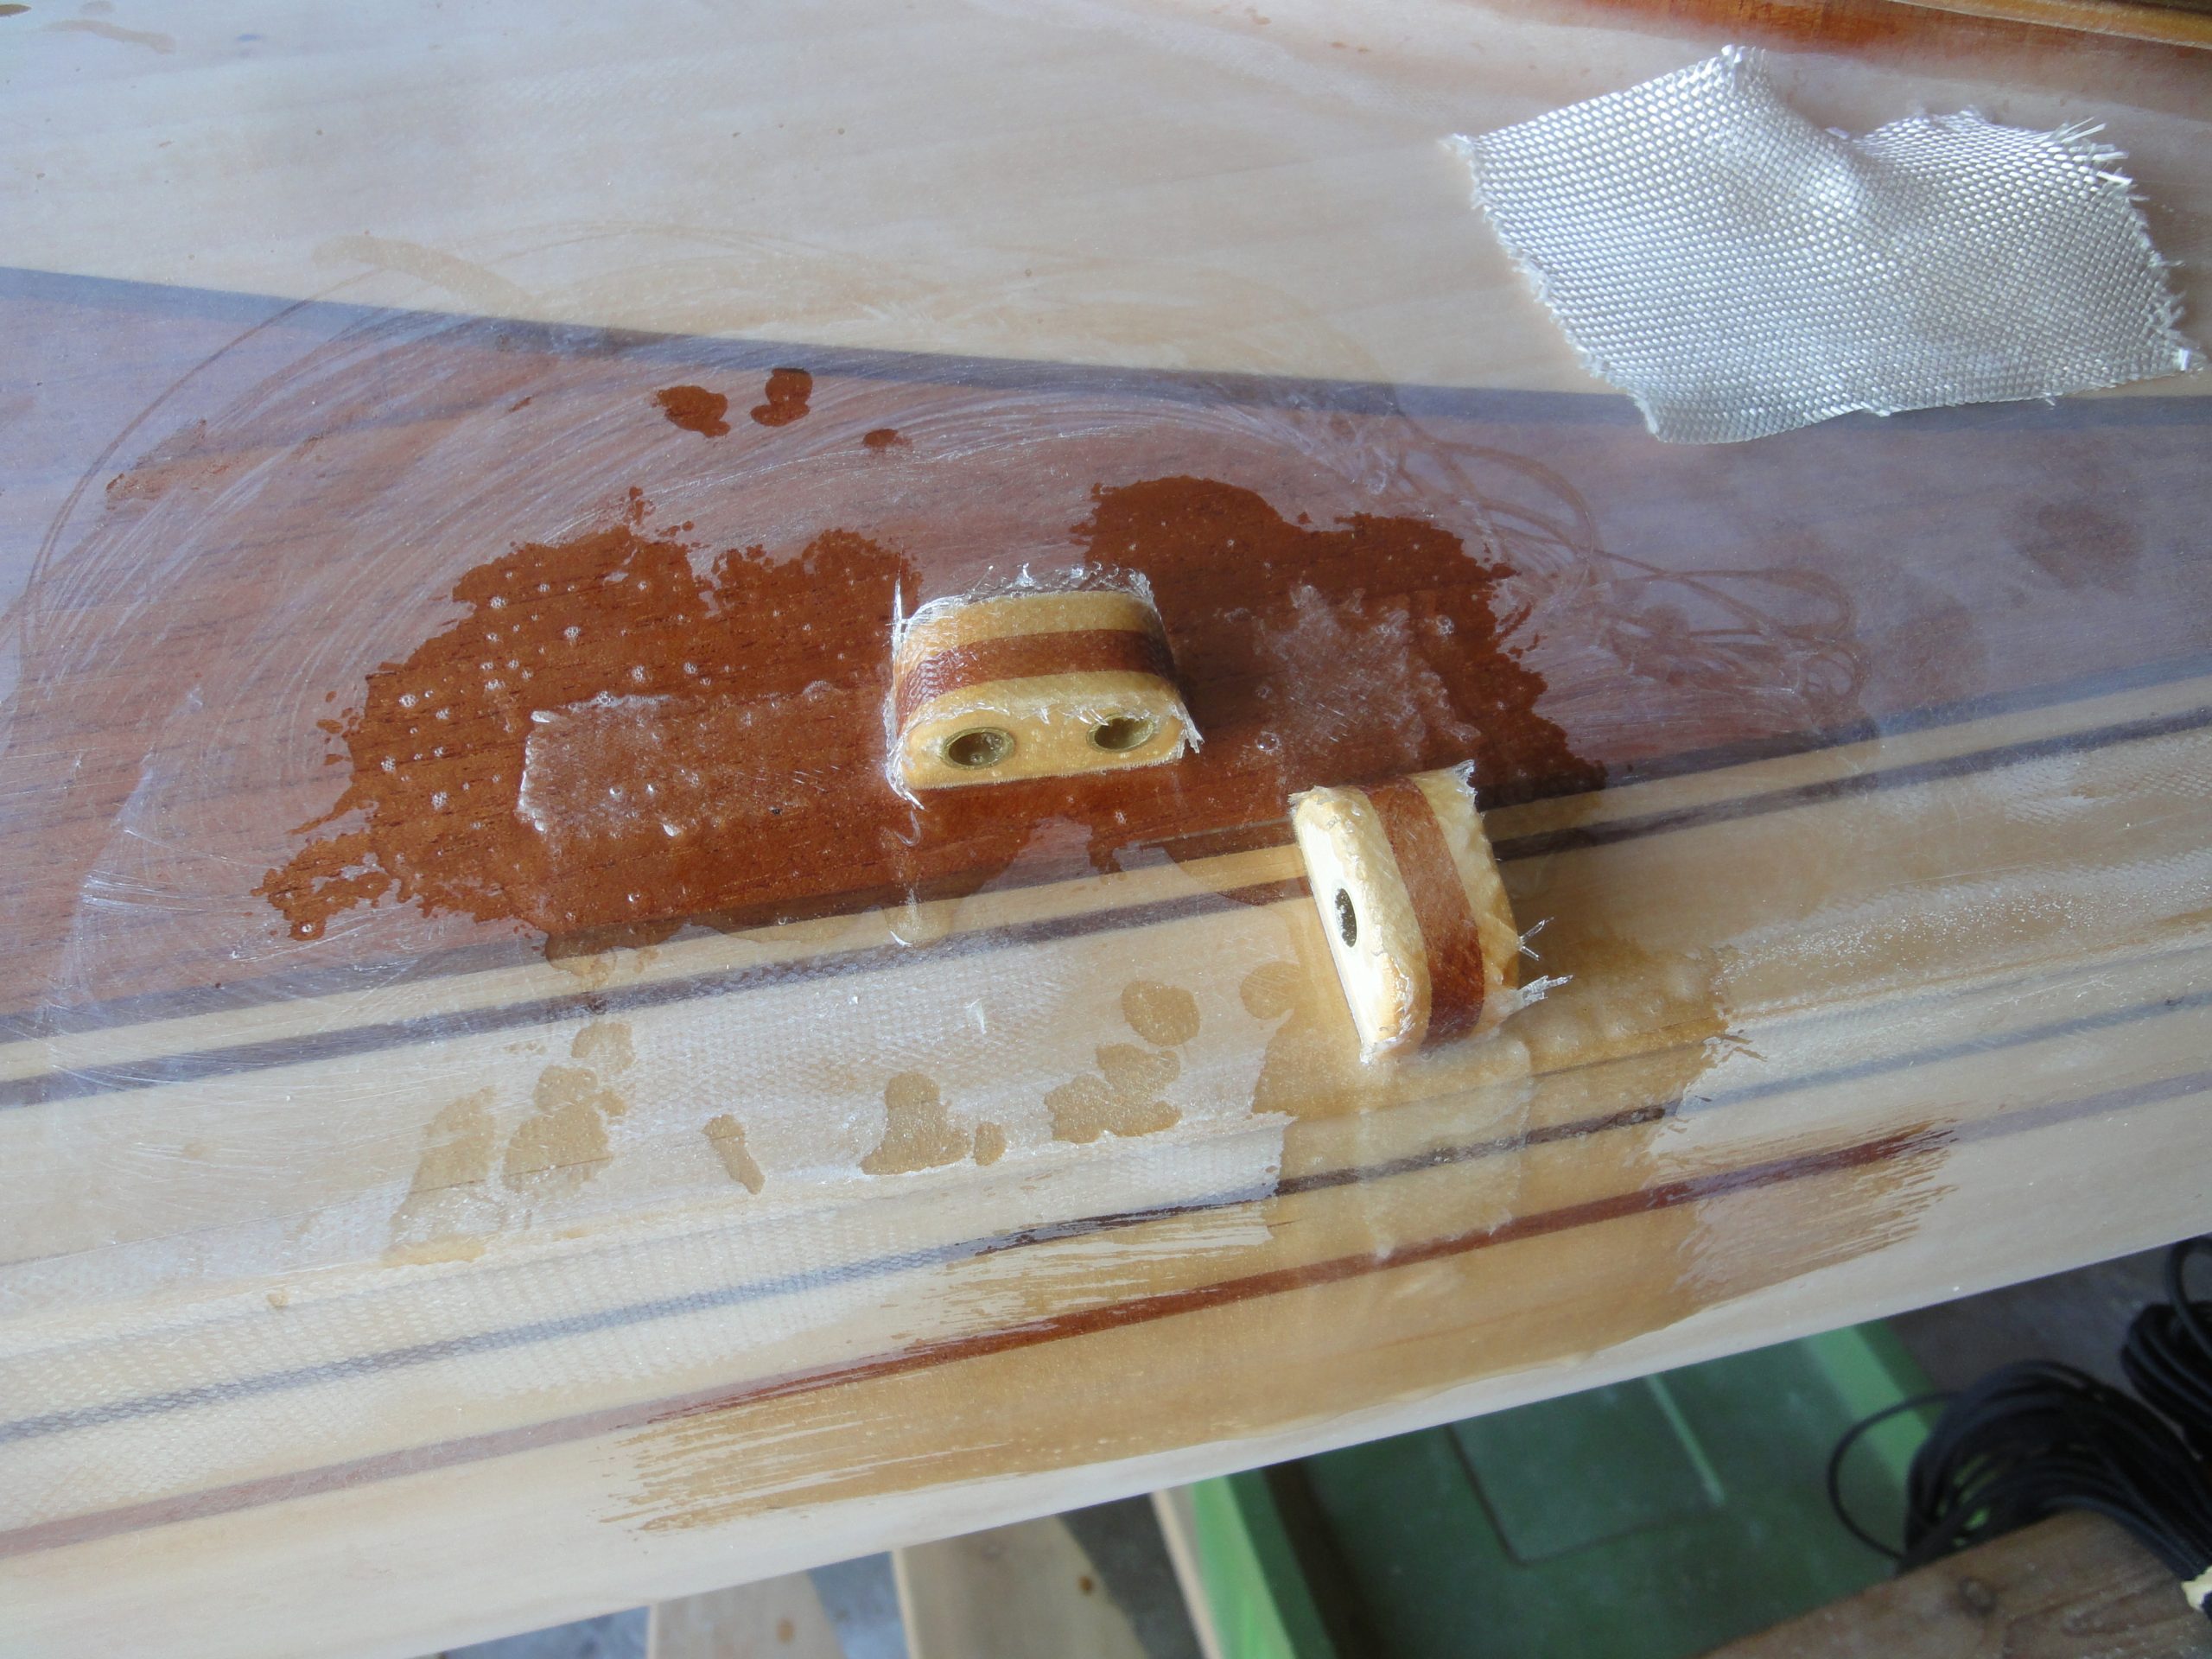
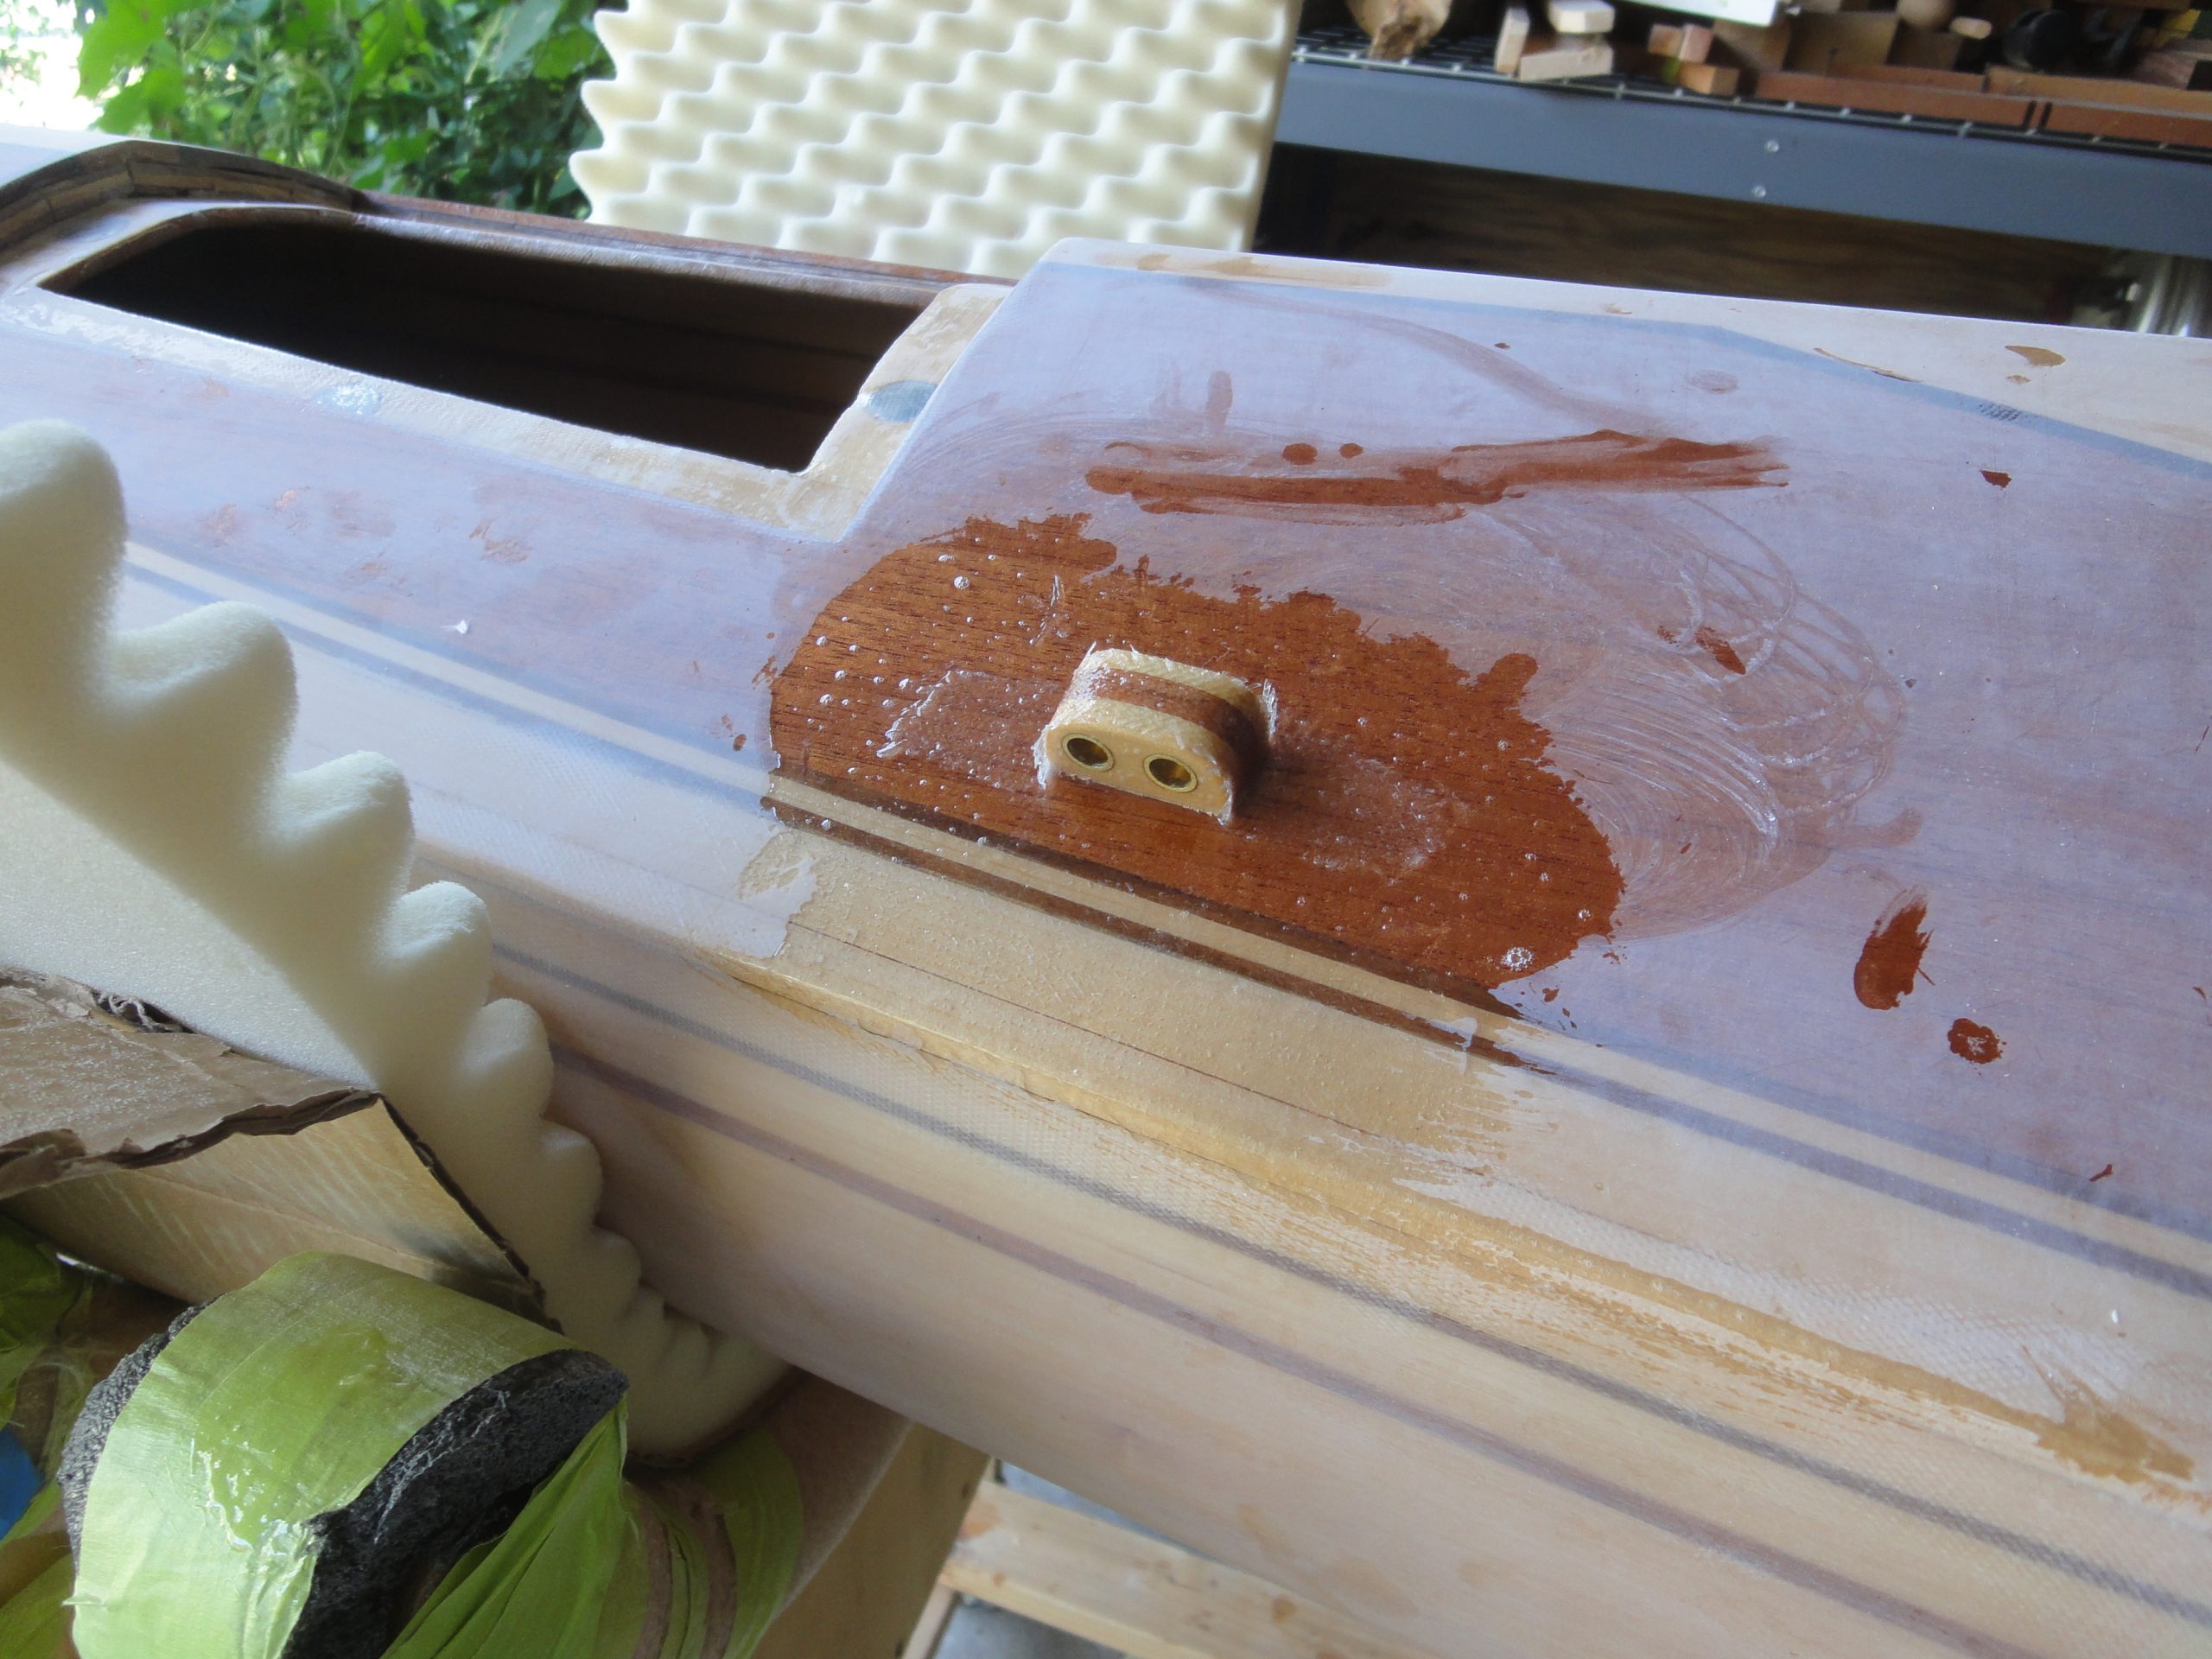
For placement I’ve got a double at the front and back, and then four singles along each side, one in front and one behind the cockpit and then one each centered more or less between those and the front and back. Four more doubles were installed in front of the cockpit and turned 90 degrees to provide for a bungie cord connection point. Finally two more singles were installed on the underside of the hatches. These will have a line attached to them and to the other two singles that I installed under the deck to prevent accidental lost of the hatch.
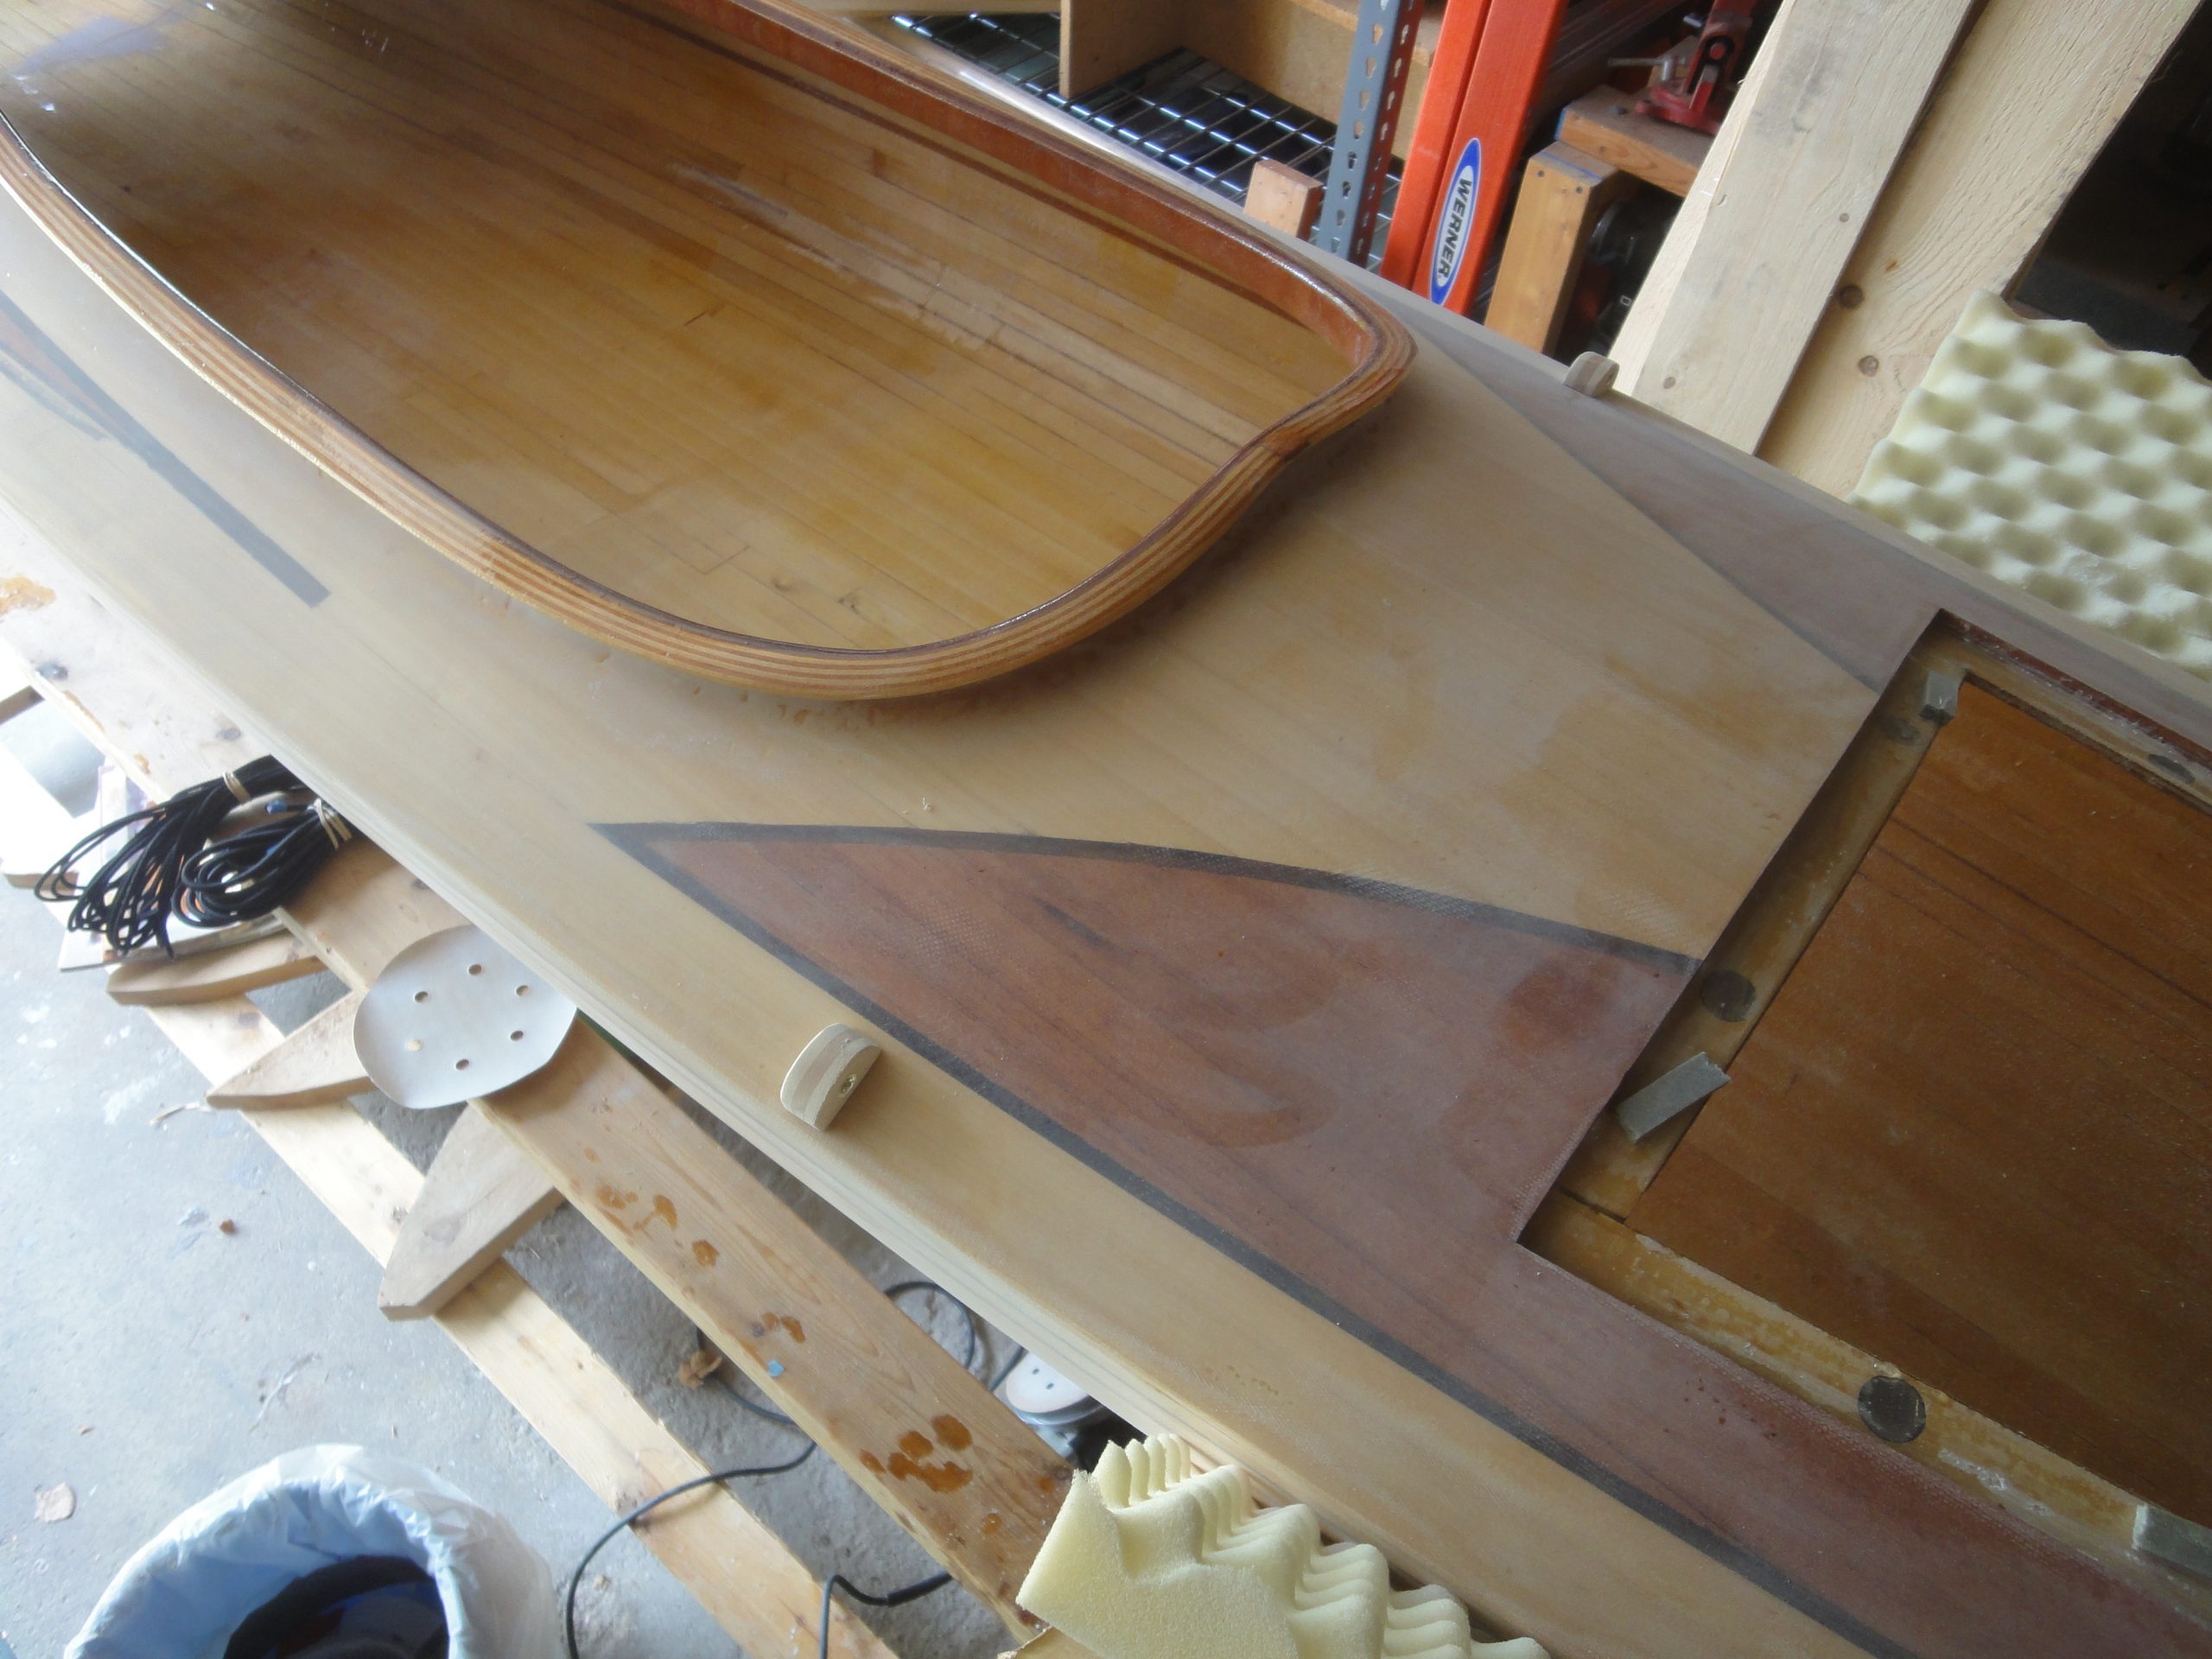
On the sides they sit flush but at the ends some shaping is required. I placed sandpaper over the deck and then just sanded the line guides in place allowing them to shape and conform to the deck. Every so often I’d check the fit and keep sanding until it fit nicely and was shaped from edge to edge.
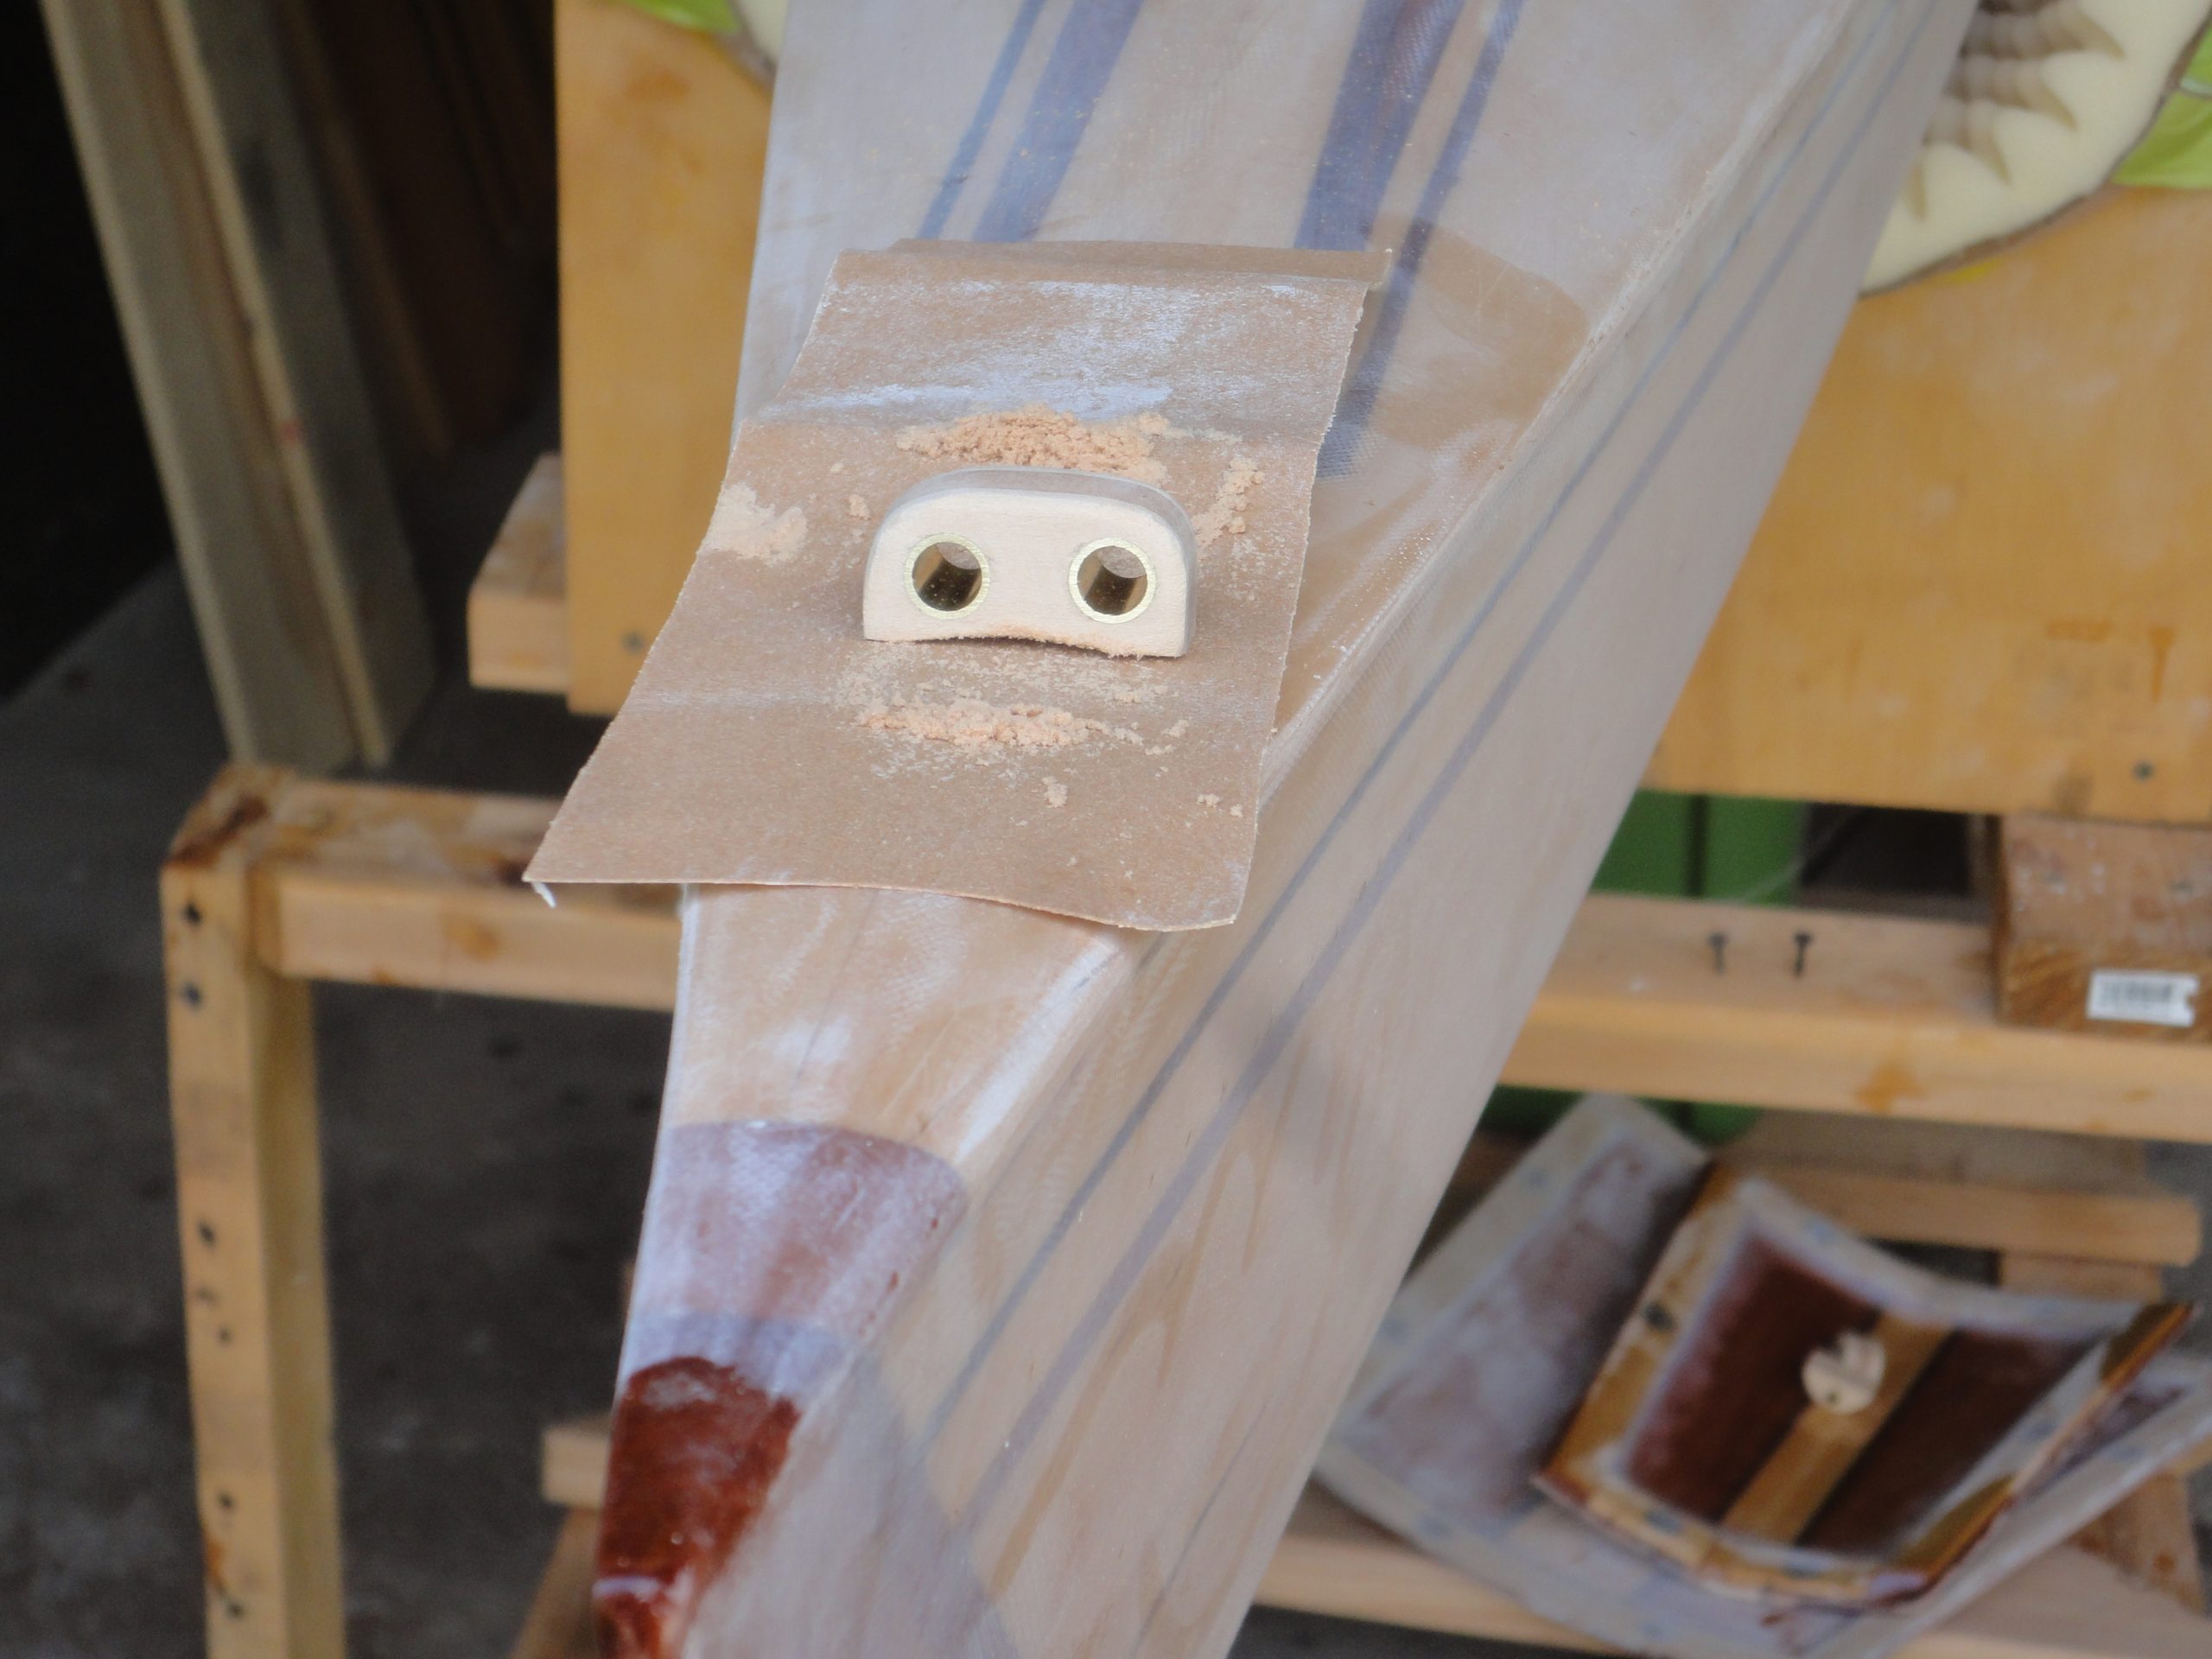
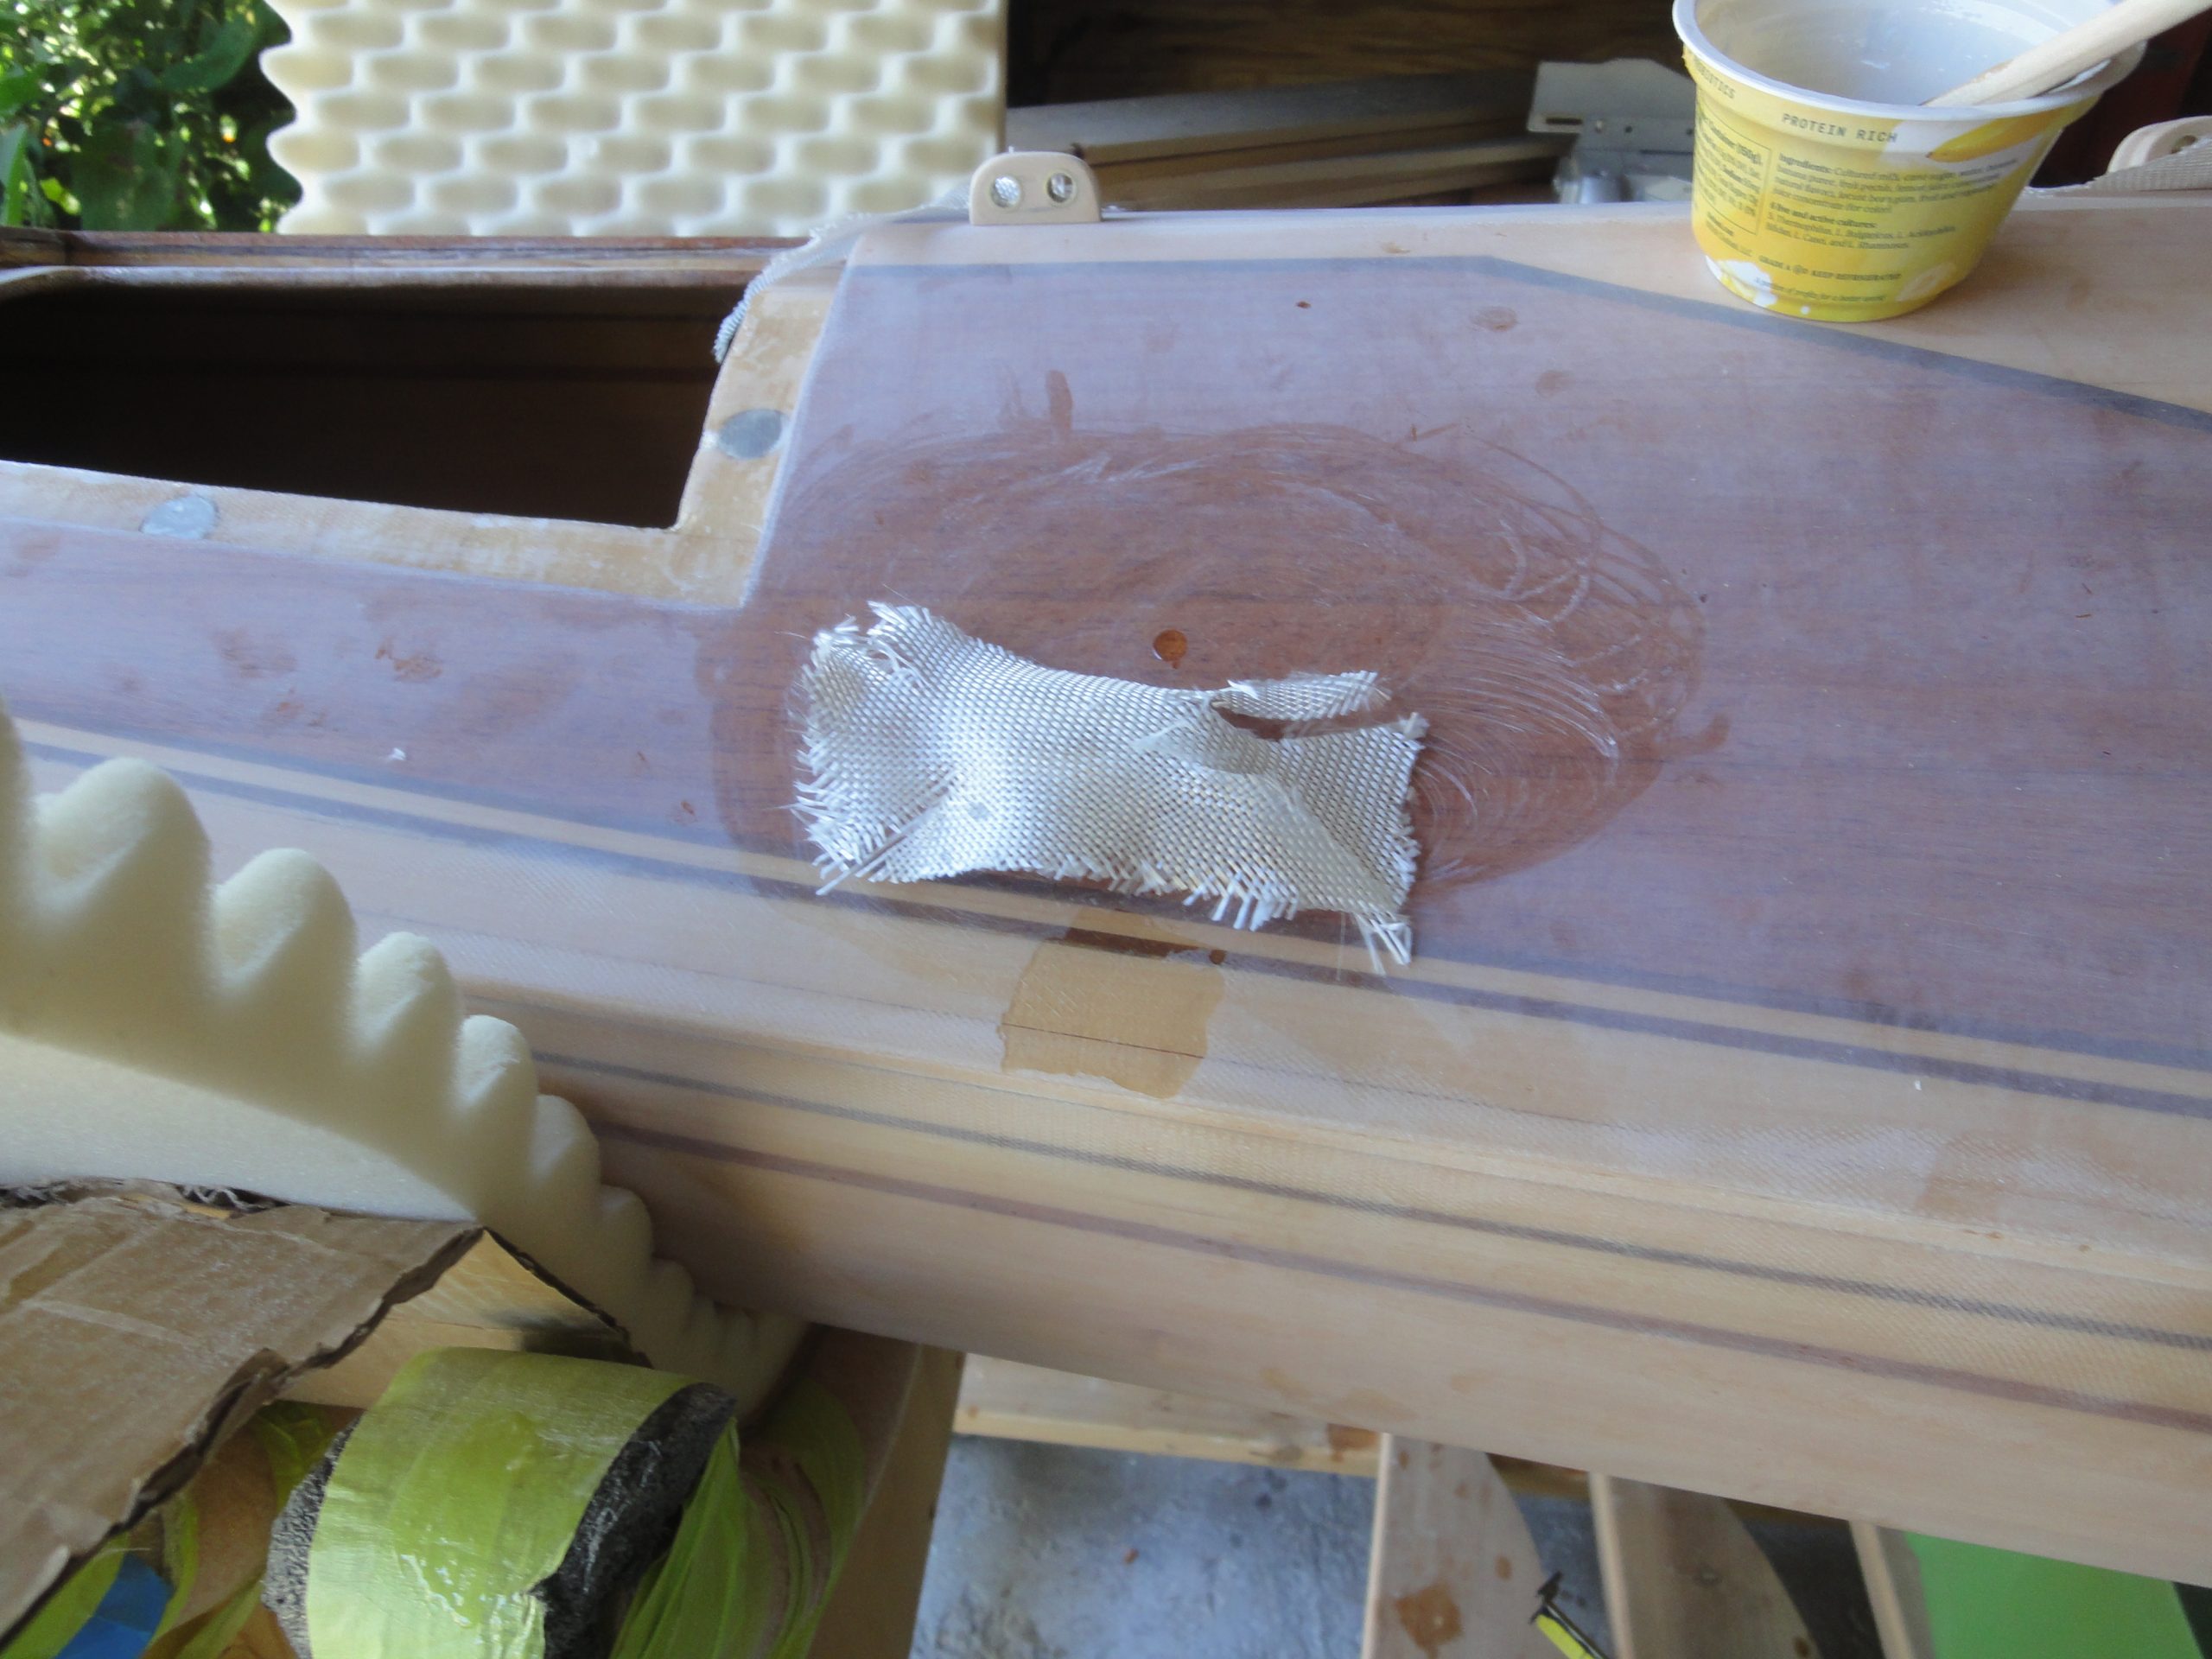
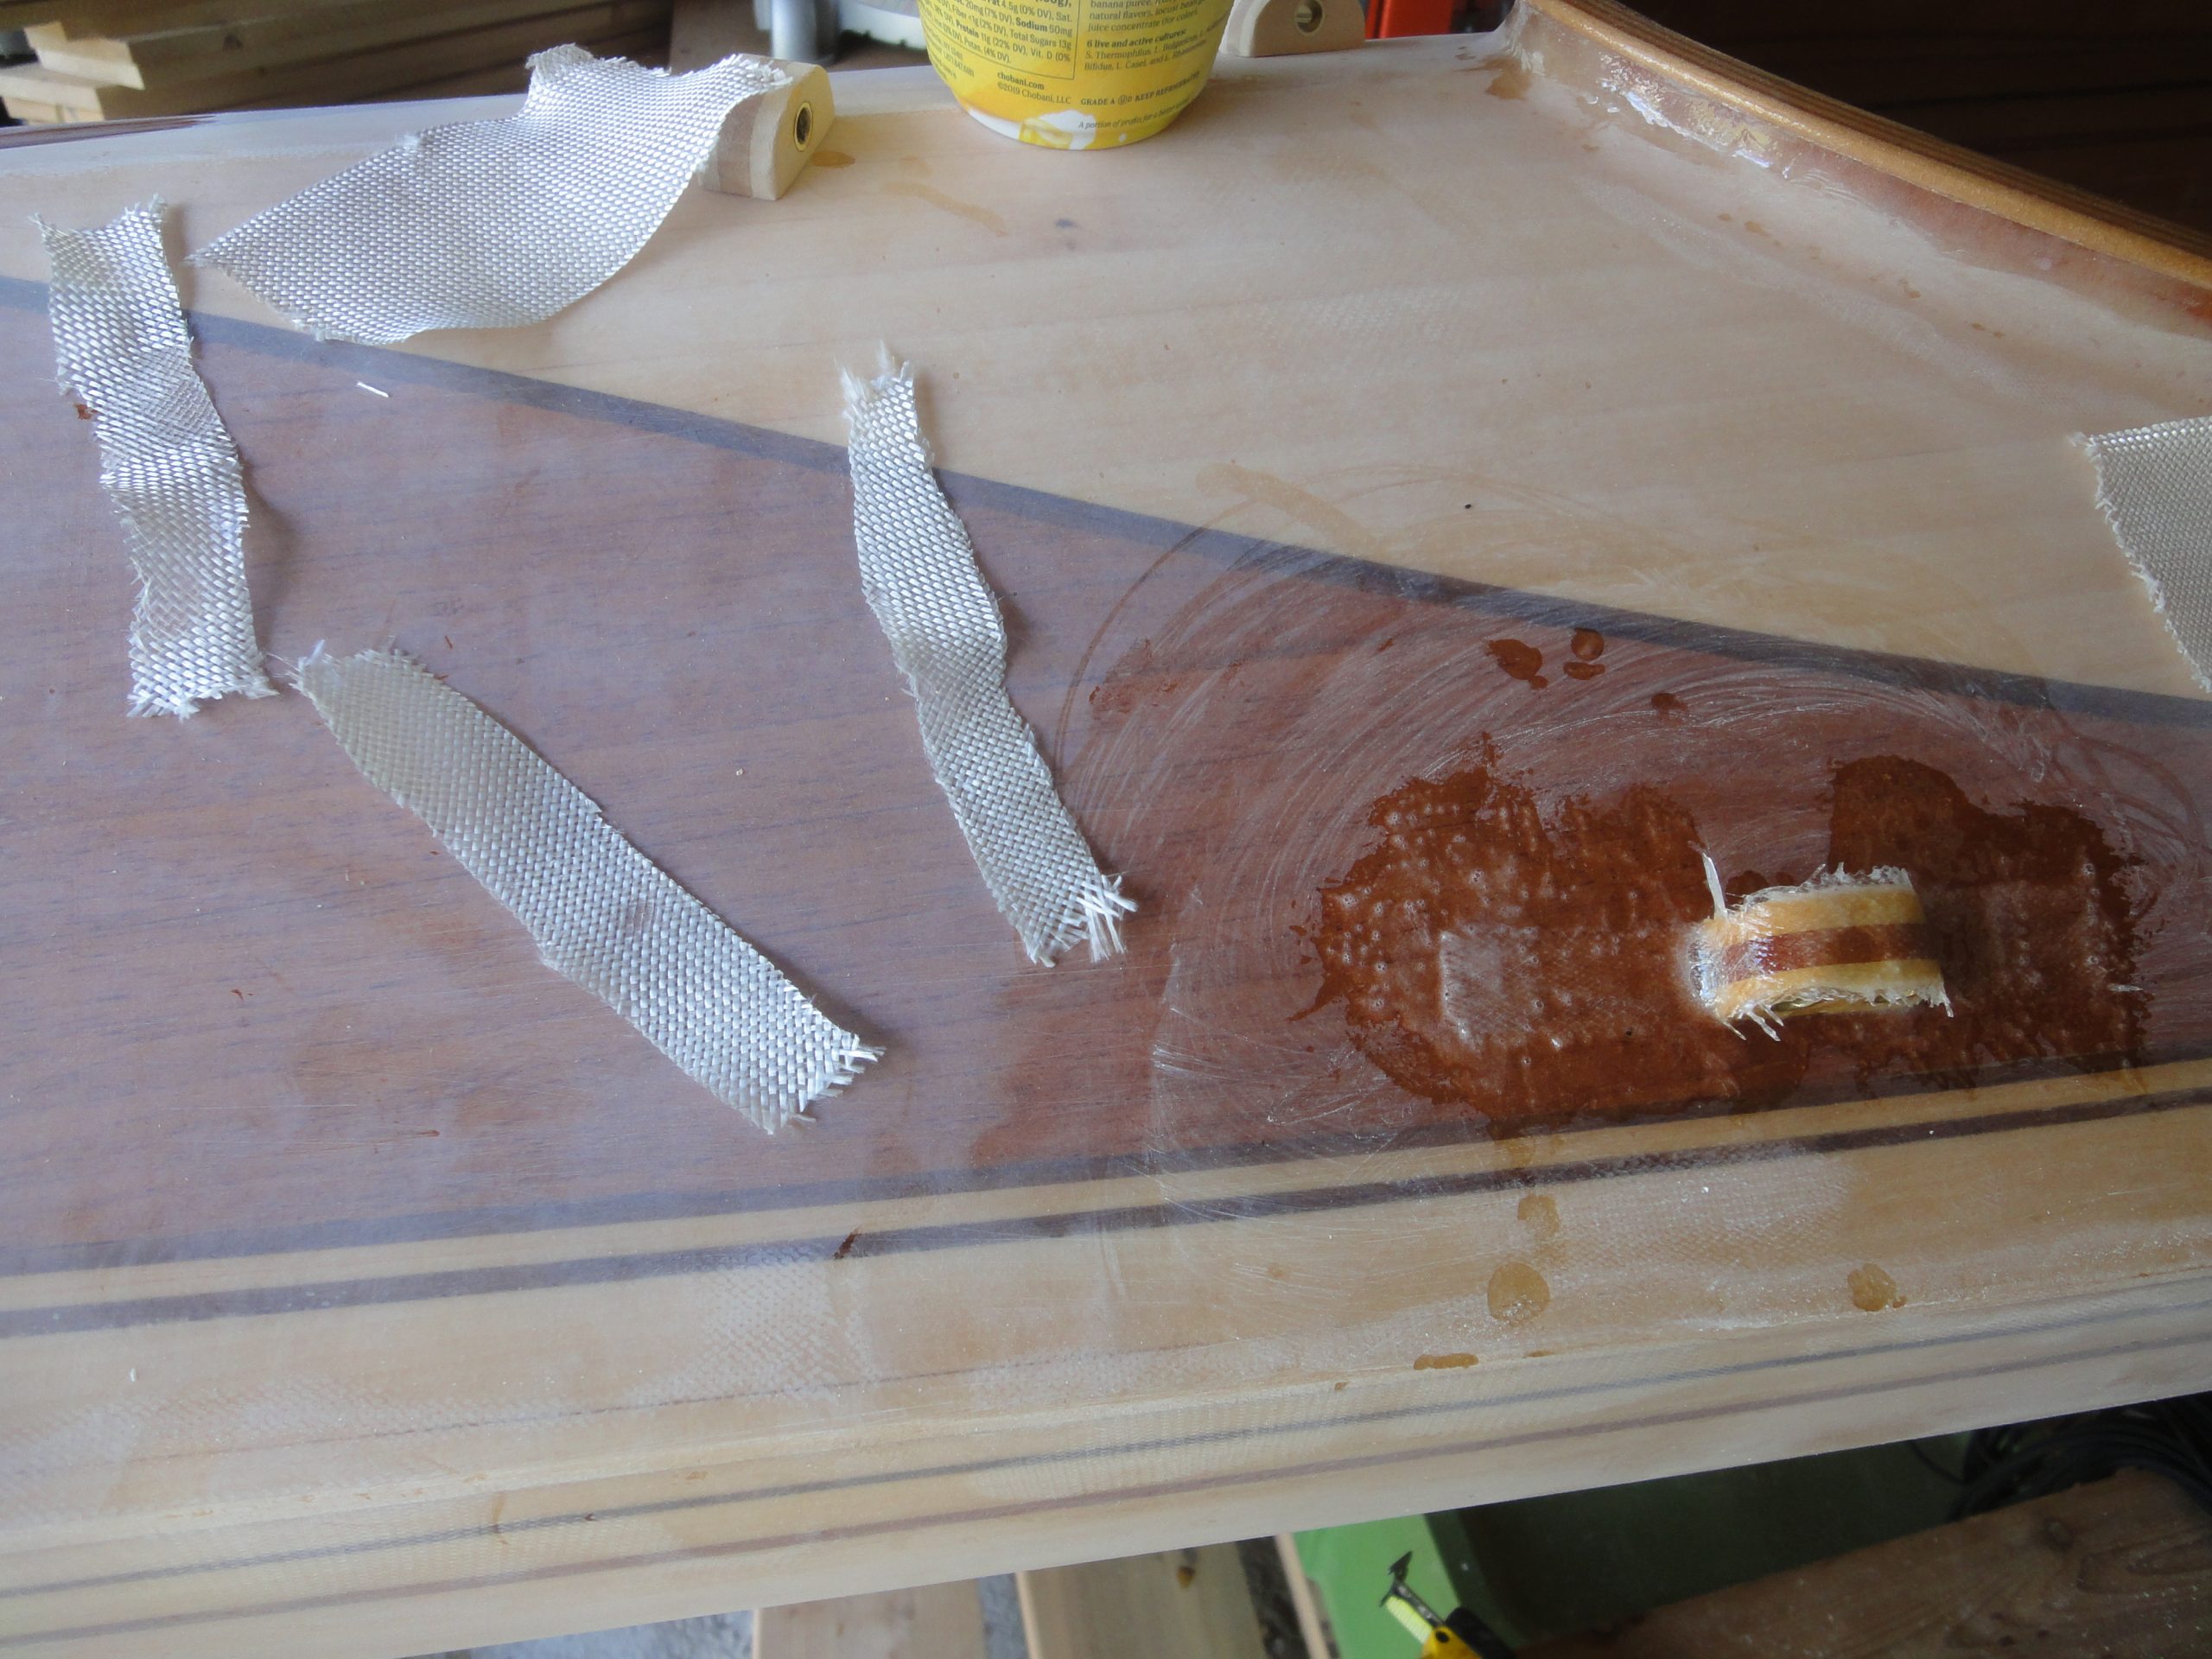
In preparation for attaching I did a bio-solvent (see below) cleaning of the areas, then roughed up with a coarser sand paper to allow for better adhesion of the epoxy. After measuring to determine where each would go I was ready to install. Each line guide had epoxy applied to the bottom and then was positioned on the deck. Measurements were reconfirmed to ensure each was in the planned spot.
At first I cut a patch of fiberglass to go over them but even with snipping the corners (or sides) and using bias cut tape it just wasn’t conforming well. After struggling through a couple I switched to a strip of fiberglass instead which worked much better. With the first two still wet I removed the fiberglass and changed them to a strip too. Standard application, wet out the glass, squish it in to remove bubbles and ensure good contact, etc.

On a separate note I ordered (and received already) the deck line and bungie cord from CLC. I went with just simple black as I think any other colors would have detracted from the overall appearance.
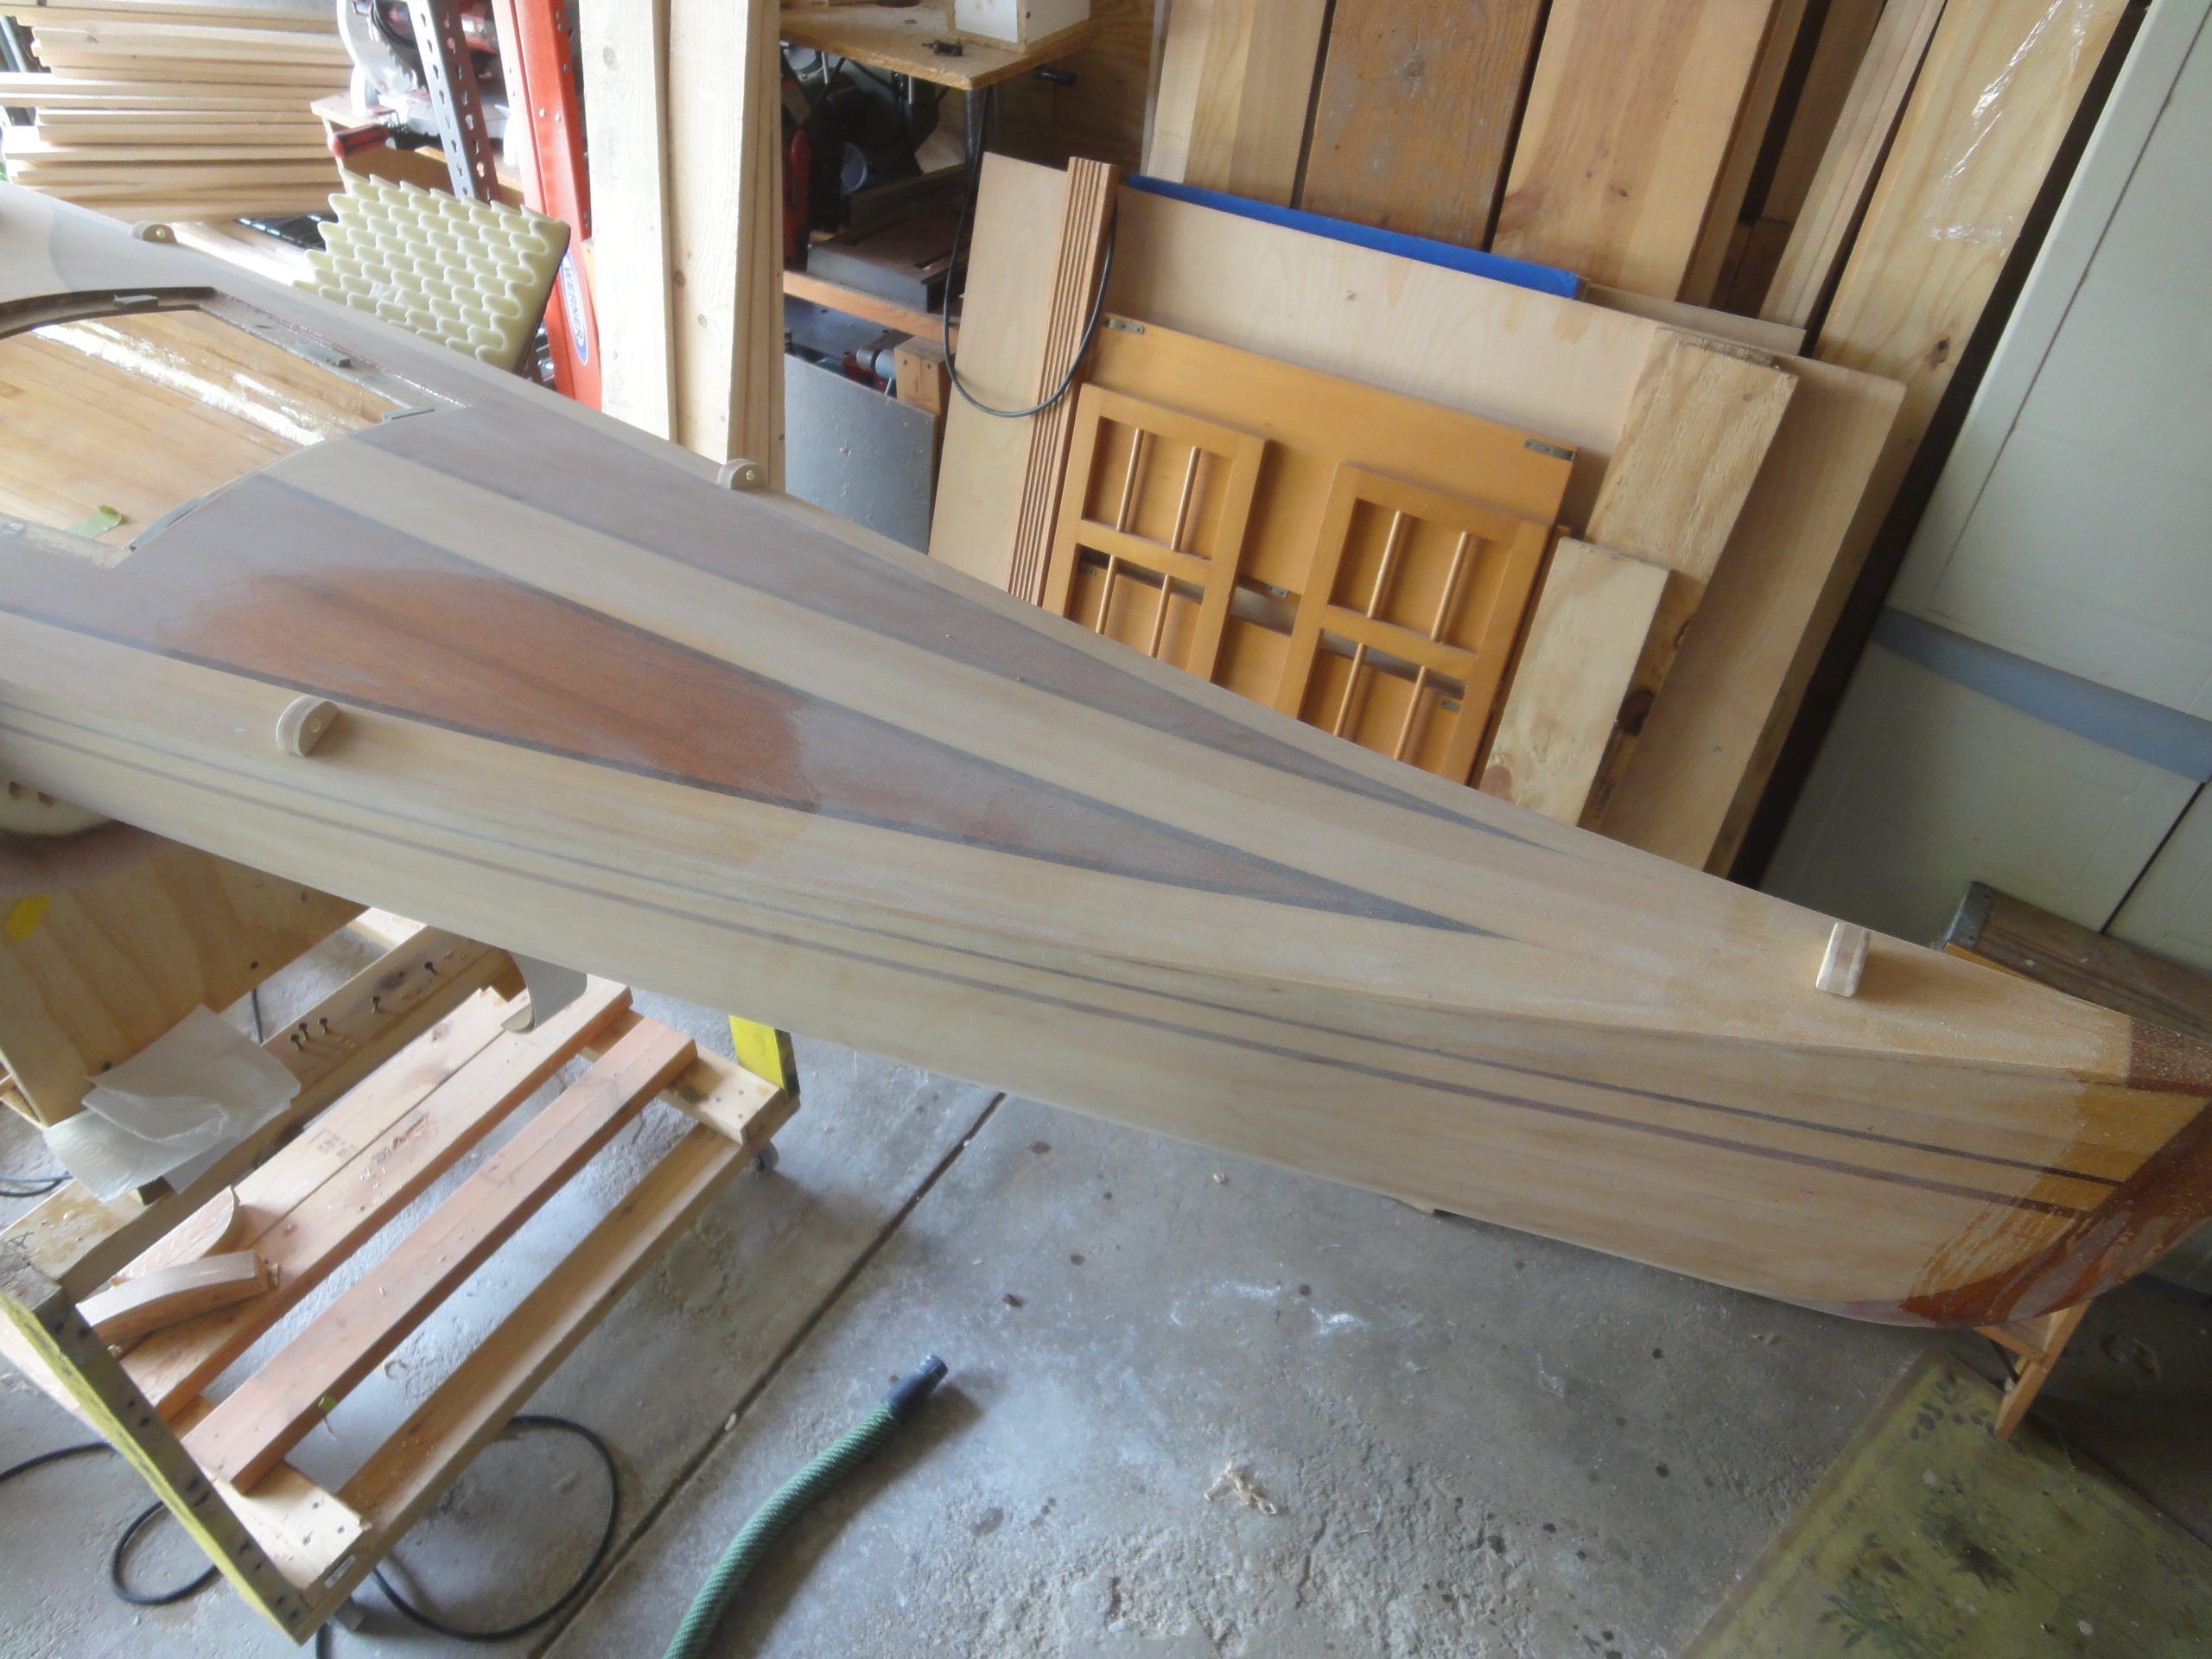
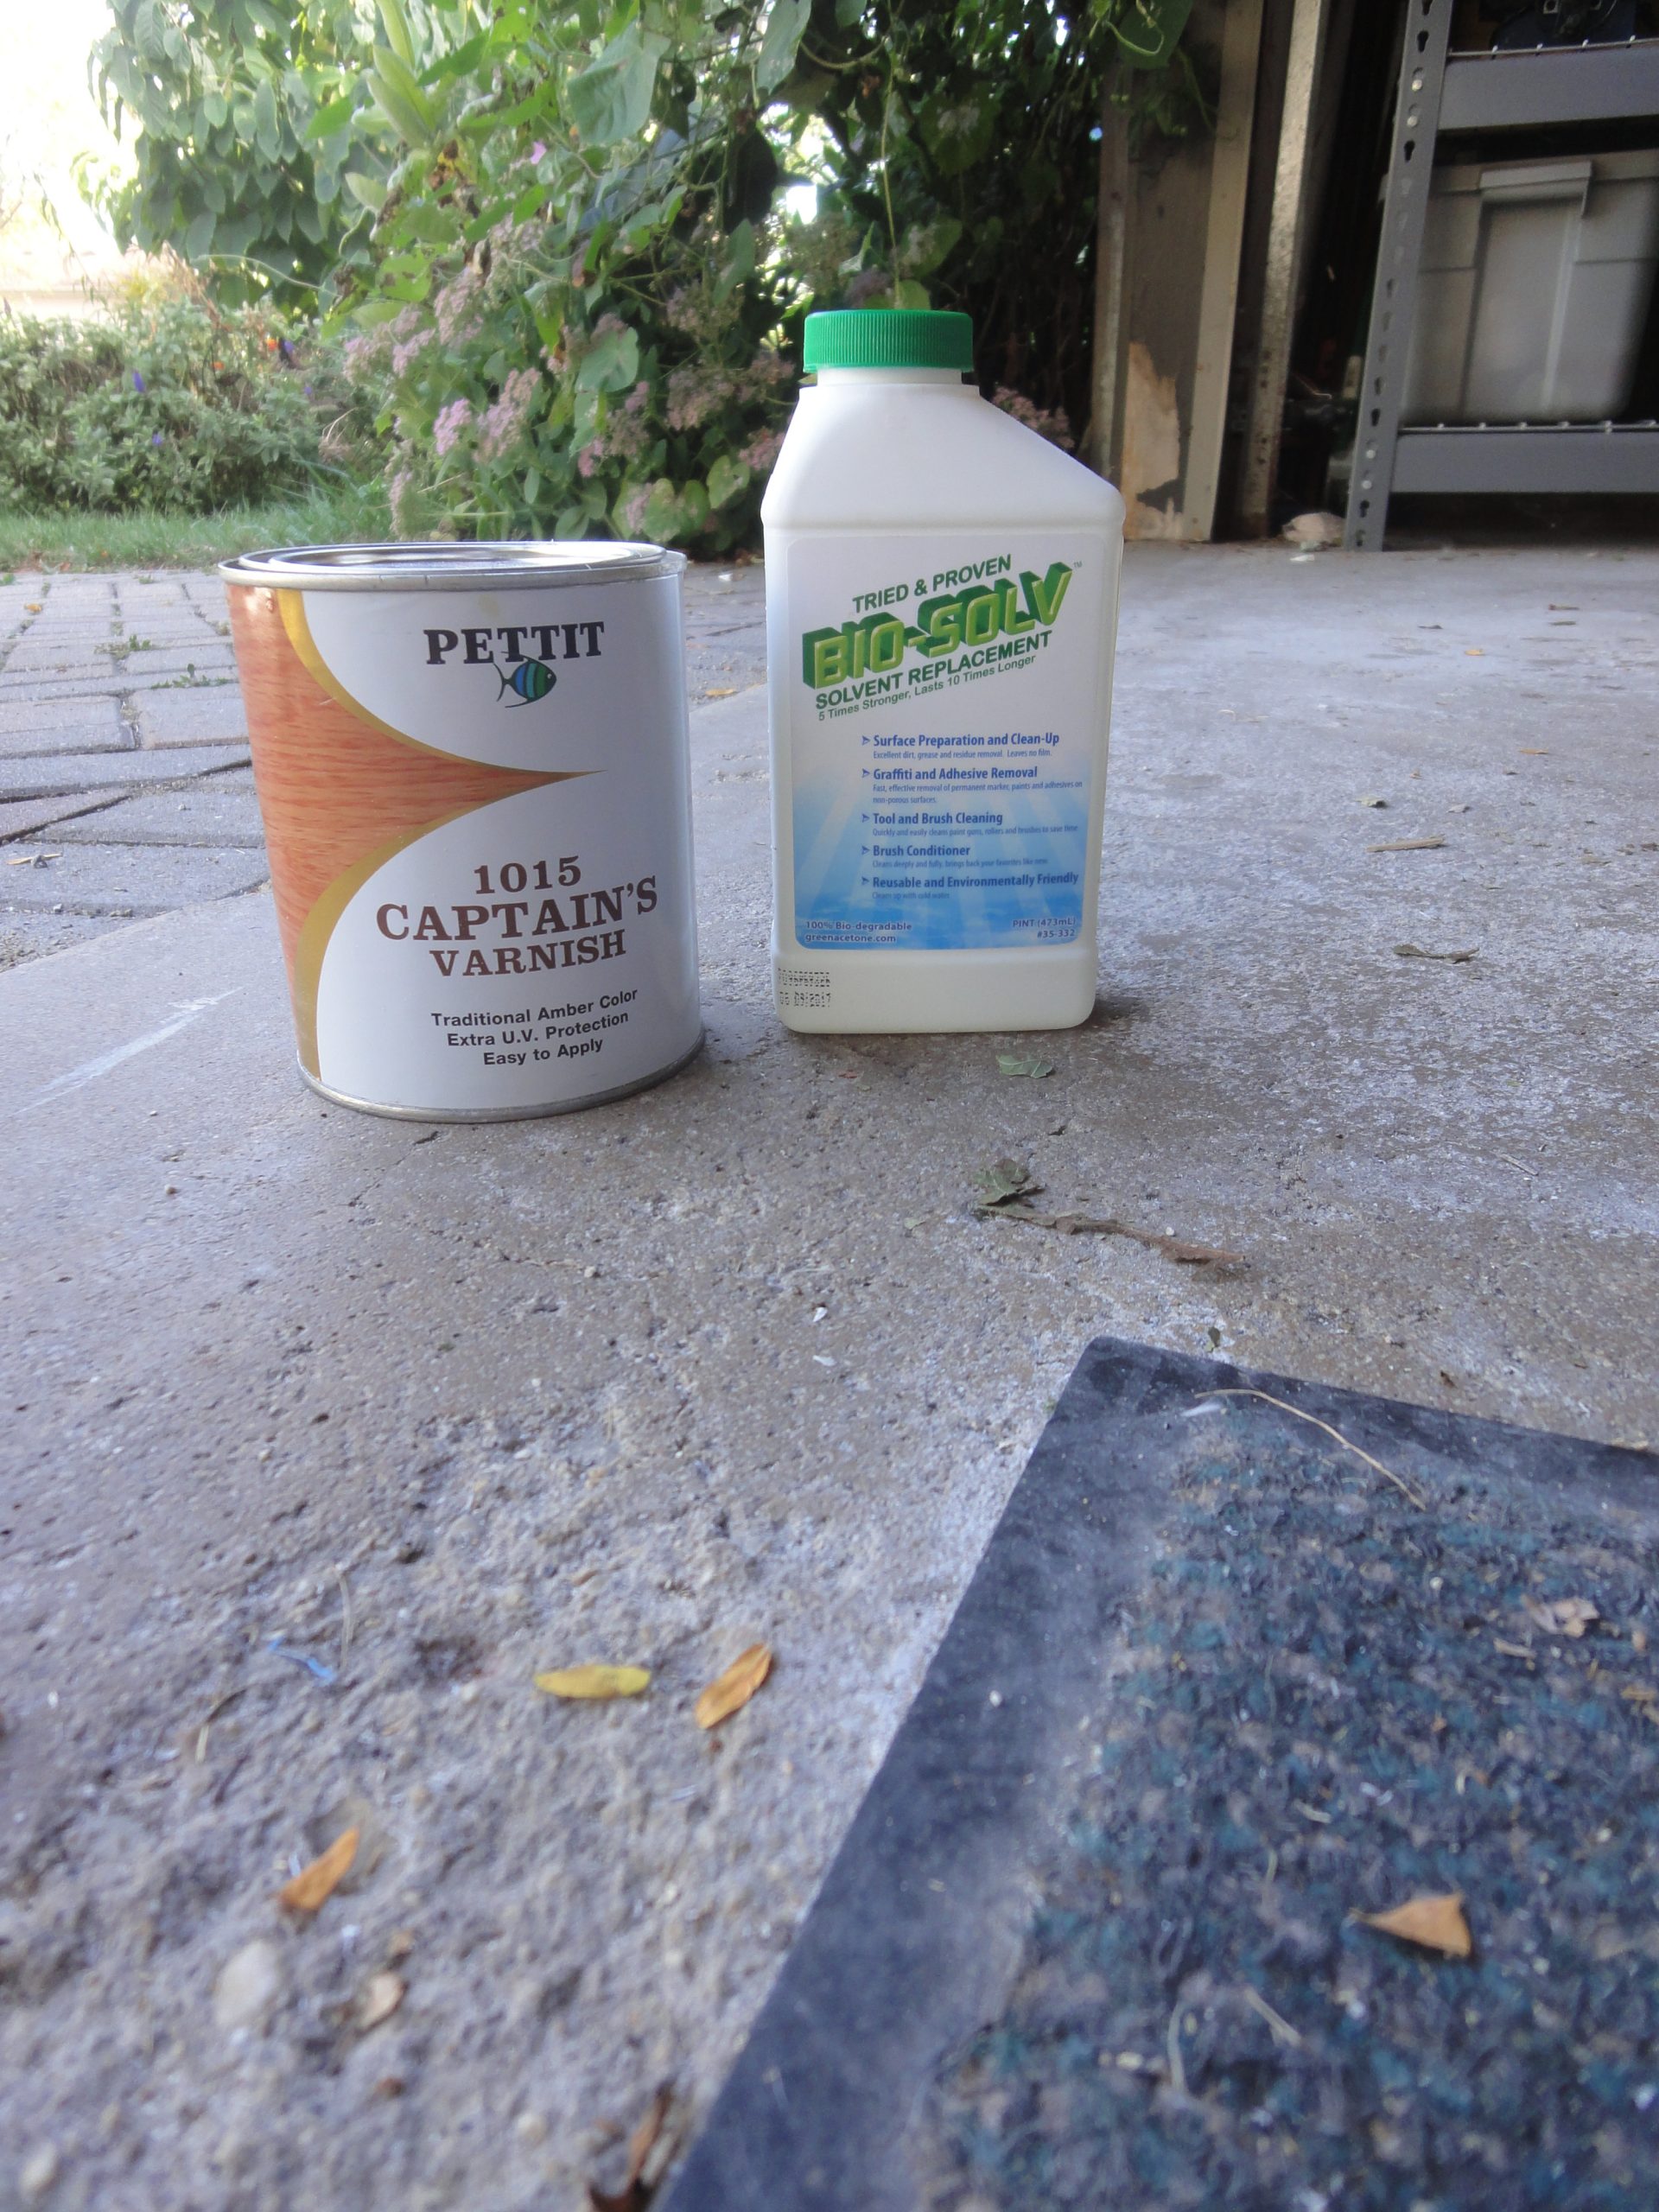
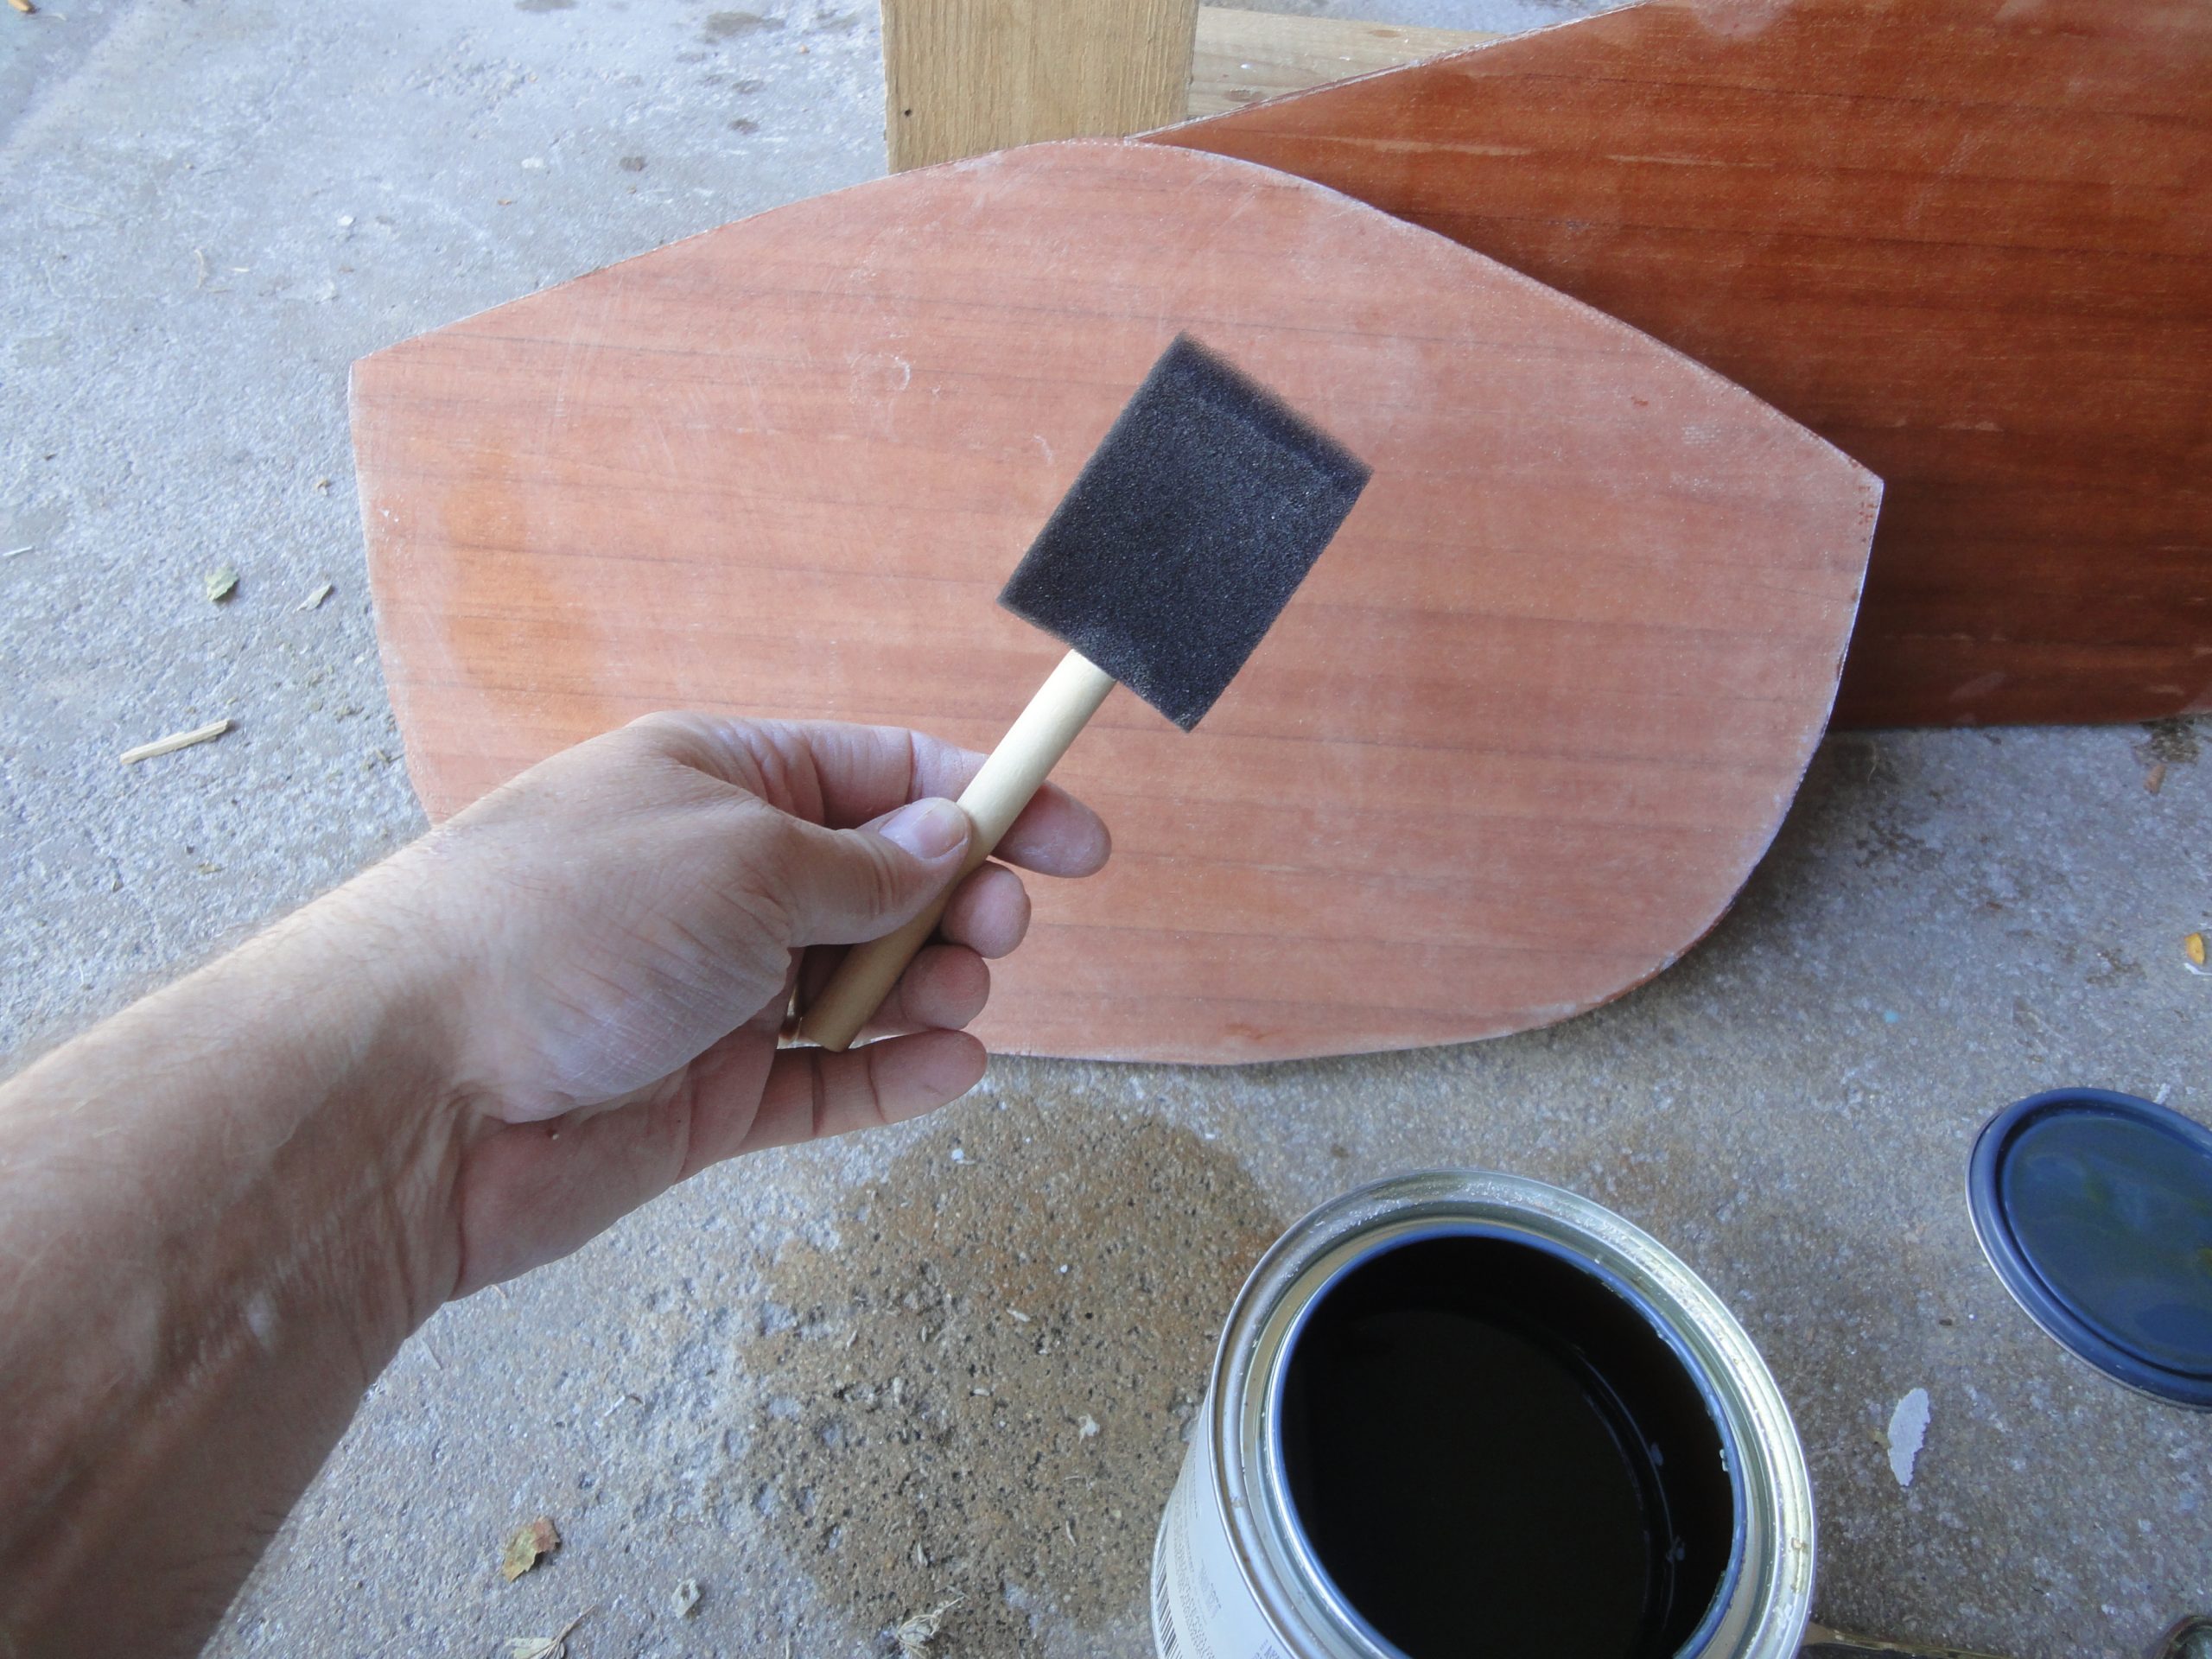
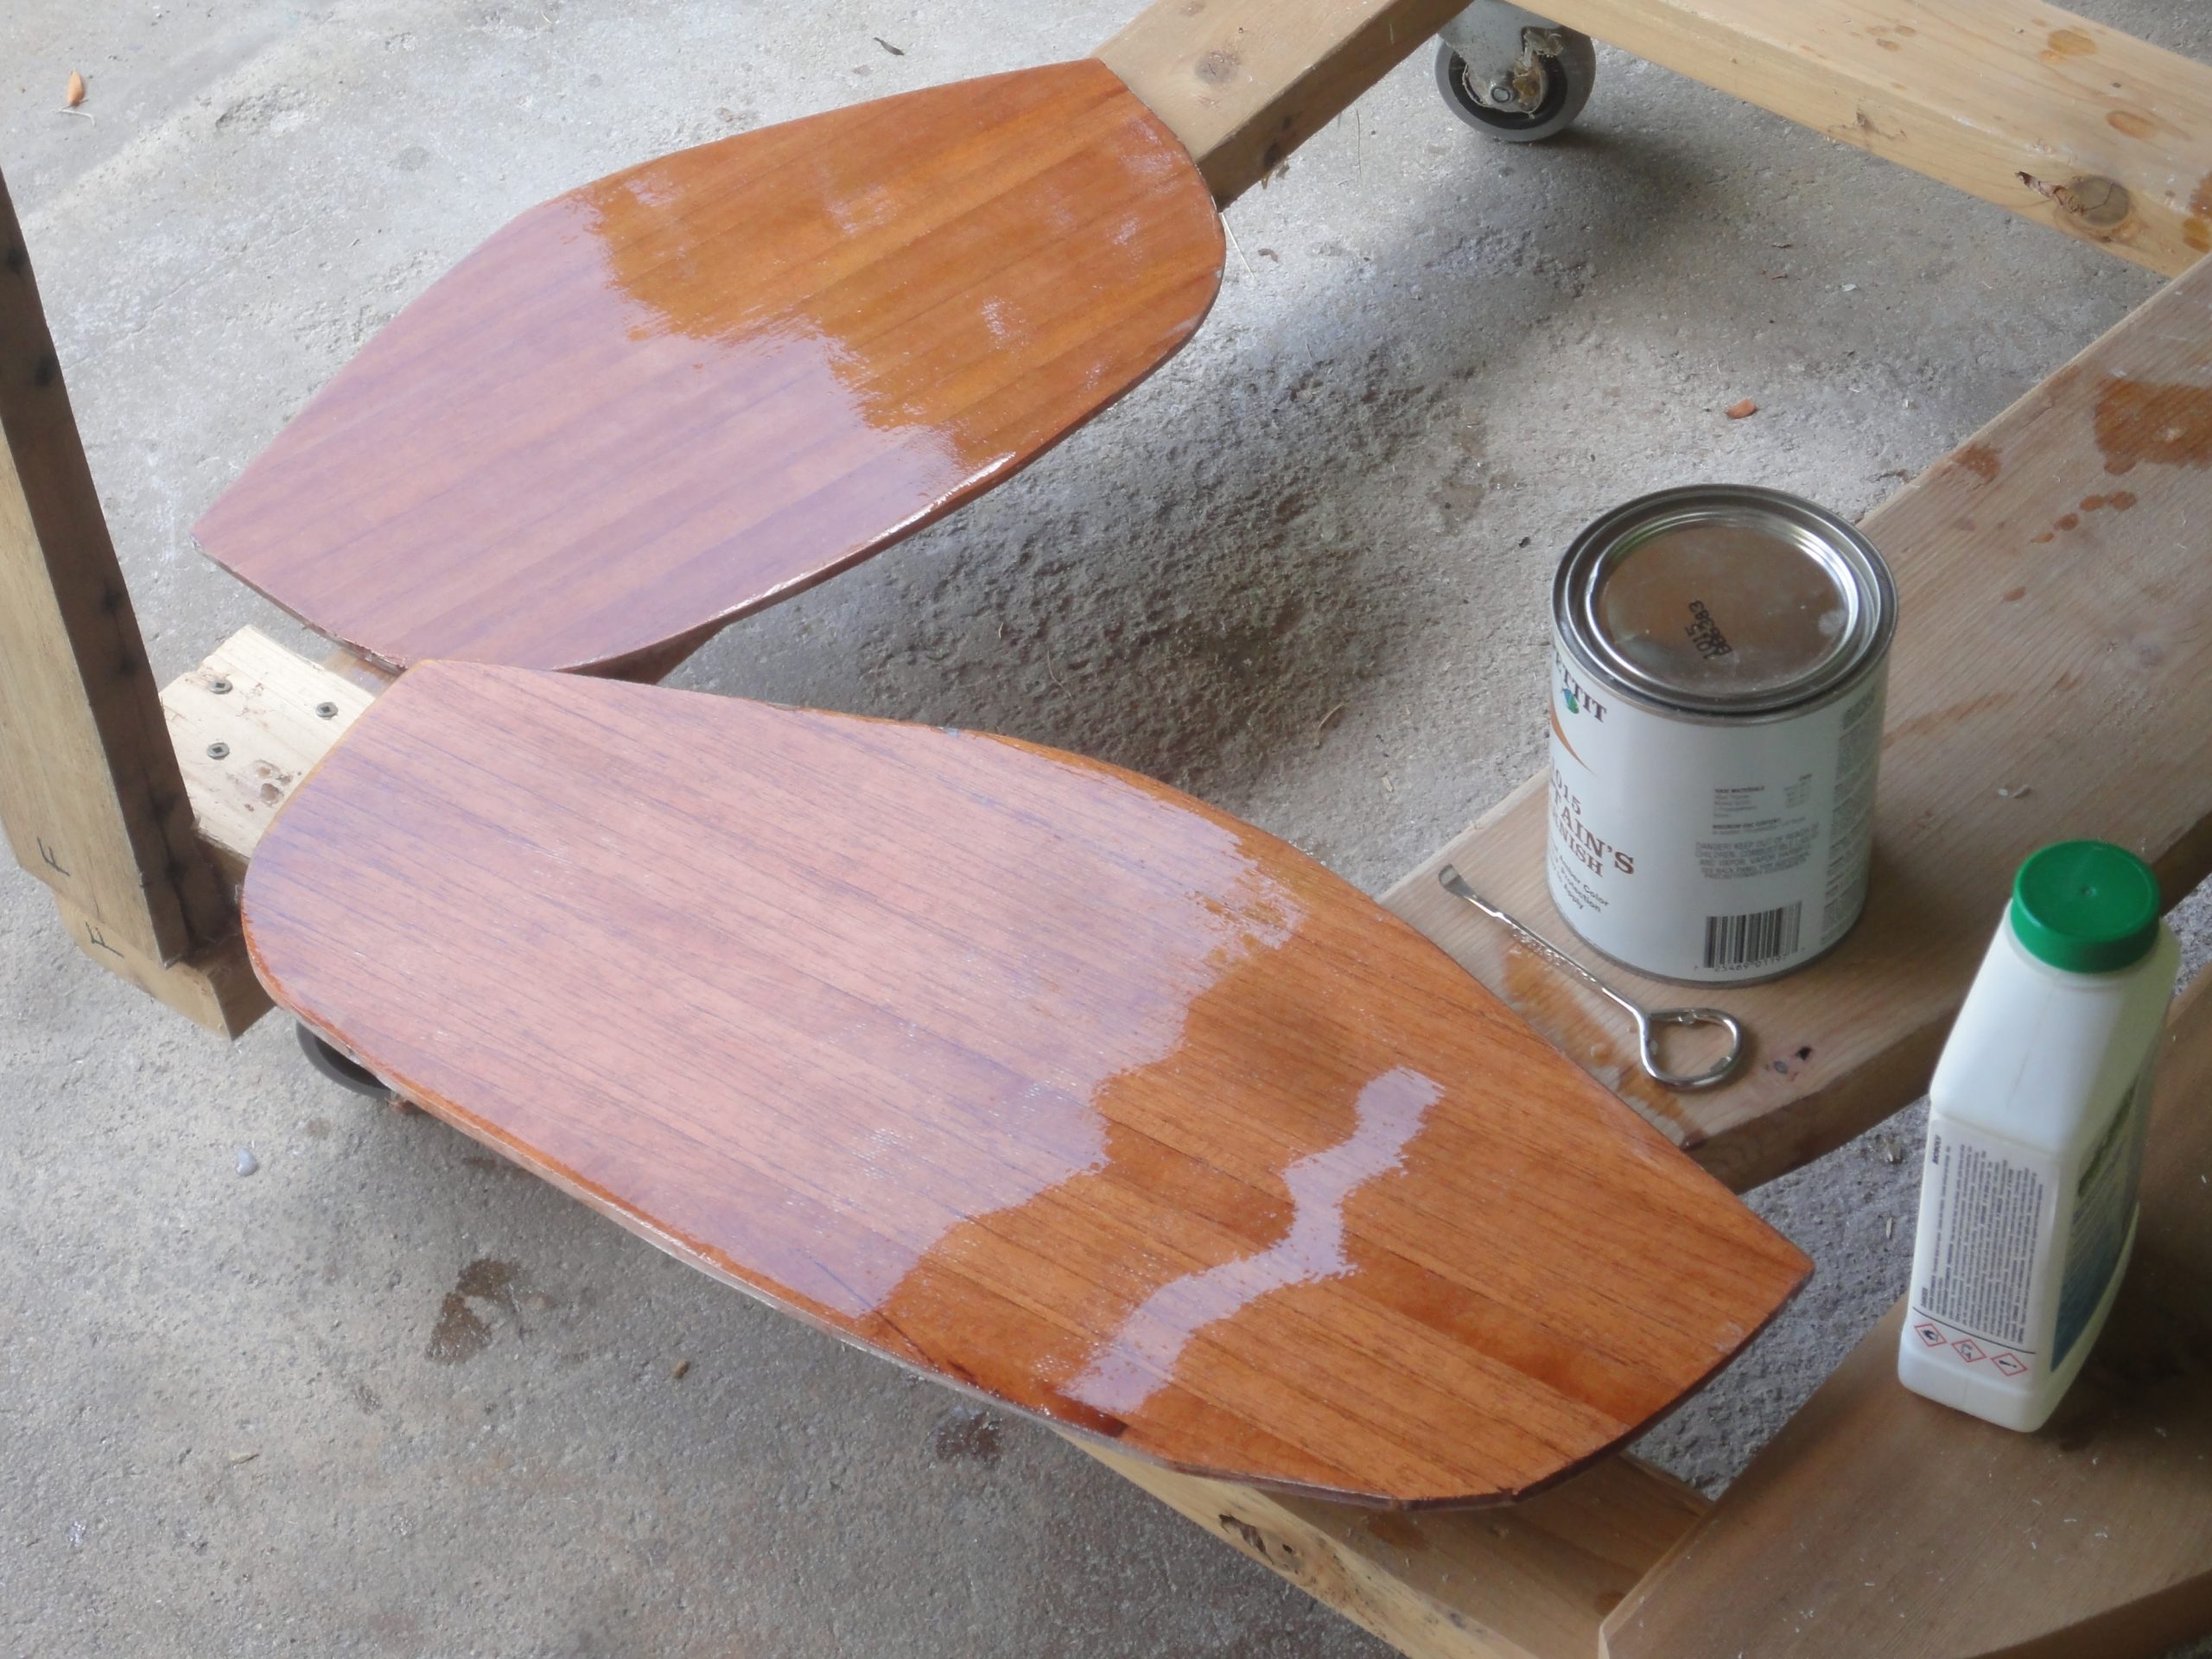
Bio-Solv was used for cleaning any dust and contaminants from the surface. And the varnish, Pettit Captain’s Varnish 1015, is what I’m planning to apply as the final finish. Figuring that the best place to experiment with the application of the varnish was the bulkheads since no one will really ever see them I went ahead and wiped them down with the Bio-Solv. Once it dissipated off I used a basic foam brush and brushed on the first coat of the varnish.
I used the same cross hatch pattern as when I did the sanding. Back and forth, up and down and then back and forth again. This was done in sections (basically one half of a bulkhead side) and then I worked the next section into the wet edge (as suggested on Pettit’s instructions on their web site). Really pretty simple to apply. I’ll have to wait for it to dry to see how well the coat took. At least wet it has a “wet” look. I’m expecting after 4+ coats it should retain that look even while dry. The varnish, besides providing a shine look is actually quite important as it is a UV protectant. Sun on the exposed epoxy will start to break it down. The varnish helps stop this from happening. It also takes the brunt of any small dings or scratches allowing for easier refinishing if/when necessary.
While brushing on varnish may not require experimenting, determining how many coats, how to sand (or not to) between them and such will be the experiment part. Once I have it worked out on the bulk heads then I can apply the same technique to the rest of the kayak.

The to do list is shrinking pretty much ever time I get a chance to work on it now. But I did have to add one item… final hatch fitting and sealing. The hatch openings will need a bit of work in terms of sanding and smoothing before I can install the seal tape (more about this in a later entry). I’ve also been researching if the end pours are actually needed. Seems there is some debate on this. If I drill by tie down holes and have solid material all the way through then the end pour will probably not be necessary. But if I hit space then it probably will be. Perhaps tomorrow I can work on these.
- Drill/fit carry handle/tie down holes
- End pours – maybe?
- Install bulkheads
- Line guide fill coat(s) and sanding
- Hatch – final fitting
- Varnish, varnish, varnish