It’s almost the big day. The day that is pretty much the point of no return. Once the fiberglass and epoxy goes on, well what’s there is what I get. I watched a half dozen of Nick’s videos on fiberglassing (again) in the last few days as a refresher and I’m prepared to move forward.
To start with, a bunch of new materials and a few simple tools are going to be necessary. All are listed below and on the right with links for most. I actually ordered most of this from Chesapeake Light Craft‘s web site last summer in anticipation of getting to the fiberglassing before fall but if you’ve been following this work log you know that didn’t happen. So I brought all the supplies (still sealed) into the house for the winter so they would be stored at room temperature.
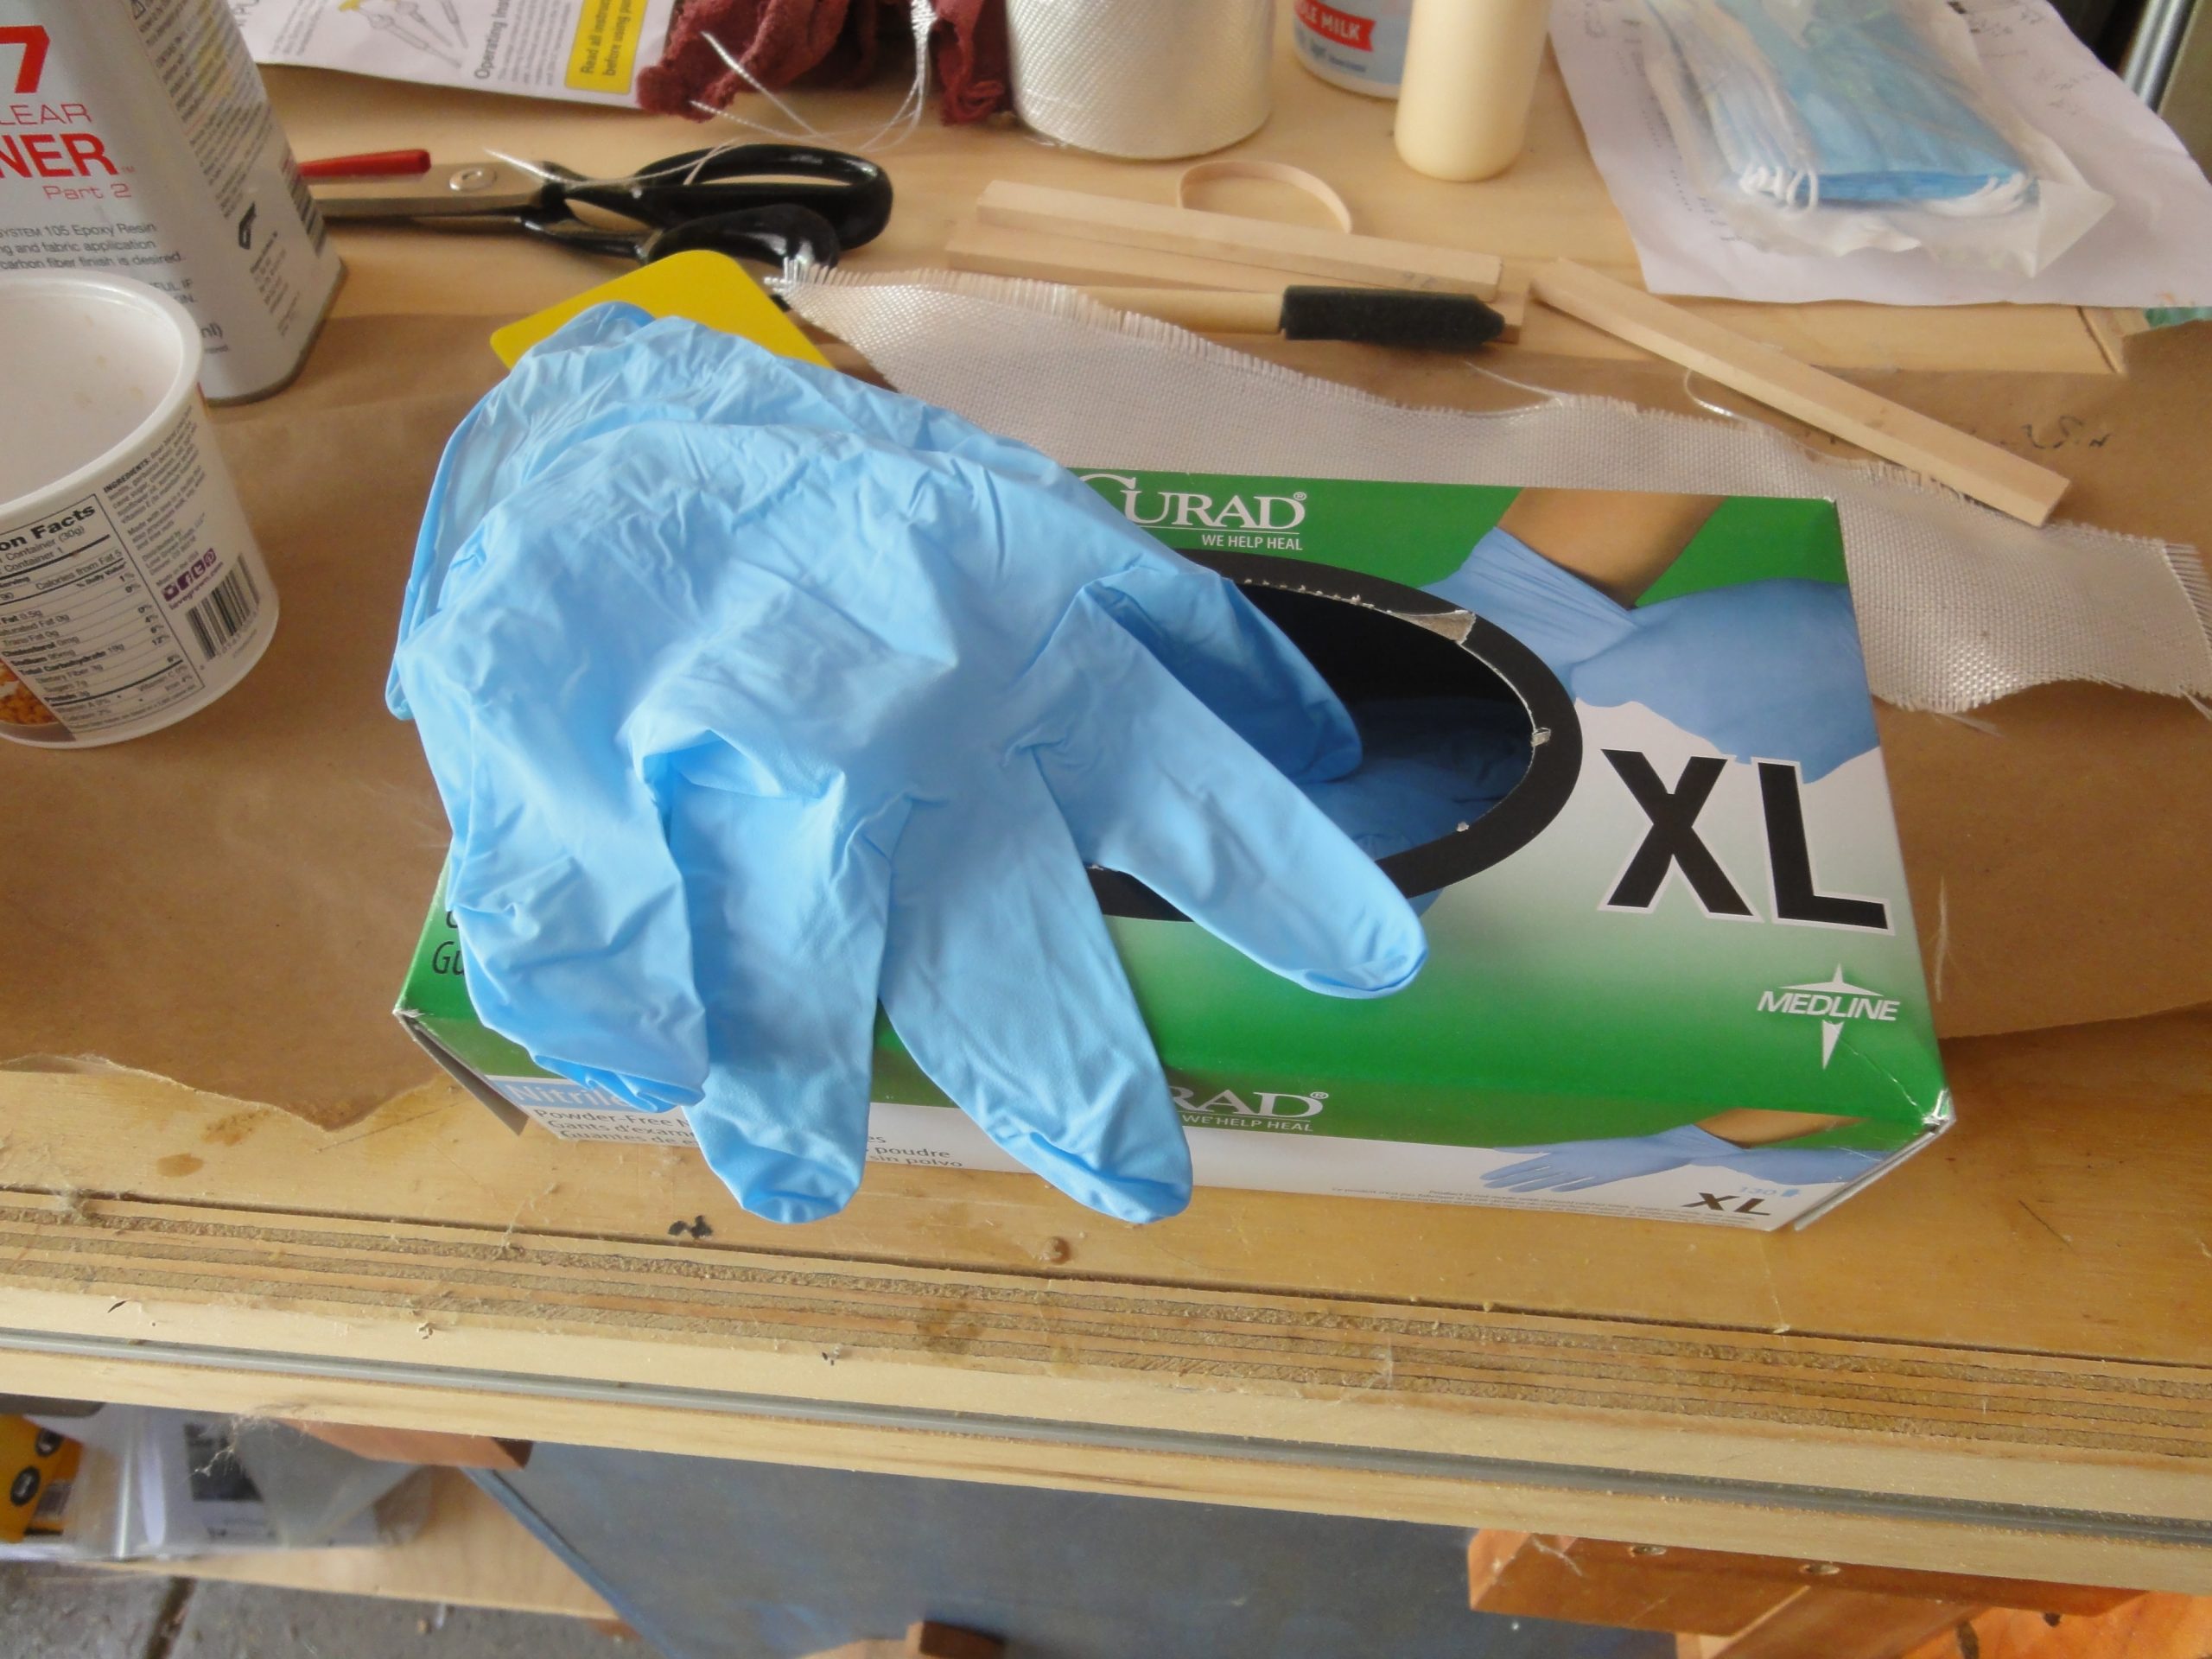
I selected the West Systems Epoxy using the 105 Resin and 207 Hardener, pretty much standards, if you’re going with West Systems, for kayak and canoe fiberglass applications. I also purchased some Collodial Adhesive filler and some Microfibers. Neither will be used at first but as I progress with the work they will come into play.
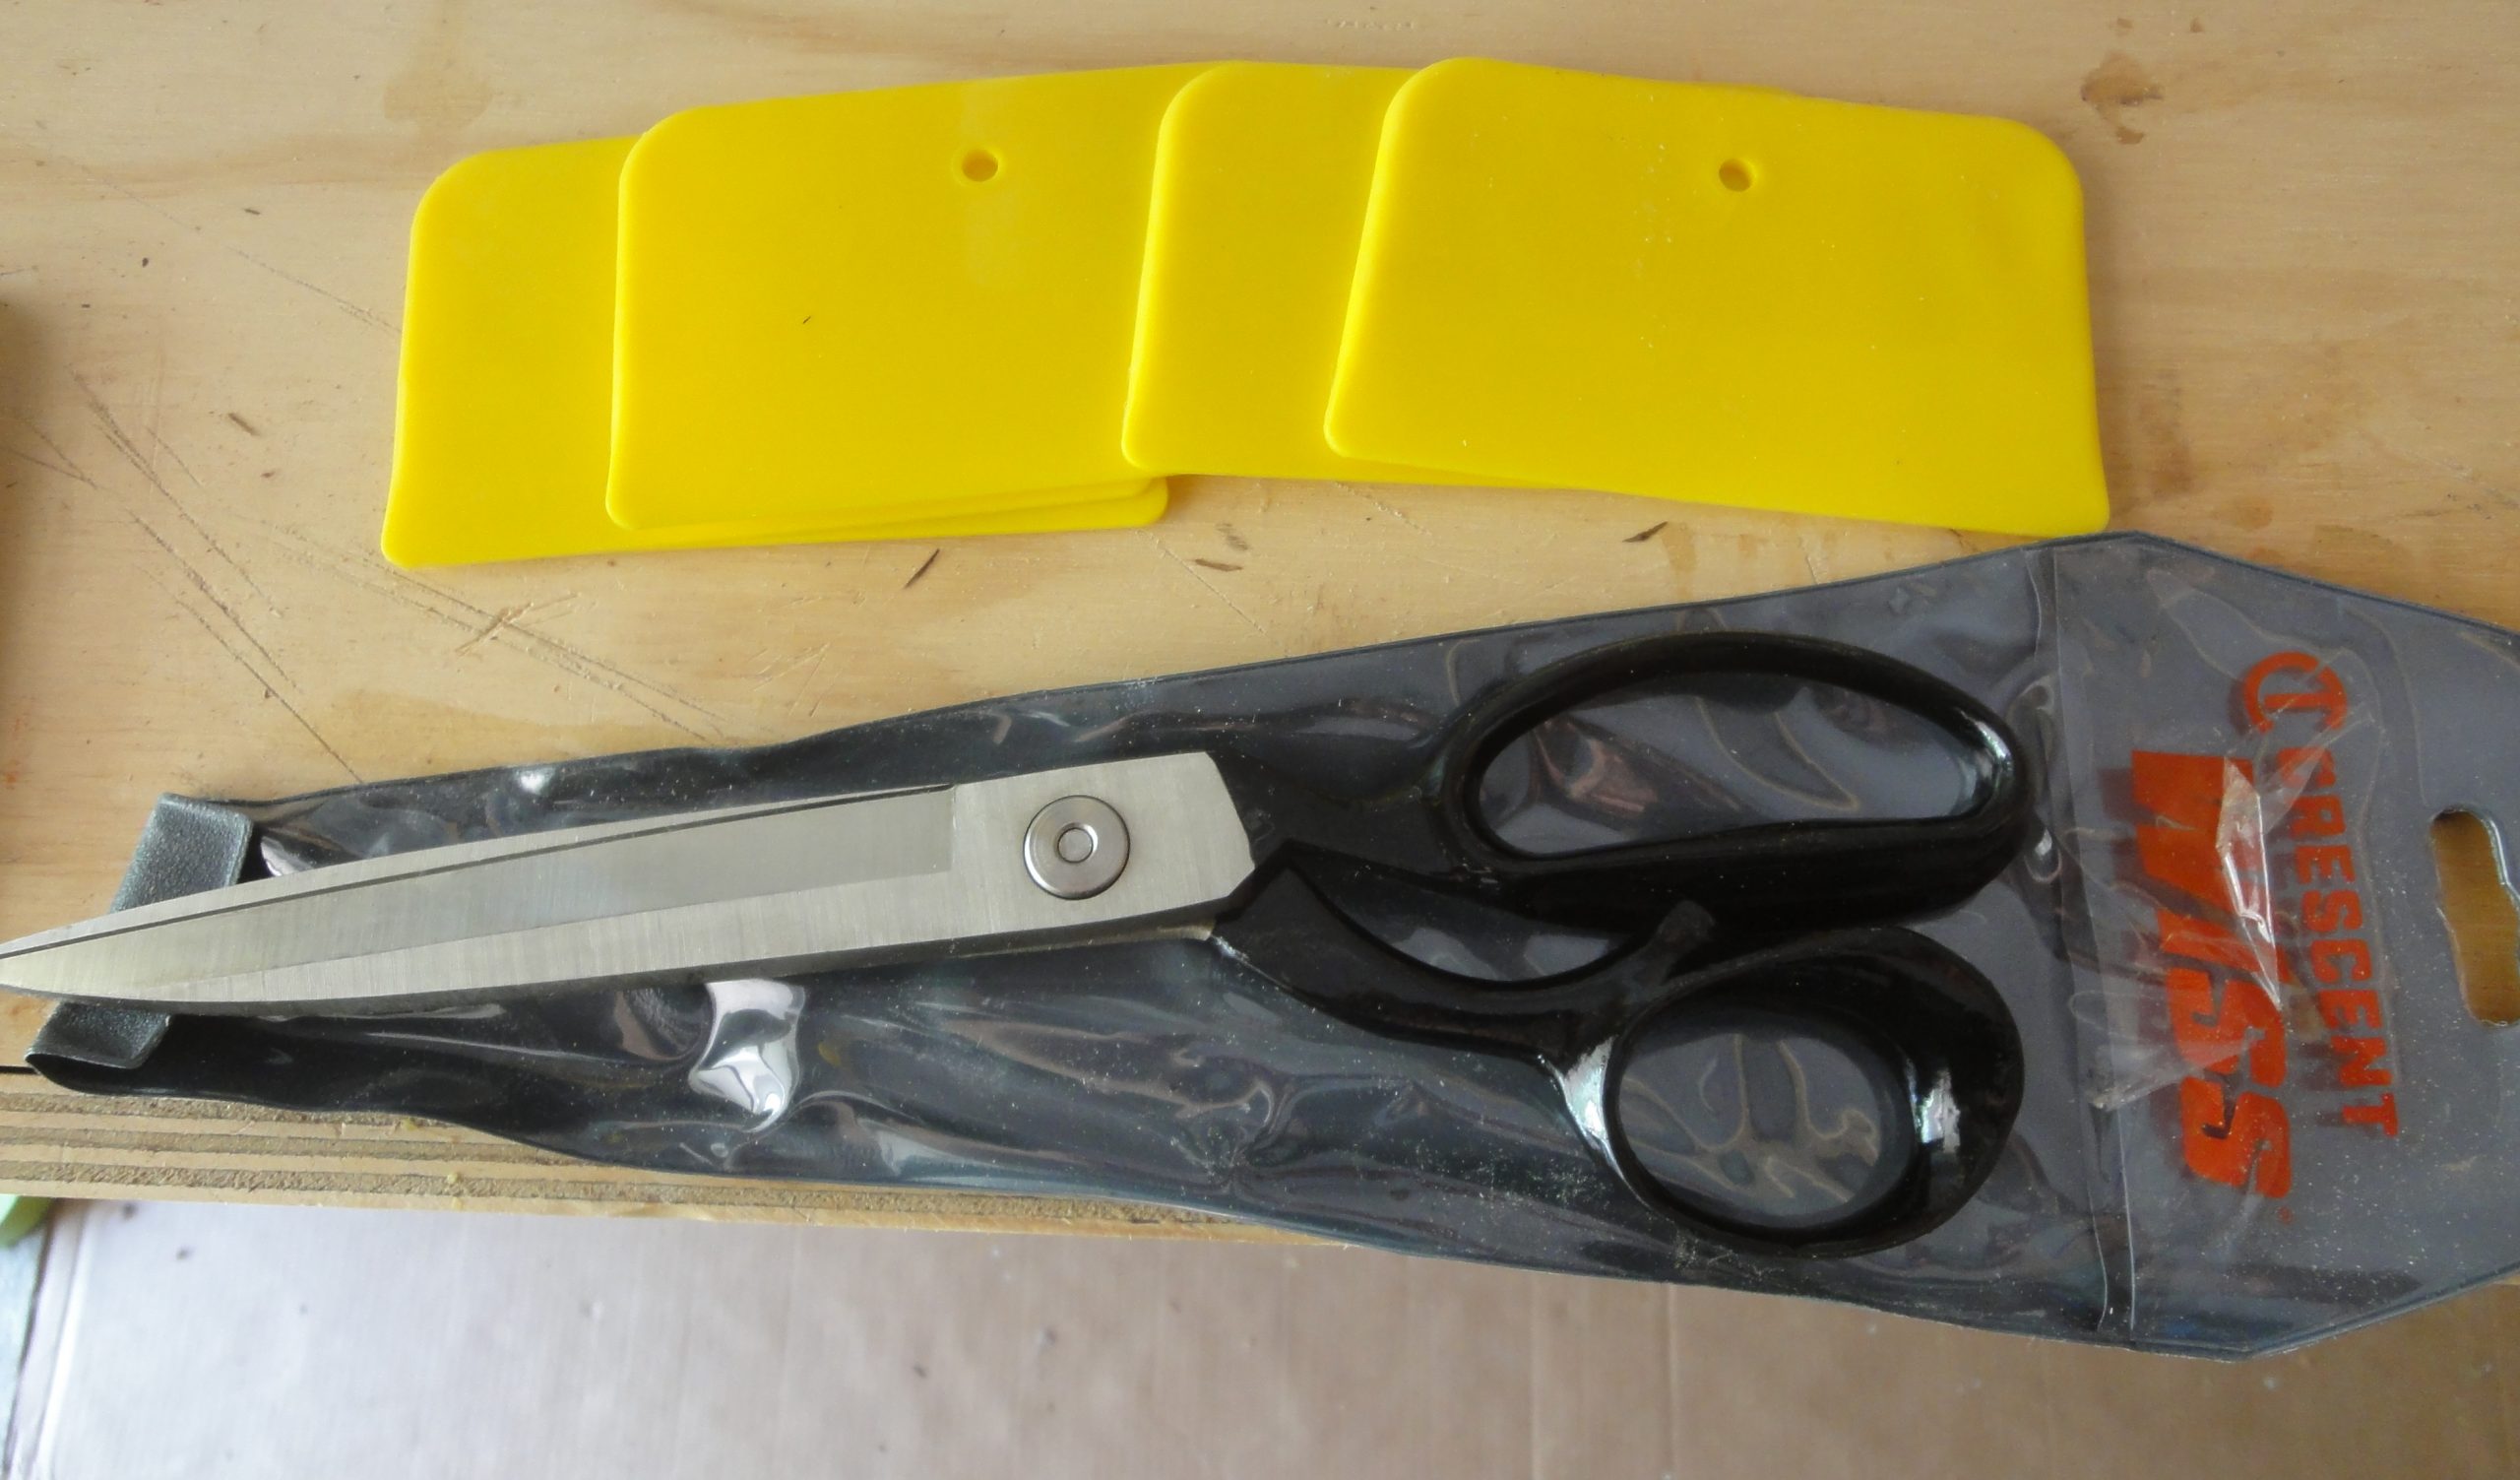
For the fiberglass I went with a 6 ounce cloth. I could have saved a bit of weight going with 4 ounce but then would have probably needed two pieces on the outside hull negating some of the savings. At 16’6″ (let’s say 17′) in length and I need hull and deck, inside and outside, that’s 17*4 or 68′. To be safe and have some cushion I got 26 yards or about 78′. This way if I wanted an extra application over part of the kayak or run into some other use I didn’t think of I should be covered. In addition I purchased the pre-cut 3″ roll which will be used on the seam (inside and out) between the deck and hull. For cutting the fiberglass I bought a pair of industrial shears (big, heavy fancy named scissors). Best not to use the kitchen scissors for this.
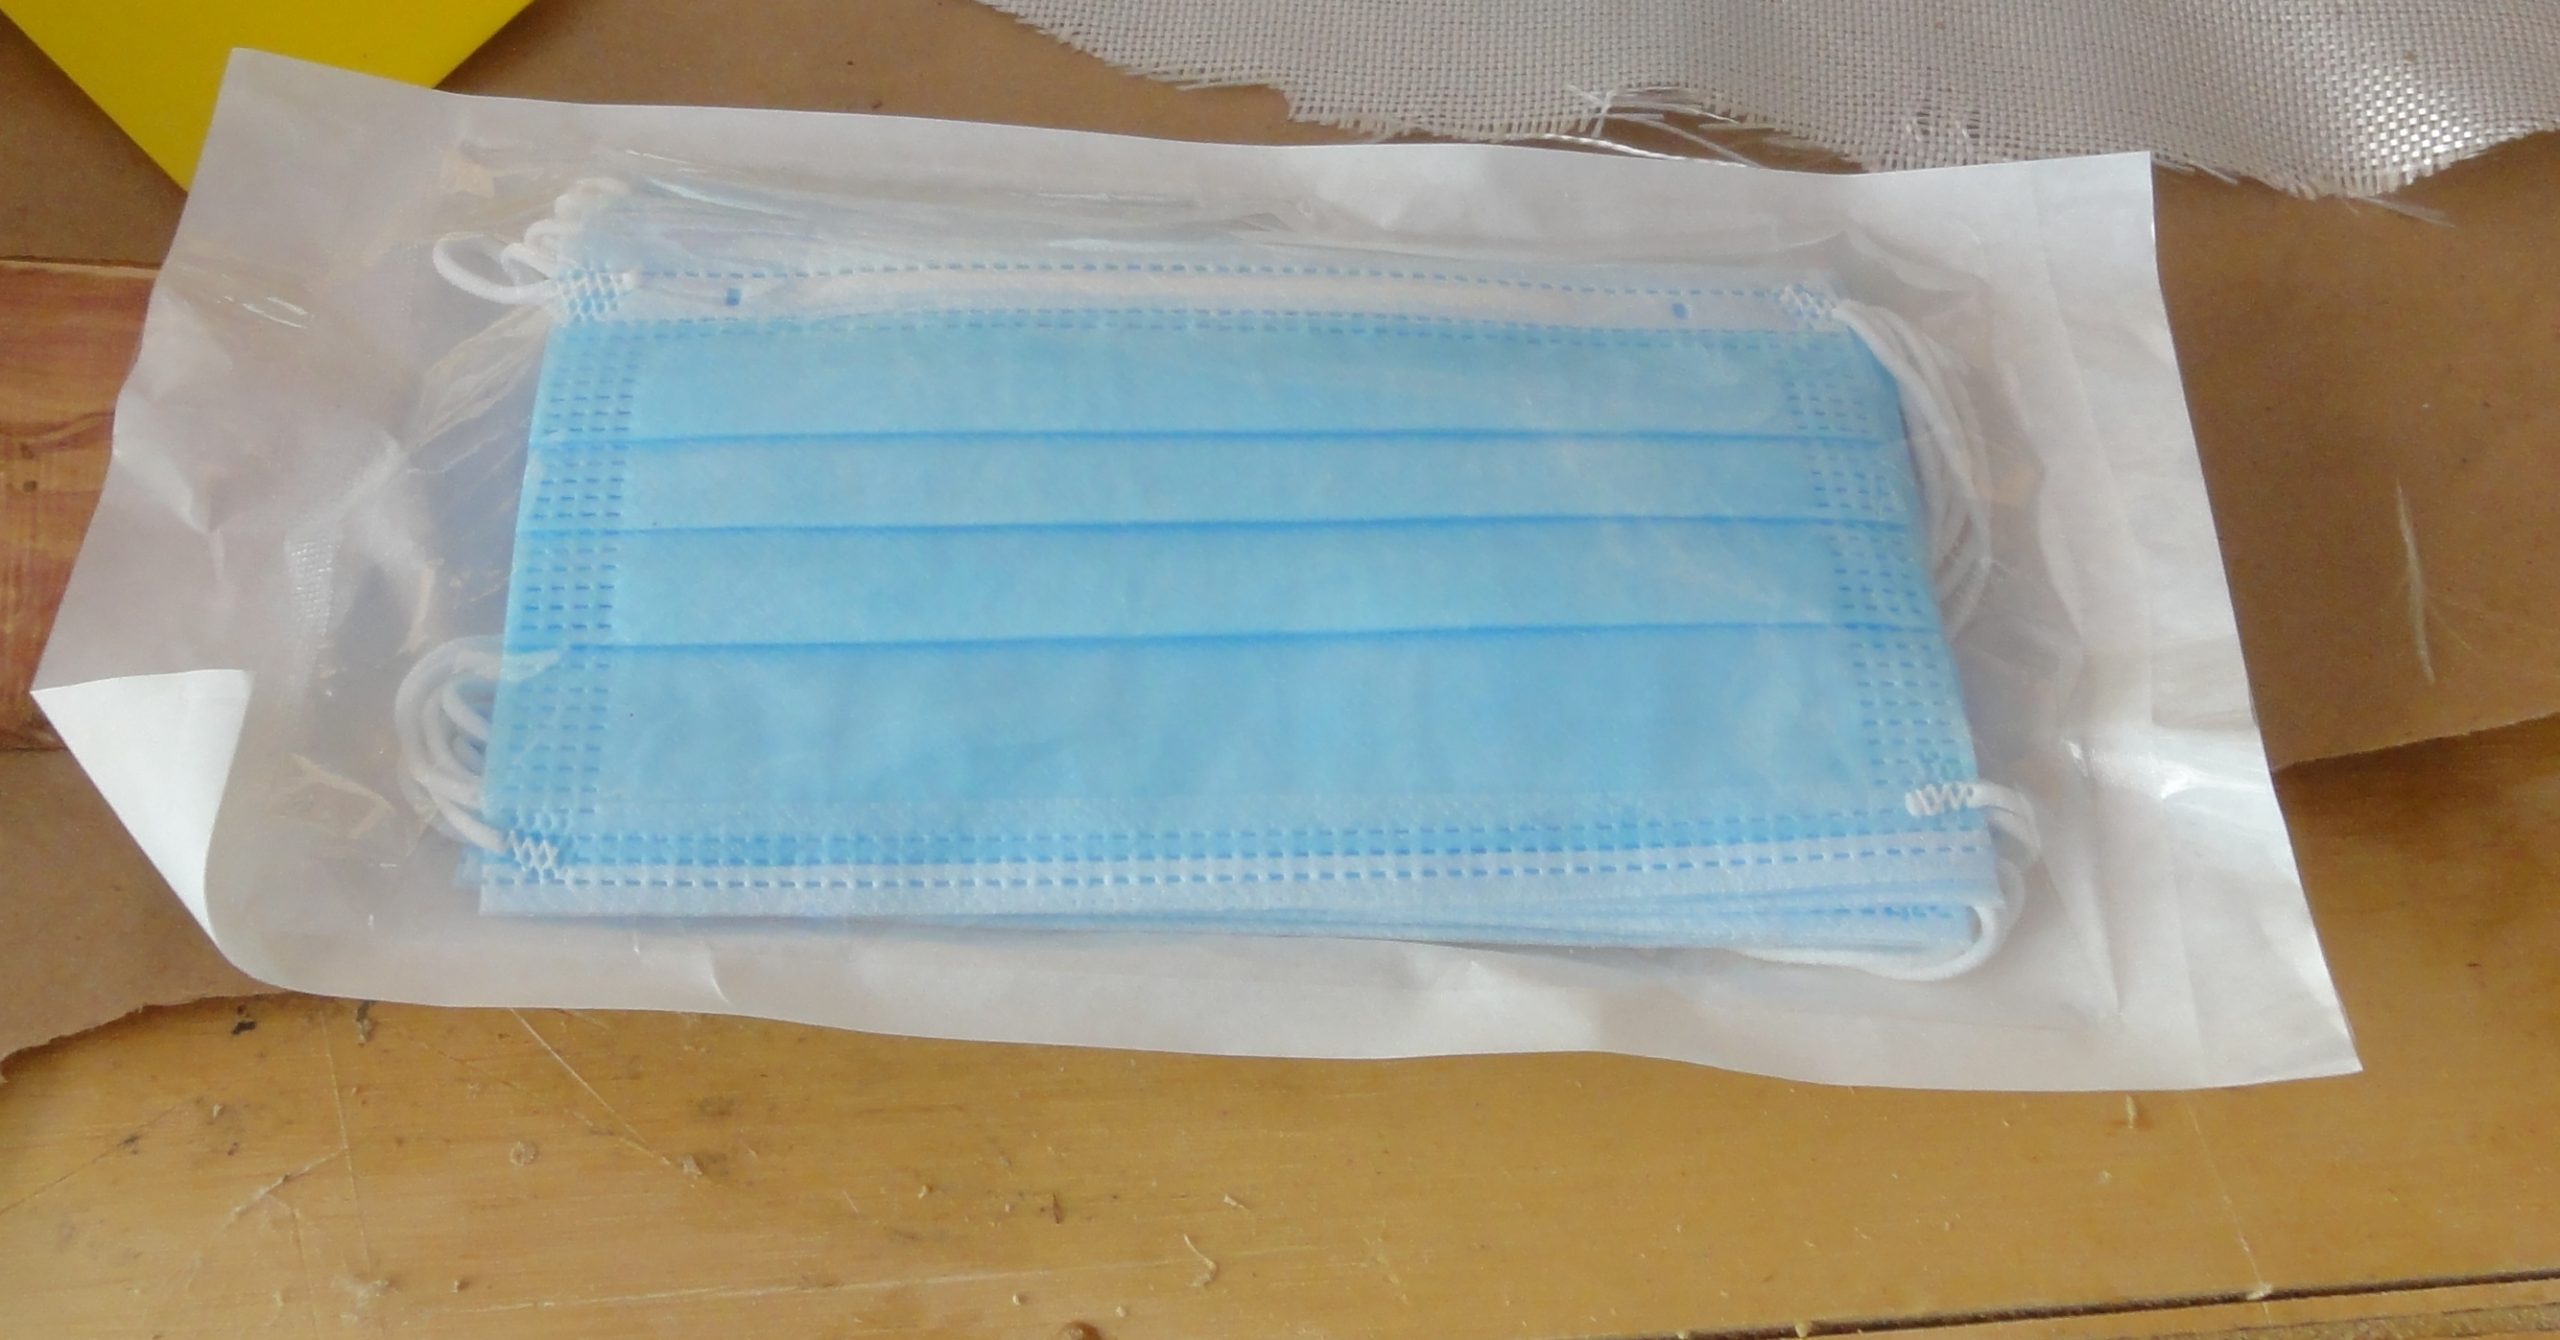
Finally I got some cups for mixing, plus I saved a bunch of left over yogurt and sour cream containers too, some spreaders, disposable gloves and dust masks. I would have preferred the respirator option but during this time of Covid, getting a hold of things like that are all but impossible. The masks weren’t cheap but not as bad as I expected and the gloves were bought last year so they were quite cheap and readily available (at that time). As to the fumes, the masks aren’t going to do much, but will help a lot during epoxy sanding later on.


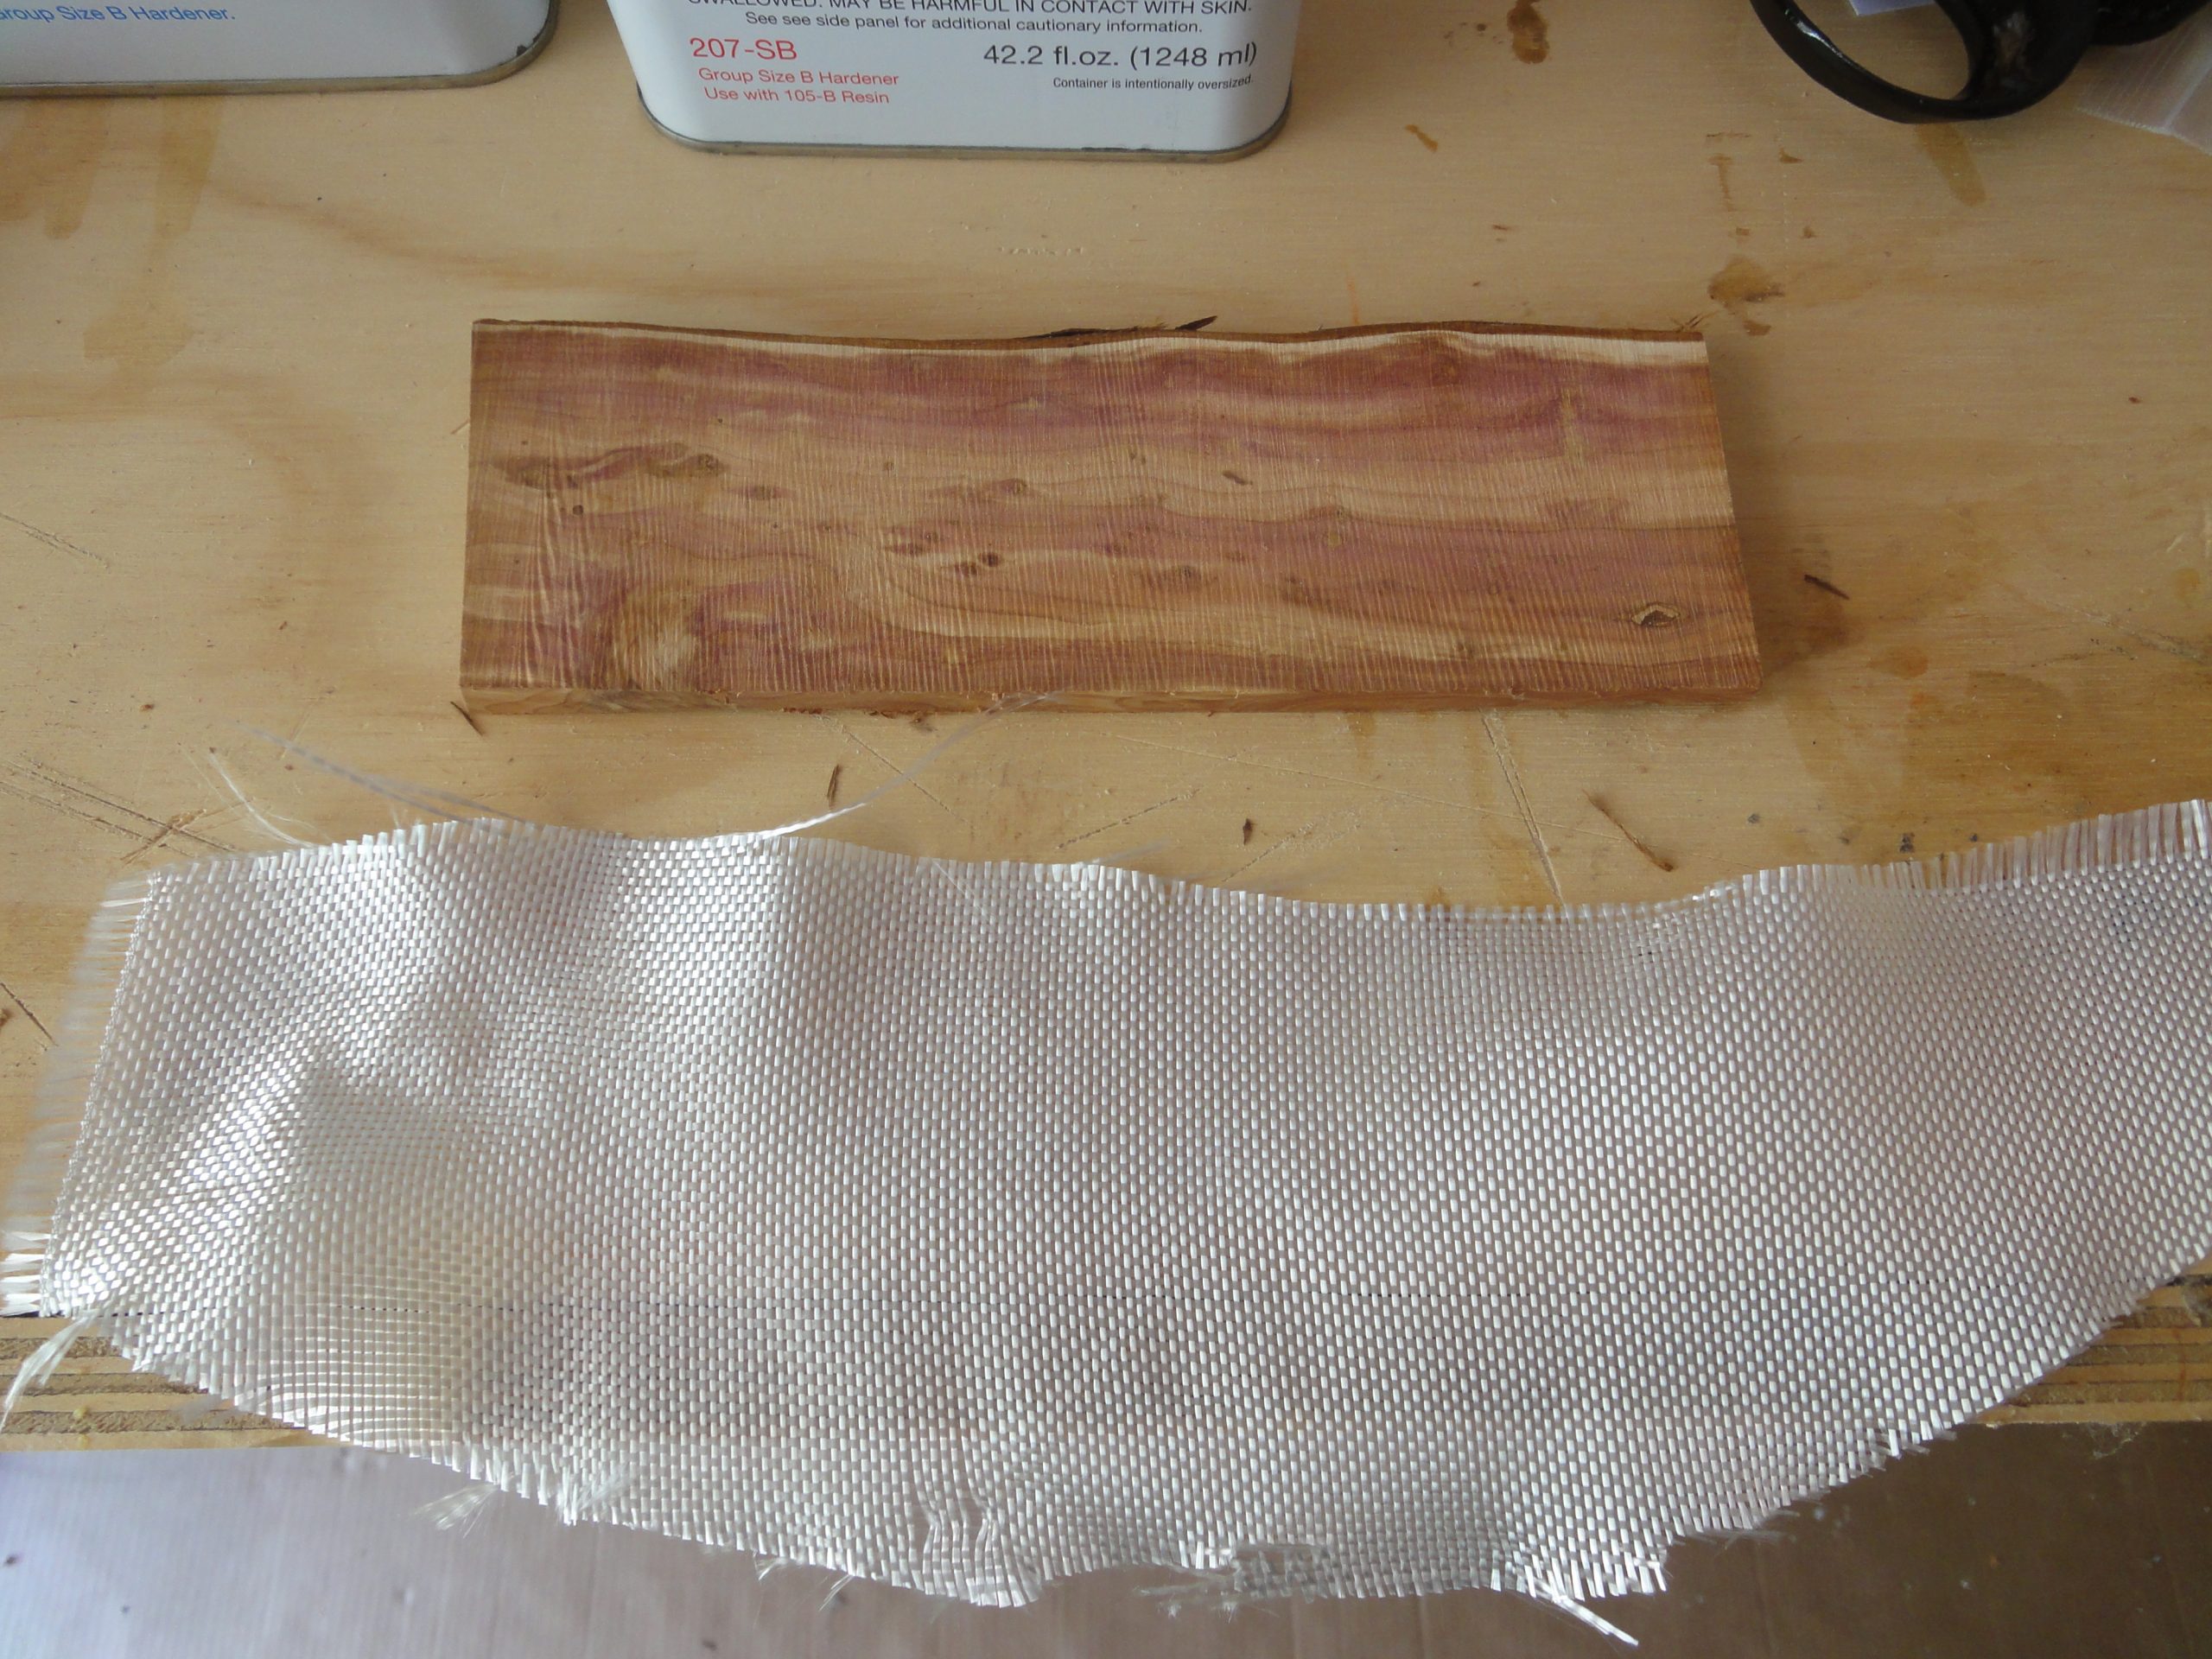
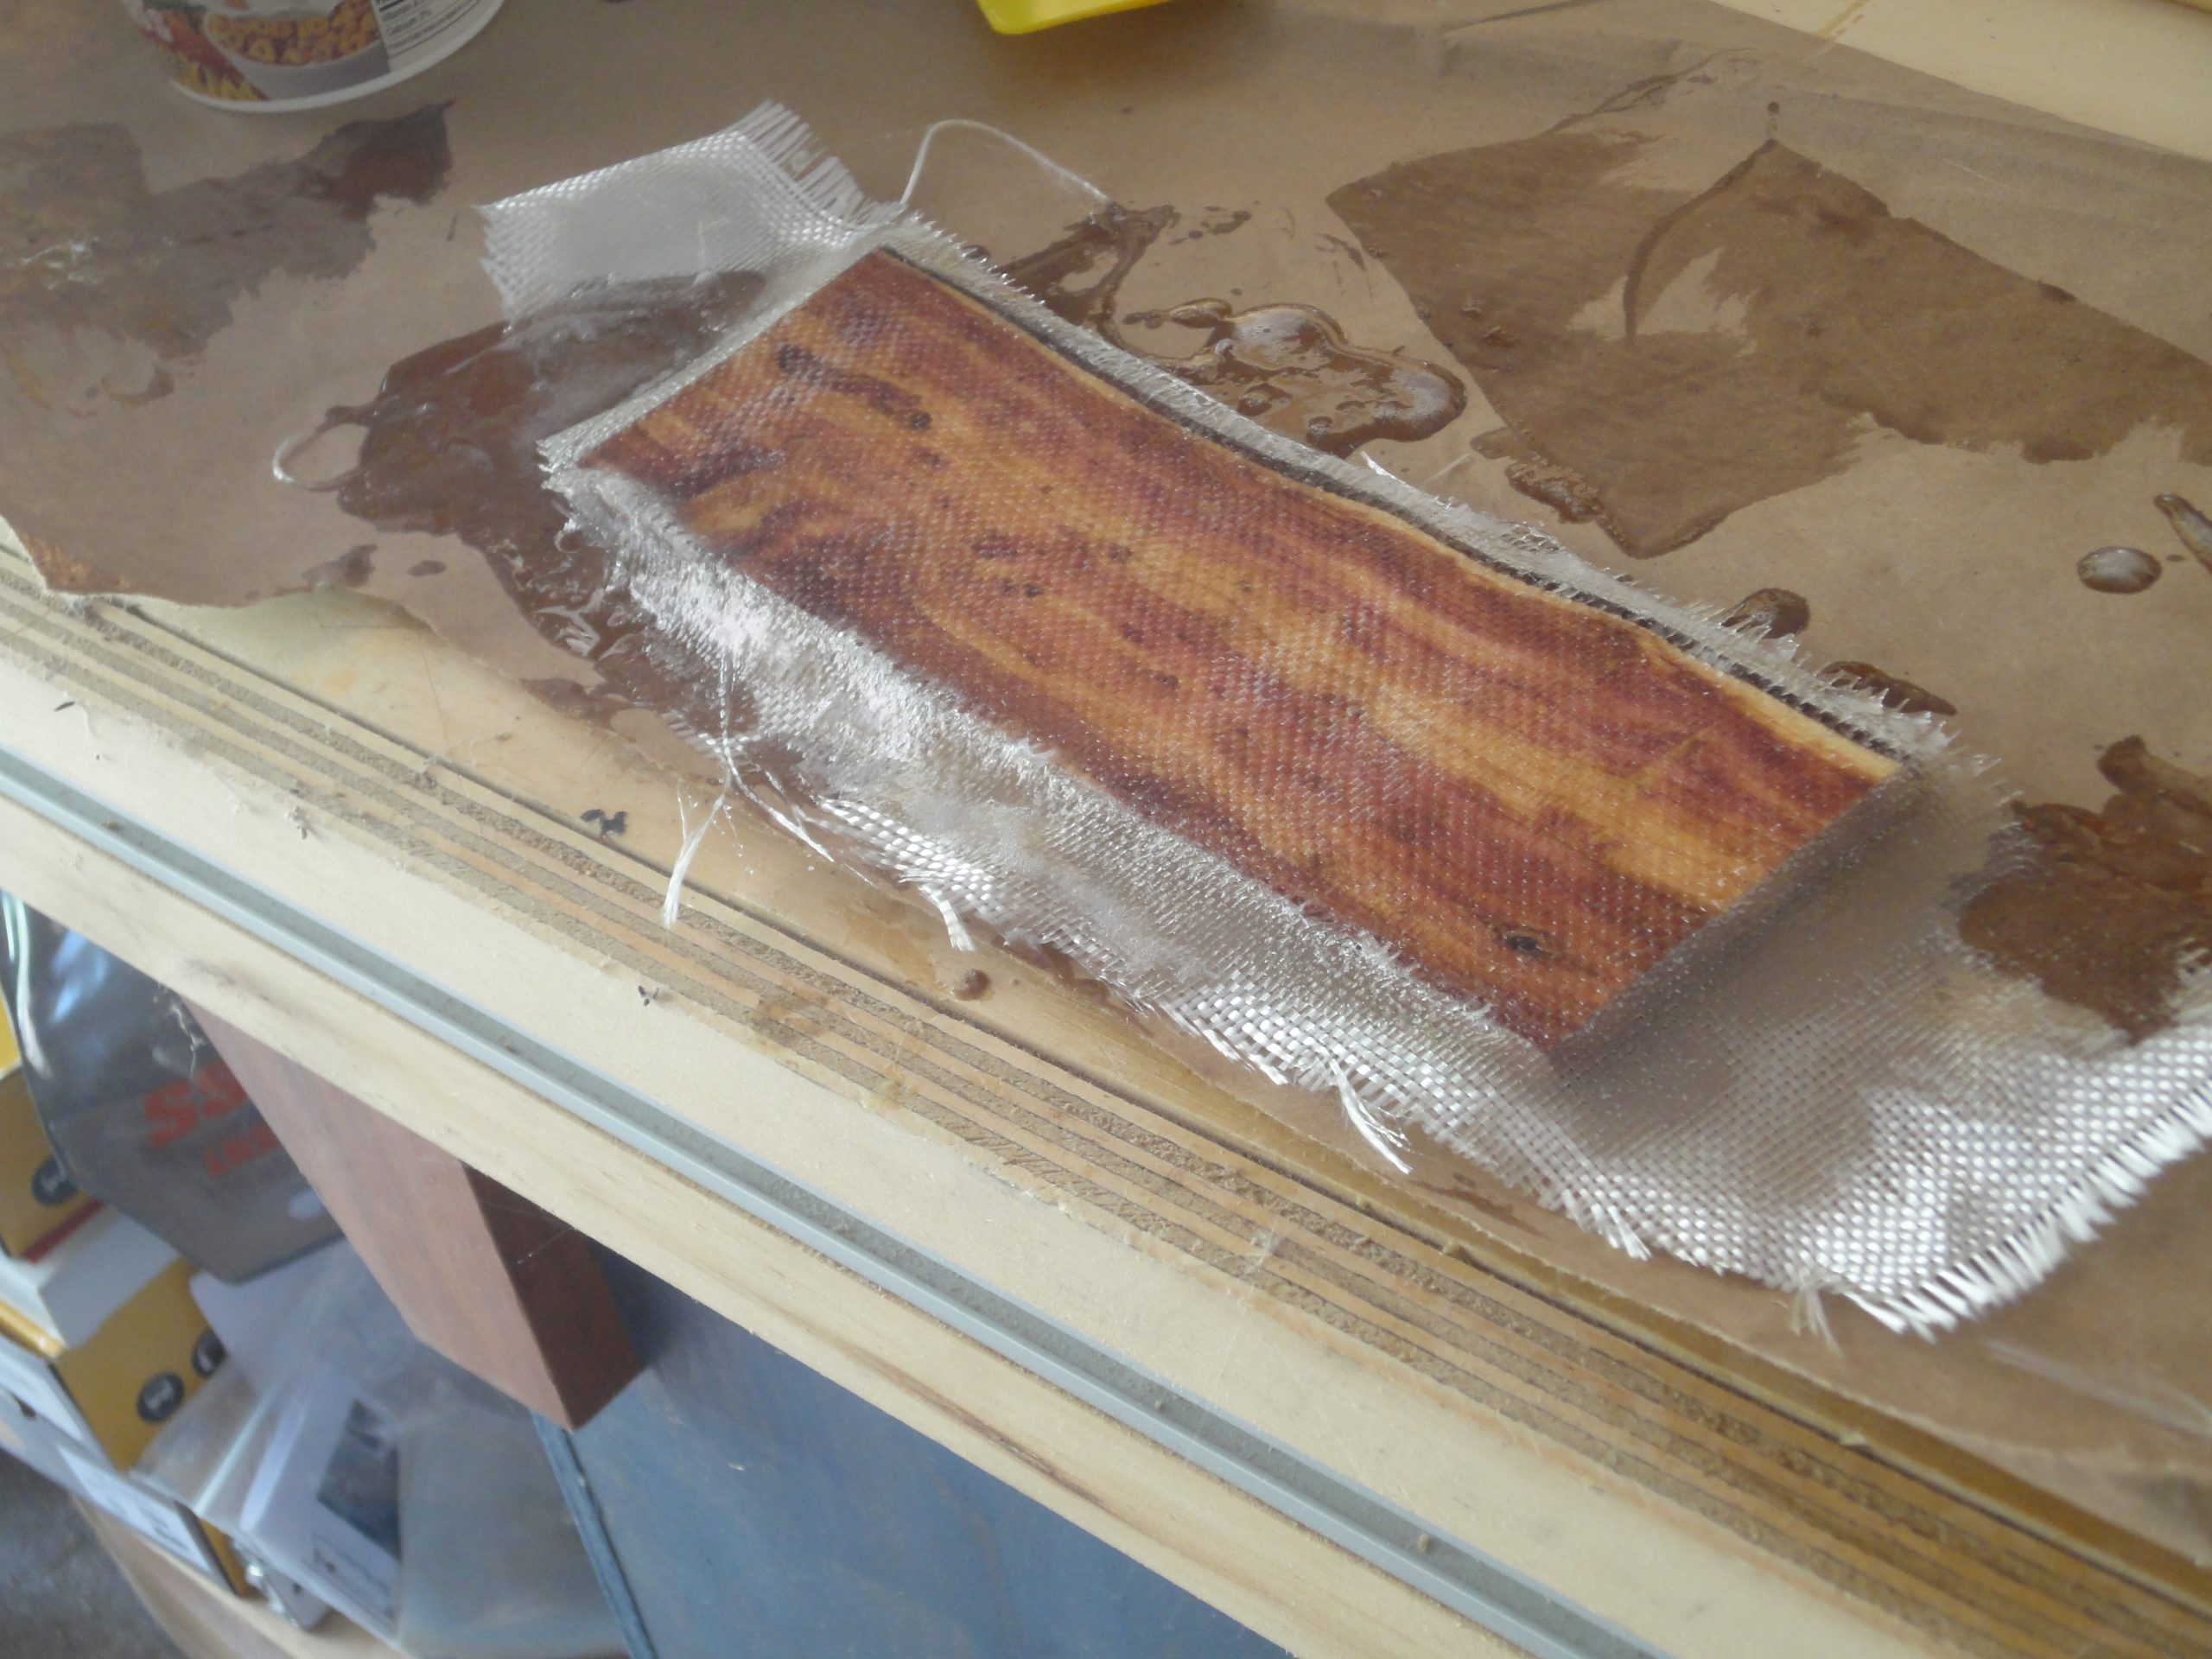
As I have never done fiberglass work before I thought it would be good to try it out first. I had a scrap piece of wood and cut a bit of fiberglass from the corner of the roll. The process, for the first coat, is to mix the epoxy after putting equal numbers of pumps of the resin and hardener into a cup. Give it a good 30-60 seconds of vigorous mixing. Next would be to pour (or in vertical areas brush) it on to the kayak and then use the spreader to move if over the fiberglass ensuring the cloth becomes thoroughly saturated. This is obvious as it goes from white to clear when this is achieved. This process also tacks down the fiberglass to the boat. At the end you actually then go over it with the goal of removing excess epoxy. The resulting work should be matte, not shiny.
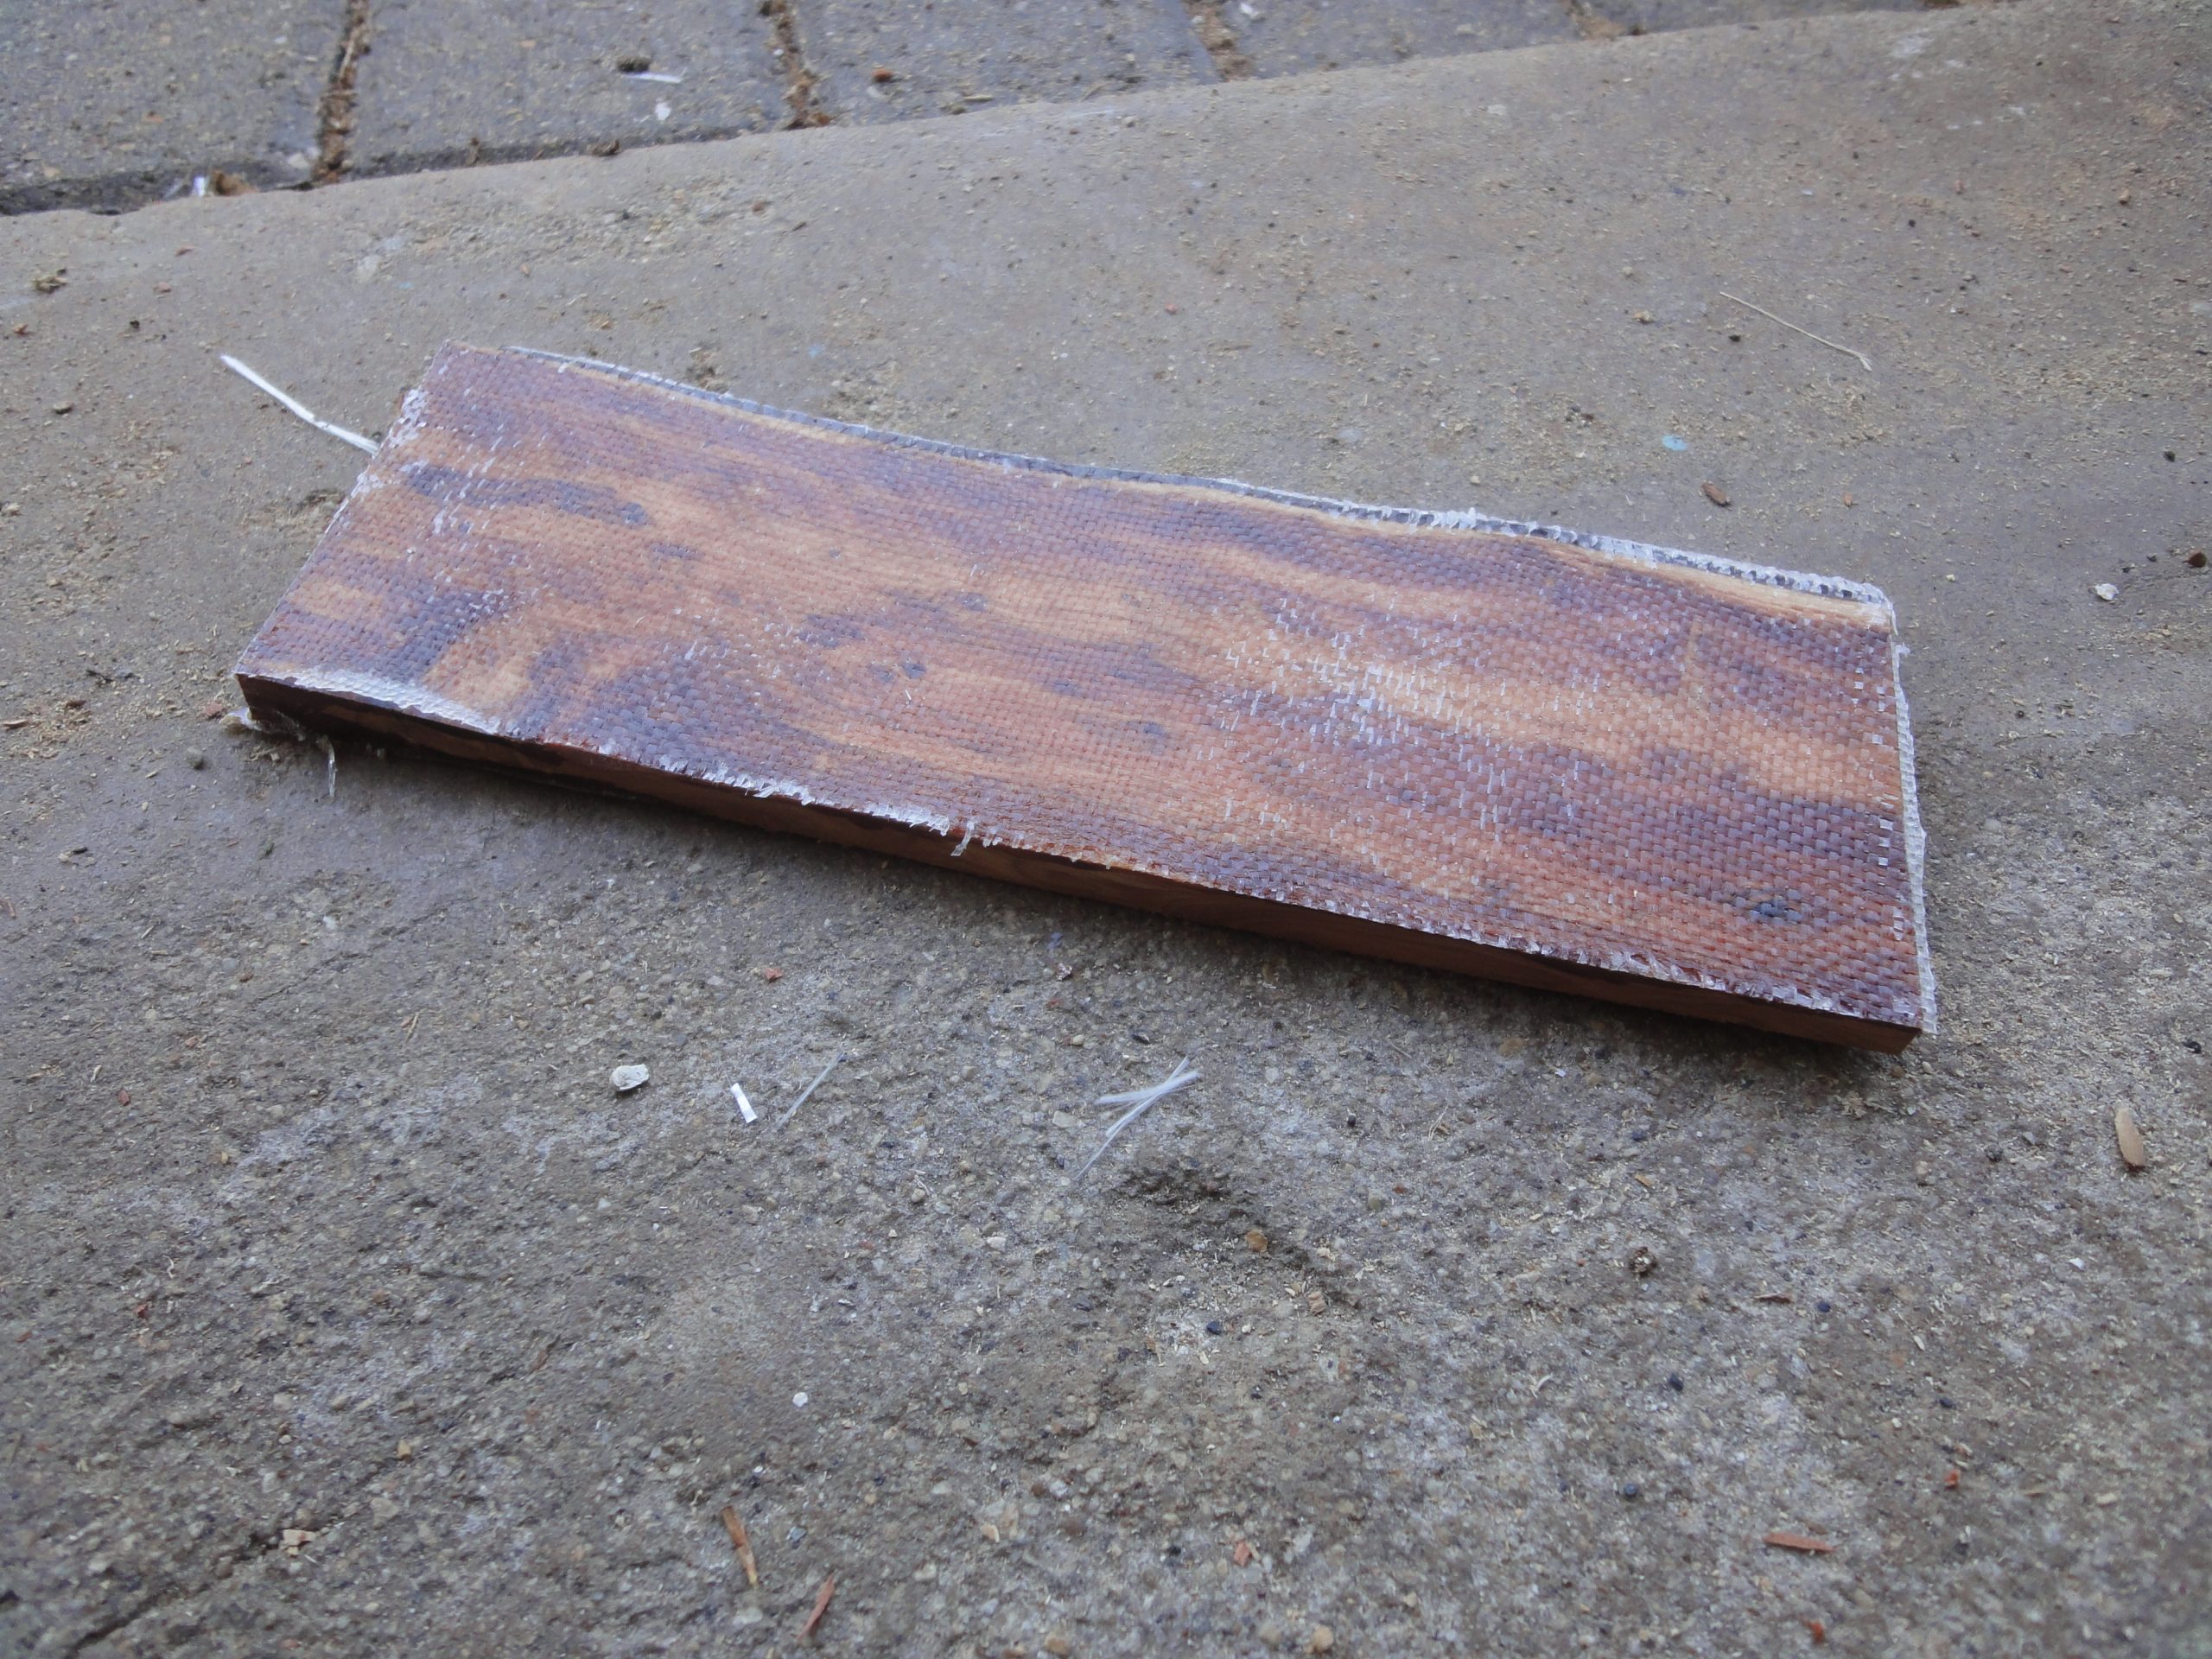
I tested this on my scrap and while even with one pump I had way more epoxy mix than I needed, I was able to get a feel for it and after a few hours the resulting board came out just about exactly as I expected.

Since a picture is worth a 1000 words, well a video has got to be worth a whole bunch of pictures so here’s the video of the epoxy process (on the sample) from start to finish.
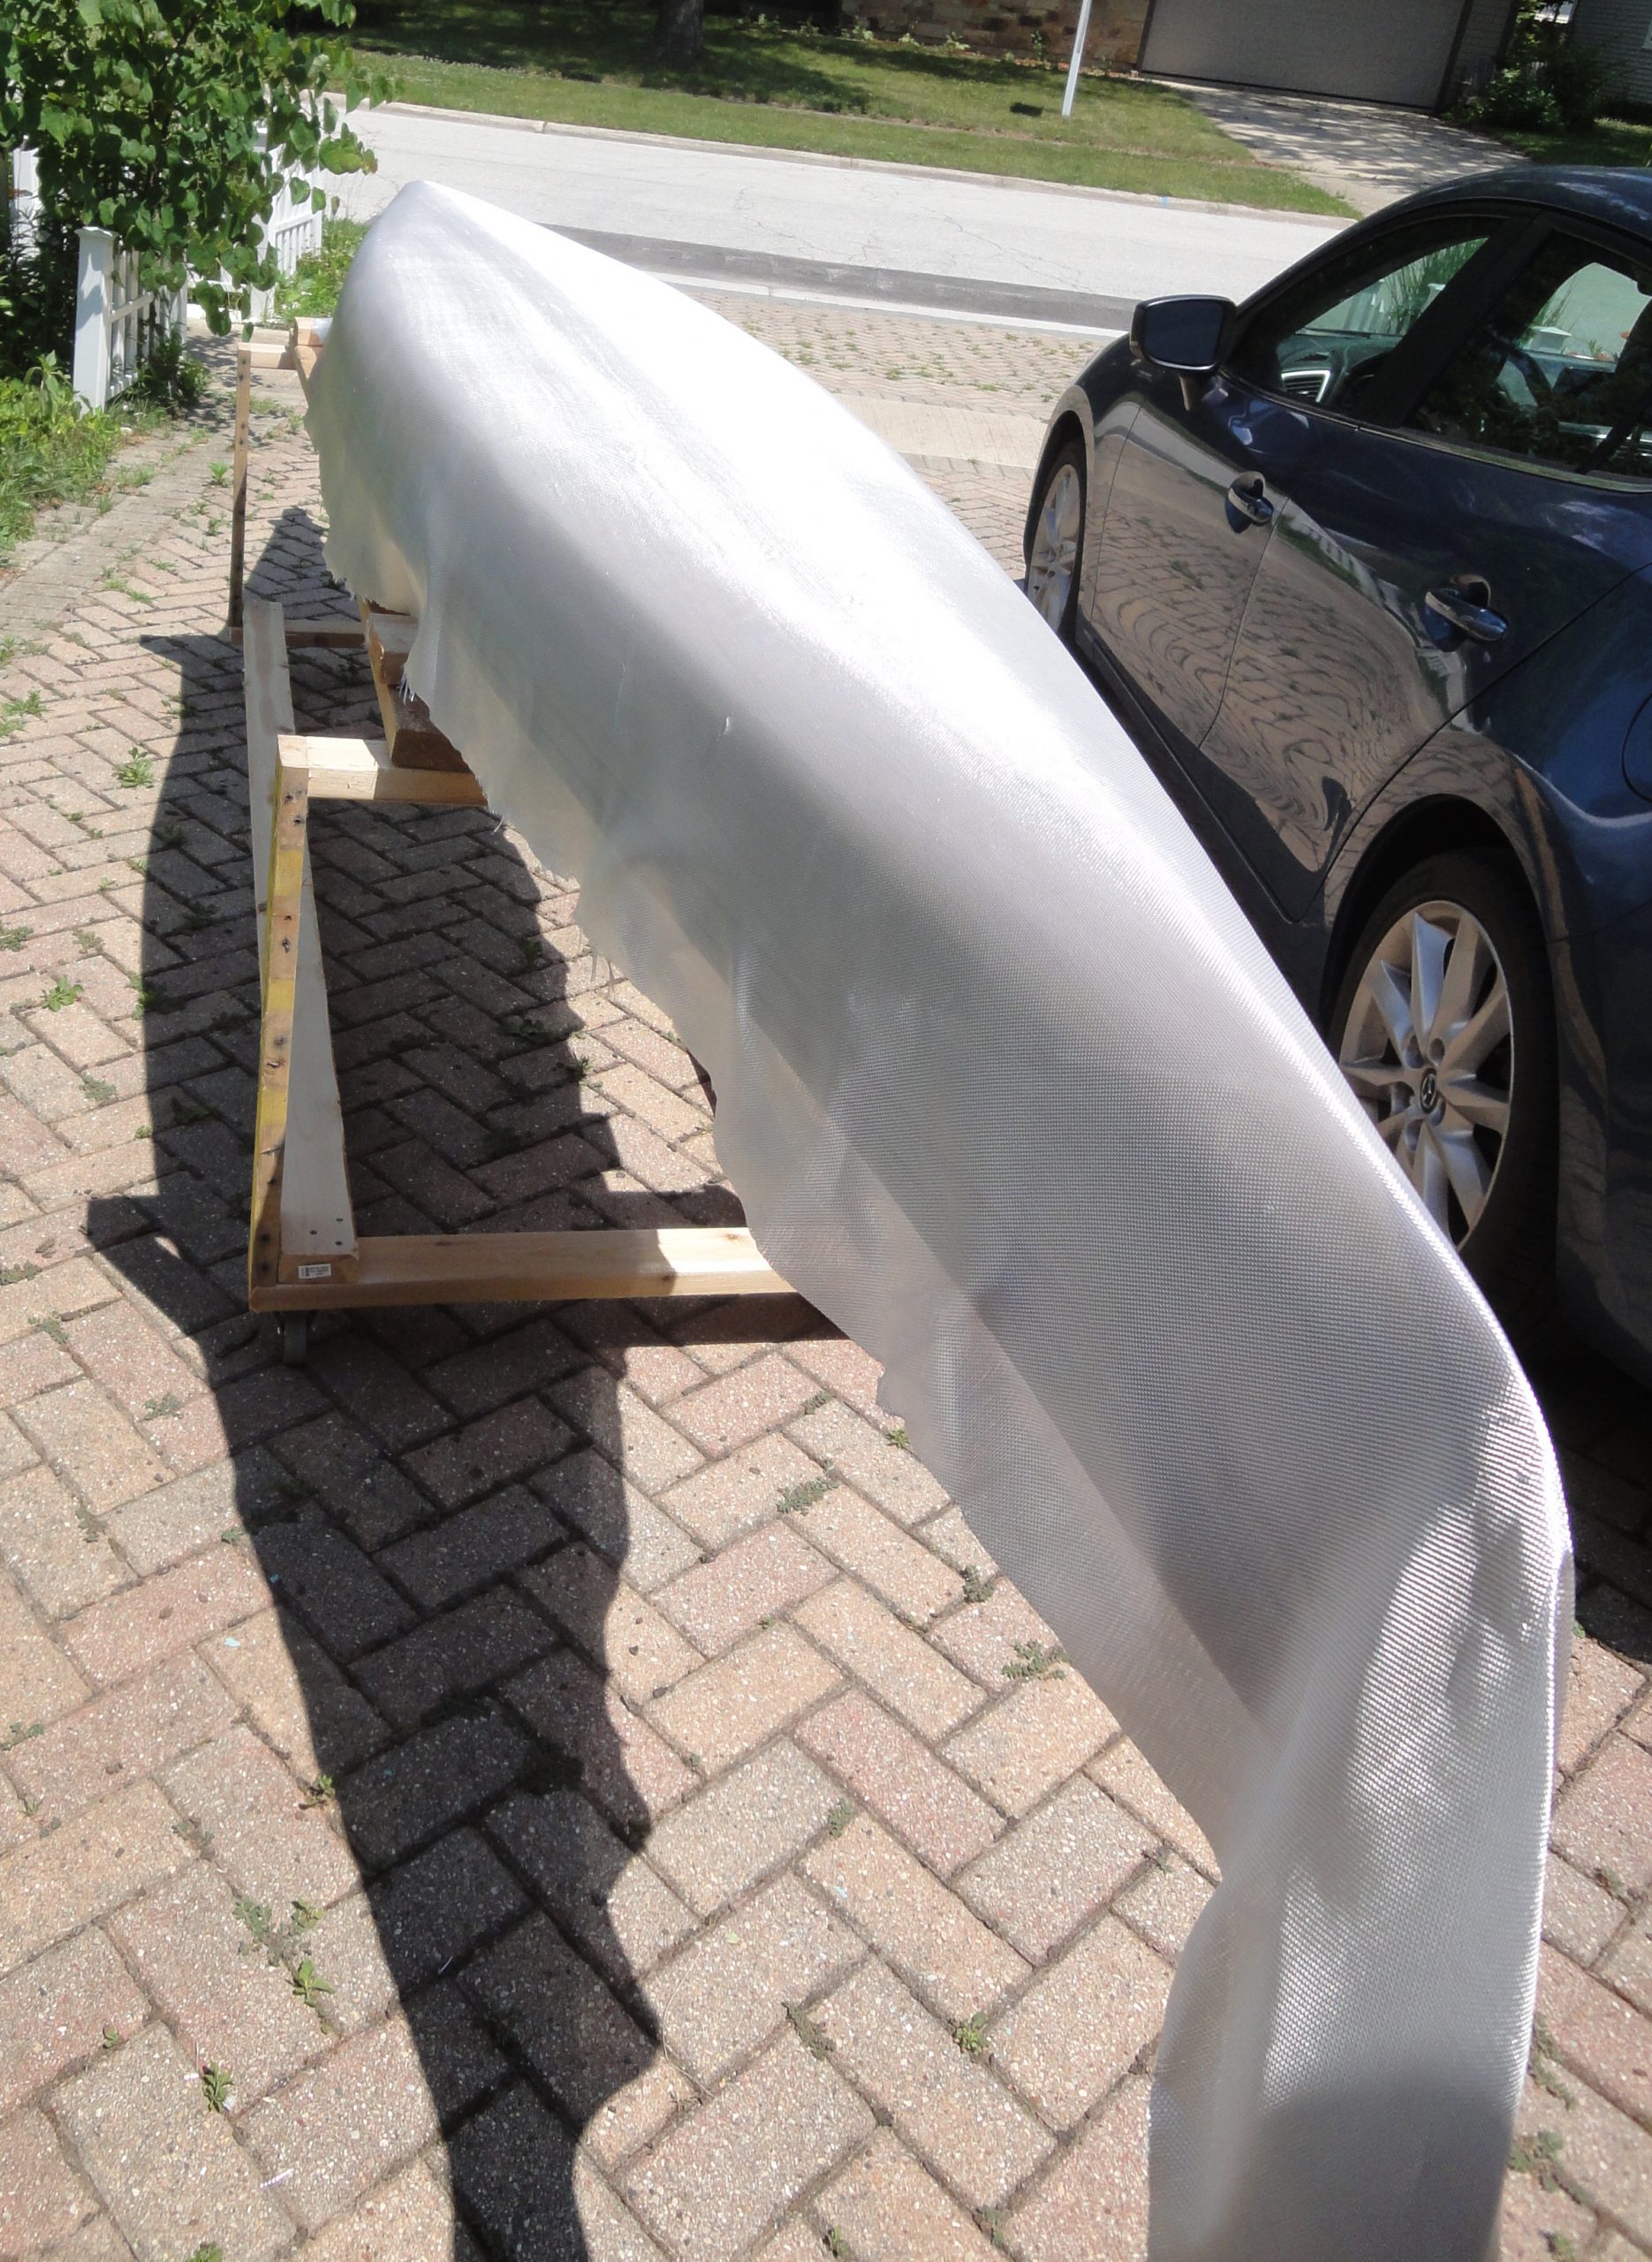
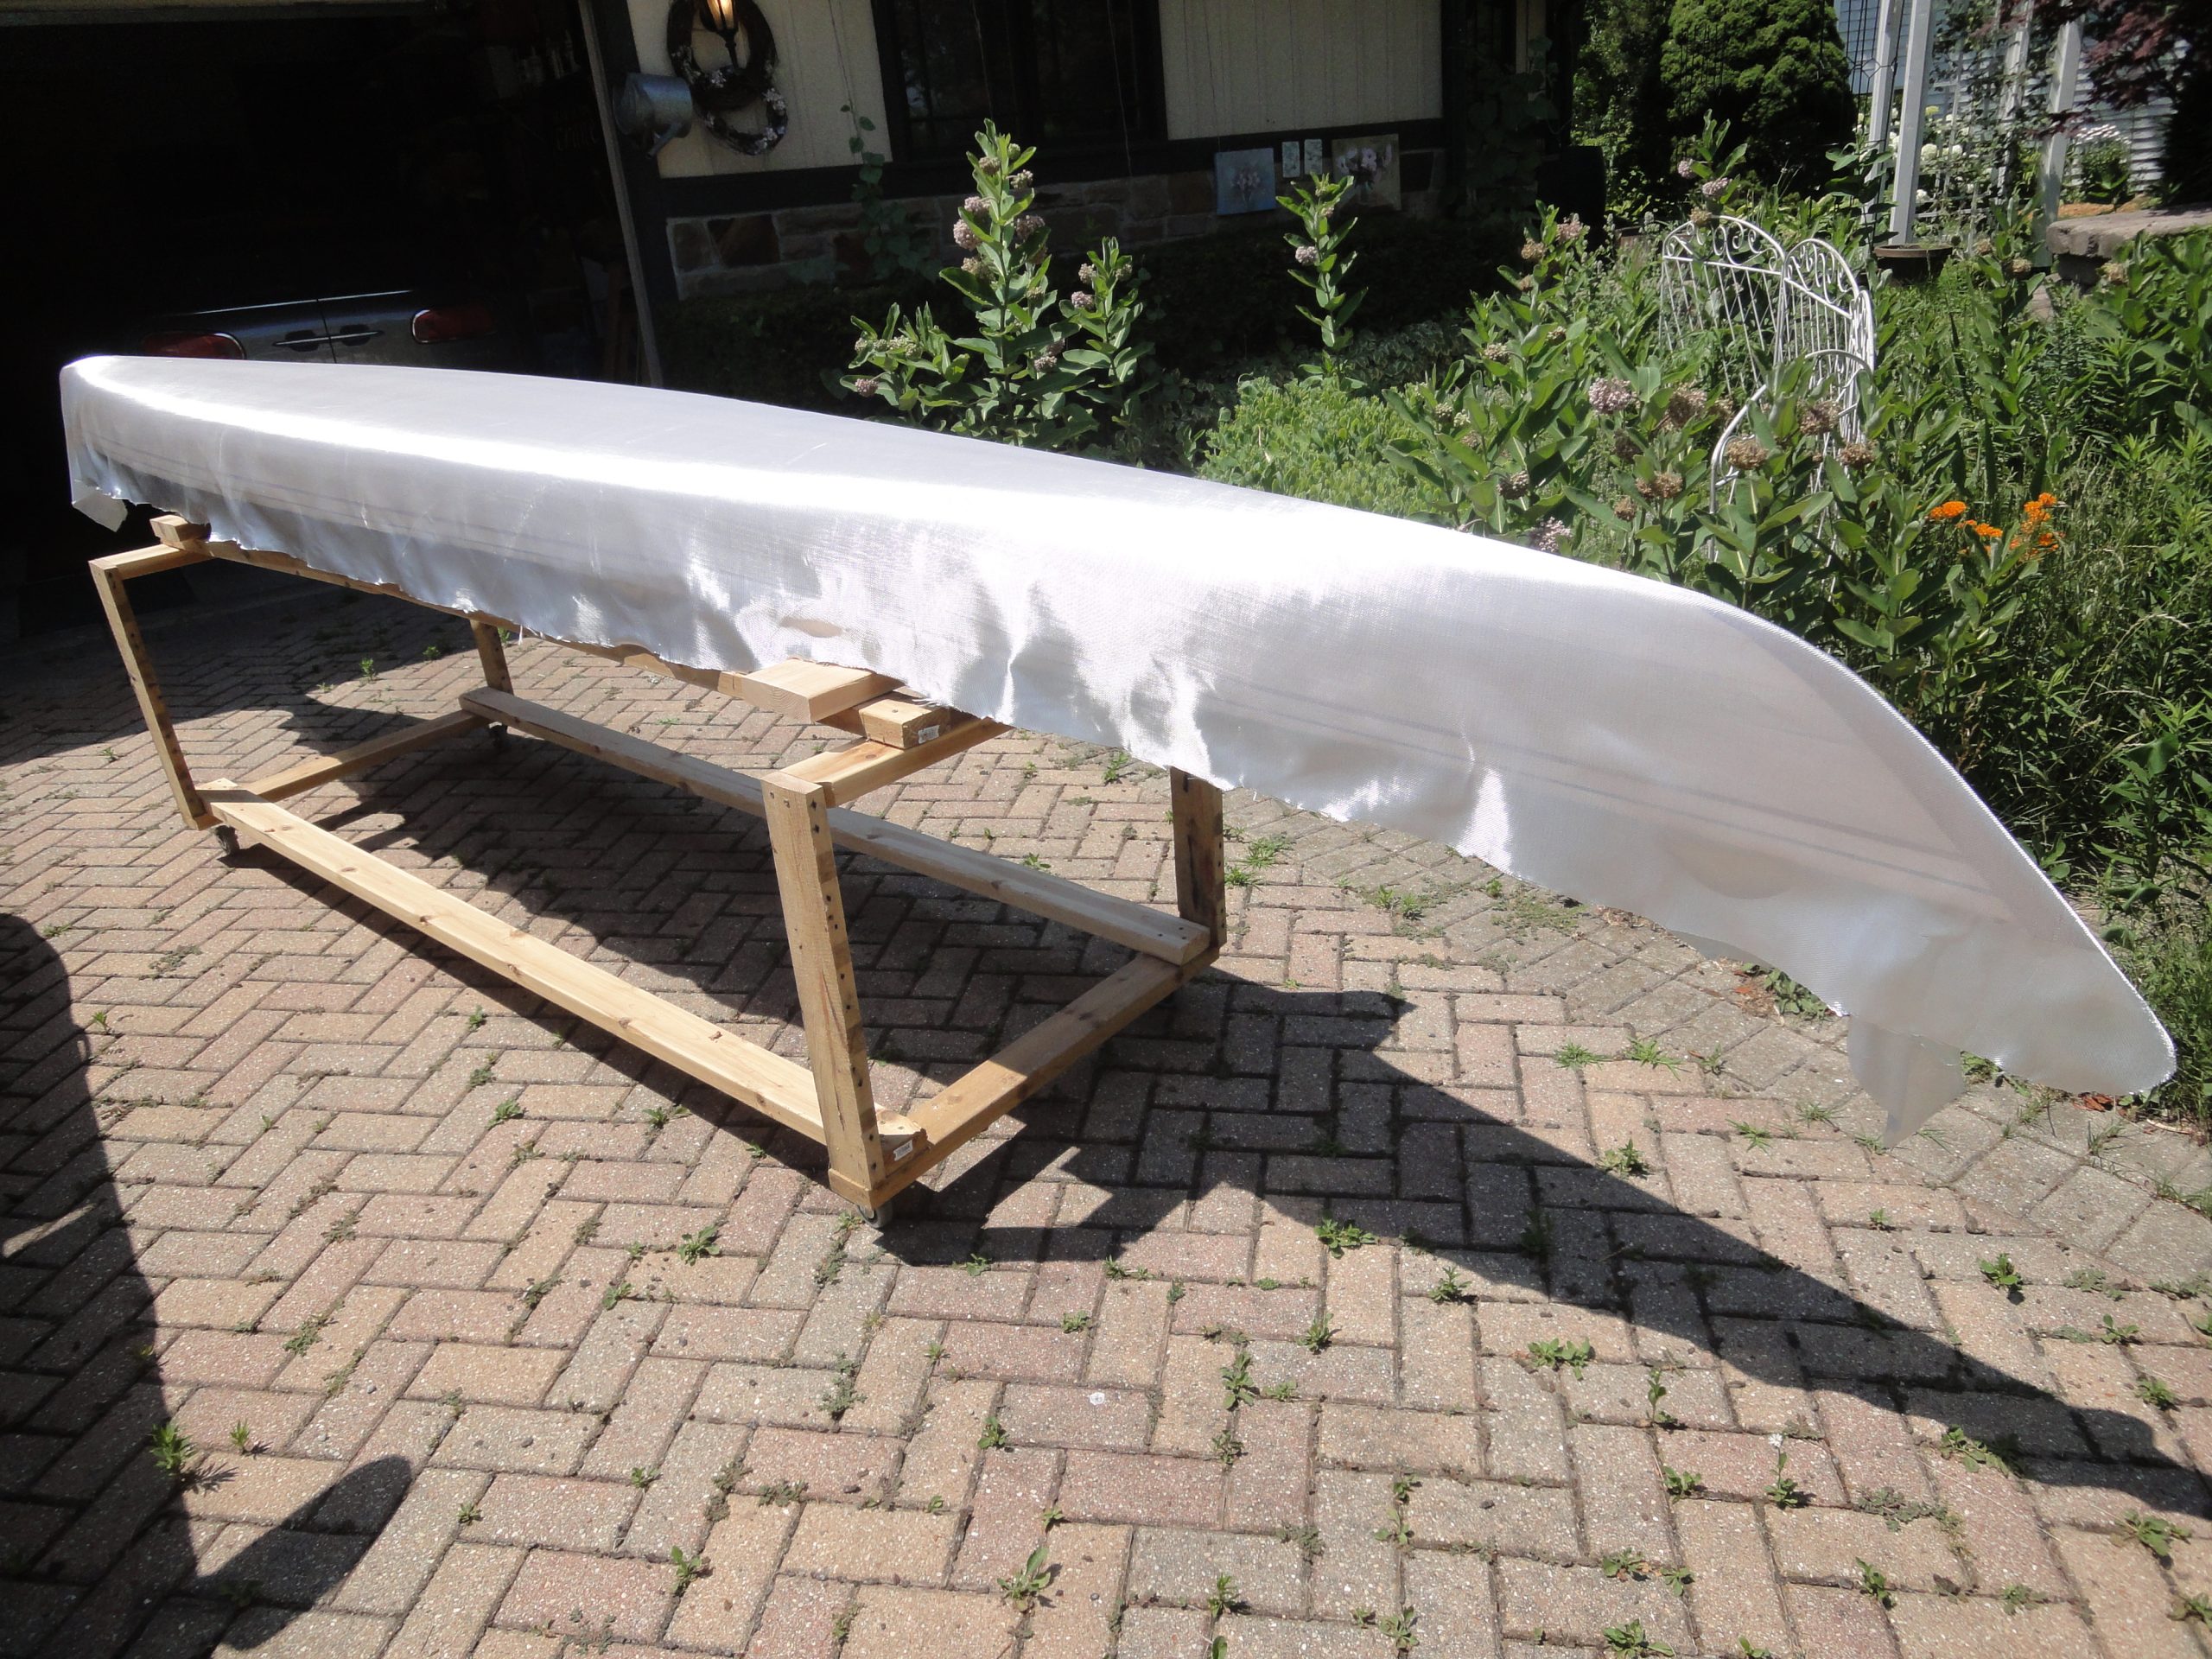
Next is to prep the fiberglass on the kayak. I went ahead and unrolled the fiberglass on top of the hull and cut it off allowing for a little extra on each end. While the initial laying out wasn’t too bad, there were bubbles and wrinkles that need to be removed before the epoxy can go on. I went ahead and adjusted carefully with my hands and then used a brush to literally brush out the wrinkles and bumps. Simply brush them to the edge, gently with occasional tweaks of the fiberglass itself.
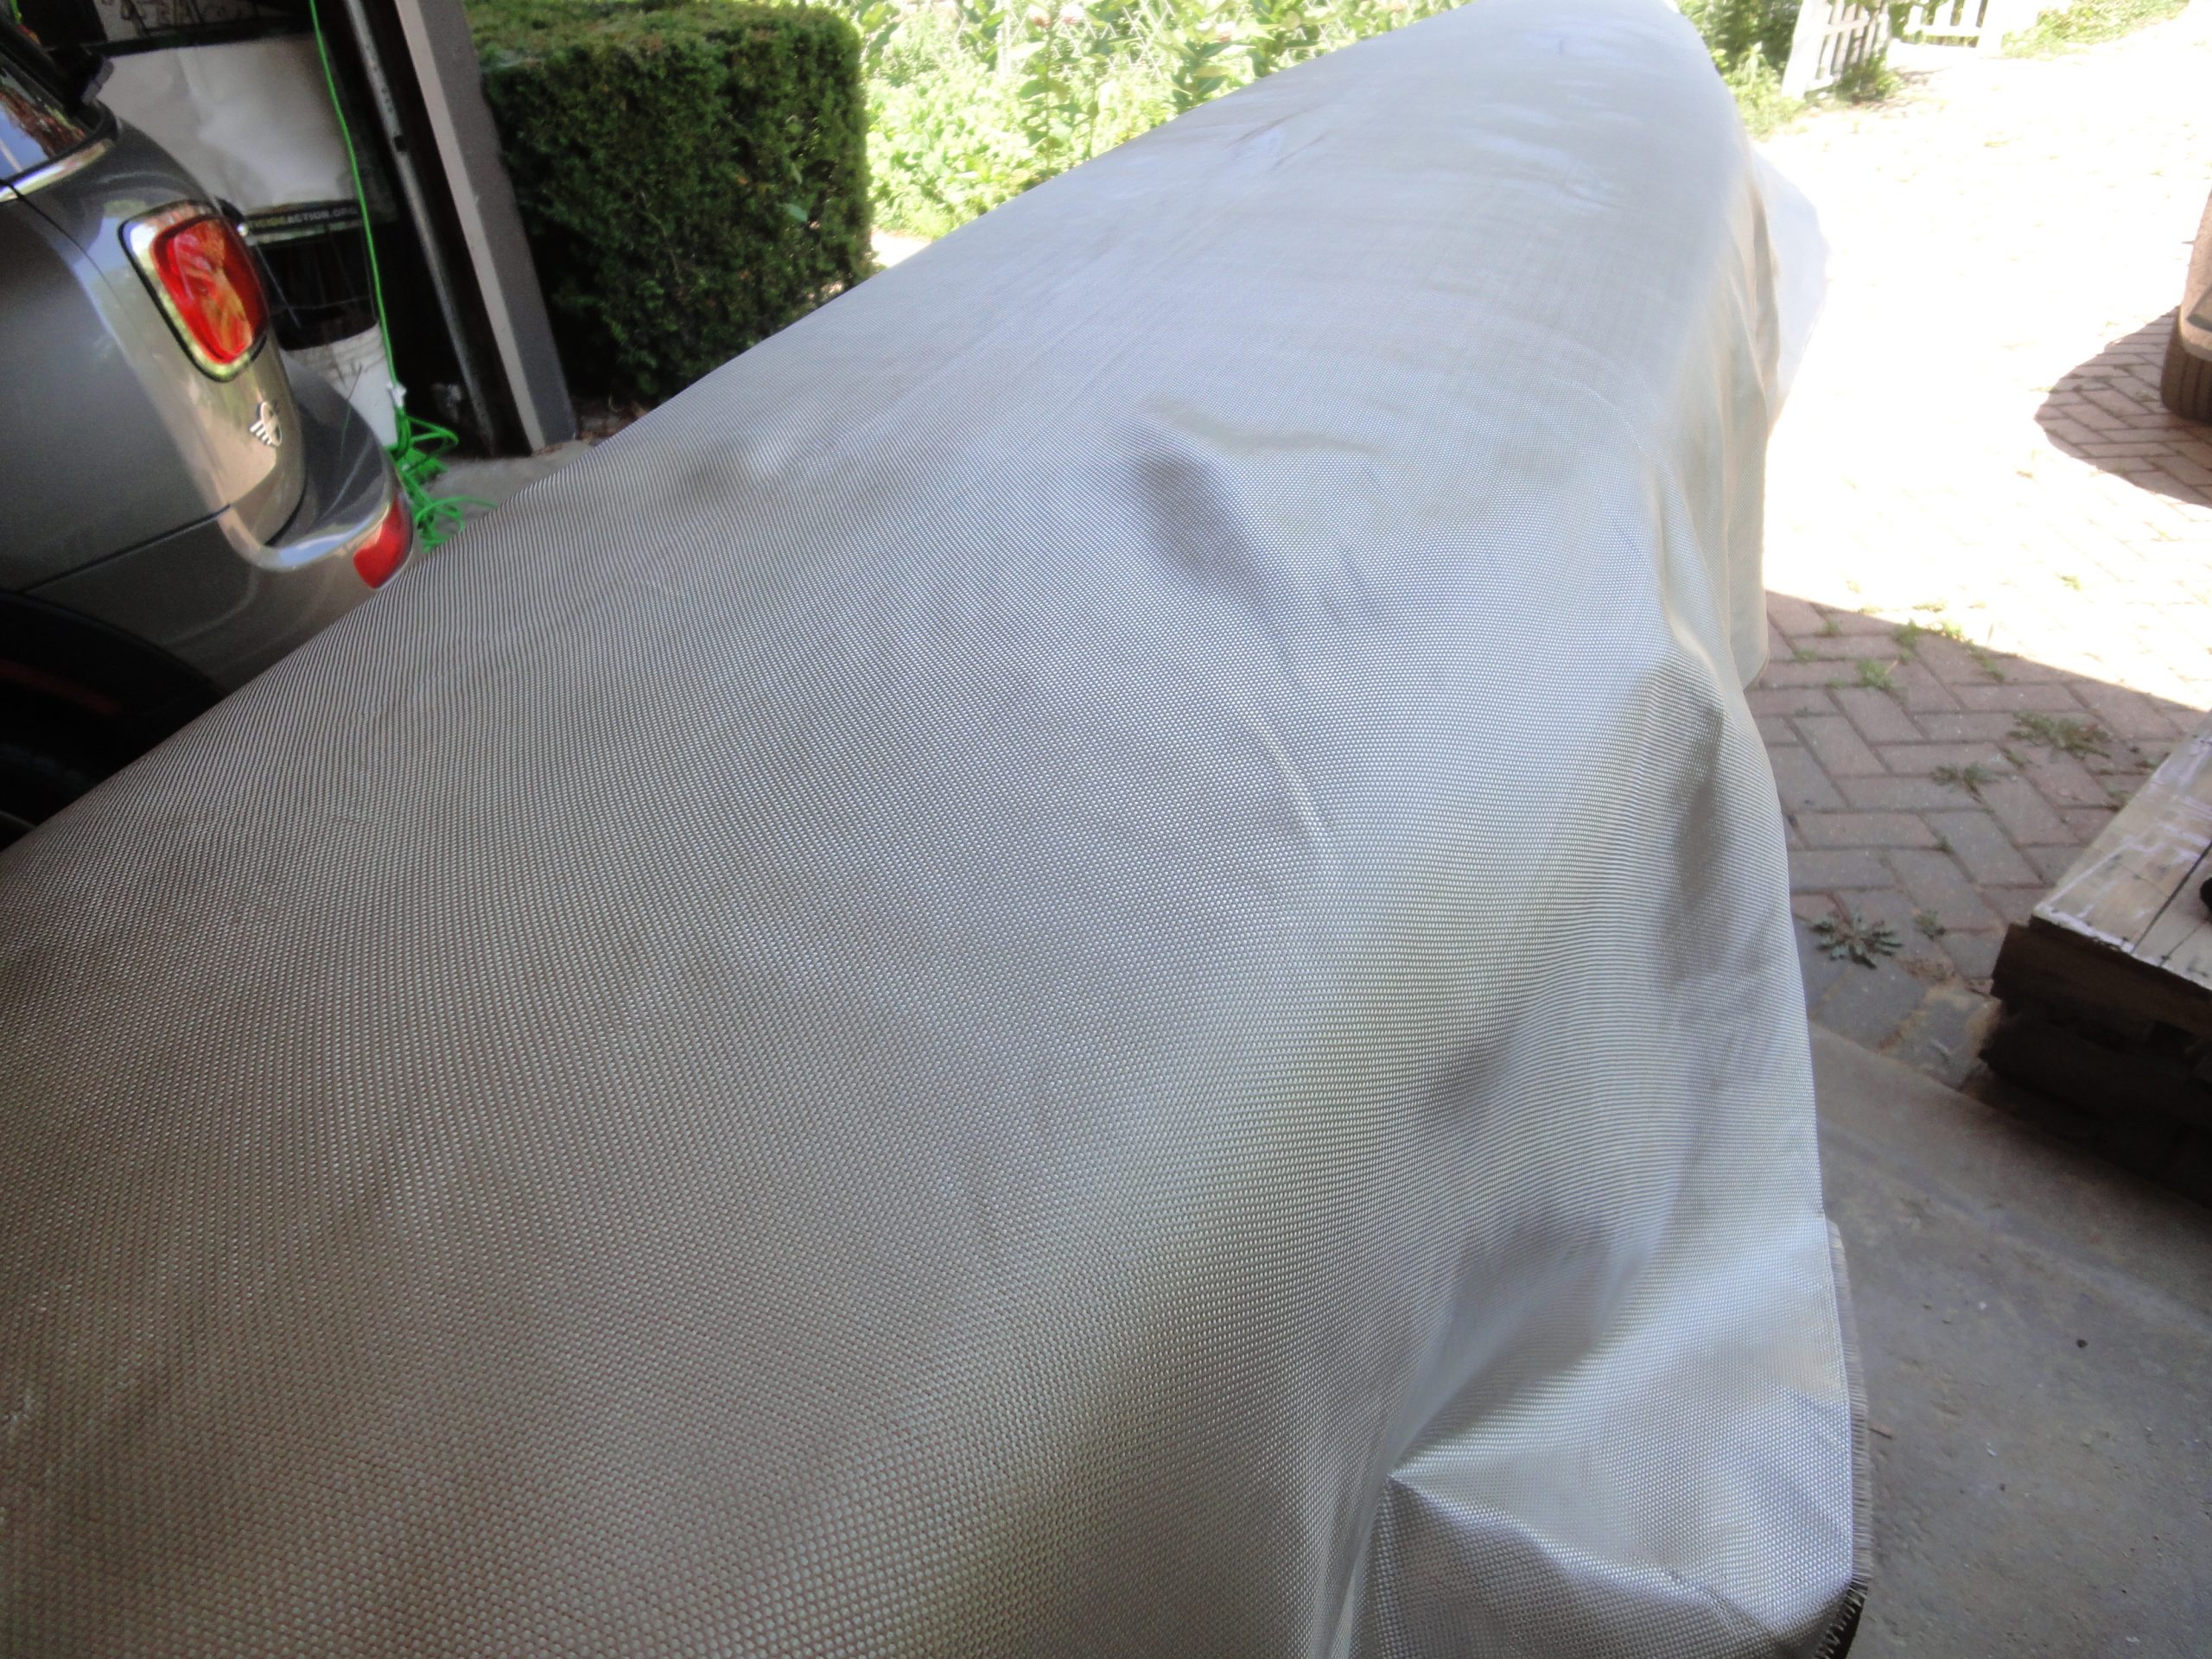
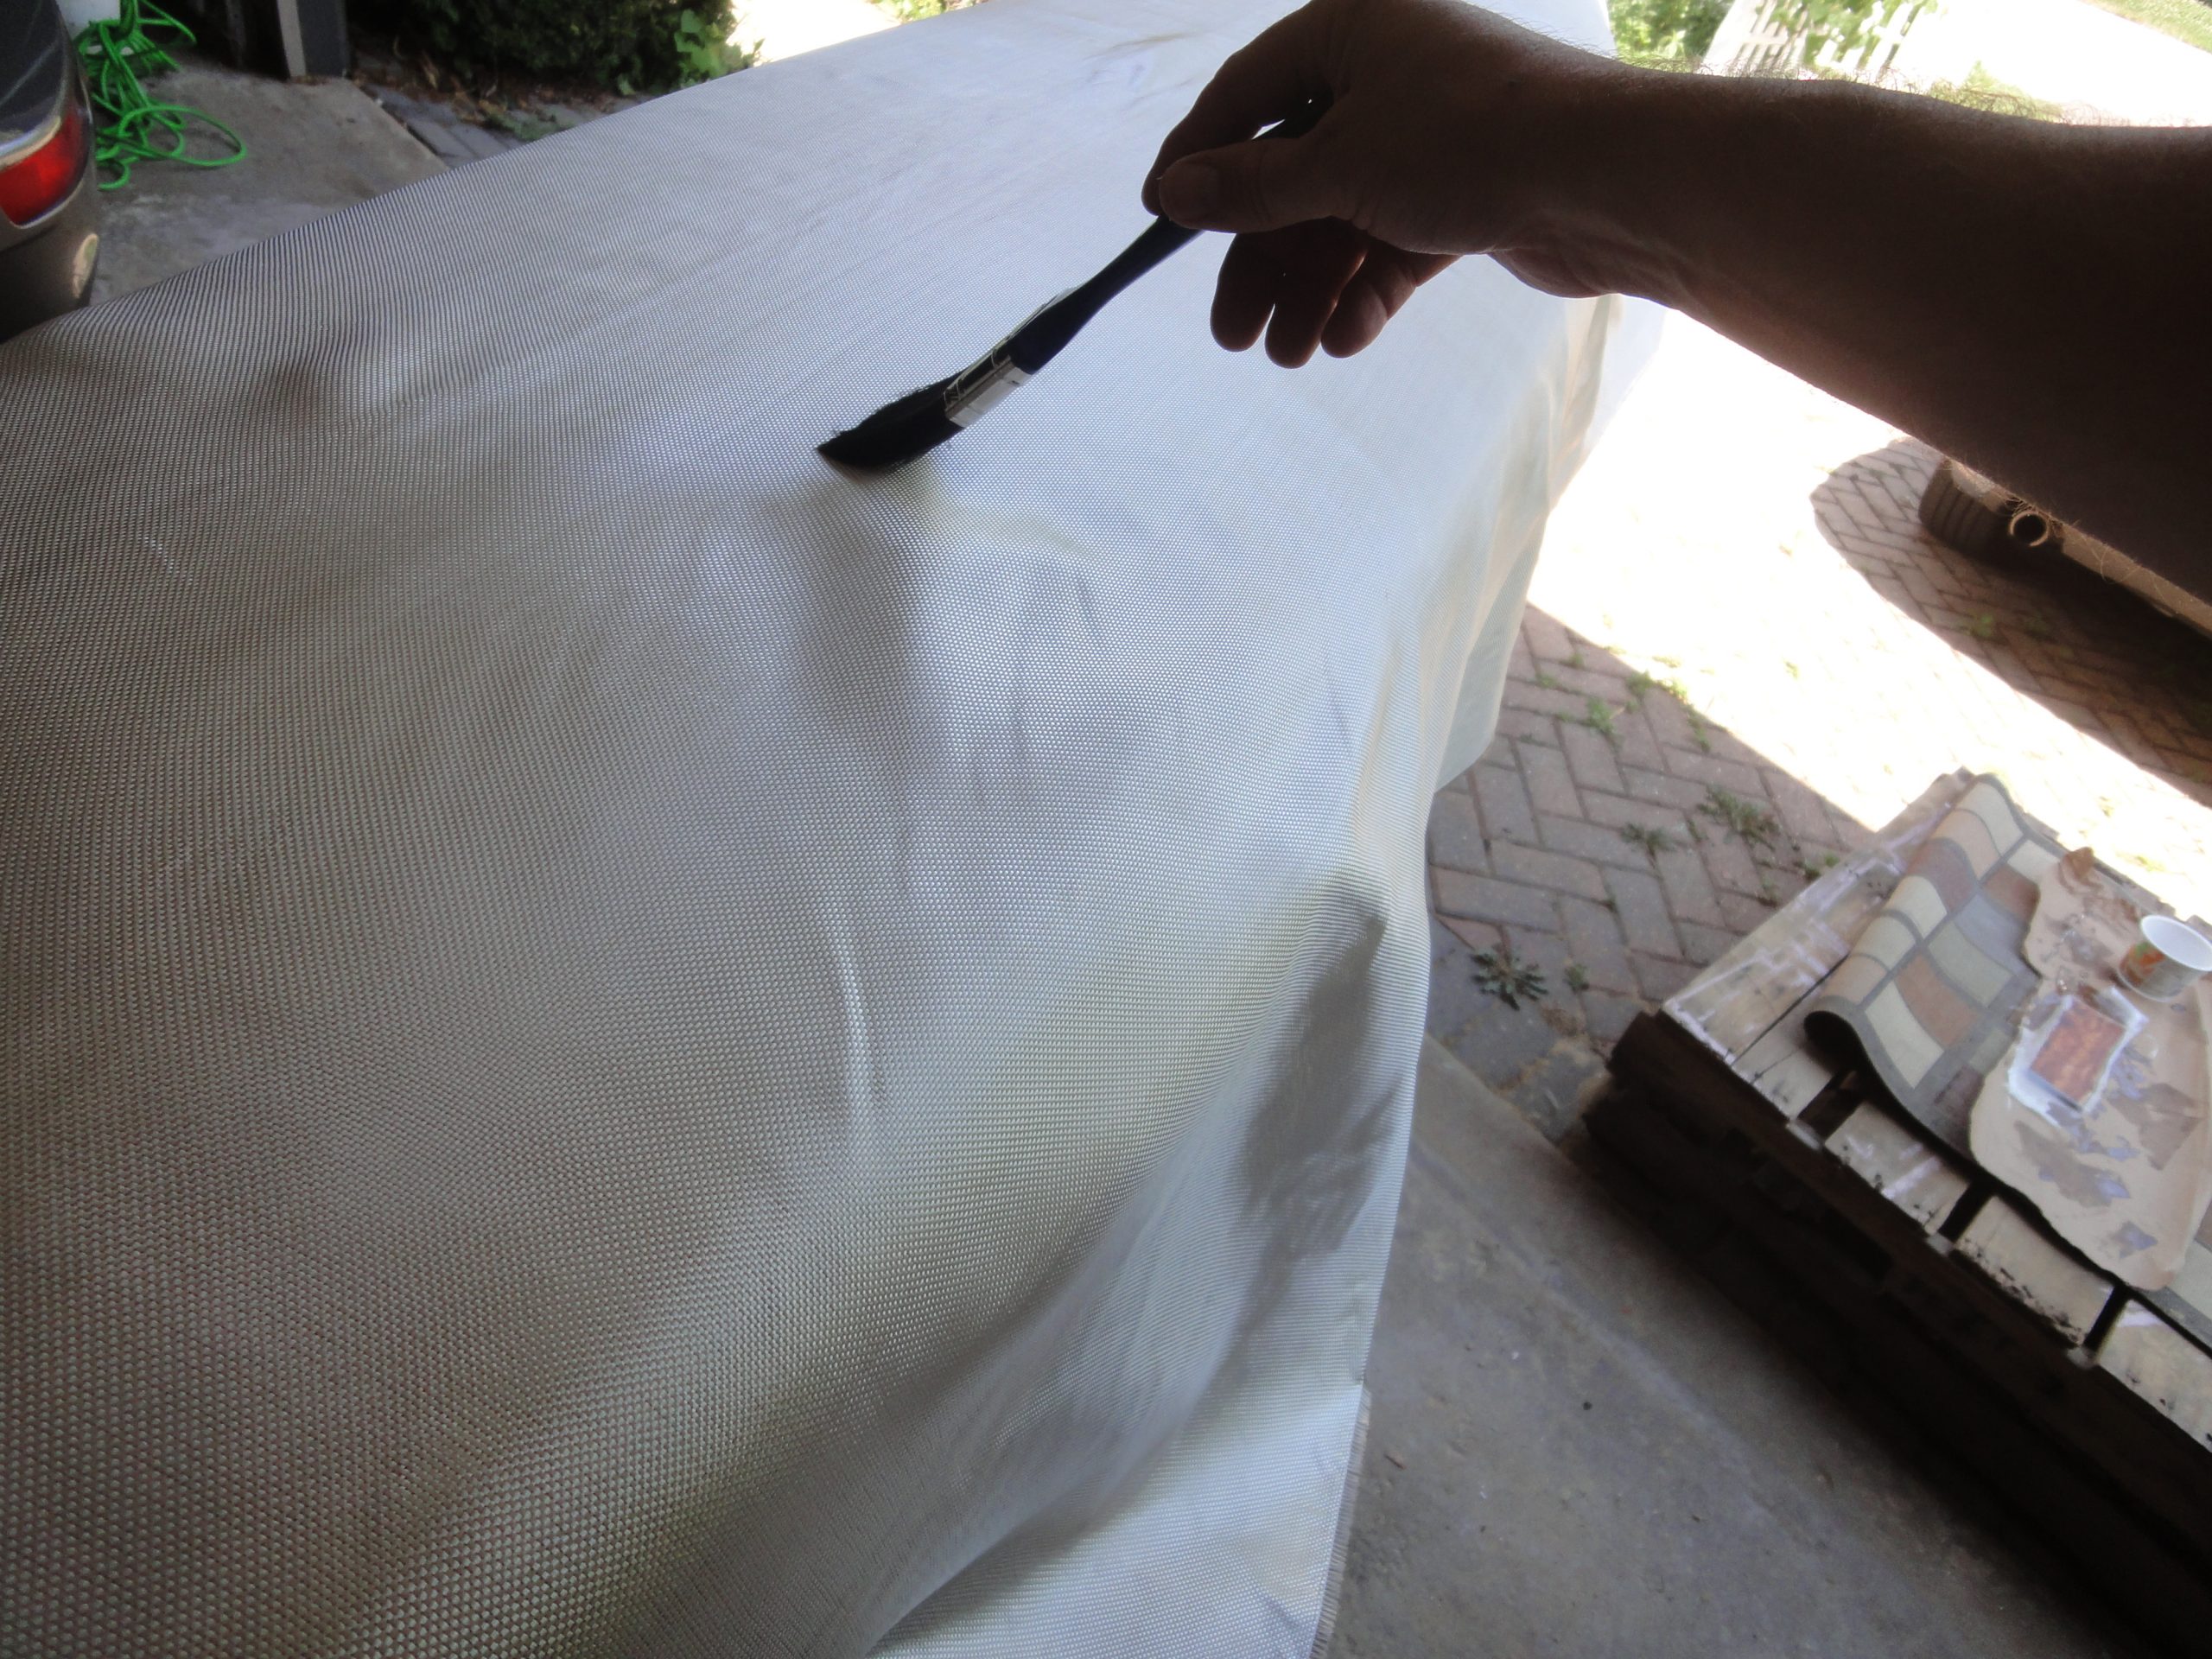

I did cut off much over the overhang on each side (and saved the pieces in case I need them later, although at this point they are effectively scraps. This helped it to lay better in the middle. After a full brushing out it seemed in pretty good condition but I decided to give it at least 24 hours to just sit and relax in place so most likely tomorrow I will start the actual epoxy application. The goal is two to three coats. The initial coat will be to bond the cloth to the surface. The second will be to fill the weave and possibly a third if necessary. I’m probably looking at 90-120 minutes between coats and it should be done during after the peak heat point when the temperature is starting to drop as this will help prevent bubbles in the finish. I could wait longer between coats but then instead of a chemical bonding between coats I would have to do a bit of sanding to get a mechanical bond between the coats. At this point the less sanding the better.
Finally, here are a few shots of it ready for the epoxy application.