
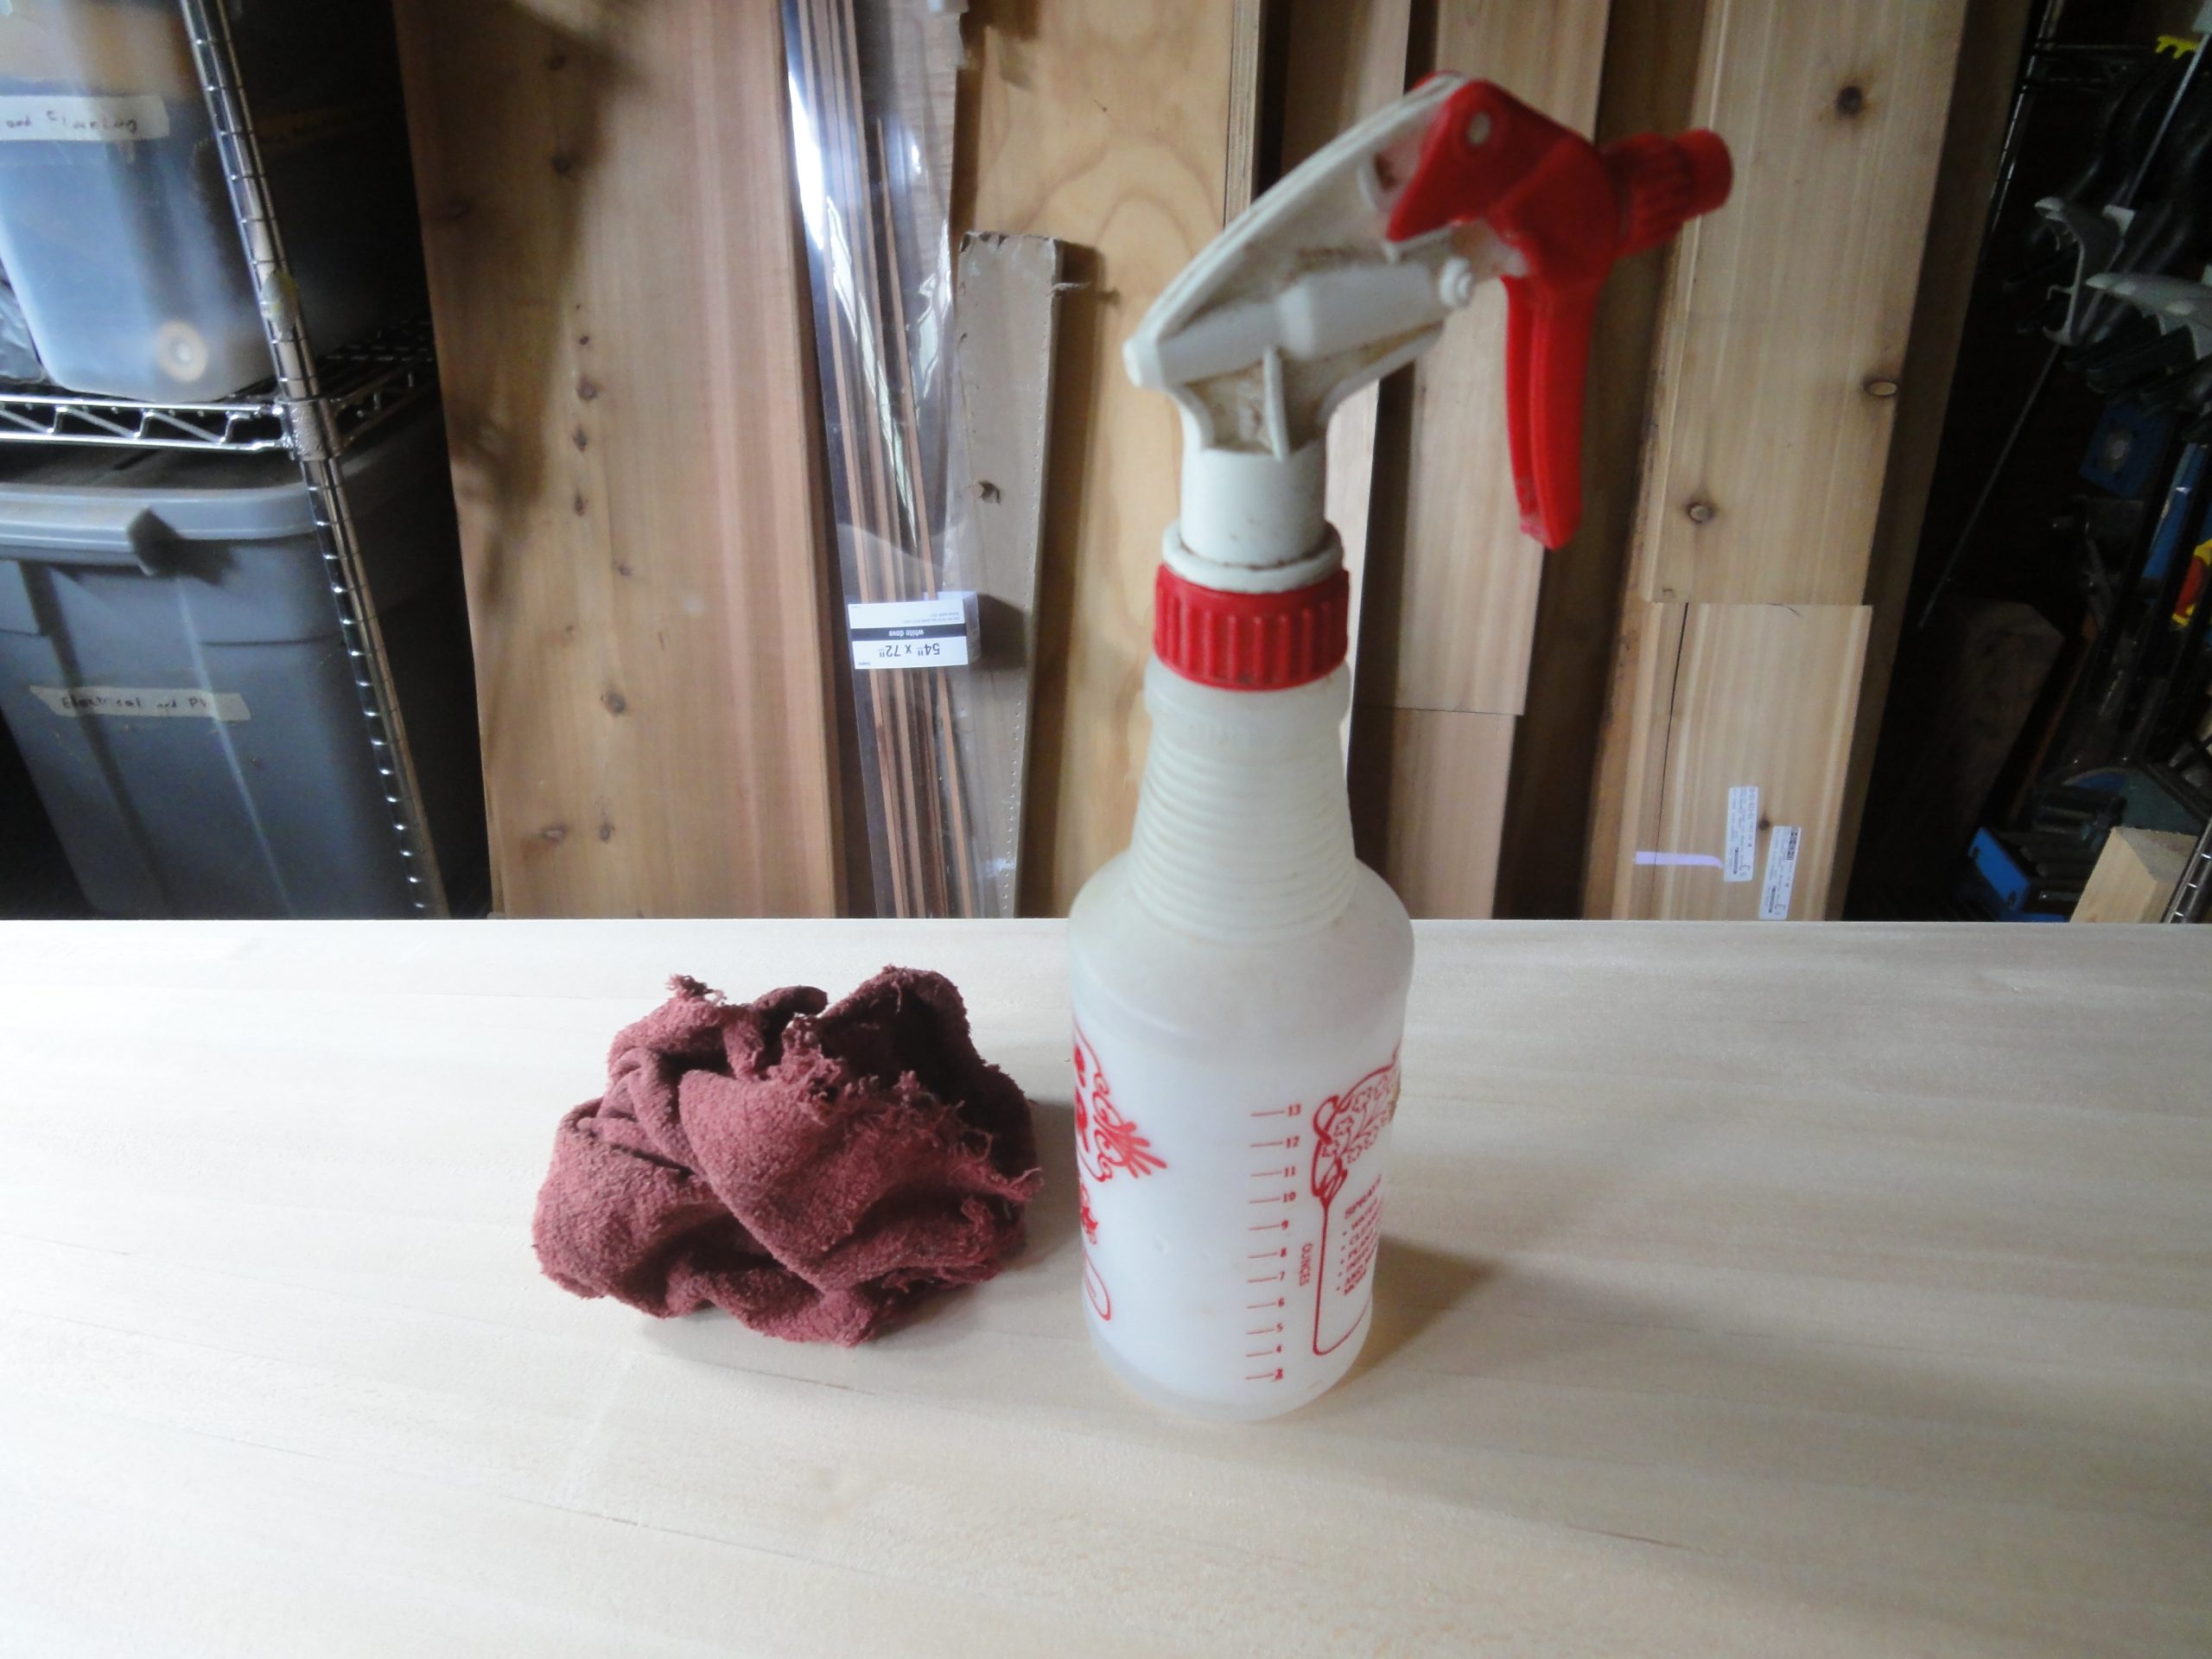
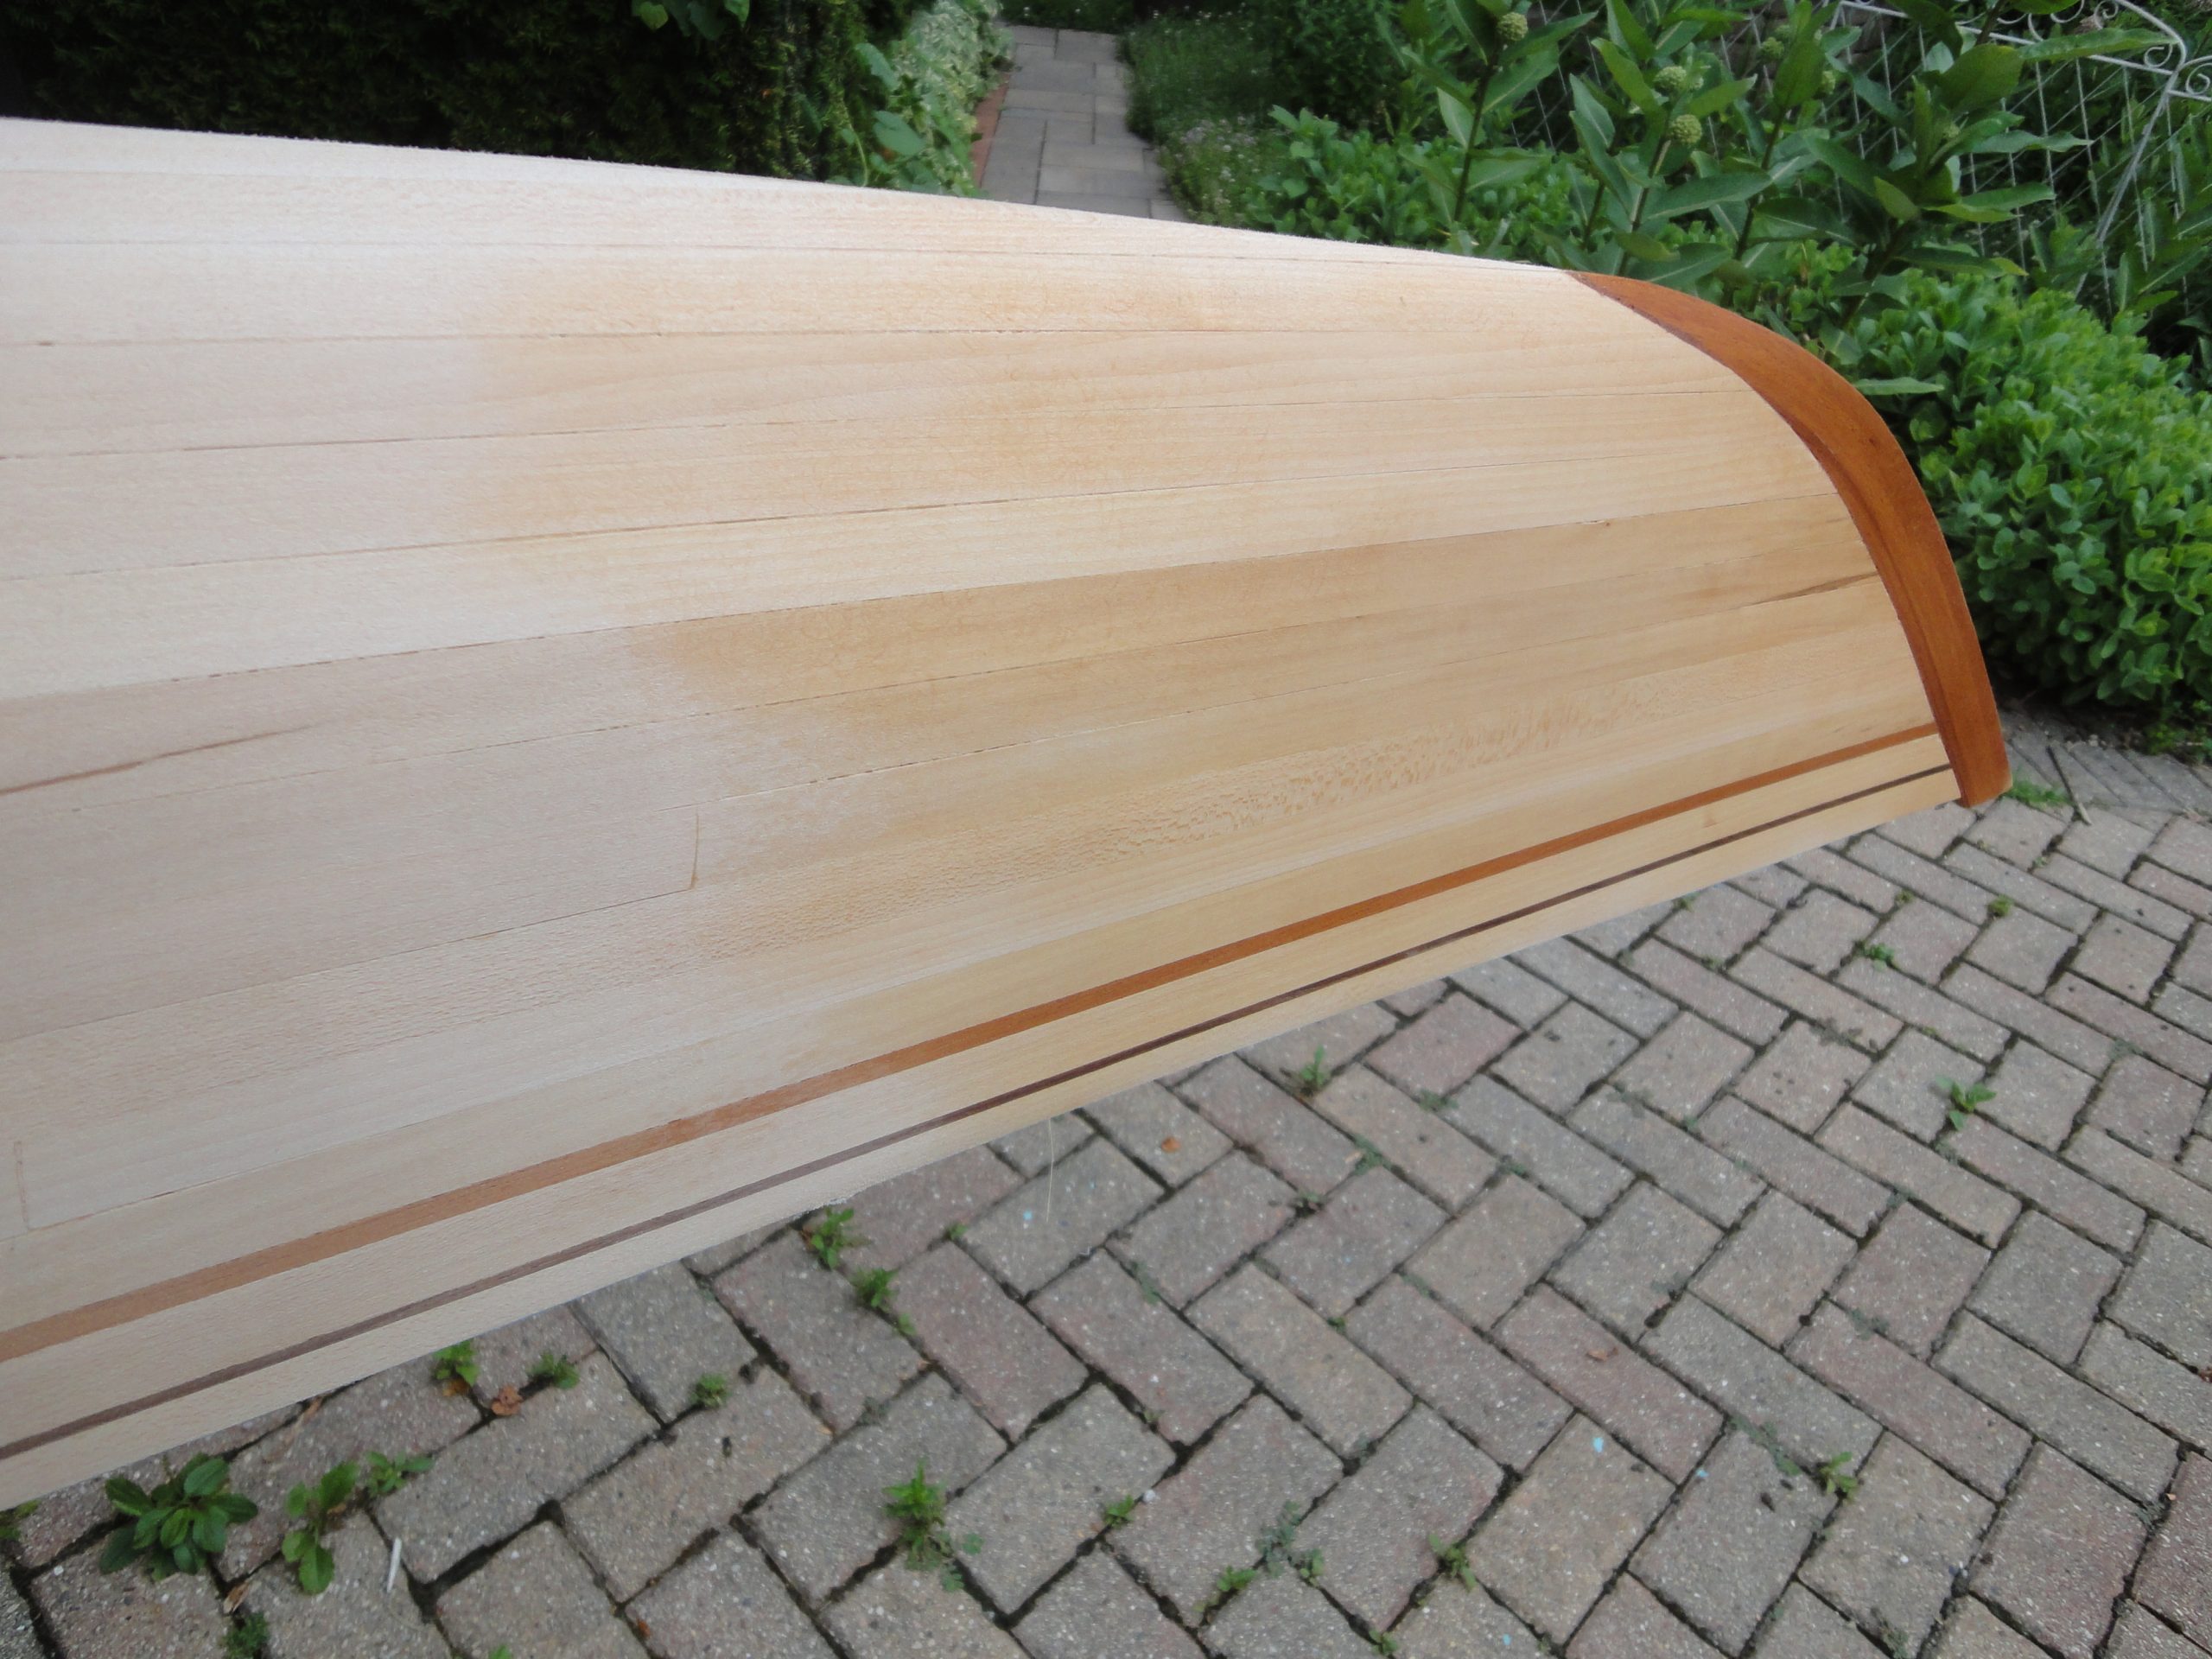
No, I suddenly didn’t just jump ahead to it being completed. Rather this is a step that helps with the finish. You spray the kayak down with water as a way to raise the grain in the wood for a final sanding and a way to see if you missed any glue. It’s also the first time that the colors really start to show. Using just simple spray/mist bottle and an old cloth, I would spray a section, then wipe with the cloth to ensure even coverage of the water. The goal here is to moisten the surface, not have it dripping wet.
Once it was wet, missed glue spots clearly became visible. See if you can find them in these shots.
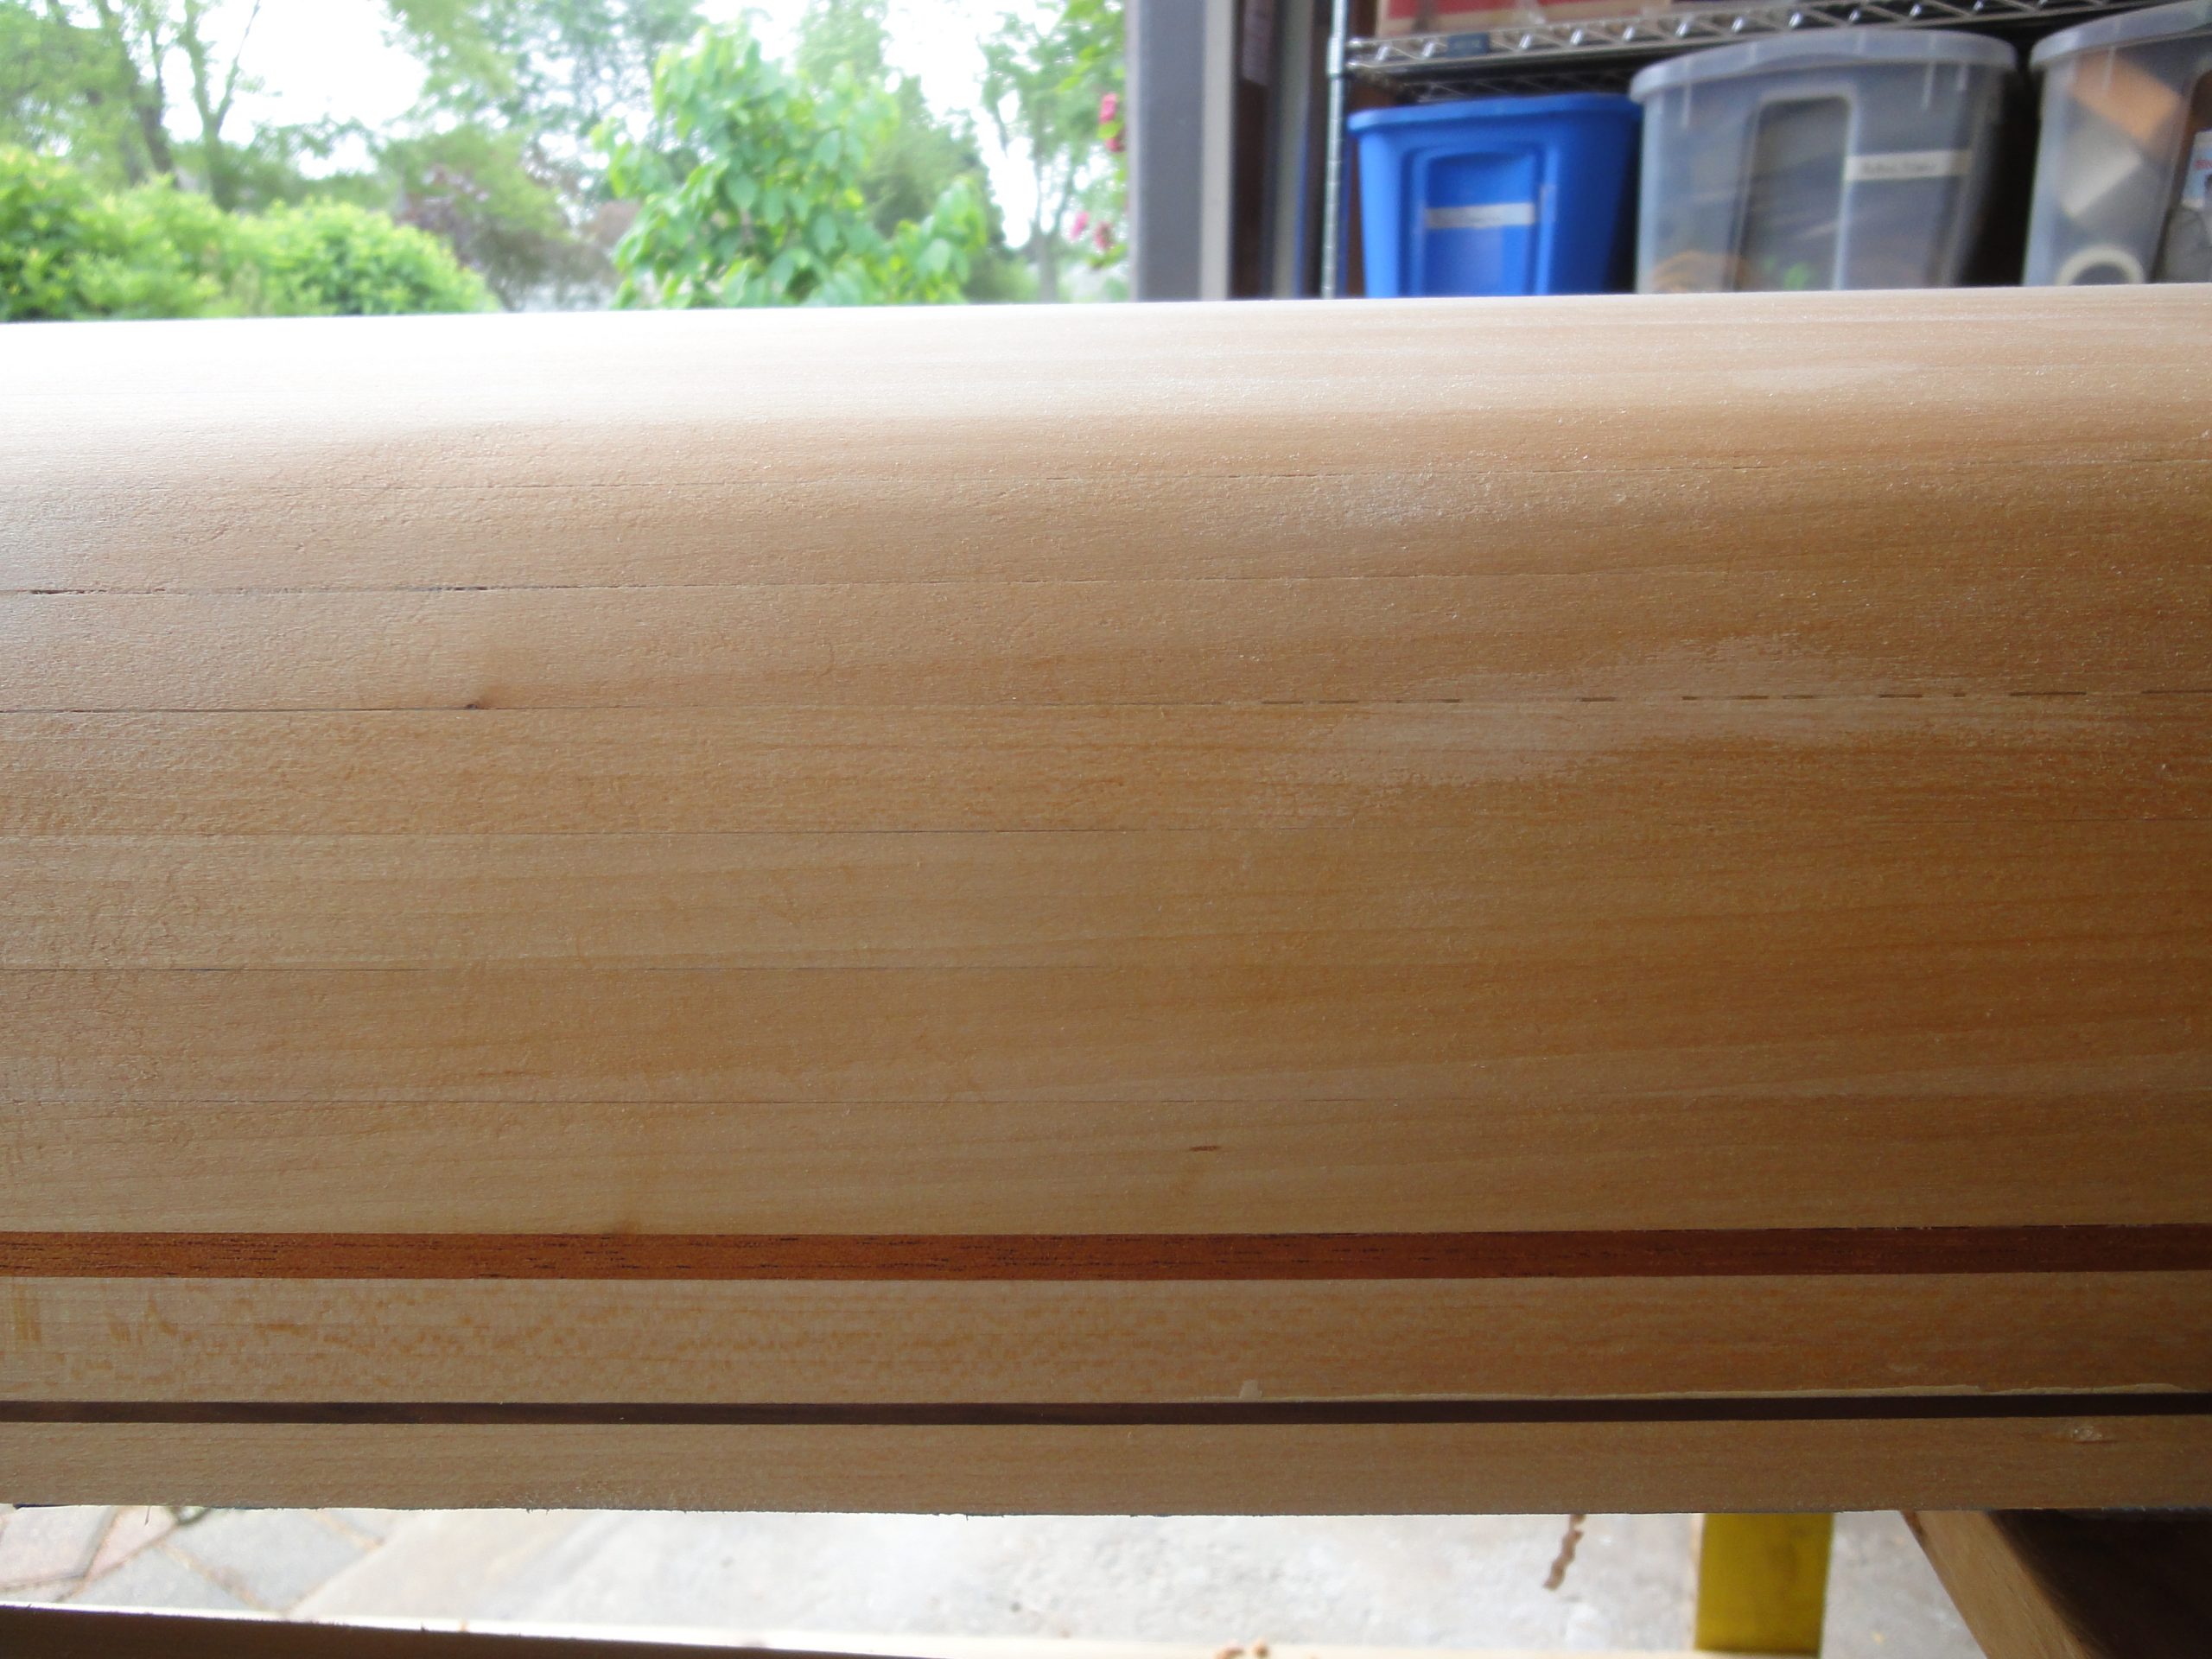
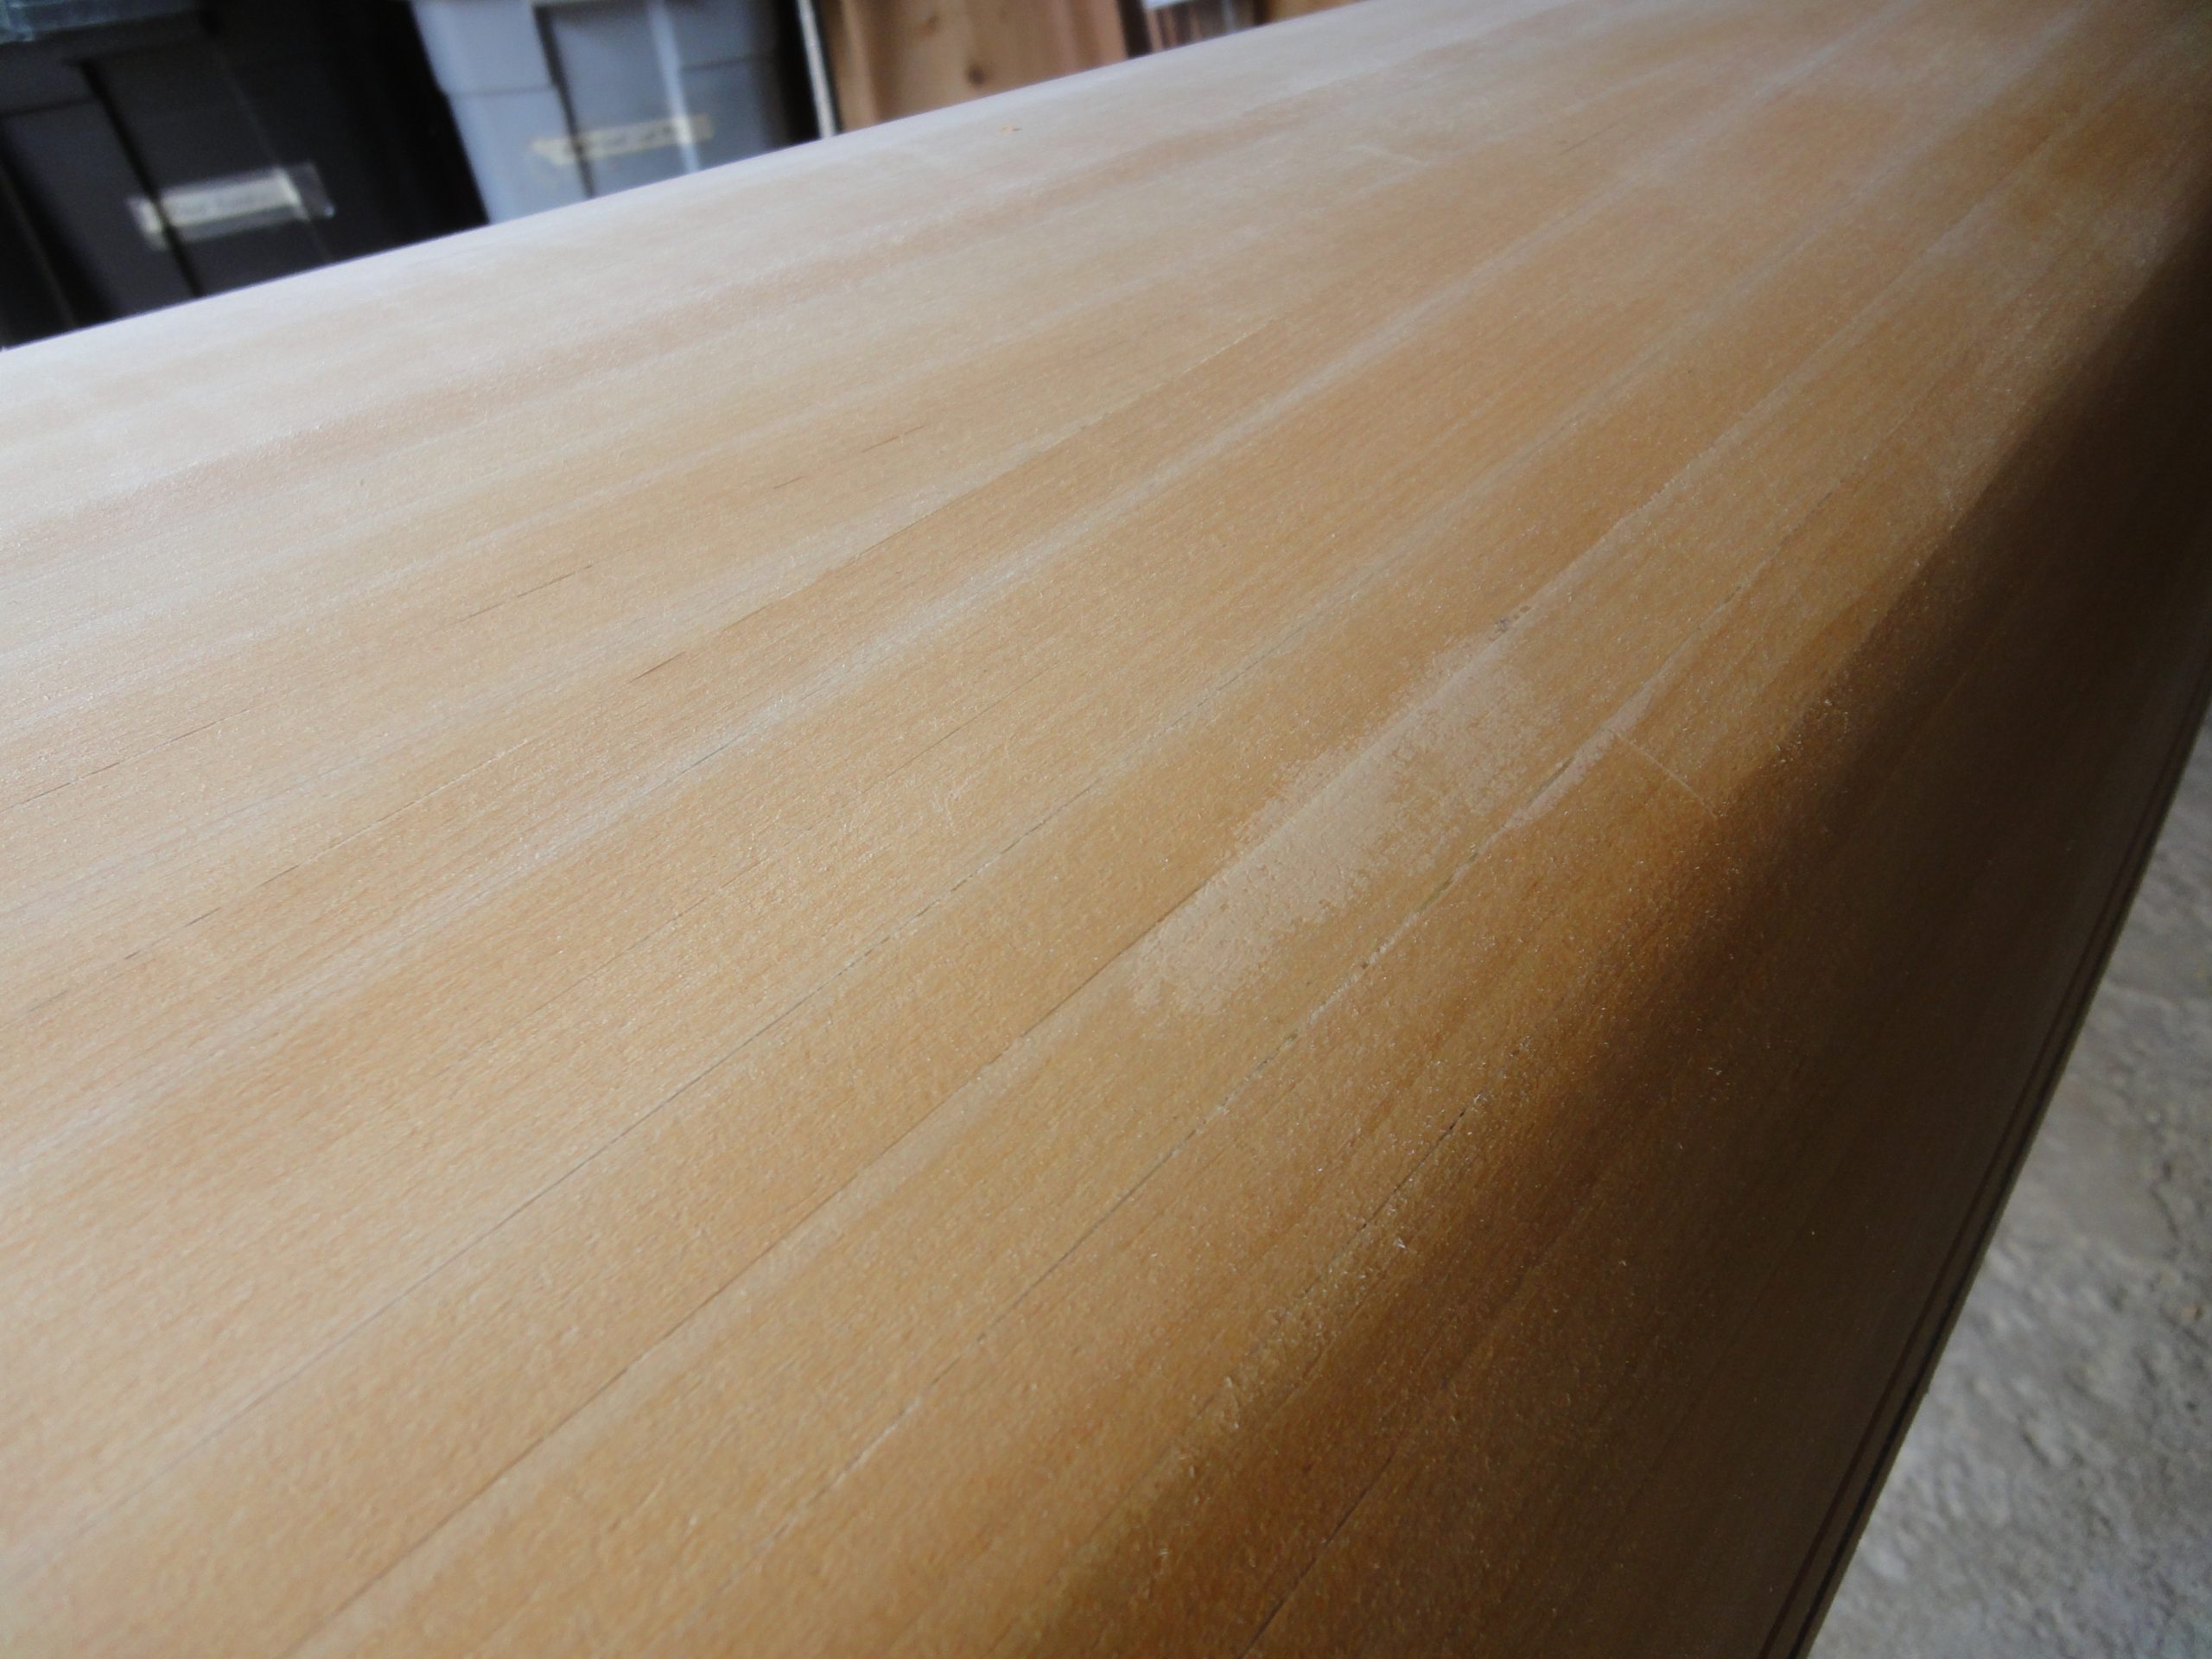
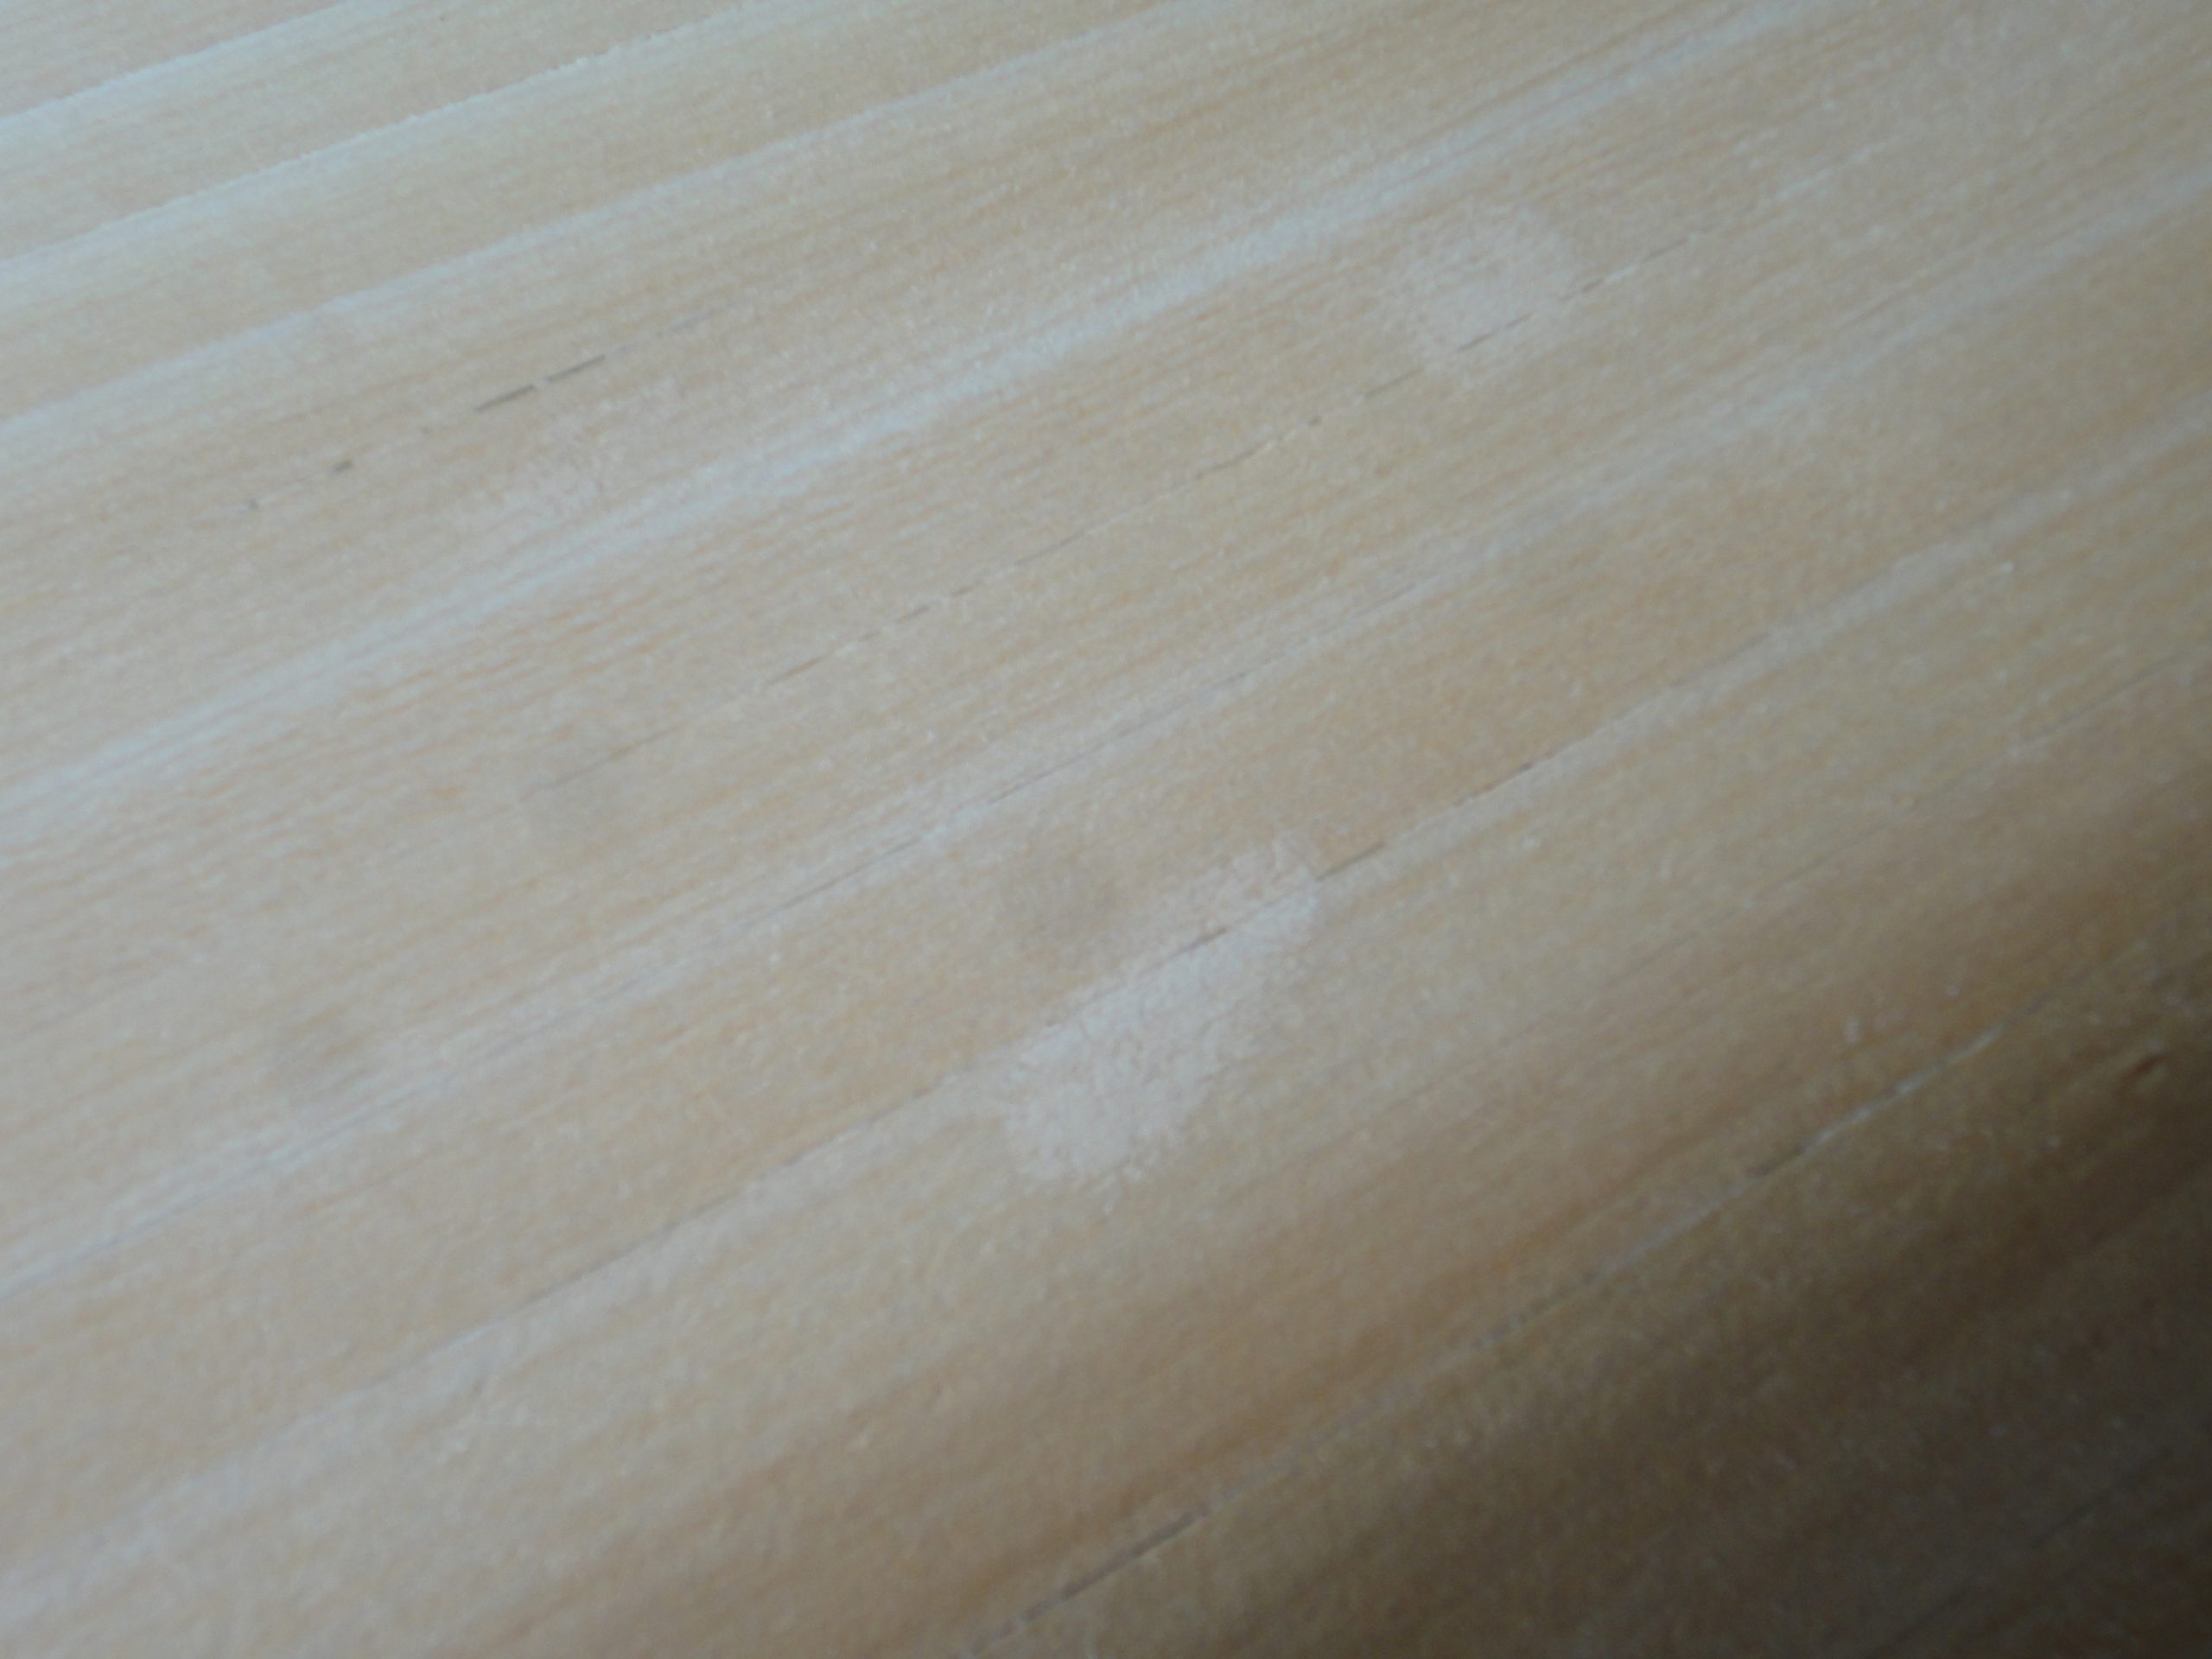
It really wasn’t too bad with nearly all of them being where I had done some crack filling. The color of the accent lines and the stem really started to pop too.

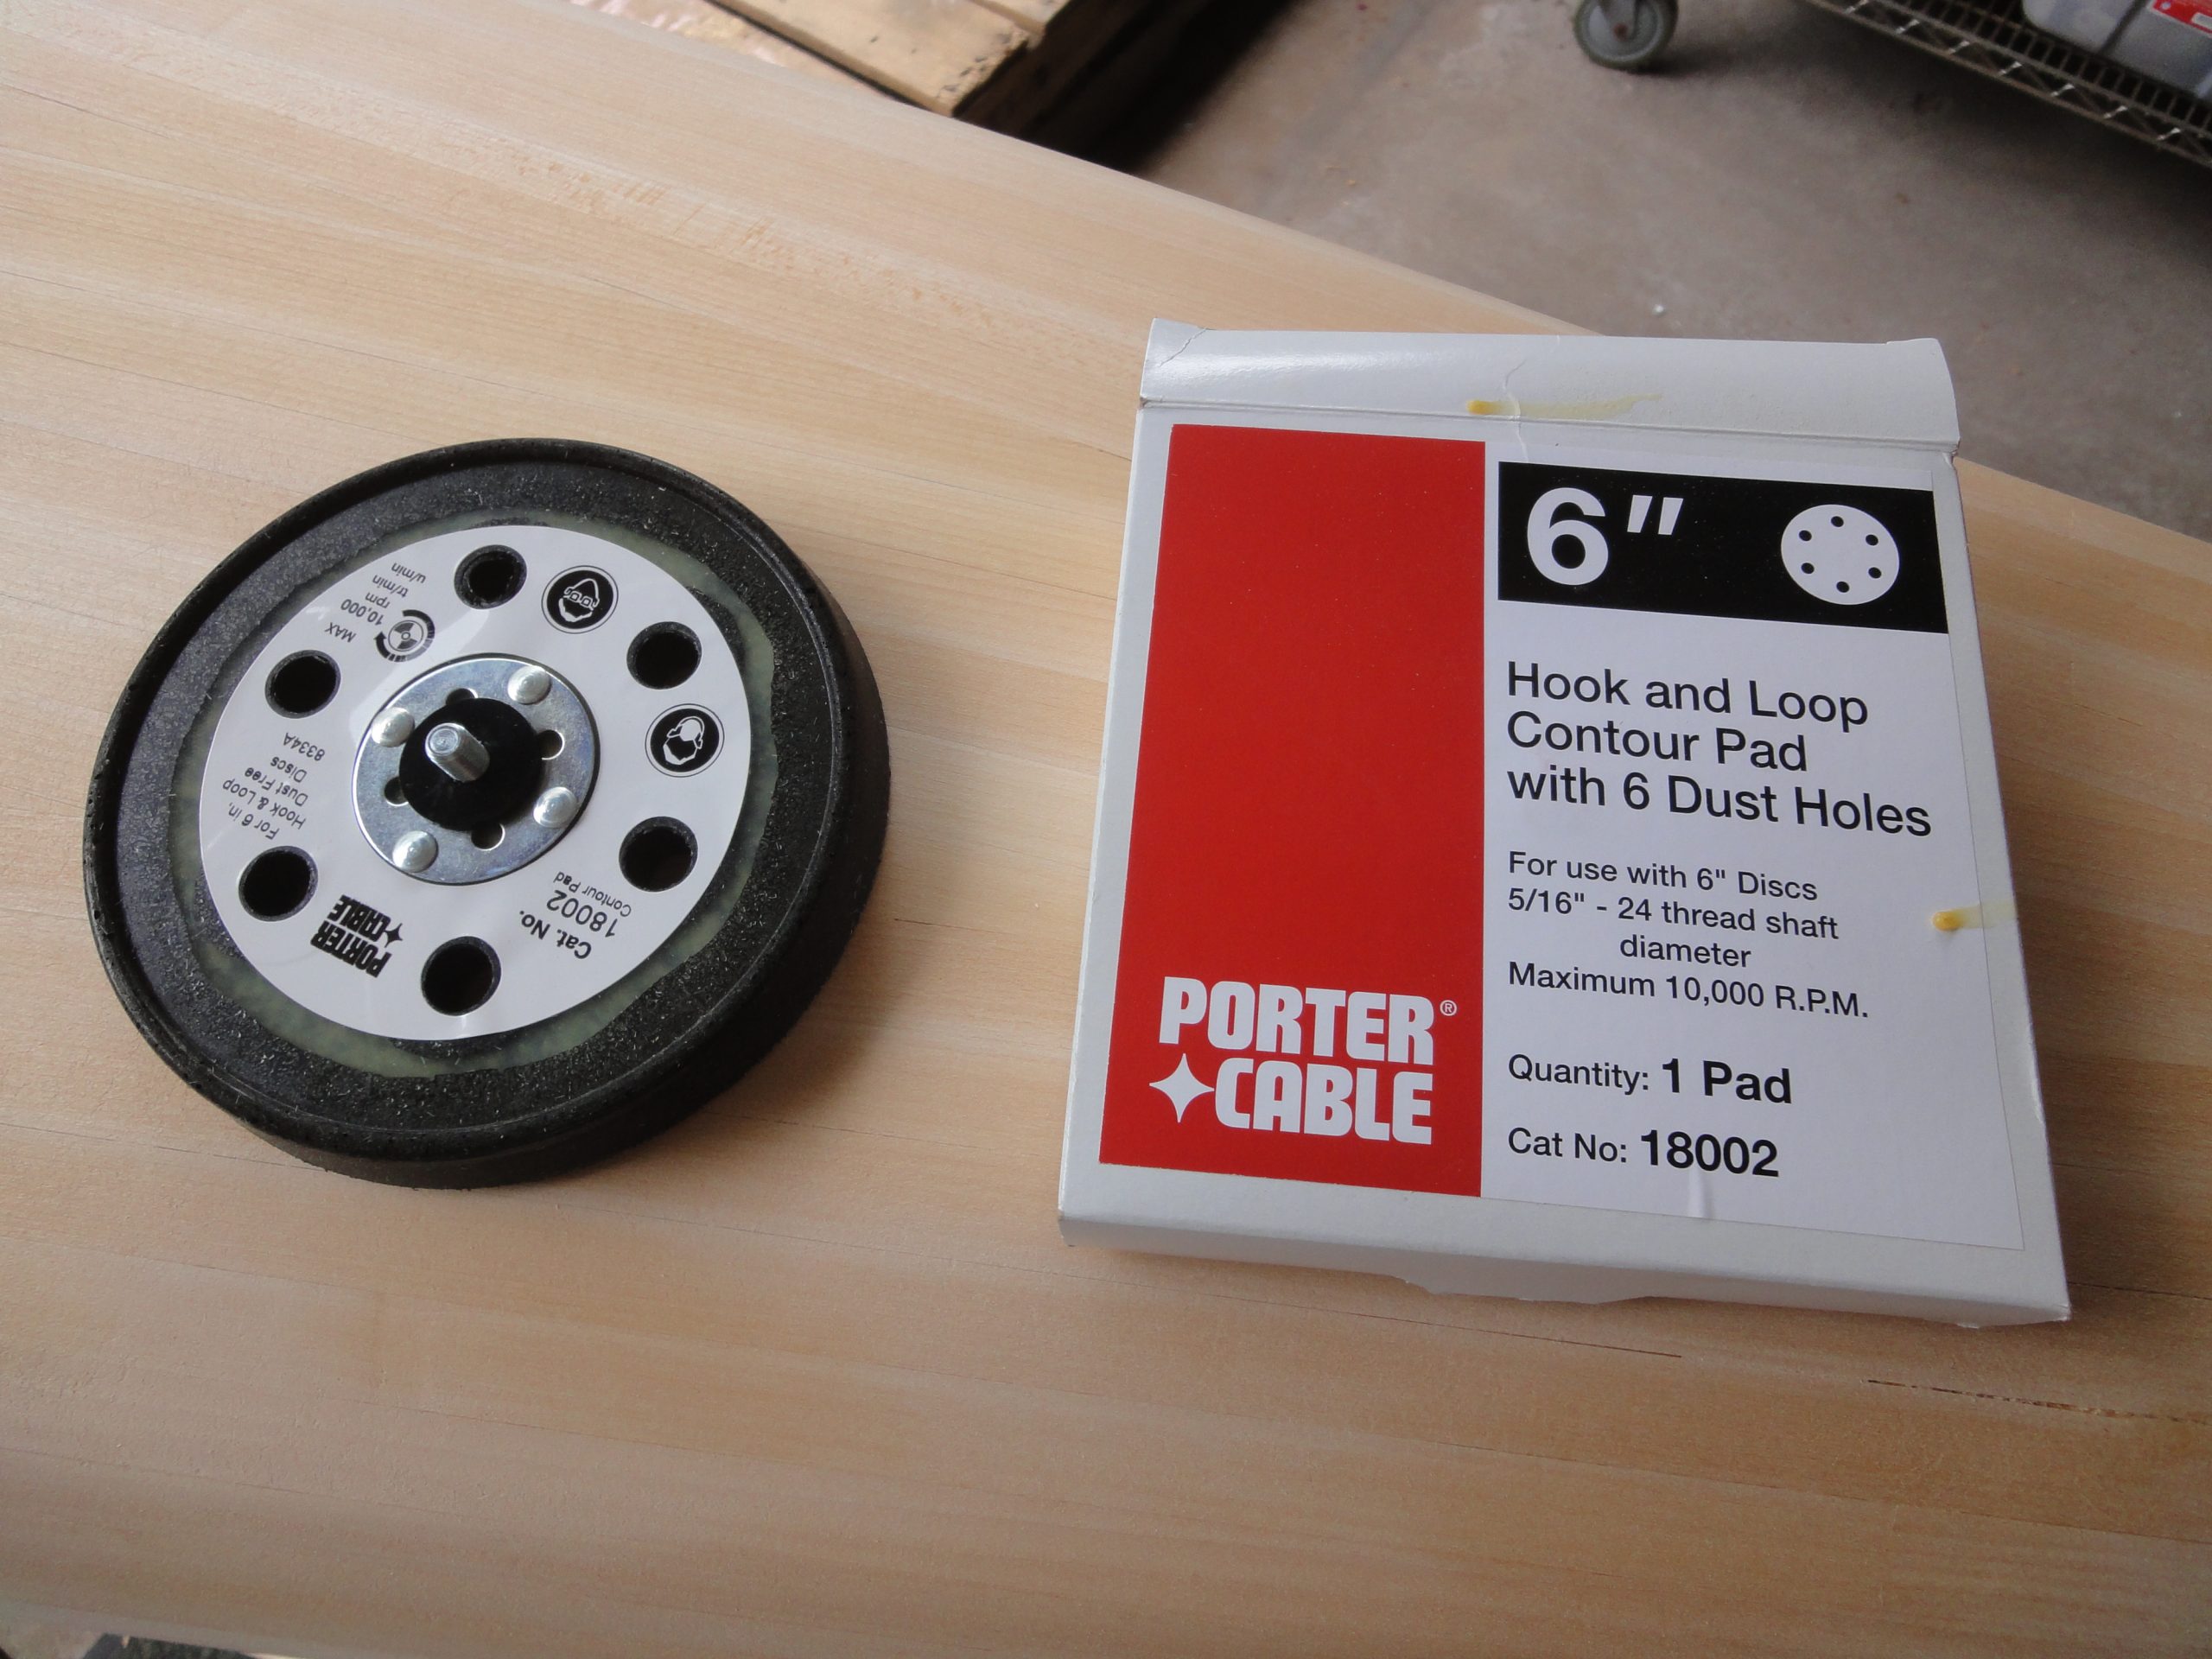
The sanding started with the random orbit, however I swapped out the normal pad for a contour pad. This is a softer pad that will conform more to your surface. The normal pad, going over a curve is going to try to knock down the curve while this pad is going to try to fit the shape. You end up with a less aggressive cut. I sanded at 120. One more wet down and the last few spots were taken care of. Next I switched back to the long board with a 150 grit and gave the whole surface a final once over when it was dry. This created a very good result that should now be ready for fiberglass and epoxy.

I took some vacation time from work around the weekend of July 4th so I’m targeting that as the time to get the outside hull fiberglassed and hopefully move on to the deck. If the weather and side projects cooperate by the time I’m heading back to work I hope to have both pieces done and be starting on the insides.