One Side Almost Done!

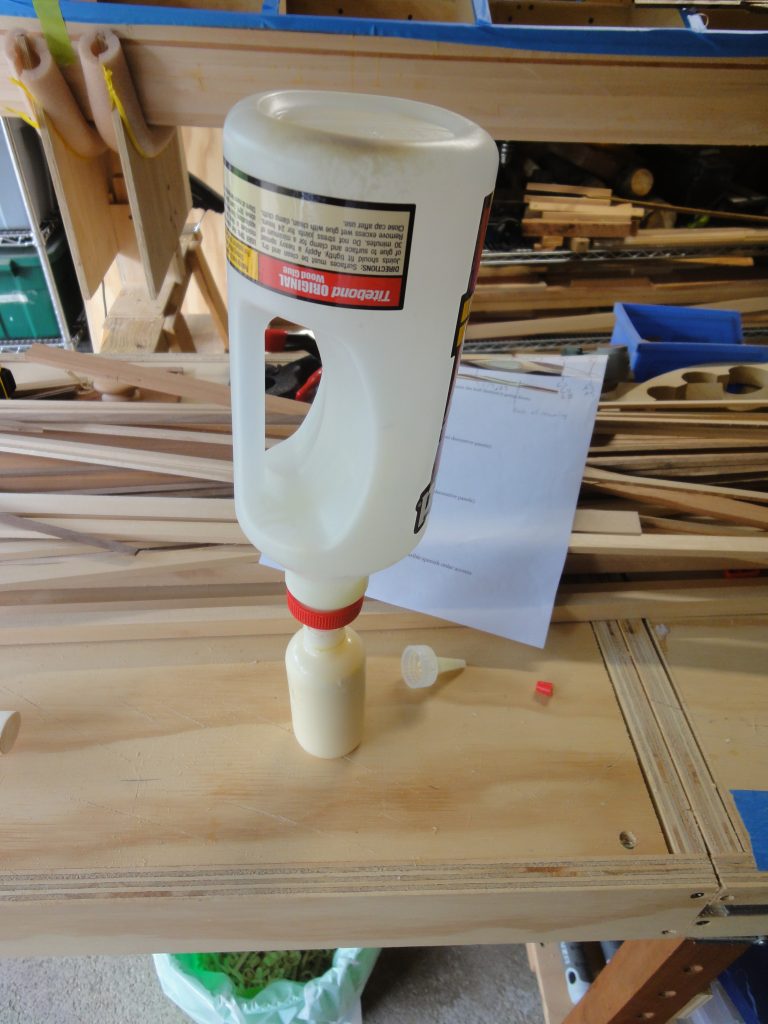
Lots of progress today. I’m literally one strip away from having one entire side complete (except for the cockpit coaming). I also finished the last of the quart too.

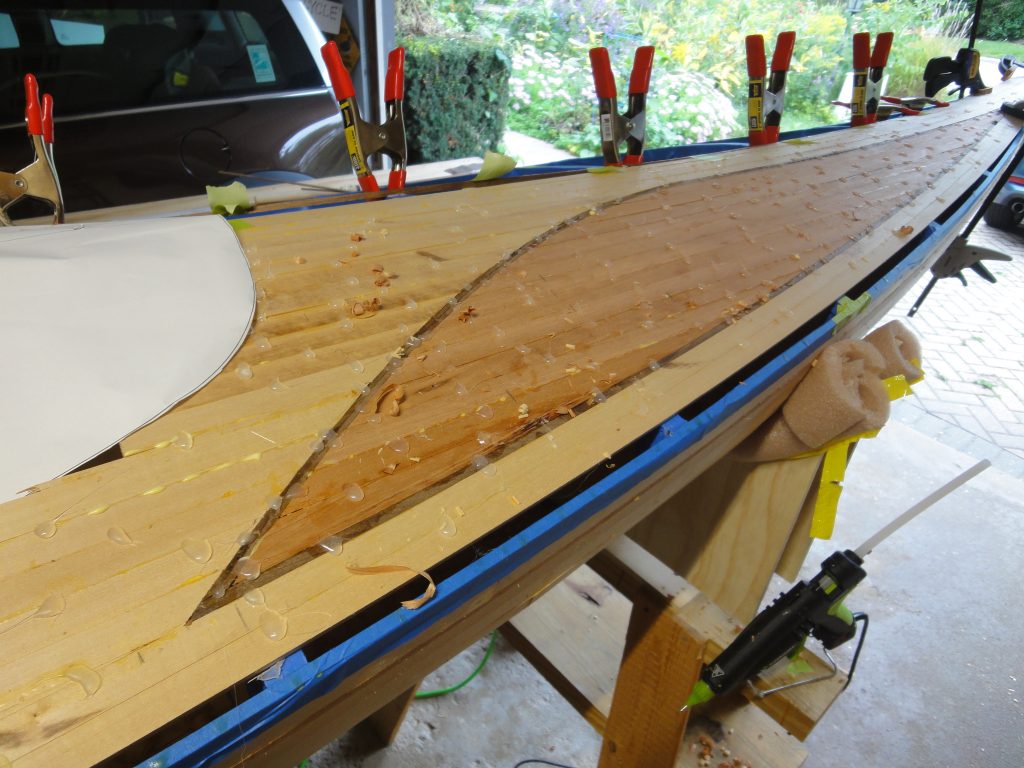
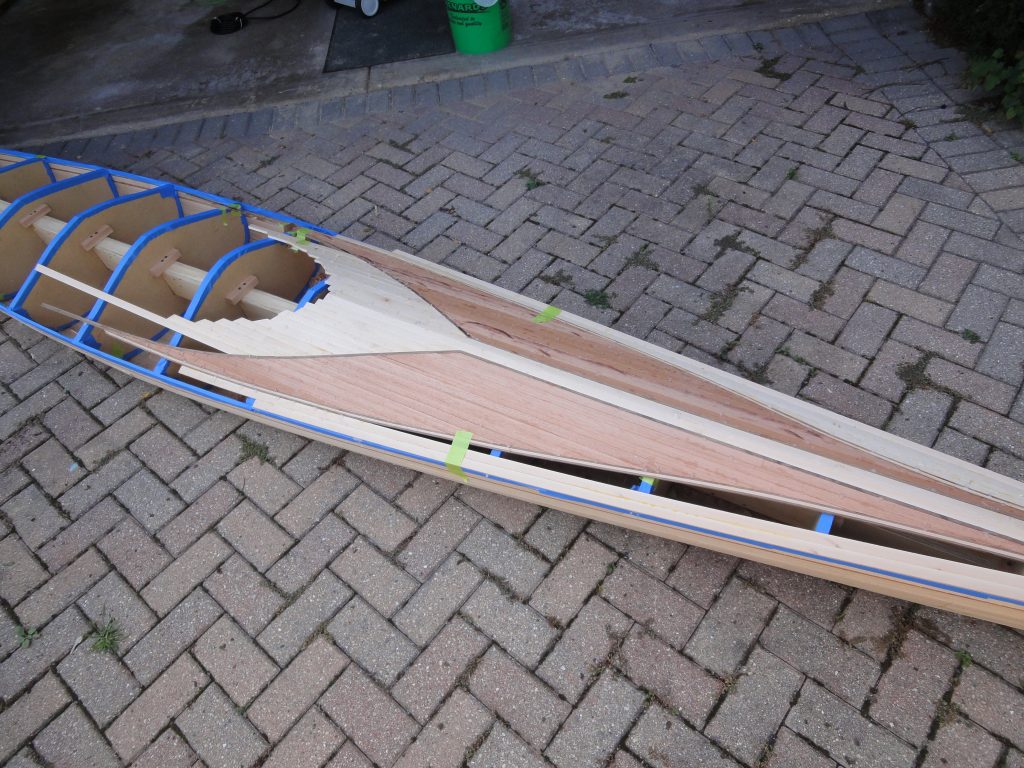
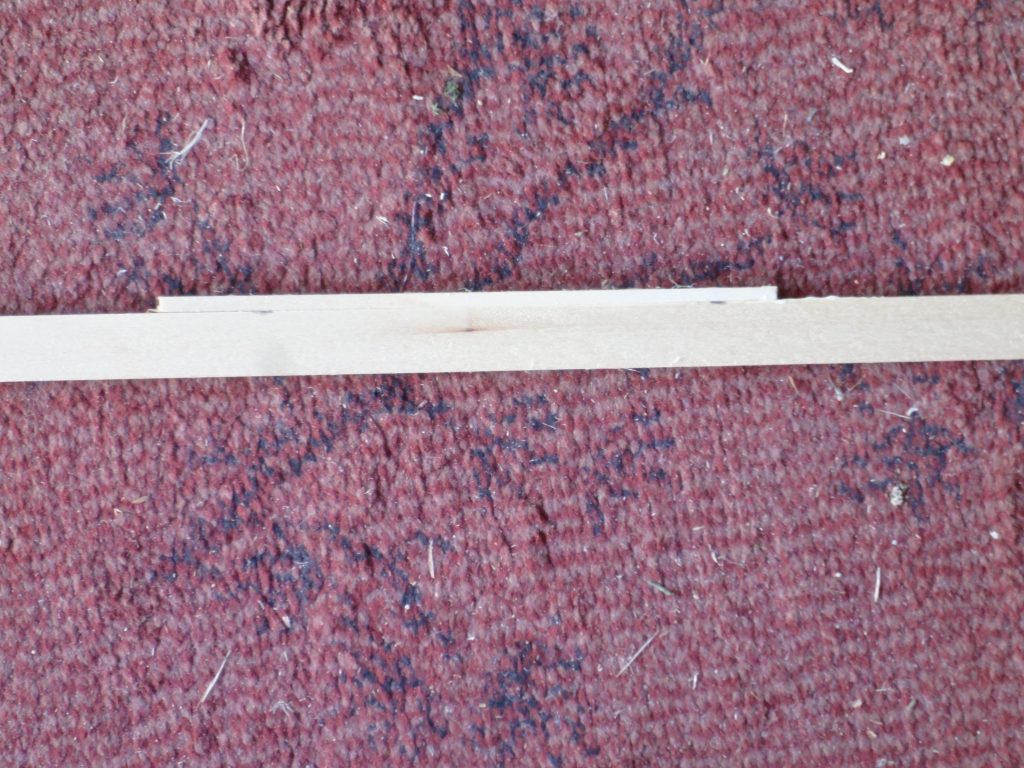
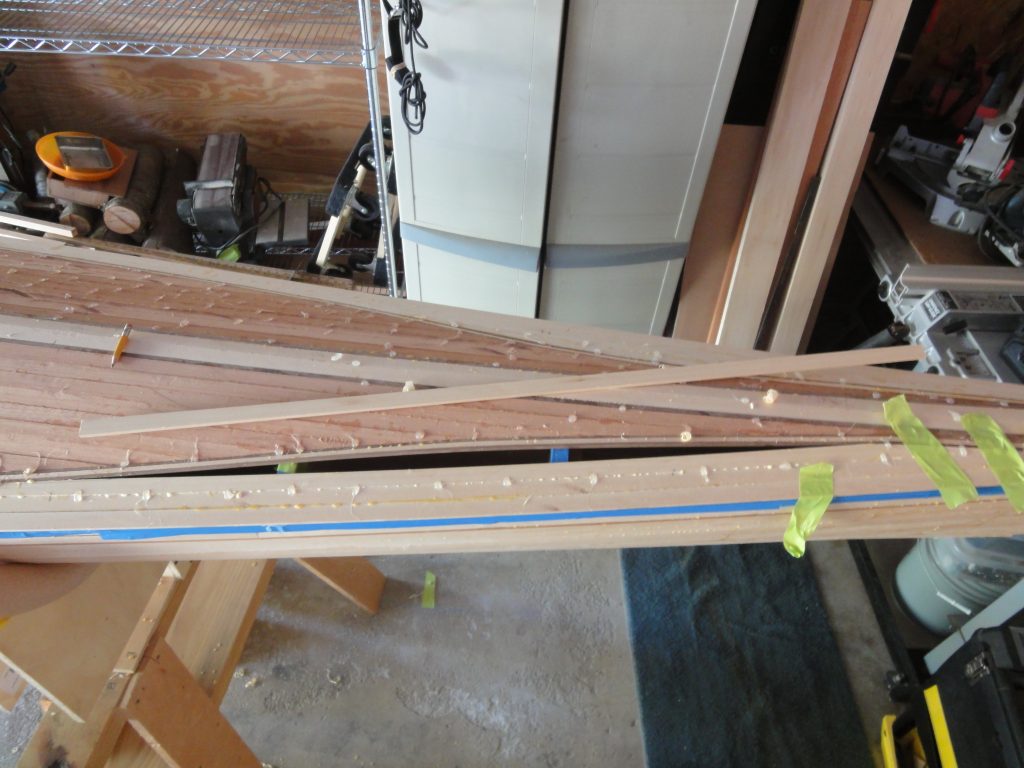
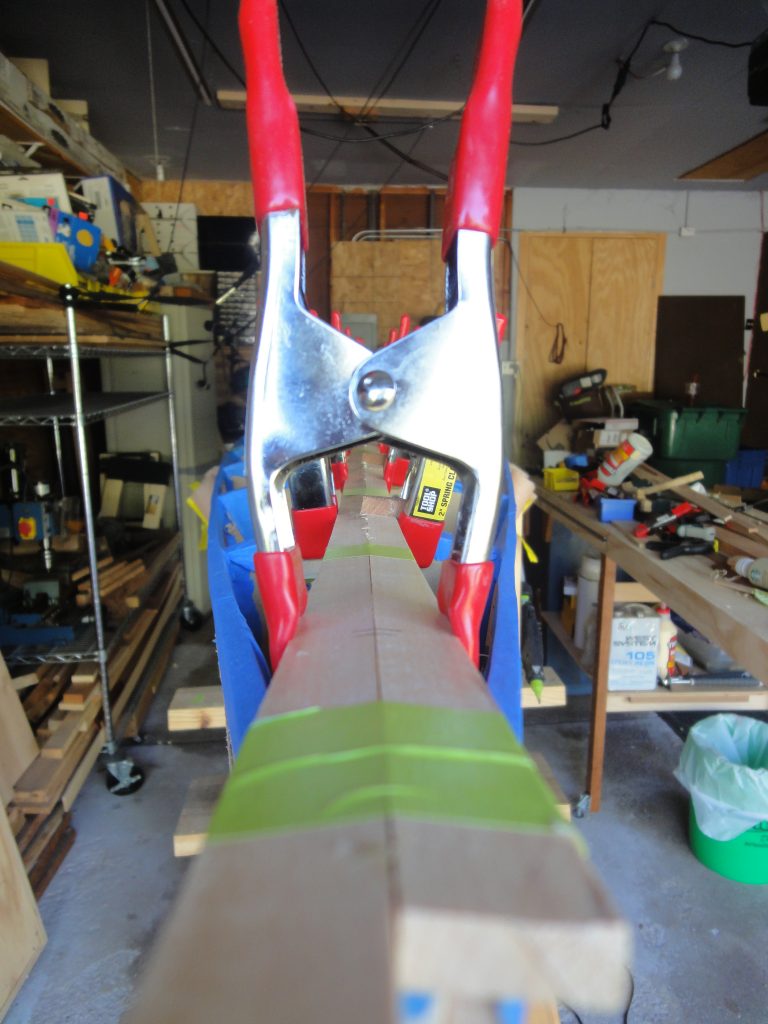
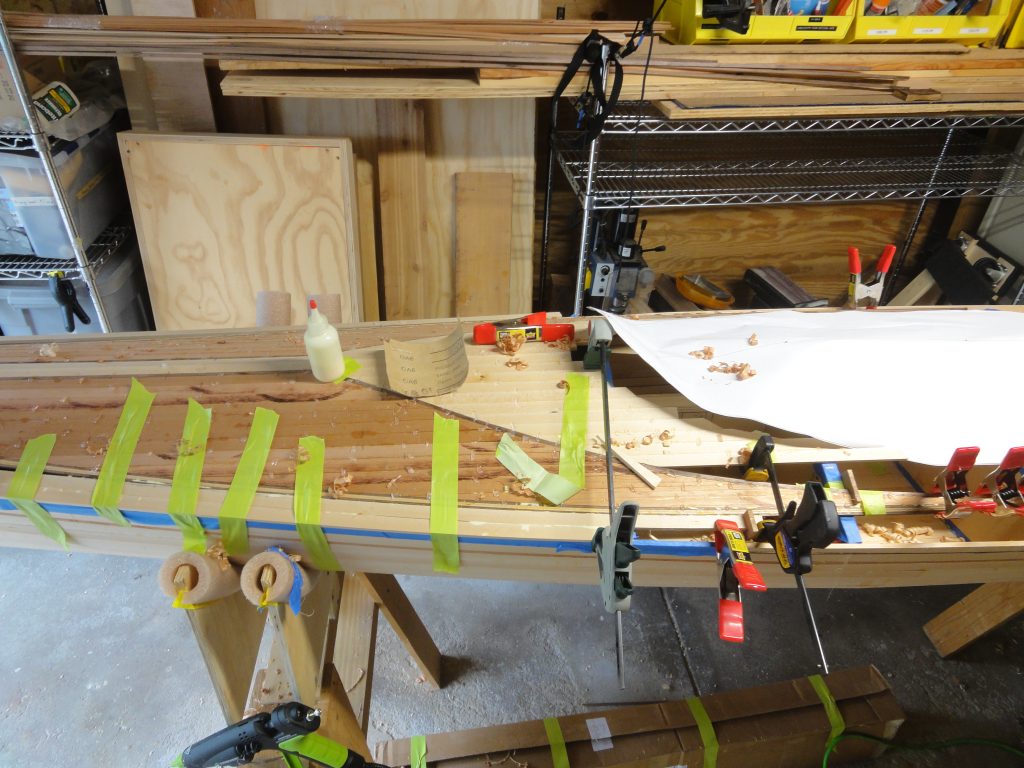
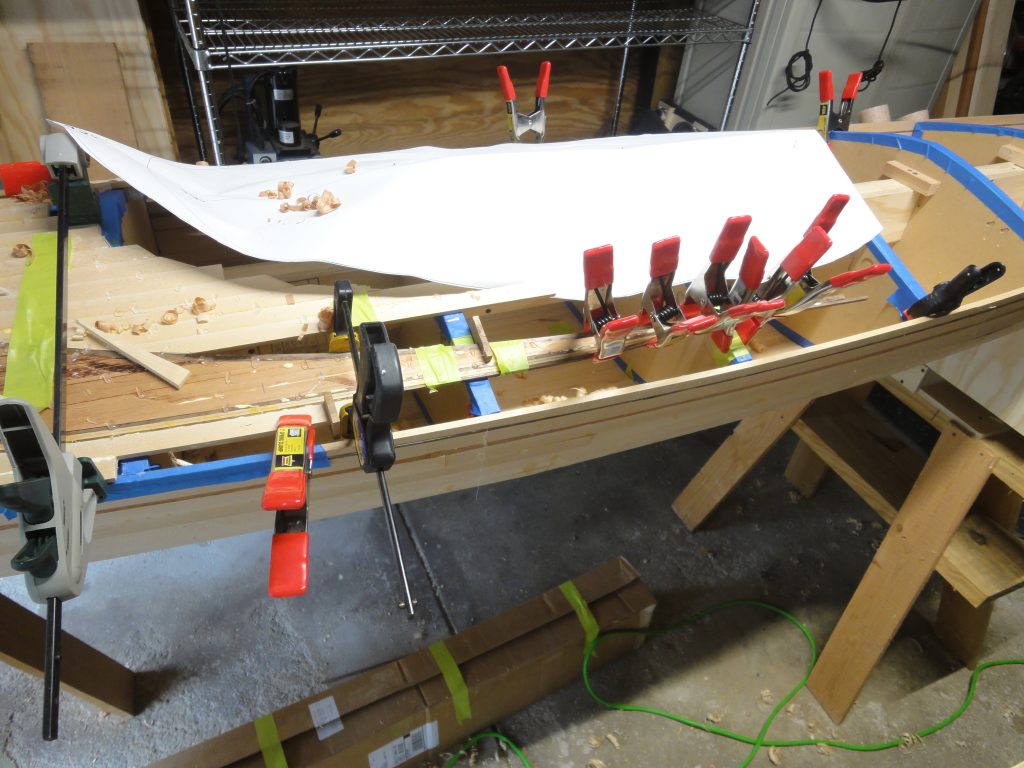
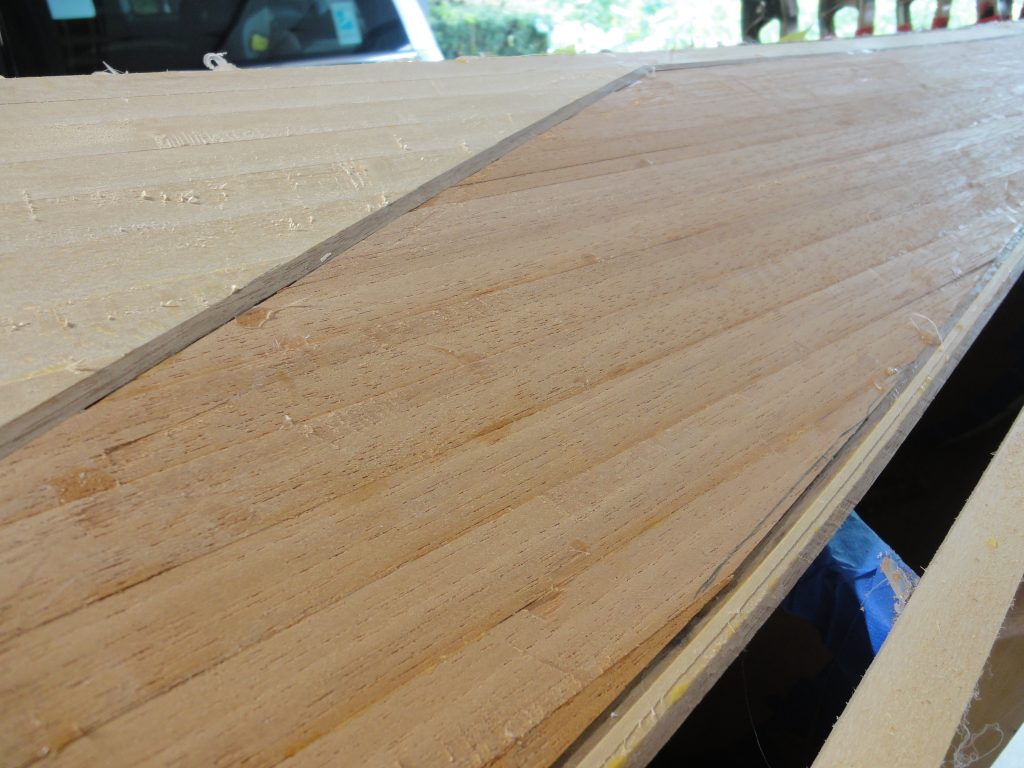
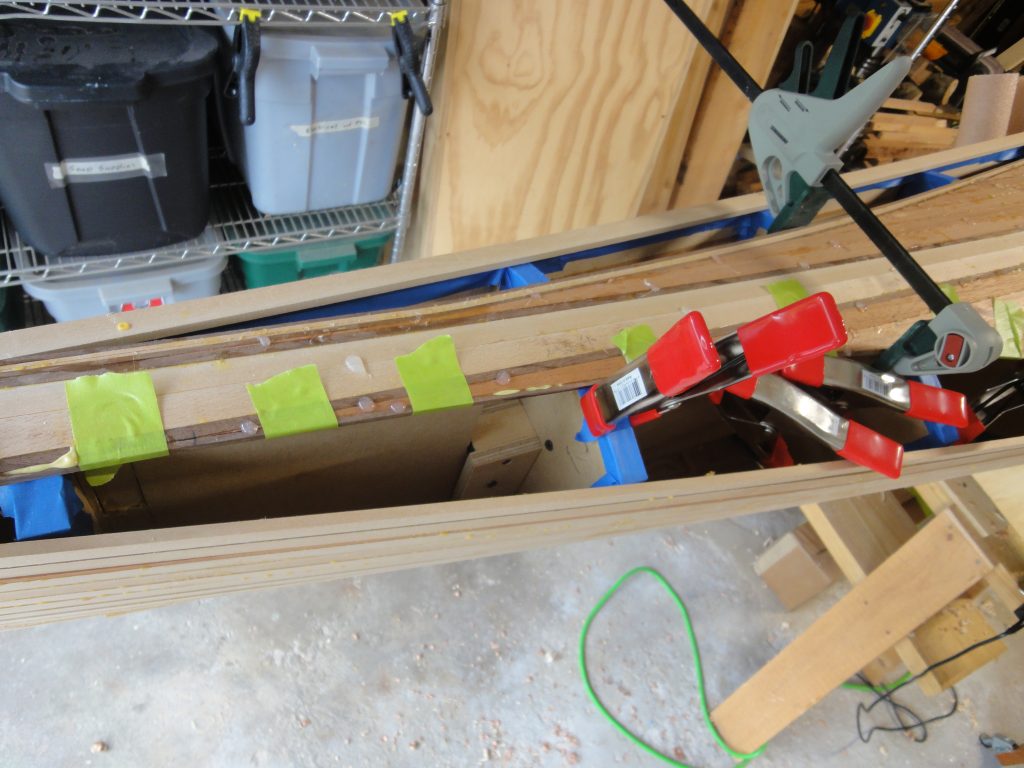
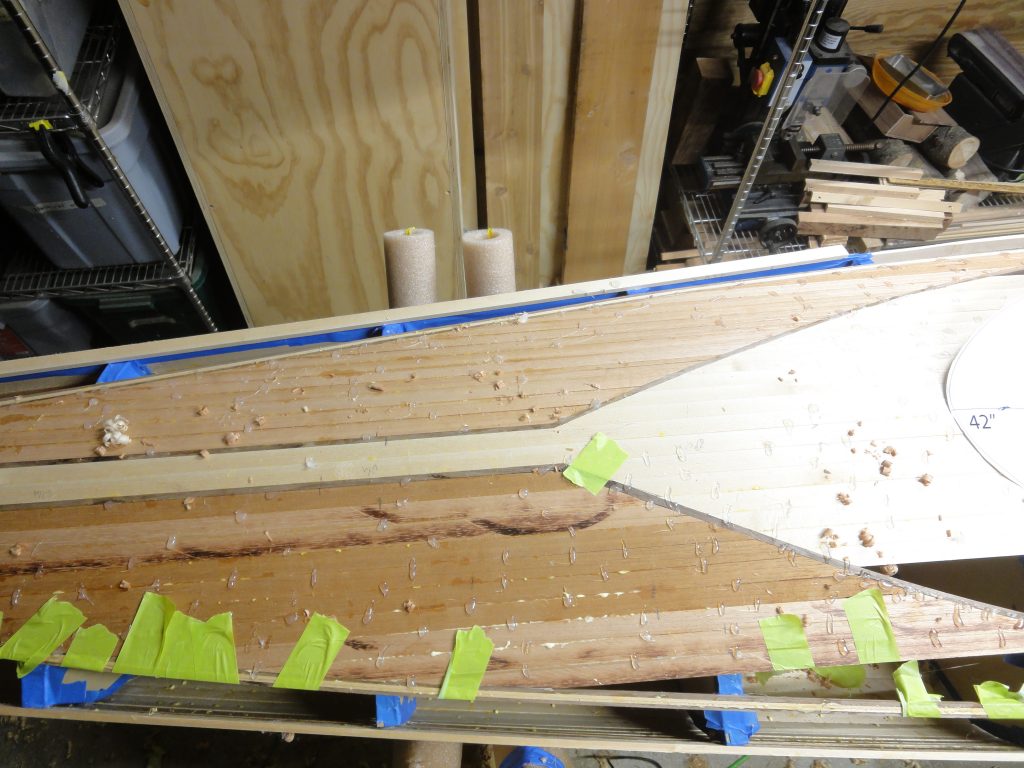
The stripping started with running a full length (~8 ft) basswood along the outer edge of the detail strip. This allowed me to continue the front one to the back and tie both the front and back detail pieces together. A bit of trimming at the back and a splice cut to ensure the ends of the two strips met tightly is all that was needed. Well that and a bunch of clamps.

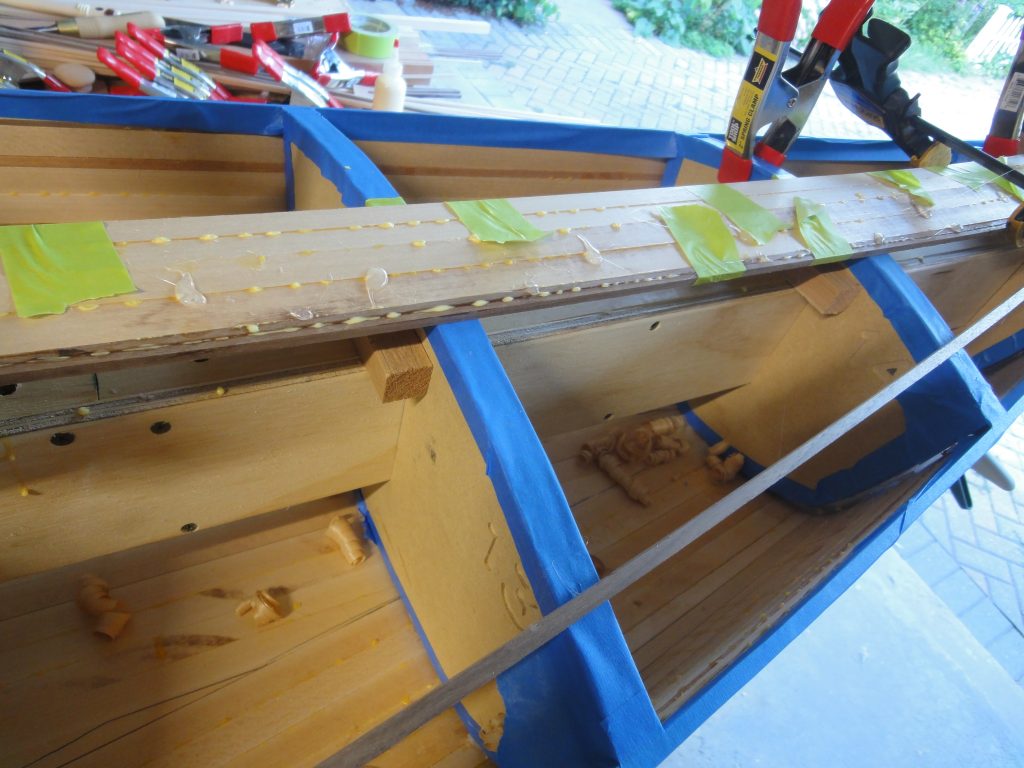
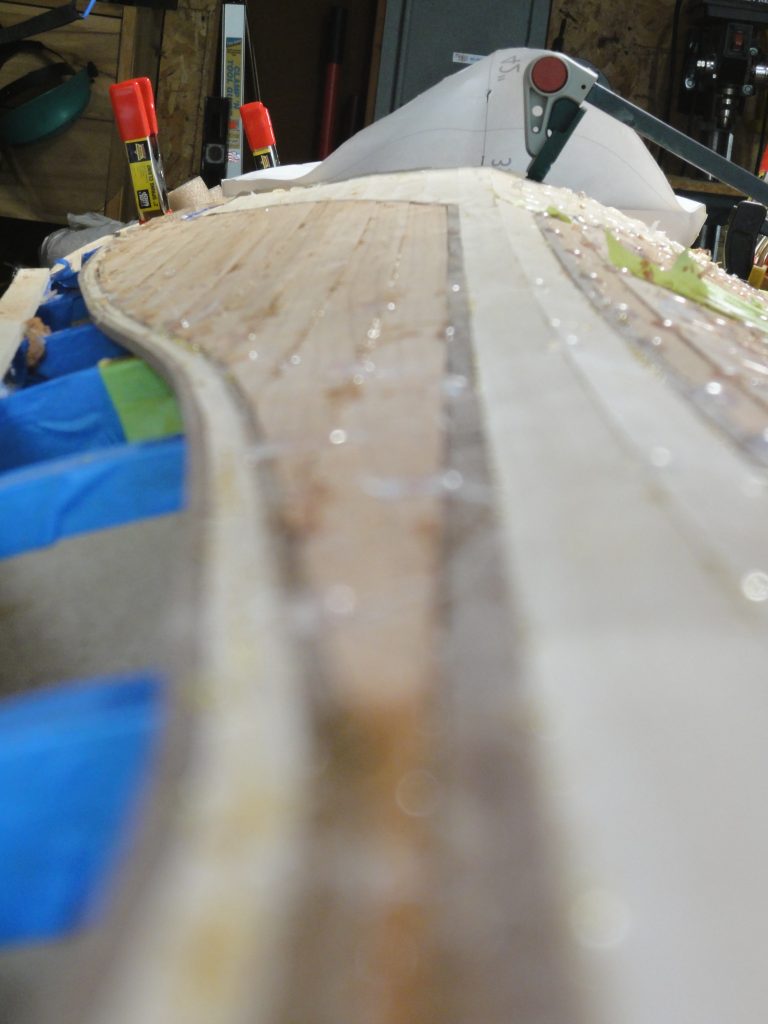
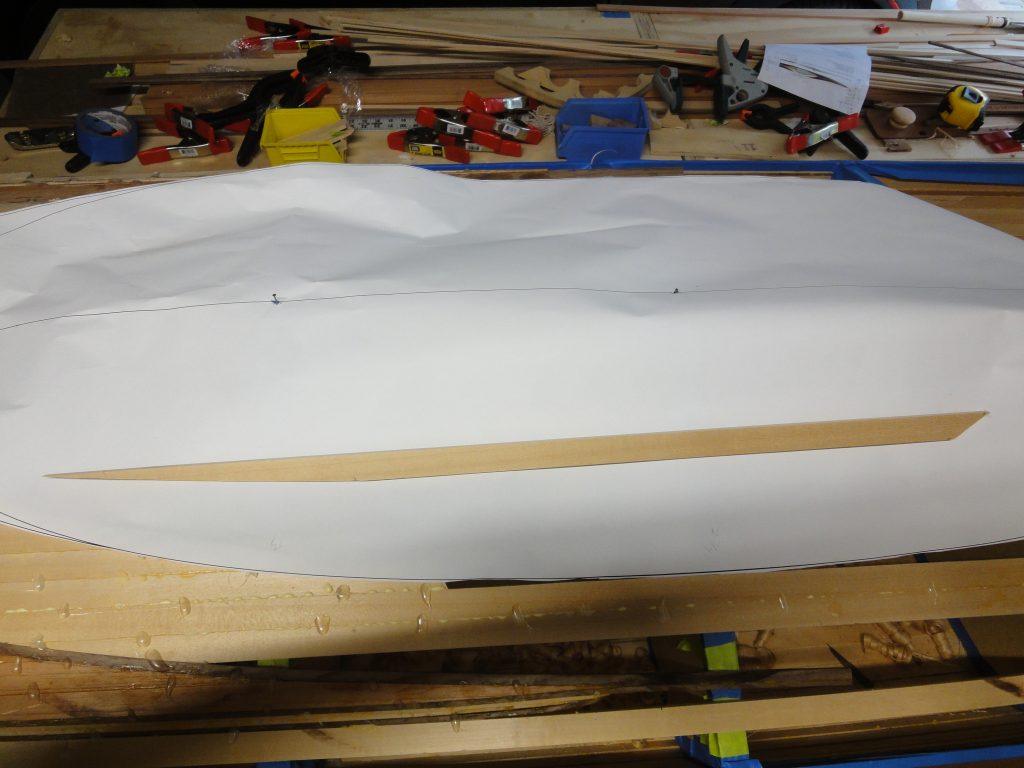
The resulting gap required a few extensively trimmed pieces to fill it in. One wasn’t too bad, the other involved lots of fitting, trimming, fitting, trimming, etc. until it finally fit the space.

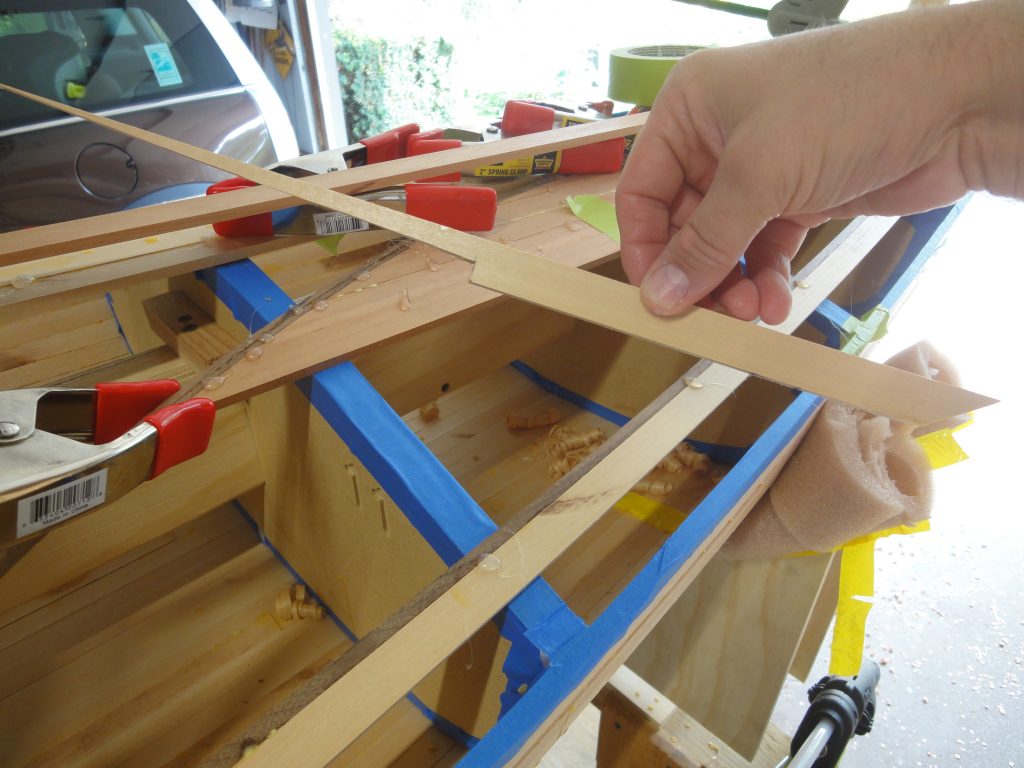
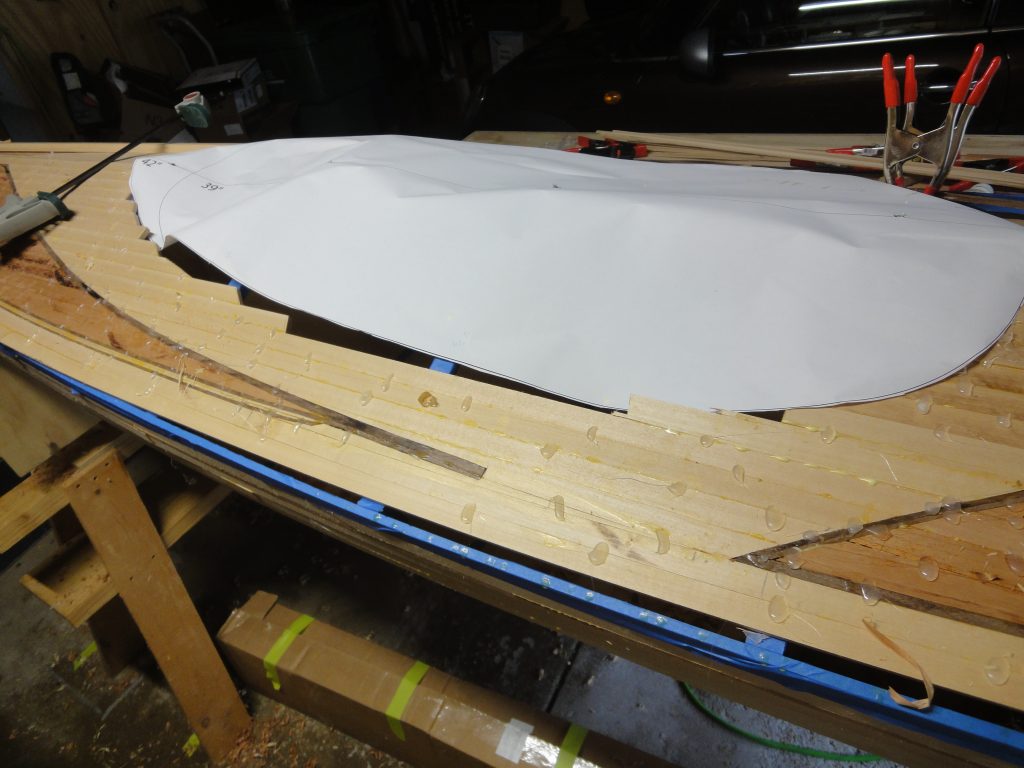
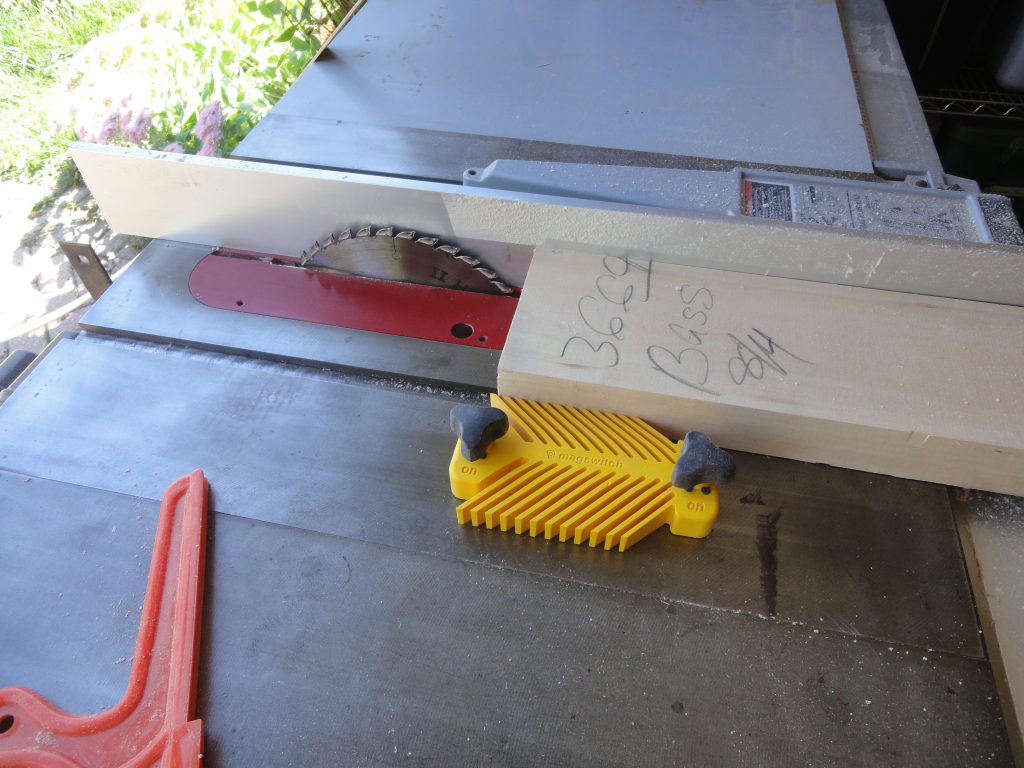
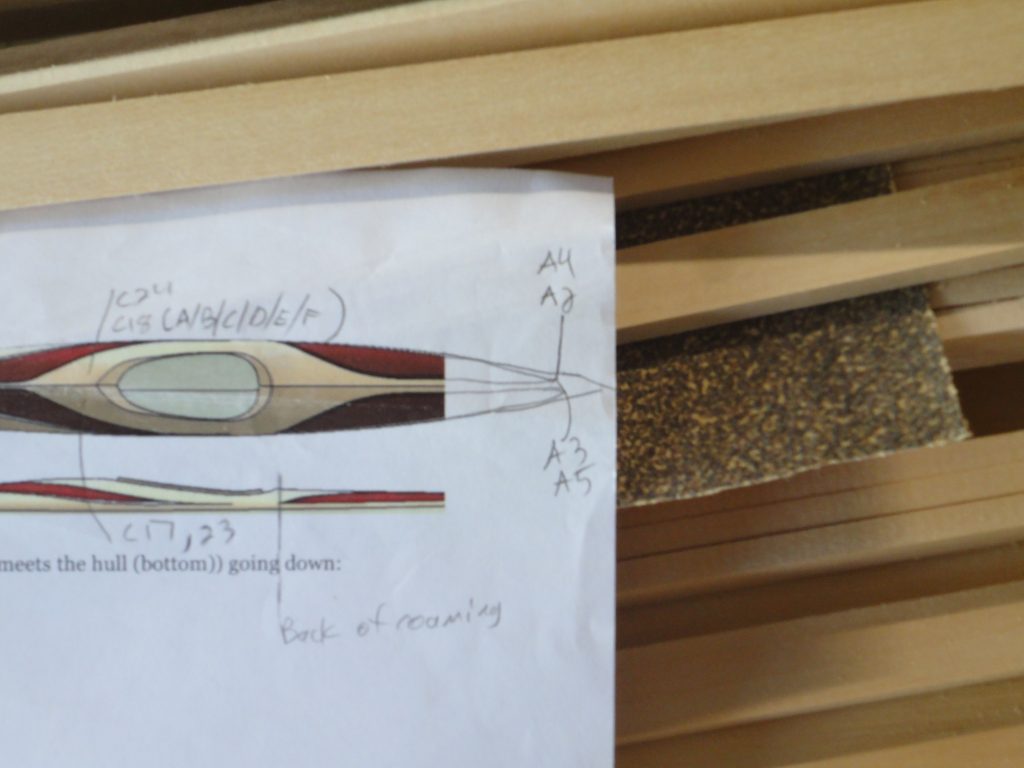
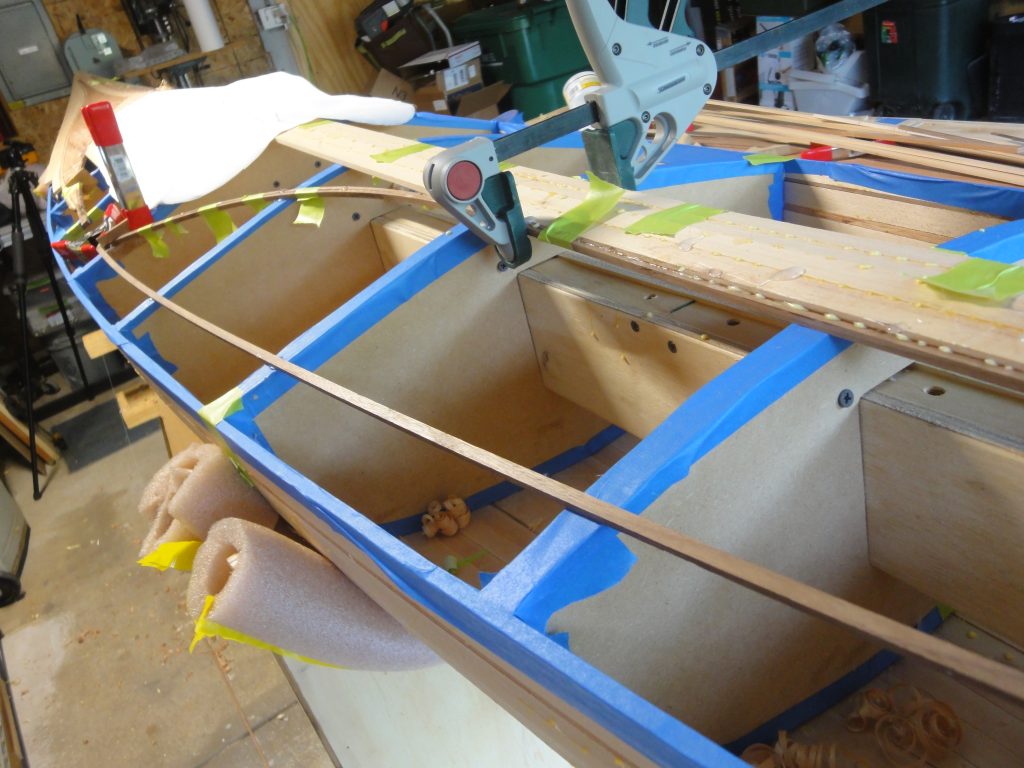
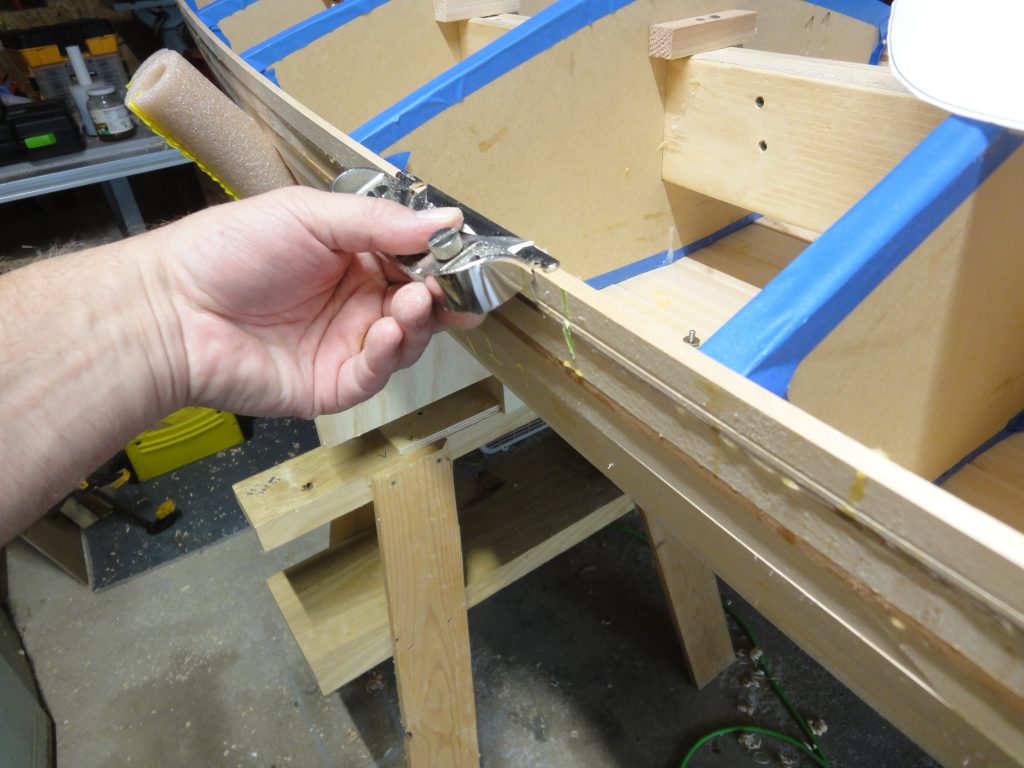
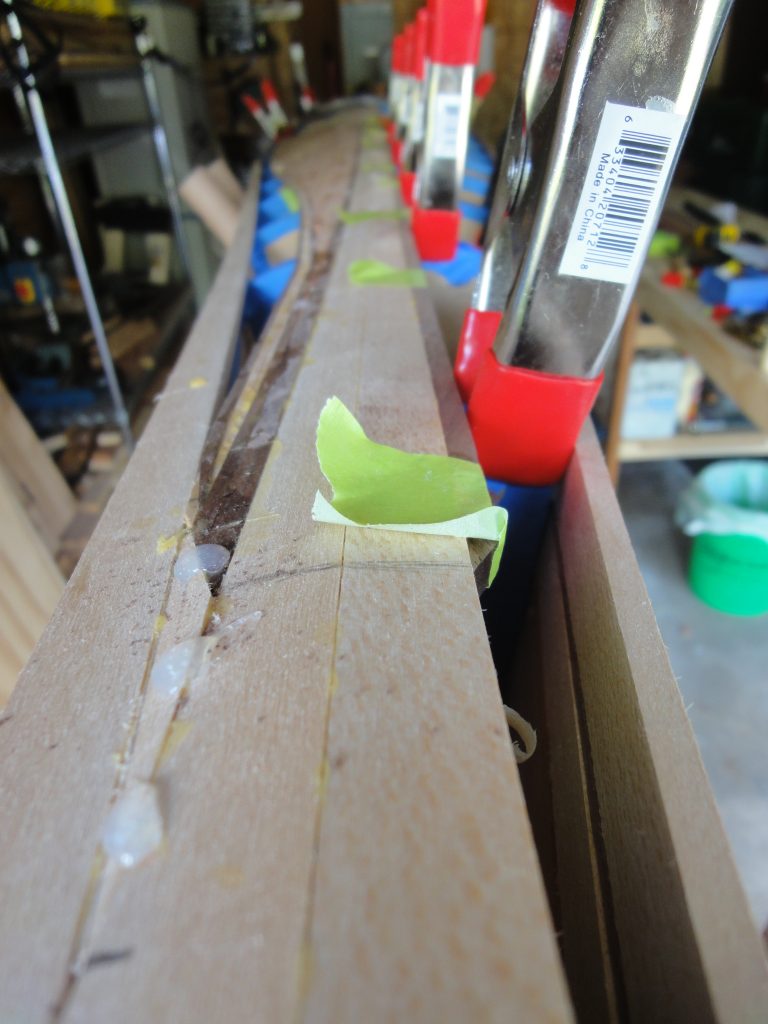
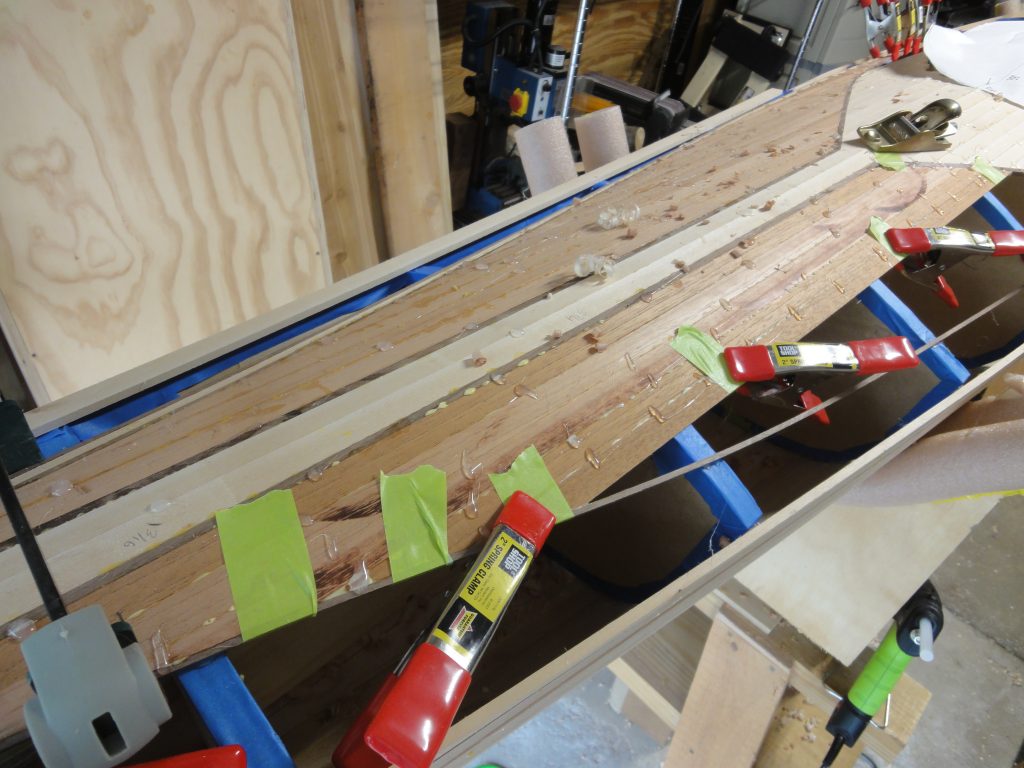
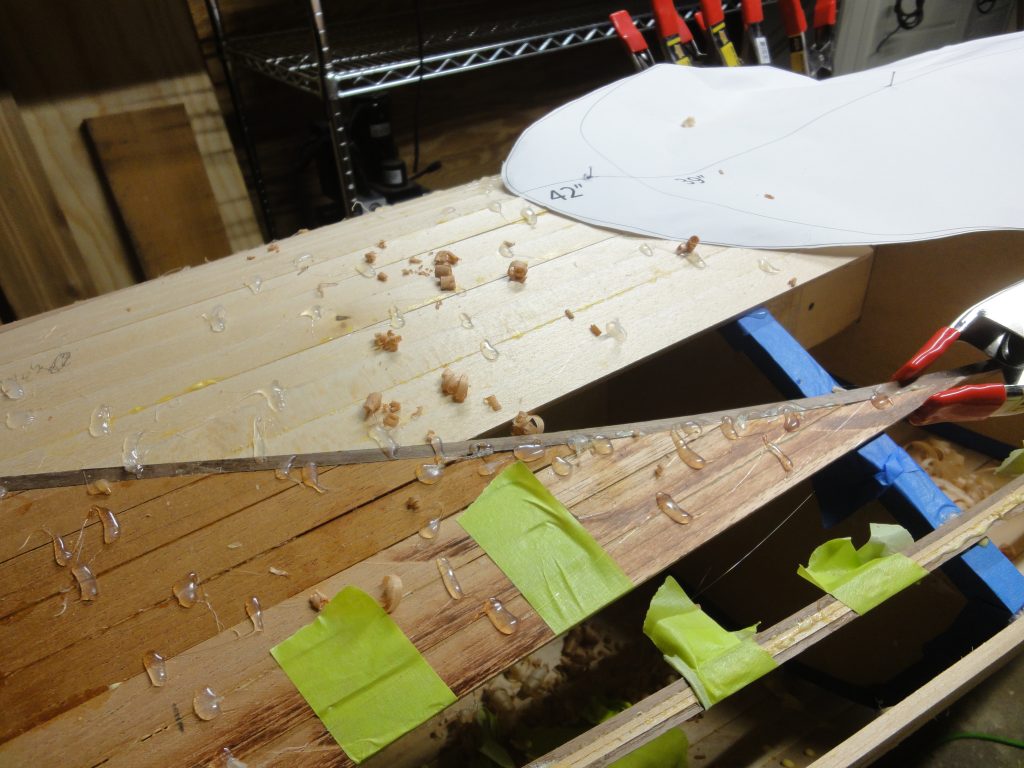
The process was same as before. Take the strip, cut well oversize. Check to see how it fits compared to the previous strip and the forms. If beveling is needed, do so. Trace the ends from underneath or mark from above and connect the dots. Trim down to just a little oversize. Plane one end. Check the fit. Adjust the whole edge or just the part that is not fitting right. Sometimes this involves changing the angle. Once it fits tight, make a reference mark (or two). Repeat on the other end until both are a good fit. Glue in place. Tape/clamp as necessary. Dot on hot glue stitches to hold it. Once they are cooled and dried, repeat.

While this process makes sense to me as I’ve installed probably over a hundred strips already, I realized it might not be so obvious for readers. A picture helps, but today I did a sequence of movies to illustrate this process.

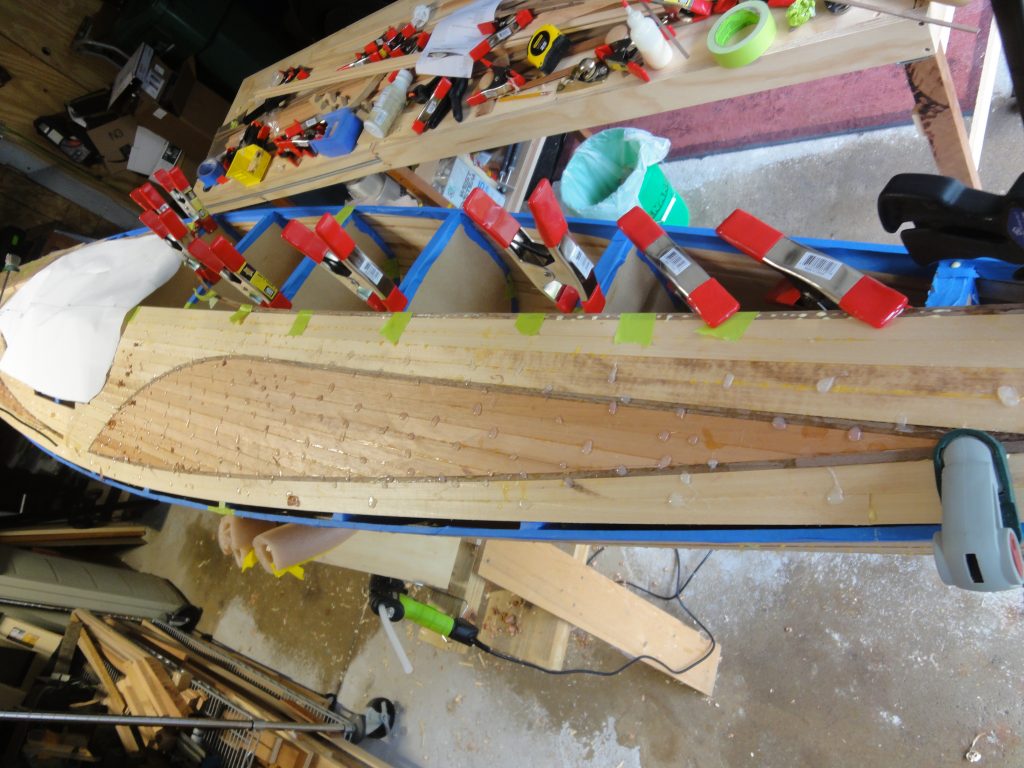
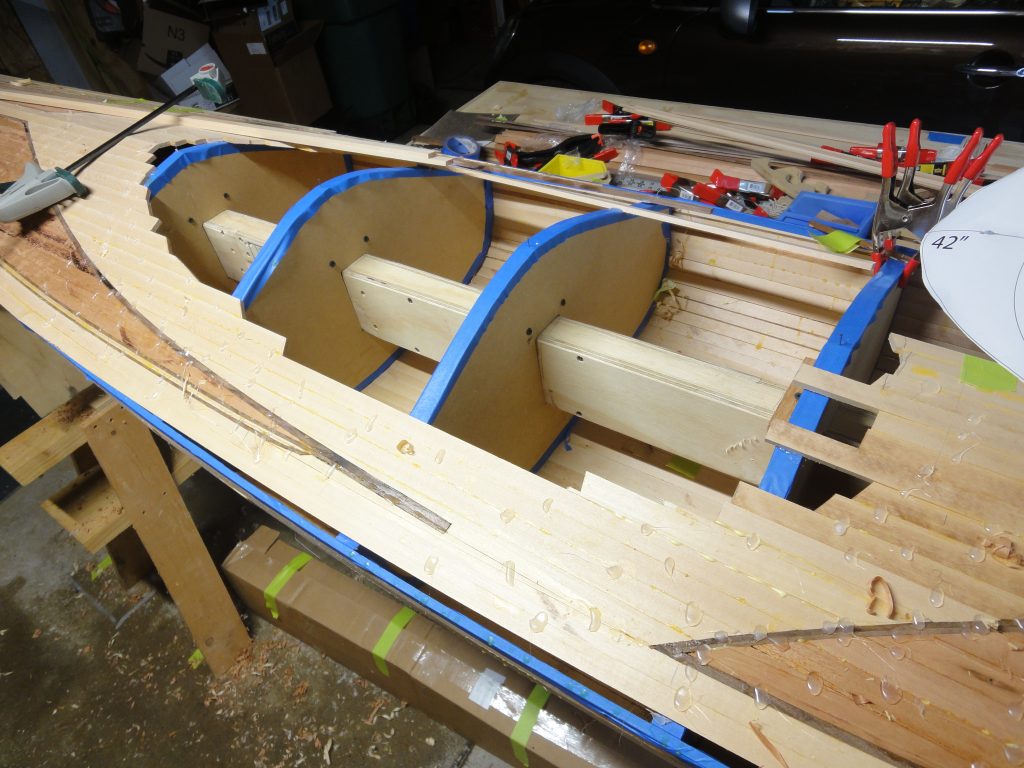
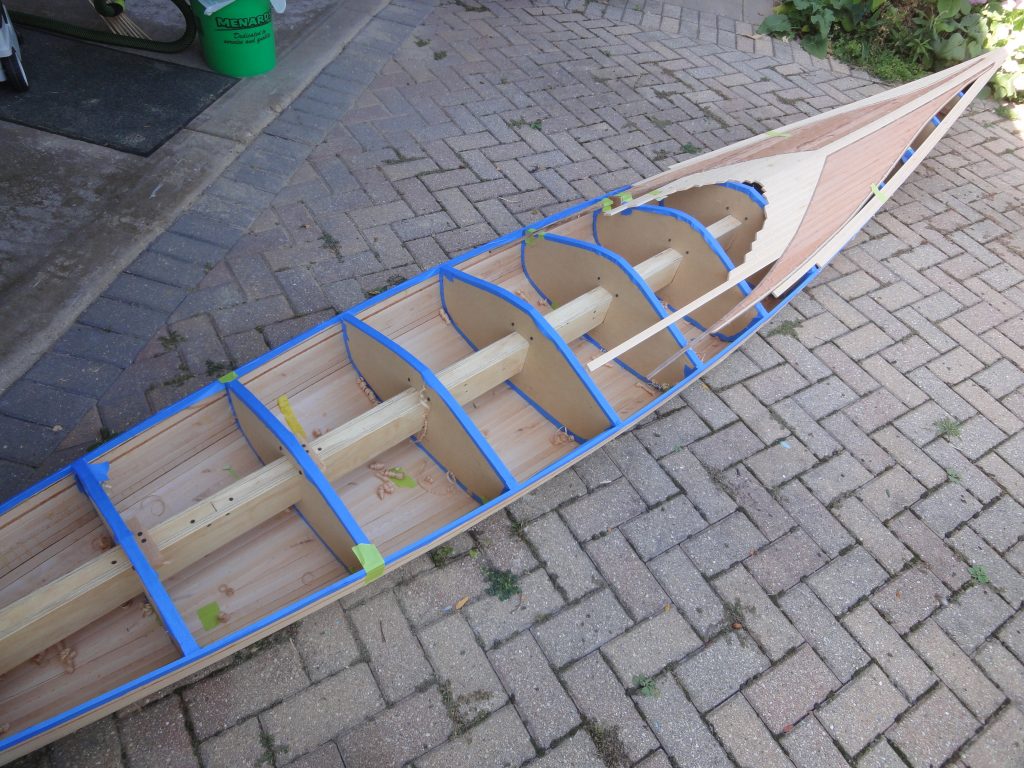
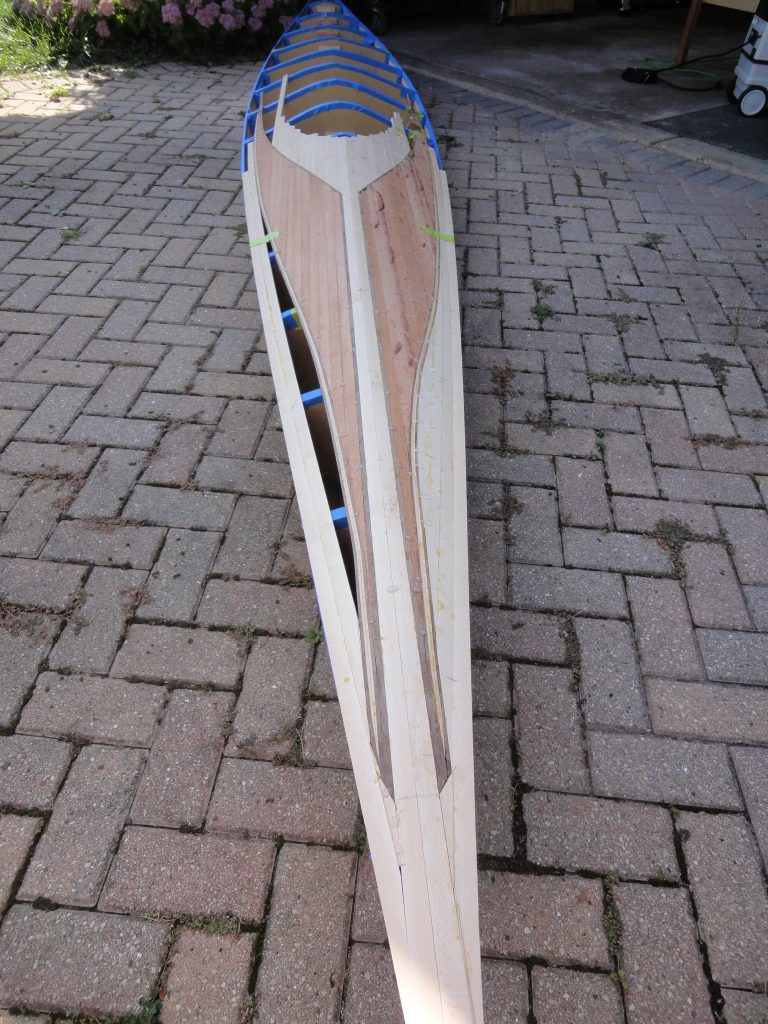
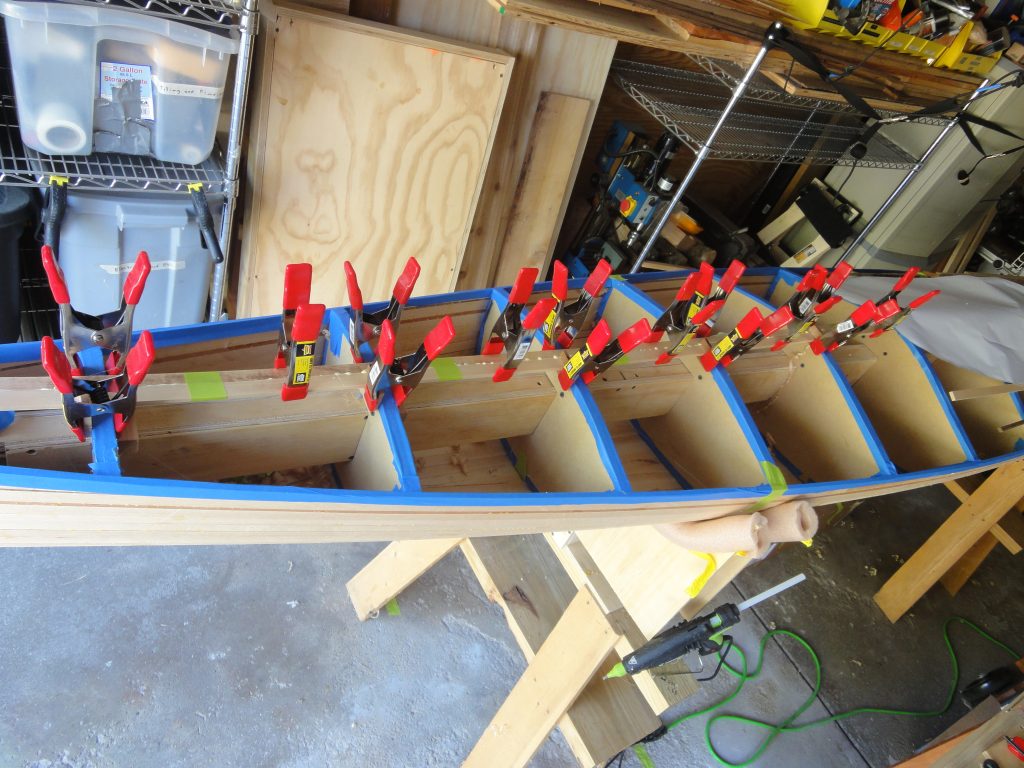
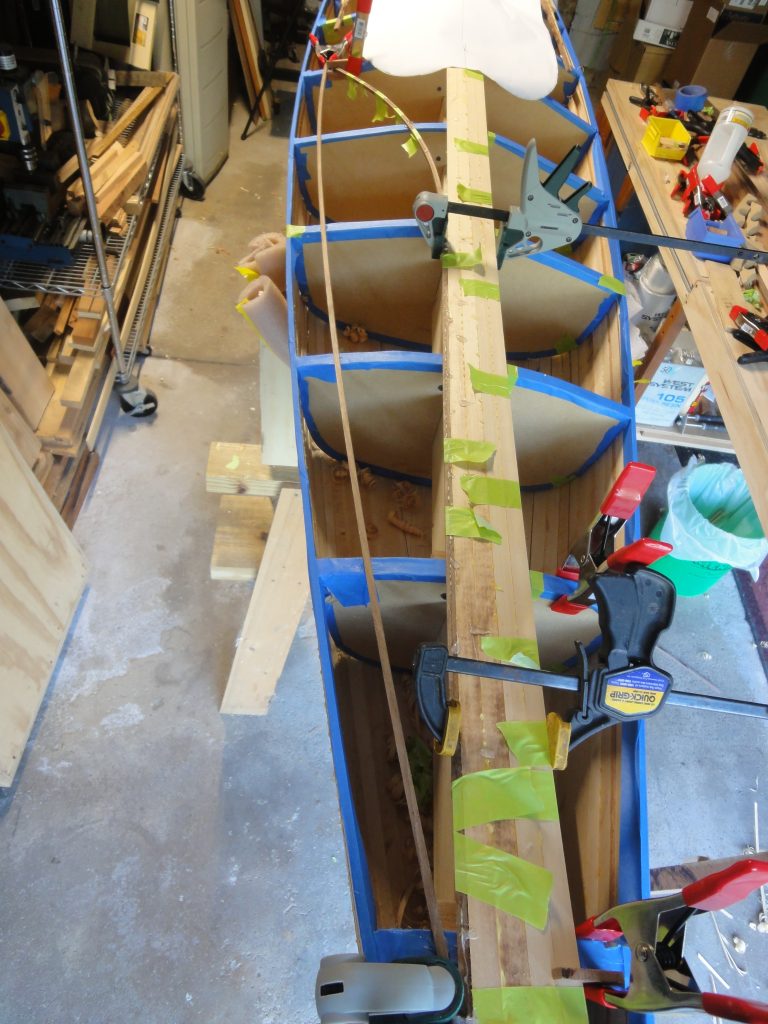
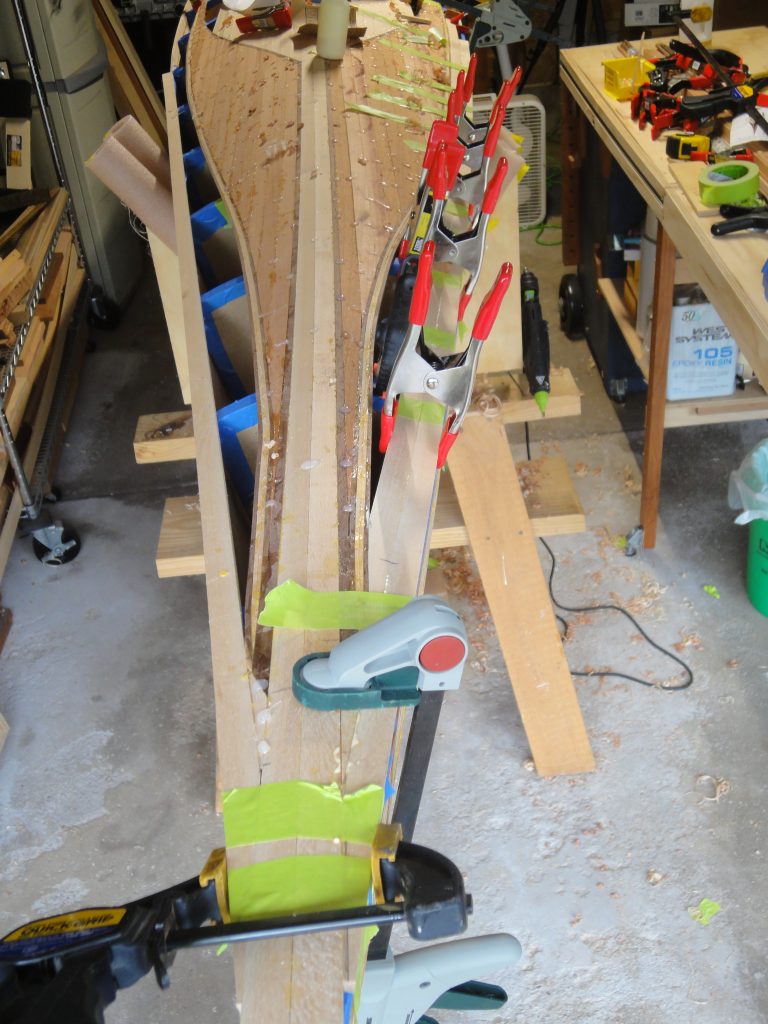
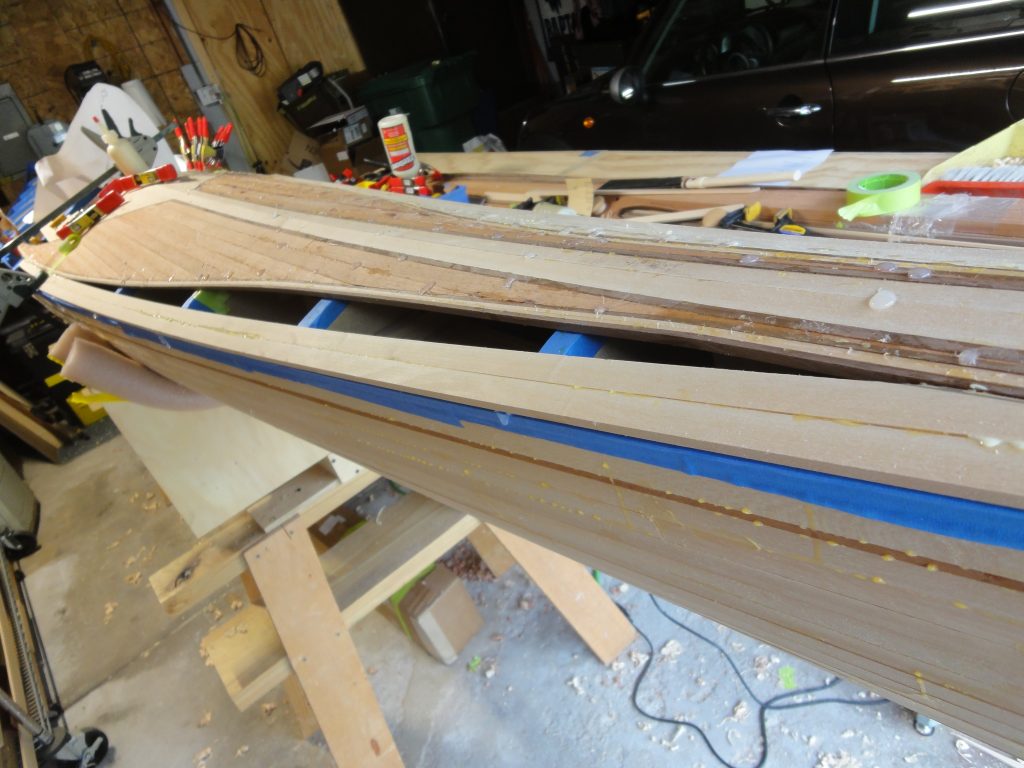
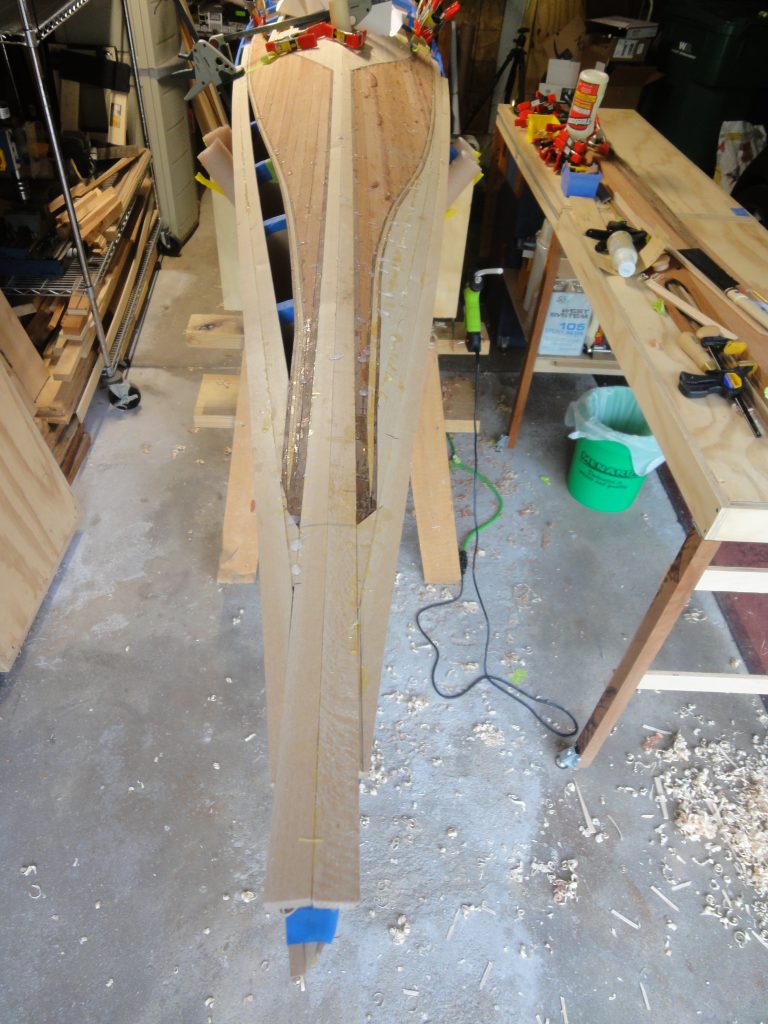
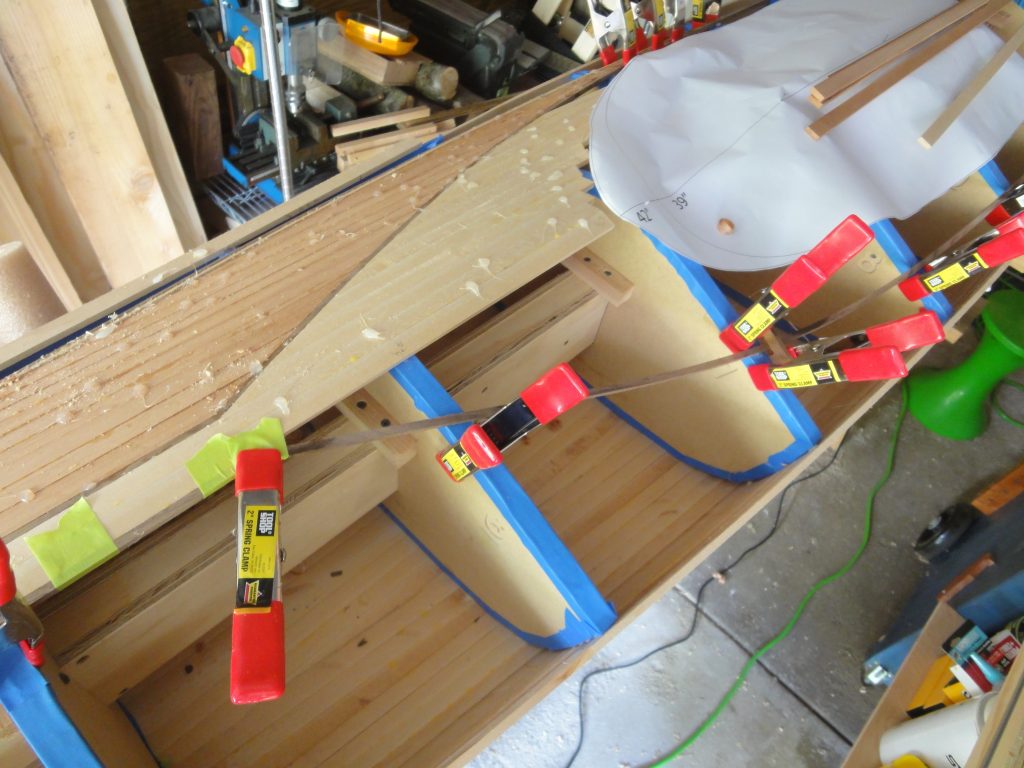
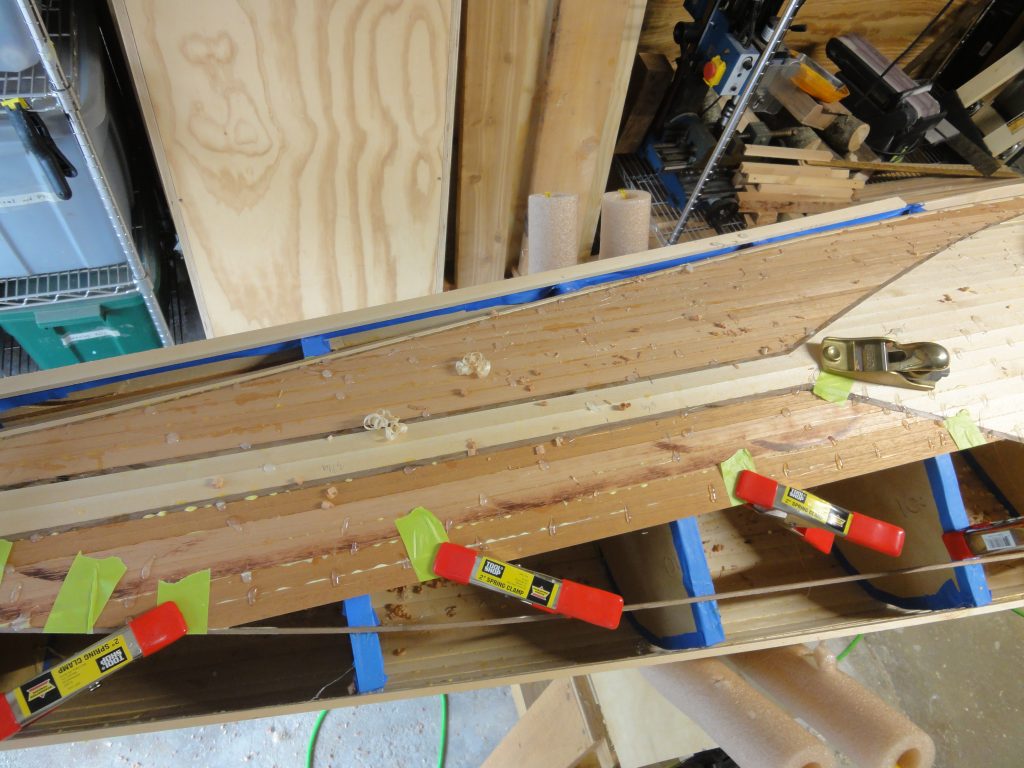
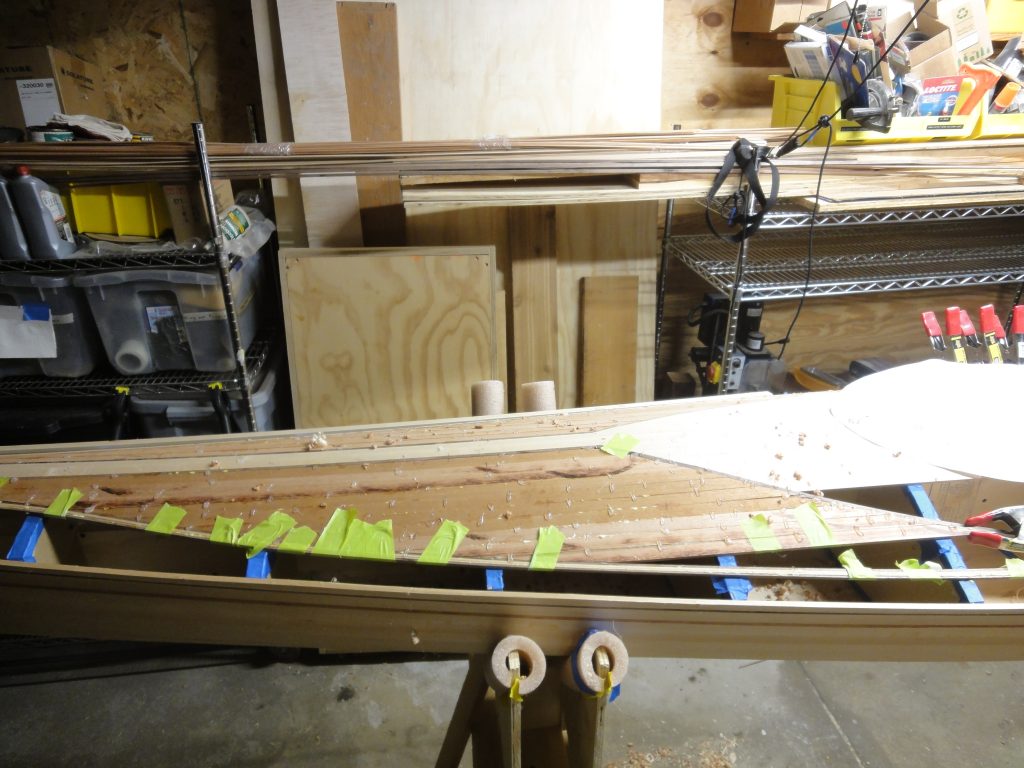
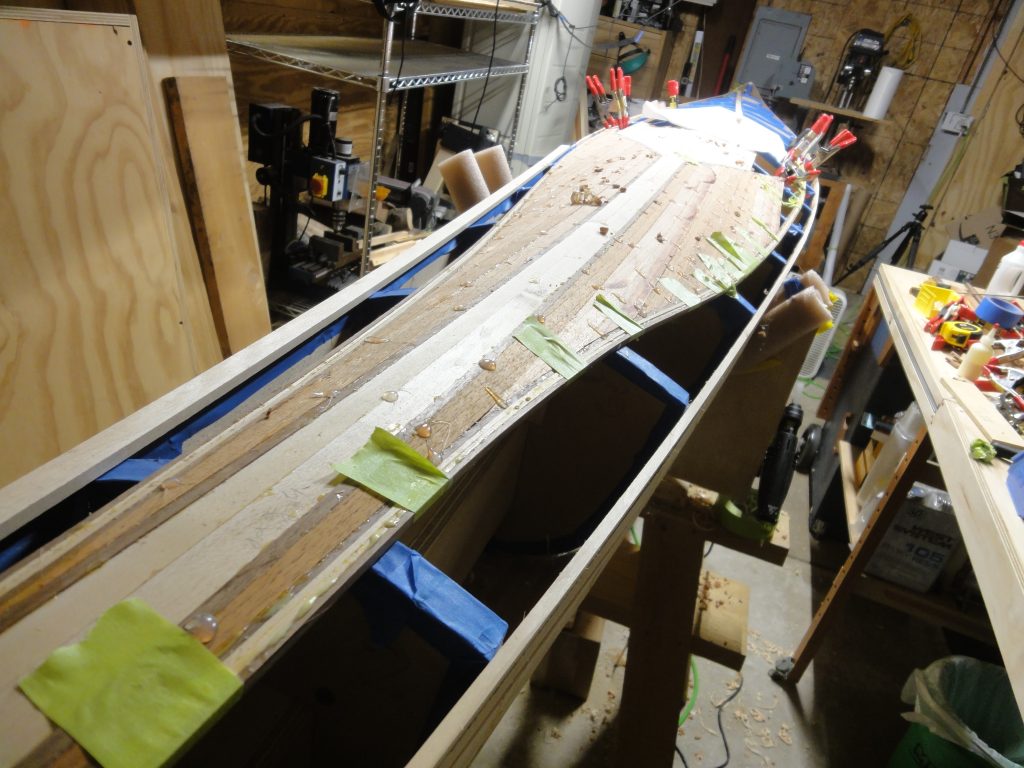
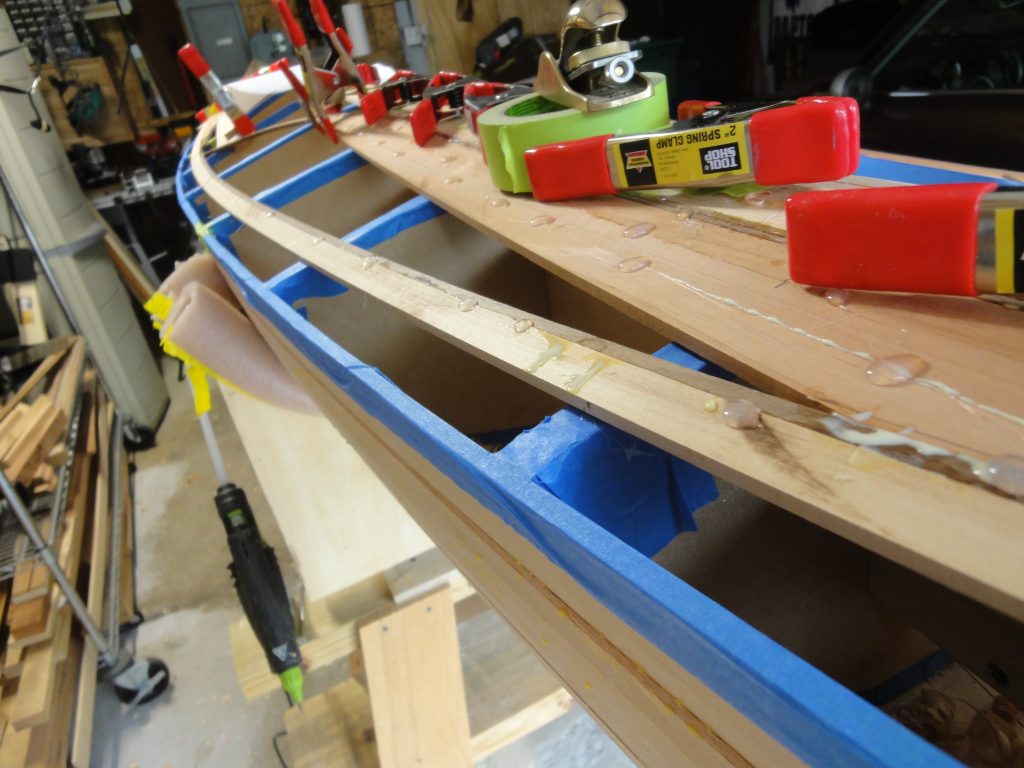
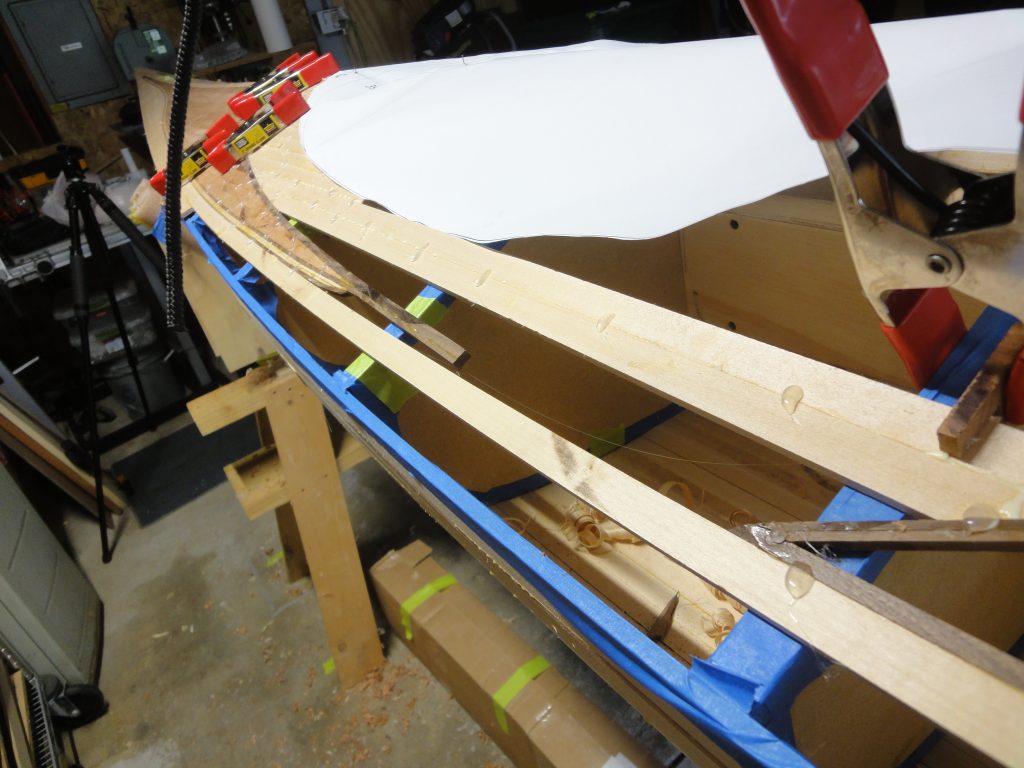
Following the above process, over and over and over… I was able to complete almost all of the strips on the rear quarter and connect it to the front quarter. I have a final strip on the outside edge of the deck and of course to eventually cut out the cockpit, but otherwise this part is done. If I get any chances this week I might be able to complete the other side, if not then next weekend is definitely a possibility to have it done.

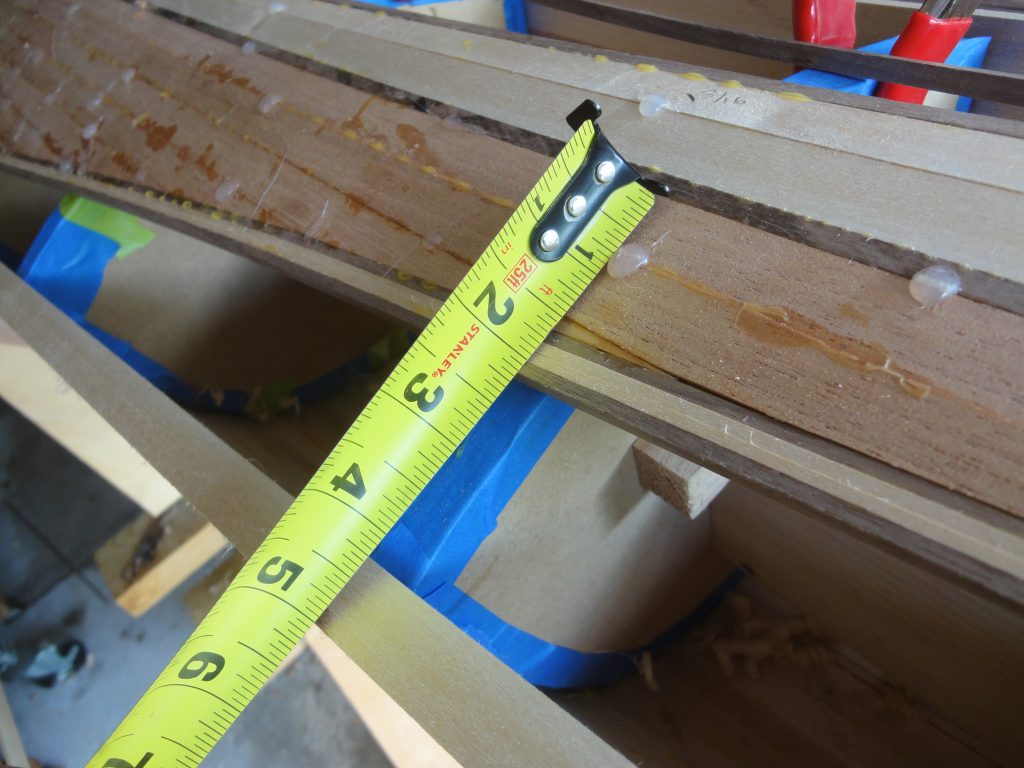
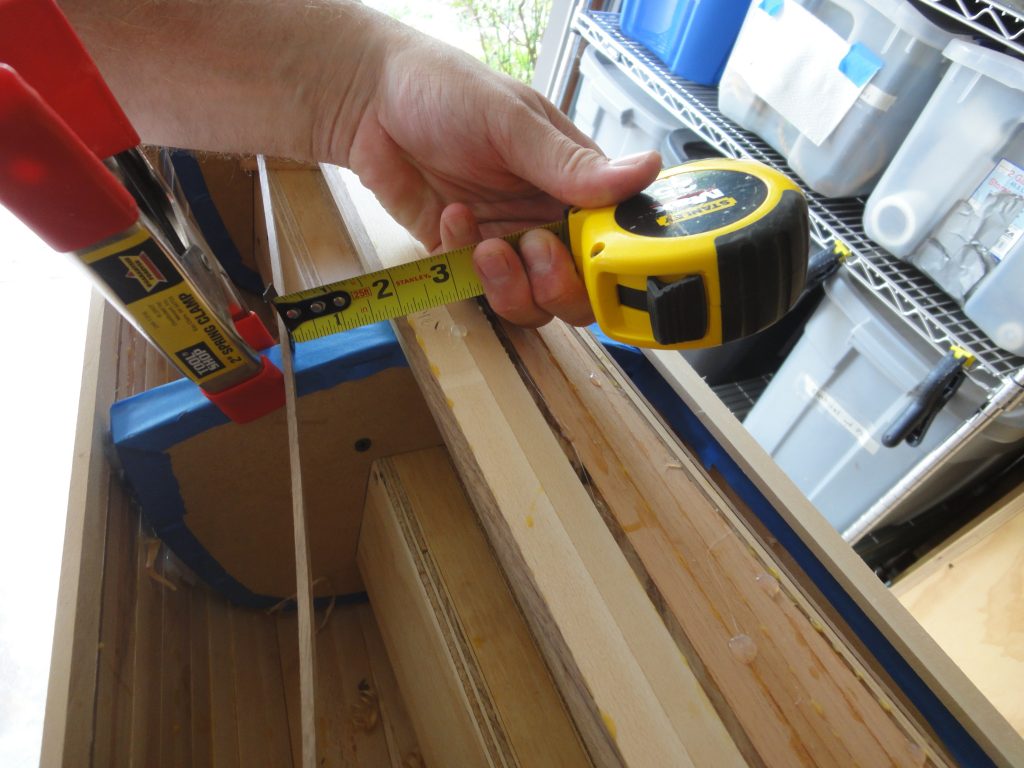
Of course I had to get some pictures. This far in and I’m still enjoying the build and happy with the way it looks.

Flipping the Kayak, Again.

The strips were cut, and just like before I shaved off 1/4″ pieces, then turned the piece and cut off 2 pieces 3/4″ each. All together I calculated needing about a dozen strips so I cut 20 just to be sure. For a longer discussion on how the boards were cut, see the early August posting.

In order to cut the strips I had to lift the kayak out of the way and get the saw out of the corner. After cutting the strips and cleaning up I decided to put the kayak back but flip it around 180 degrees so the part I’m working on is closest to the door and the natural light. The shop lights work great but daylight and fresh air is even better, so when I can take advantage of it I do. I lowered the kayak and put it in the driveway while I rearranged the saw horse supports. Of course I had to get a few pics. In the last one, you can clearly see one of my layout mistakes, which at this point I’m just going to have to live with. Post a comment if you think you know what it is.

With the new strips I picked one and cut it down to fit the remaining gap on the front and used the other part for the rest of the space. Once again it was a pretty interesting shaping the strip and it was a hair too small so I glued on a small scrap and shaped the resulting combo strip for a tight press fit.

Starting on the back half, I looked over my plans and it called for a larger center strip (4 strips instead of 2 up front) and a different shaped panel. The first two strips were beveled to meet up tightly and put in place. They were glued to each other but only hot glued to the hull and forms as the deck still needs to be removed.

The next two strips were added, all trimmed to just inside the cockpit space and then I moved on to figuring out the detail panel. Unlike the front, this is simply rimmed in 1/4″ walnut and doesn’t have multiple strip layers. I put the first strip along the center boards and then used clamps to form the curve. I got it into what I felt was a flowing curve and was pleased with it when SNAP! and the board broke on the curve. Grumbling, I had plenty of extra so I slid it down, reformed the curve and everything was holding good. I put in the lower strip, aligned edges, cut them and had everything clamped up. A layer of glue was added to the strip by the center as I put it back in place and clamped, SNAP! It broke again.

Undeterred, I grabbed a couple of 1/8″ strips instead and they easily made the bend without the same stresses as the 1/4″ was experiencing. It was a pretty simply glue up then. The walnut was glued to the basswood and to each other and then hot glued to the forms to keep it in place. Lots of clamps to keep everything aligned. After it was well setup I removed the clamps and left it to dry overnight.

No Progress This Week

Had some time off work and it coincided with getting sick so no progress during the week. Feeling better now and I hope to get the strips cut on the weekend and continue on.

I did have a question posed to me about where I found my cockpit template. I didn’t find it, I made it. I tried with the CAD application but ultimately switched to Adobe Illustrator. I don’t have pics of the process but basically I found a cockpit picture online, an overhead shot, that I liked. I pasted this into Illustrator. From there I created a center line at 42″ in length and then a perpendicular line at 9″ to either side (18″ in total). Next the cockpit was scaled up until it fit one of the two dimensions. From there I placed four control points and adjusted the lines until the curves matched the template image. Once I had those approximate curves the template was deleted and the points adjusted until I had my 42″ x 18″ size allowing the curves to “float” or adjust automatically.

A copy and paste and I created the 39″ version also. In one case I more or less left the curves alone. In the other I scaled them wider at the front to give an alternative spacing with more entry room for your legs.

As complicated as they may have sounded, it took literally about the same time to read it as it did to actually create the drawings. I’ve included them here as PDFs. If you can print to a wide format printer you can get actual size templates, otherwise you might have to output to a bunch of normal letter sized pages and tape it up.

Mirrored Front

Lots of progress. The second front panel was filled in with the cedar and the basswood behind it leading into the cockpit. I then stated to experiment with the basswood strips on the outside edge and quickly realized that the “S” curve, while doable with 1/8″ strips, was not going to happen with a 3/4″ strip. At least not without breakage happening. So instead I used the outer edge curve as the pattern for the strips. It worked out just perfect that two would be able to meet at the widest point of the cedar panel and then the opening just needed to be filled in with two additional pieces. Lots of clamps to hold everything just right while it dried. Kind of hard to describe, easy to see in pictures.

Another problem also reared up. While planing more of the edge of the hull to match the form angle and height I felt a dragging and realized the plane fence, at the angle I had to hold it at, was dragging and digging into the side of the hull! You can see this gouge mark just above the scrap of green tape in the second picture. I remedied this by removing the fence and just free handing the cut. It wasn’t as difficult as it sounds as I could also run my finger under the plane and along the hull to sort of act as a fence.

So I finished up the one side and added a second strip on the other side. Unfortunately I’m totally out of basswood strips so I couldn’t finish the other side, nor could I start on the back. For now the kayak is on hold until I can cut more strips. With some luck that will happen this week and by next weekend I’ll be well into stripping again.

While waiting for glue to dry I jumped ahead a few dozen steps and did a quick scraping of one part of the deck just to get a feel for the final result. I won’t go into what or how at this time, but rather just share some of the pictures I took. Let’s just say I was quite excited and pleased at the outcome.

Starting on the Other Side

Not much opportunity to work on the strips this week. Actually only one strip was installed, but this was the main detail strip on the other side which requires some messing with so it did take awhile.

The process to install that strip wasn’t difficult, just somewhat time consuming. Since it’s a mirror of the first side, it pretty much has to start, stop, bend and in general match the other strip. To achieve this I started by measuring the existing strip from a reference point at each form. I think used the same offset on the other side to position the strip using clamps to keep it in place. After tweaking to ensure it was a smooth curve I went ahead and hot glued it to the forms. In the images below you can see the same process being used for the placement of the second detail strip being placed as a reference distance from the first detail strip.

The rest of the work was pretty much a duplicate of before. Trim each piece to fit the space, glue in, spot tack it with hot glue, move on. I made careful notes as to the strips used on one side and when doing so I used every other strip. For this side I used those in between strips flipped over to hopefully get the book match affect when it is cleaned up and finished. Unfortunately this side had some saw blade burn marks, but these will easily scrape/sand out when I get to those steps.