
Progress. I got one strip on before deciding that was enough for today. Also because I only had one strip ready to go. Looks like I’m going to need to glue up a handful of strips if I want to do more than one per day.
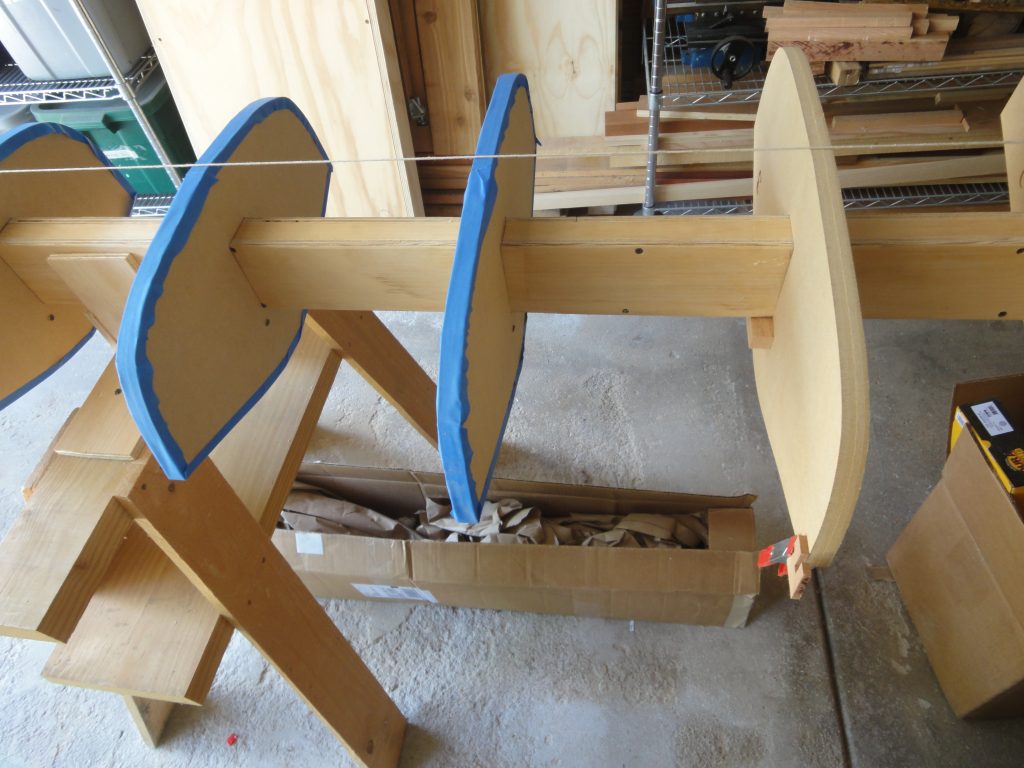
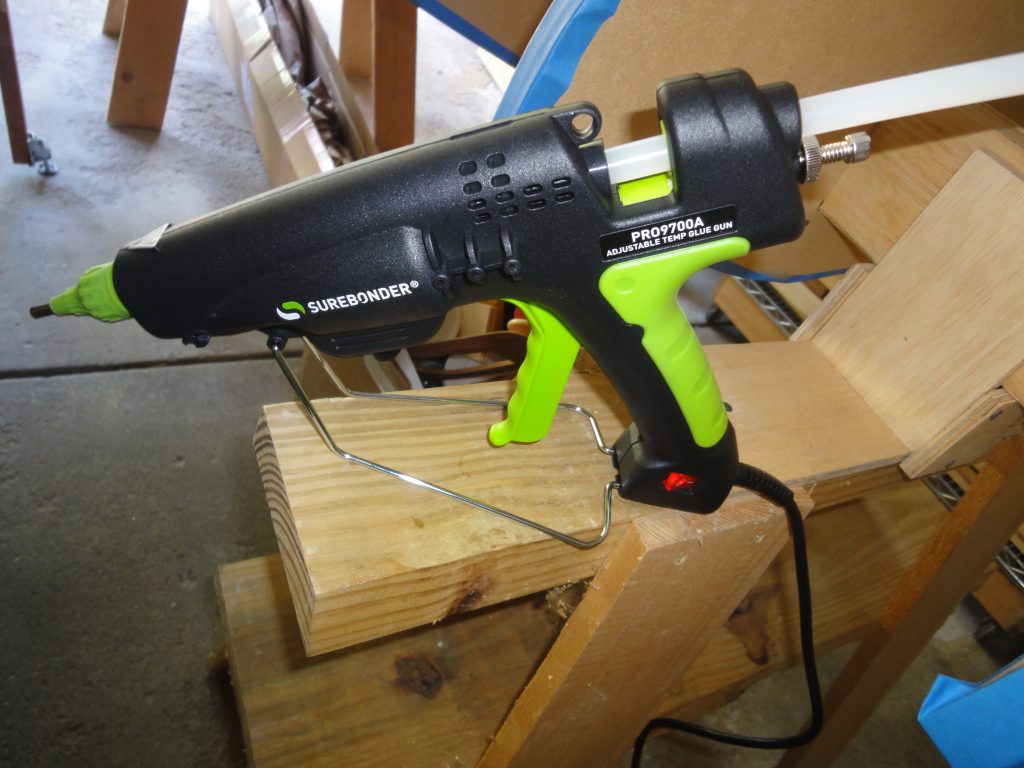
To start I wrapped each form in tape to avoid accidentally gluing the boat to the forms at some point. Also because I do want to glue the boat to the forms in a few selective areas but also have it release easily. For the first time I’m using the hot glue gun from Surebond and the corresponding glue sticks to help hold things in place.
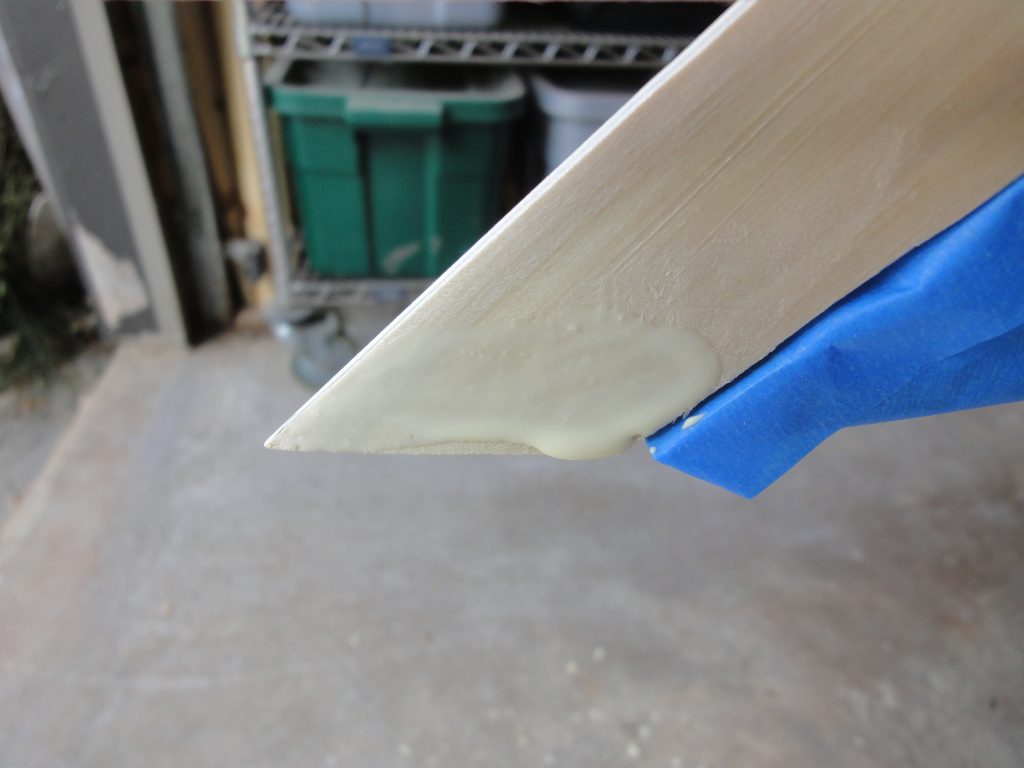
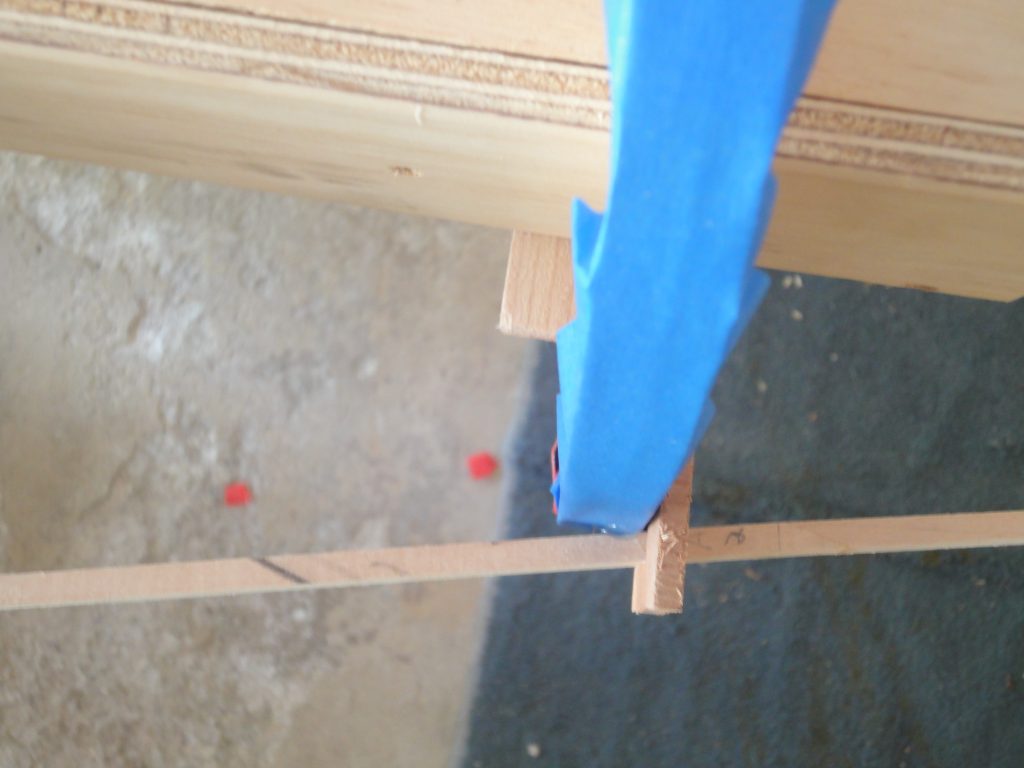
Most of the efforts today went to shaping the stems to support the first few strips and to get the rest of the stem at least close for the remaining strips. As I progress I’ll need to fine tune the bevel angles on them. Once they were shaped and taped back in place I put the mini holders in place to hold the strip and put the first one in place. It fit well so I glued it at the bow to the poplar stem and then glued it at each station to the forms using hot glue so I could “knock” it loose later. Notice how it isn’t flat against the form but rather touches at one edge. This is normal as the sides are not perpendicular to the forms. I could have beveled the forms too but it shouldn’t be necessary as long as the strip touches the edge. For the front half of the boat it should be the forward edge and the back half the rear edge. The middle few forms actually do almost completely touch the strip.
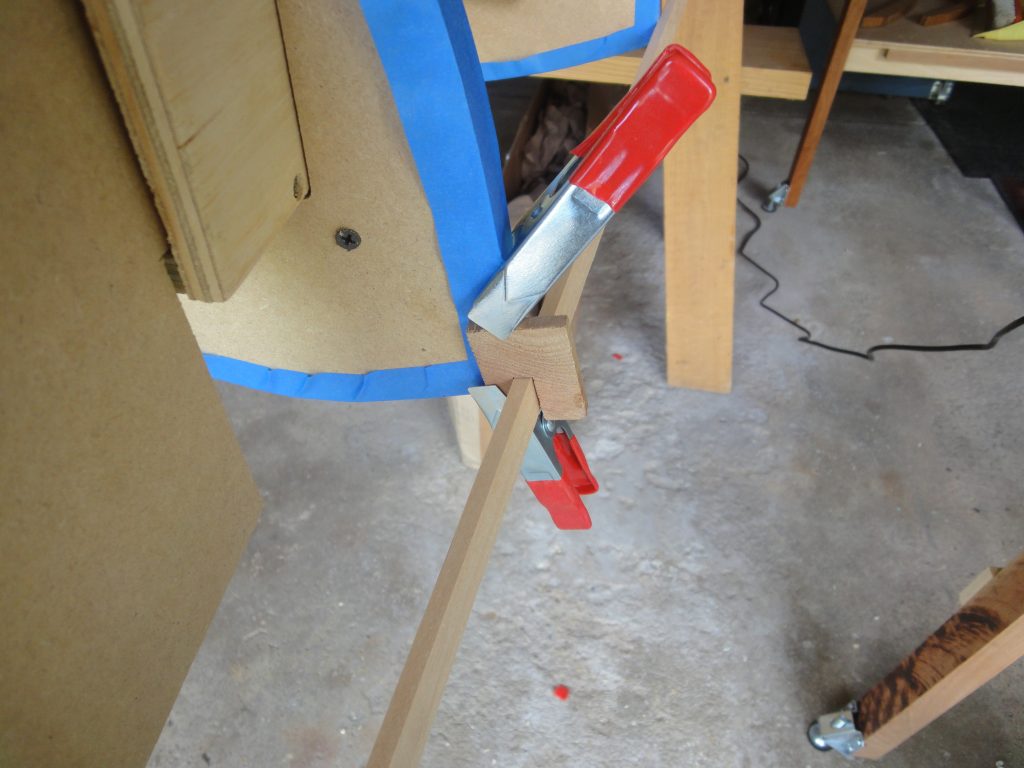
Since hot glue sets up in just a minute or two at most I was able to check and any spots where it didn’t stay attached to the form I re-glued. The mini holders, in some cases, were inverted and used to pull the strip tightly to the form and hold it in position while the hot glue set up. When necessary more than one clamp was used to keep everything aligned and tight. This is the second use of the holders, acting a clamp extension to exert pressure in towards the form, and/or up or down on the strip.
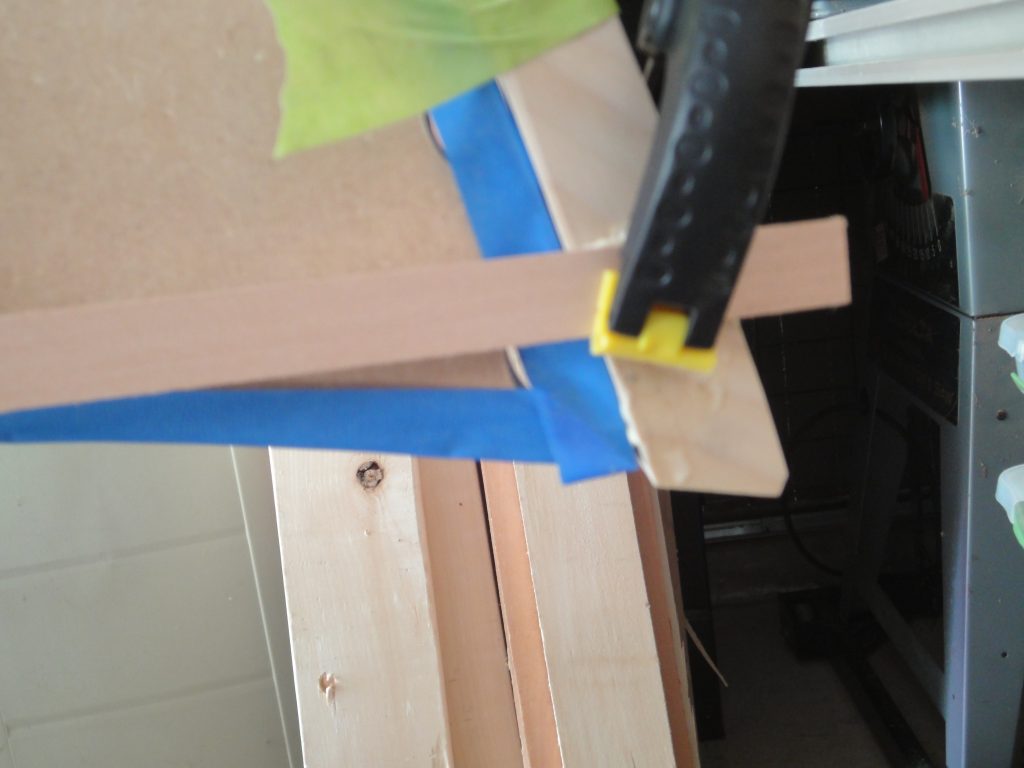
On the stern the strip simply was not going to make the bend from the previous form to the tip of the stern so I let it lay naturally. Later on I can fill in some short angled pieces to complete the curve.
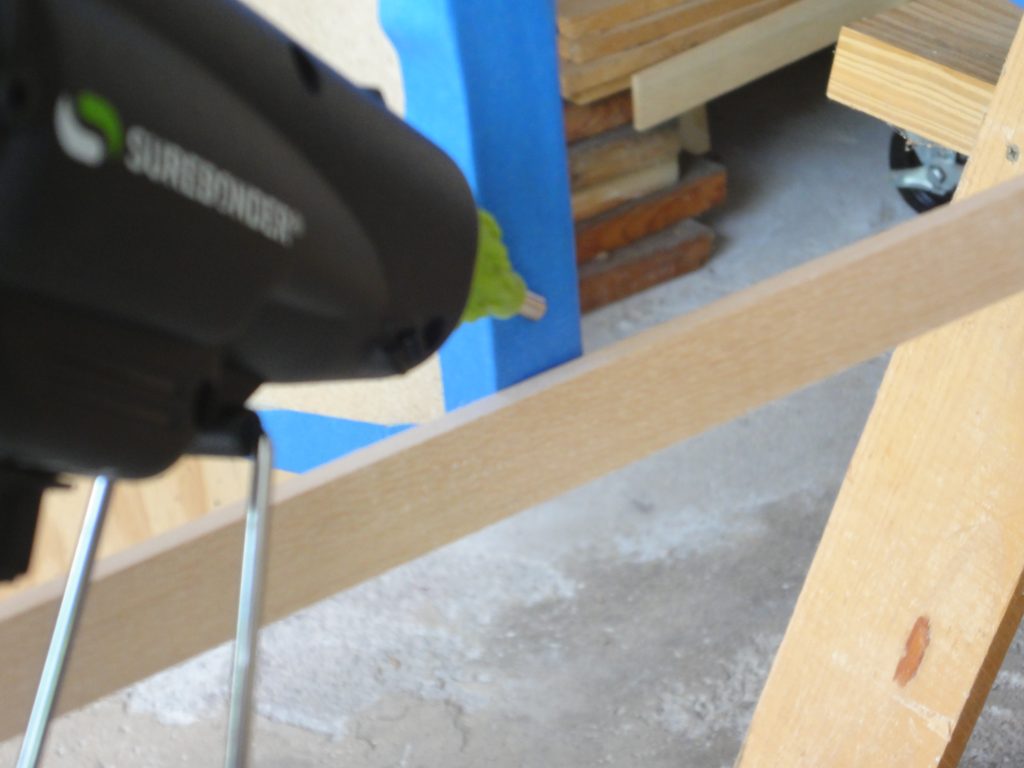
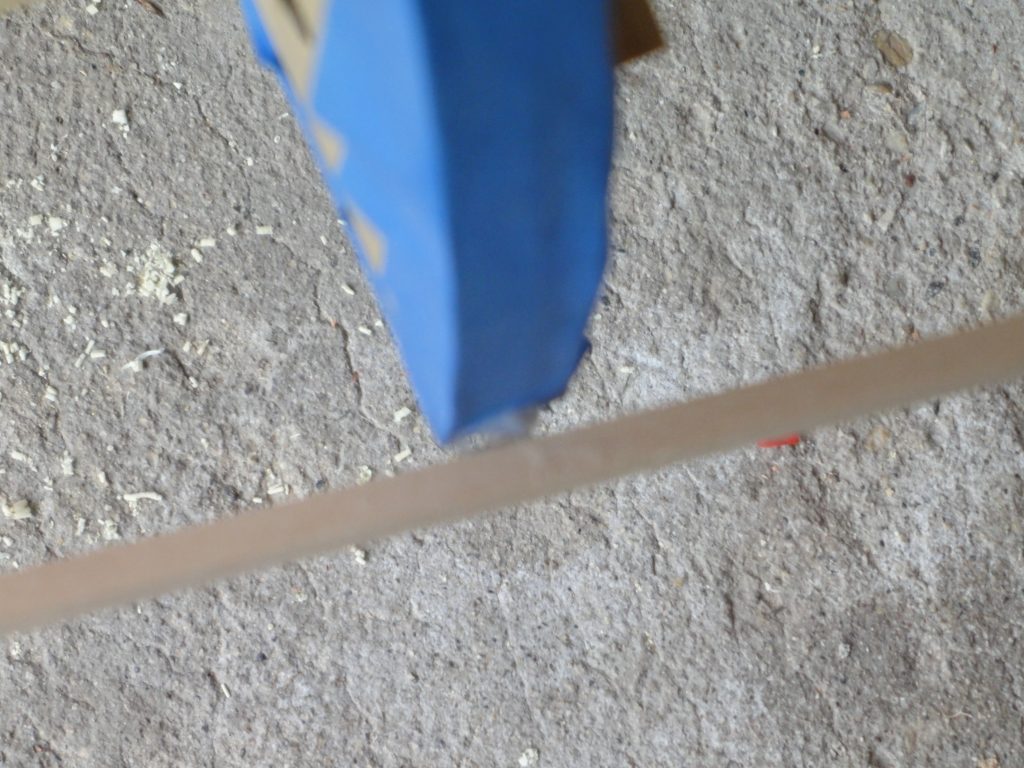
A couple of remaining clean up steps involved trimming the overhang at the bow and stern. It was not intended to be a perfect cut but rather just enough so the opposite side strip would be able to lay naturally and not hit this strip. Later this whole area will be cleaned up via cutting and/or planing after the stripping is mostly done so the outer stems can be attached. I also removed any hot glue squeeze out (in the photo below at the top of the strip against the blue tape) as this would interfere with the next strip.


