
Two words or one? Don’t know and an internet search shows wide spread usage both ways. I’ll try to pick one and stick with it. Today’s posting is about building the strongback. From start to finish (including pictures and documenting) it took about 5 hours.
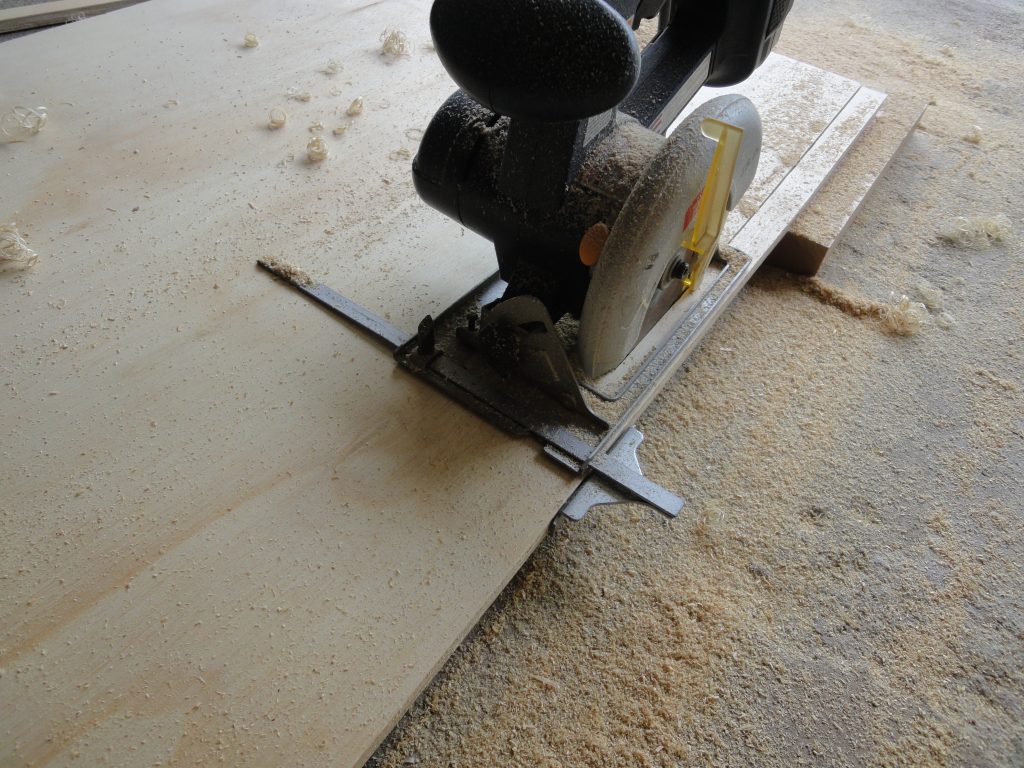
First, let’s start with the tools I used. Not pictured is a bench top band saw. I also used a cordless circular saw (shown later) with an edge guide, some larger spring clamps and a box of 1 – 1/4″ screws, something I had left over from previous projects. The rest of the tools I used are shown below.
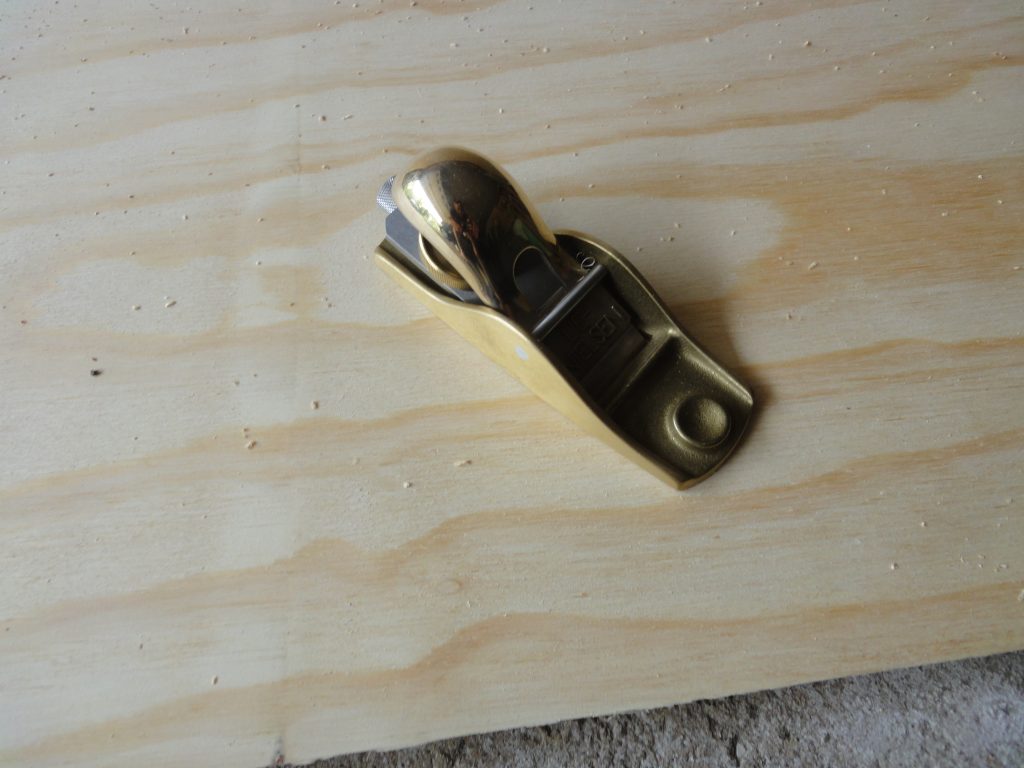


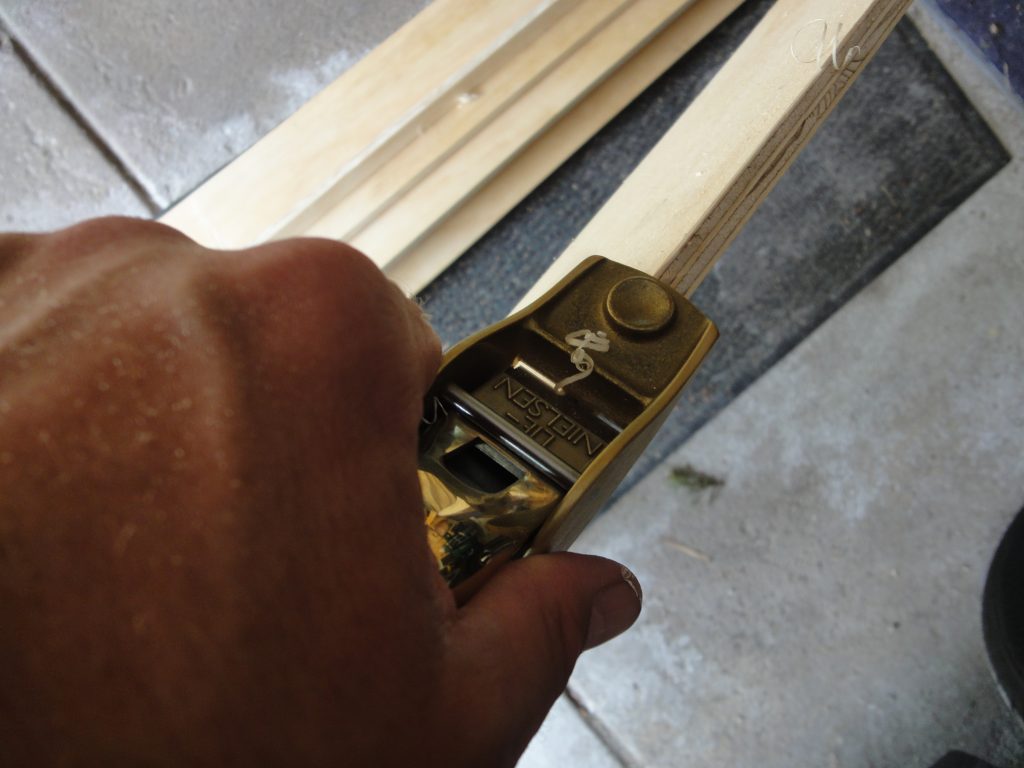
First is a low angle block plane from Lie Nielsen. Quite a number of fittings will require slight adjustments to boards and strips. I do not own a small plane so ultimately this is something I probably would have purchased even if I wasn’t building a kayak.
Next is a Japanese style saw known as a Ryoba. This double sided saw has both ripping and cross cutting teeth and cuts on the pull stroke. They’re relatively inexpensive and very easy to follow a line compared to a “western” style push saw. I got this earlier this year for a different project and find it’s now my go to saw for just about anything being hand sawn.
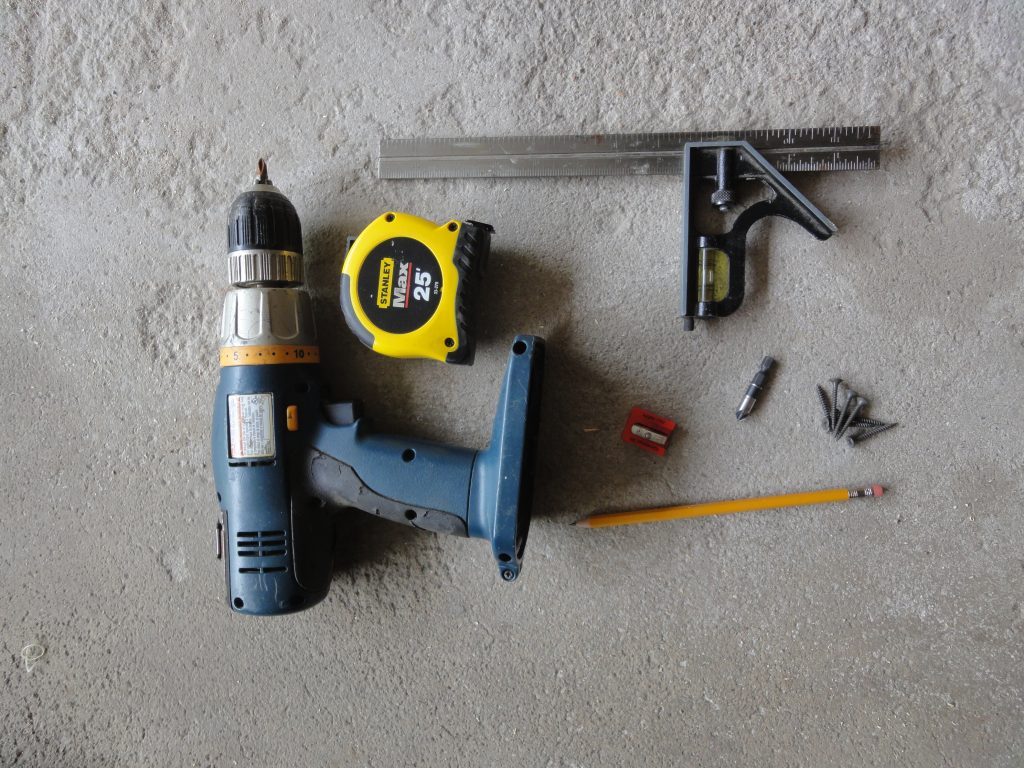
The third picture is some of general tools that most people would have. Cordless drill, counter sink bit, pencil, sharpener, tape measure and combination square. Nothing special here.
Fourth is a bunch of clamps. I already have larger spring clamps and got these four inch clamps mostly for temporarily clamping the strips to the forms. A cheap bulk set, again nothing special, just enough to do the job.
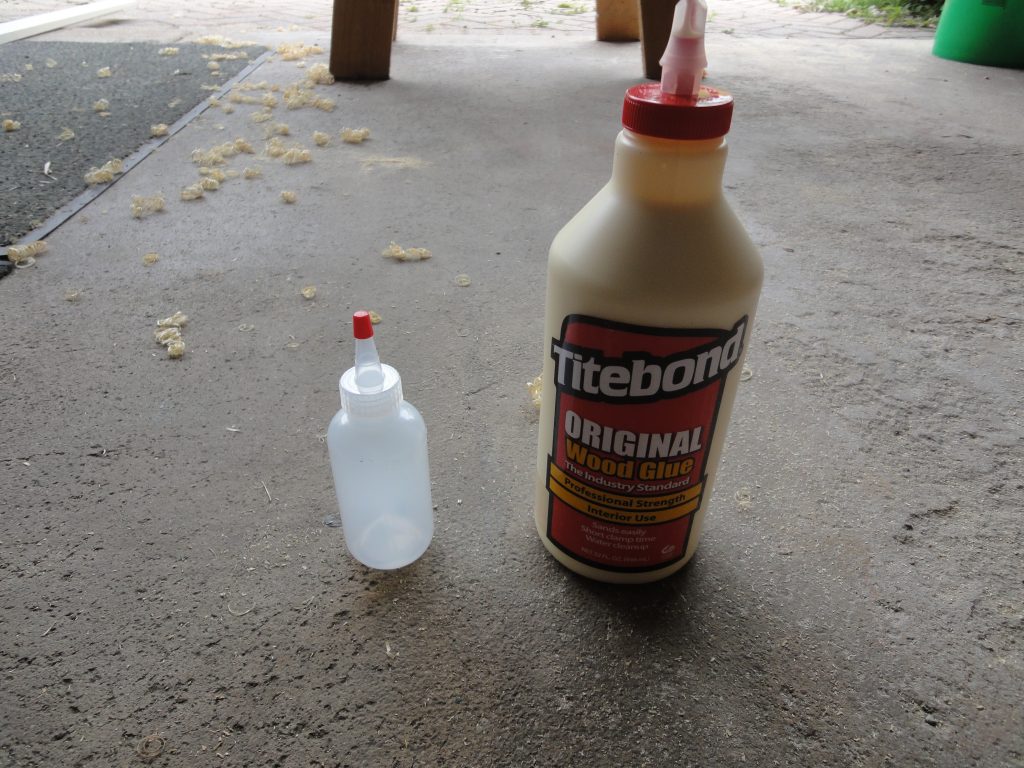
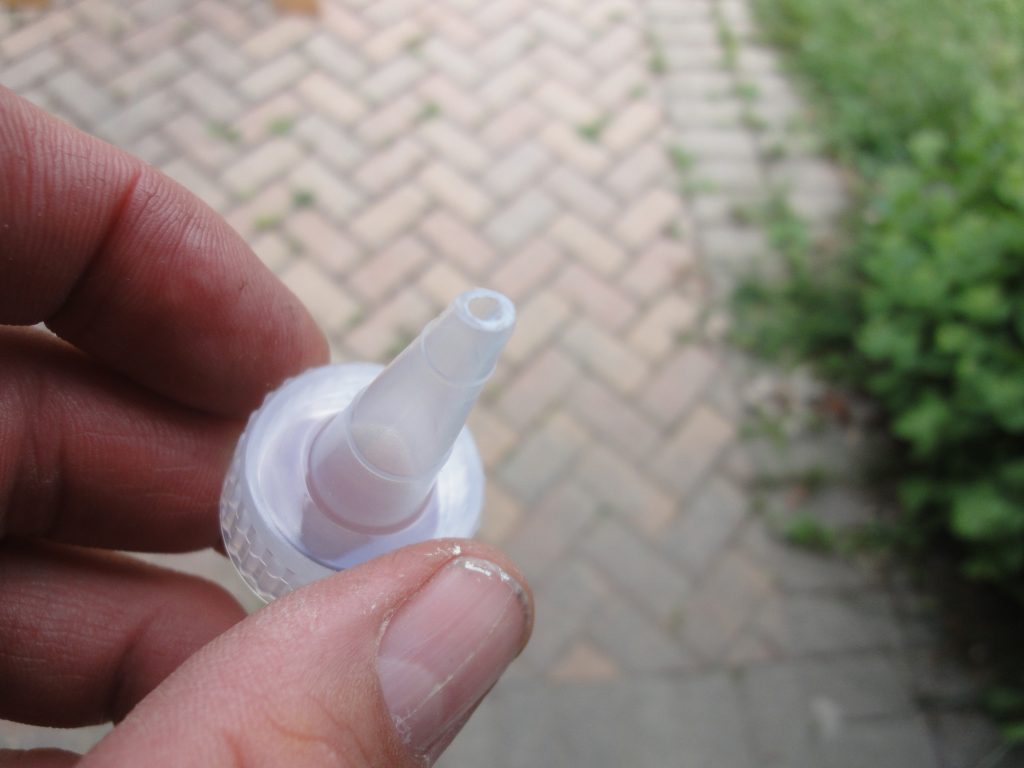
Last is a fresh quart of Titebond wood glue and a smaller dispenser bottle. Trying to control the larger bottle is not easy and the opening doesn’t allow for fine control on the narrow strips. The smaller bottle allows you to cut the spout to whatever size you want. I went with the smallest cut I could to get a relatively fine line of glue.
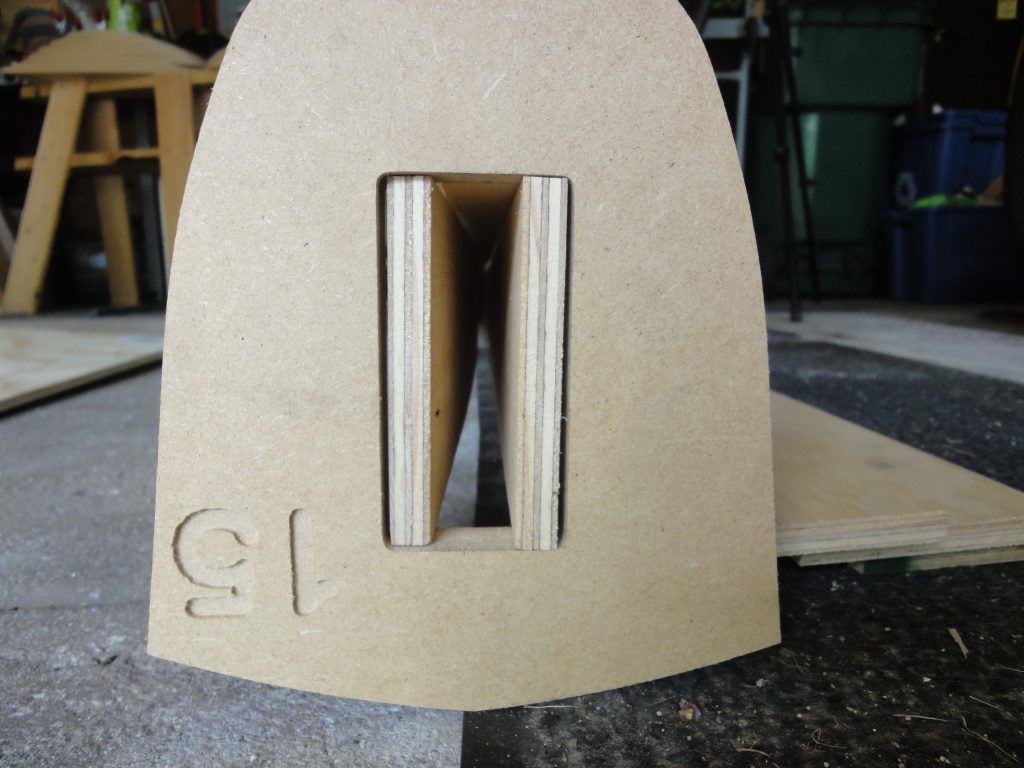
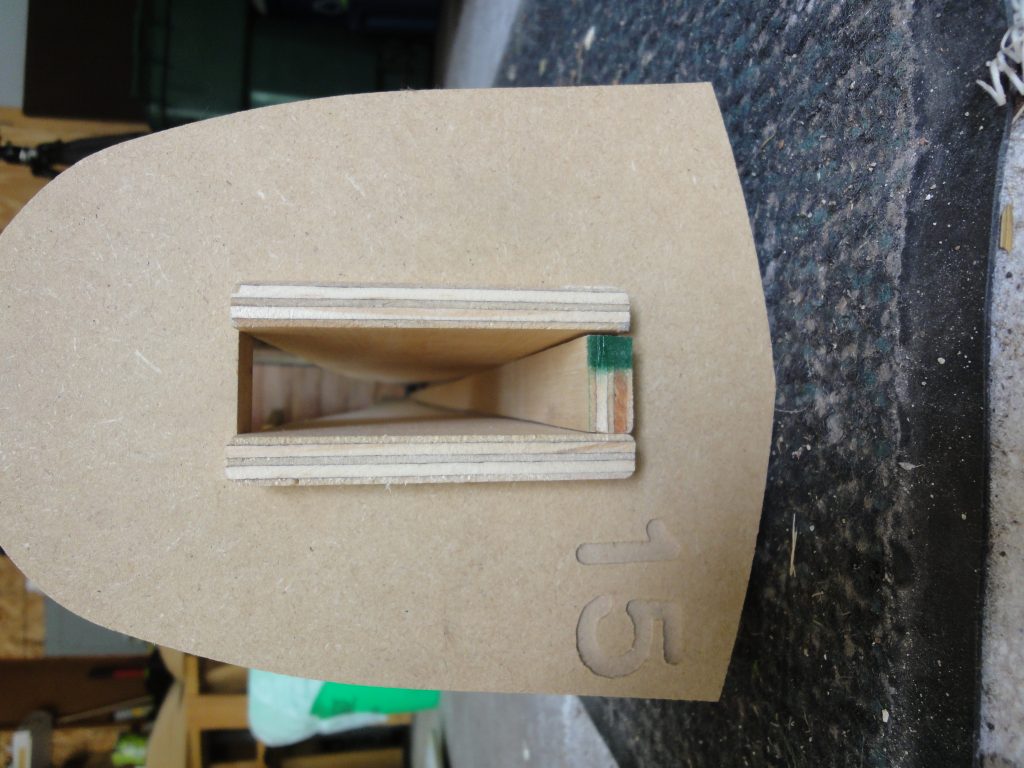
Let’s get on to the project. The strongback is essentially a straight solid surface that your forms mount to and allow for the alignment of the forms and also hold them in place during the building. I had already designed the forms to have a 2″ x 4″ hole in the middle, that when placed on the strongback, would align the forms in the correct positions.
To start, I cut a bunch of 4″ strips from a sheet of 1/2″ plywood and then since the plywood is technically slightly less than 1/2″, I cut some oversized 1″ strips. (2″ gap – ~1/2″ left side – ~1/2″ right side = ~ 1″ space)

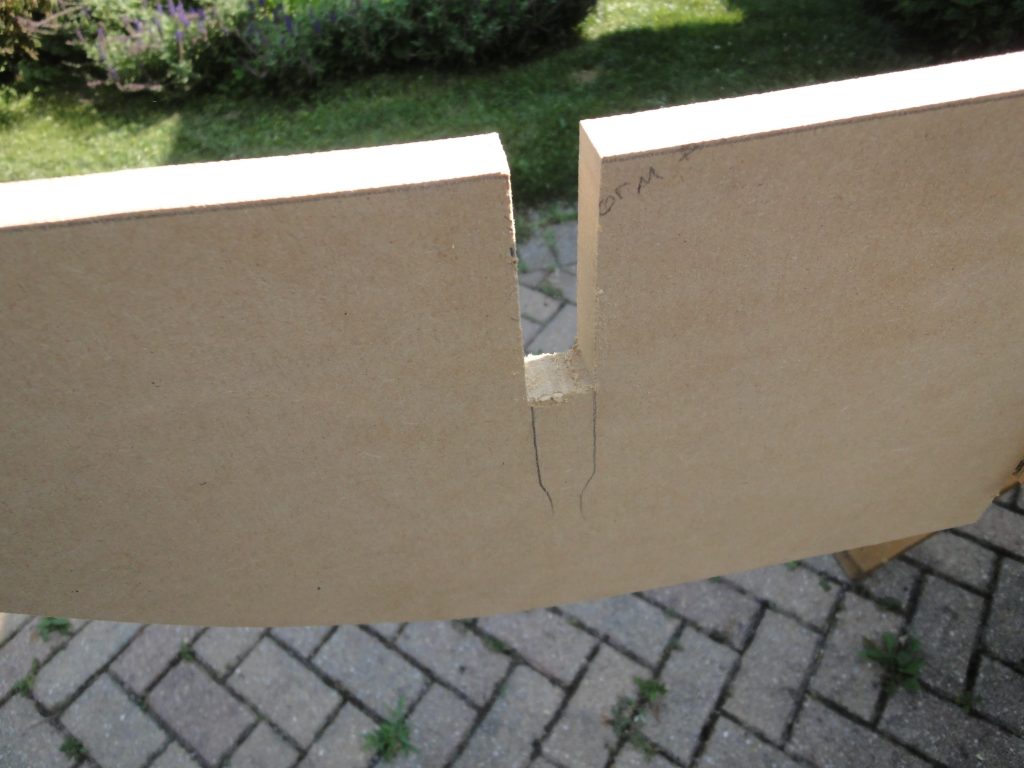
There was one problem immediately apparent (and anticipated). The CNC cutting process uses a round cutting bit. This means that it can’t get into the corner of the form and thus you end up with rounded corners. You can see this below in that the two 4″ pieces don’t sit tight to the sides.
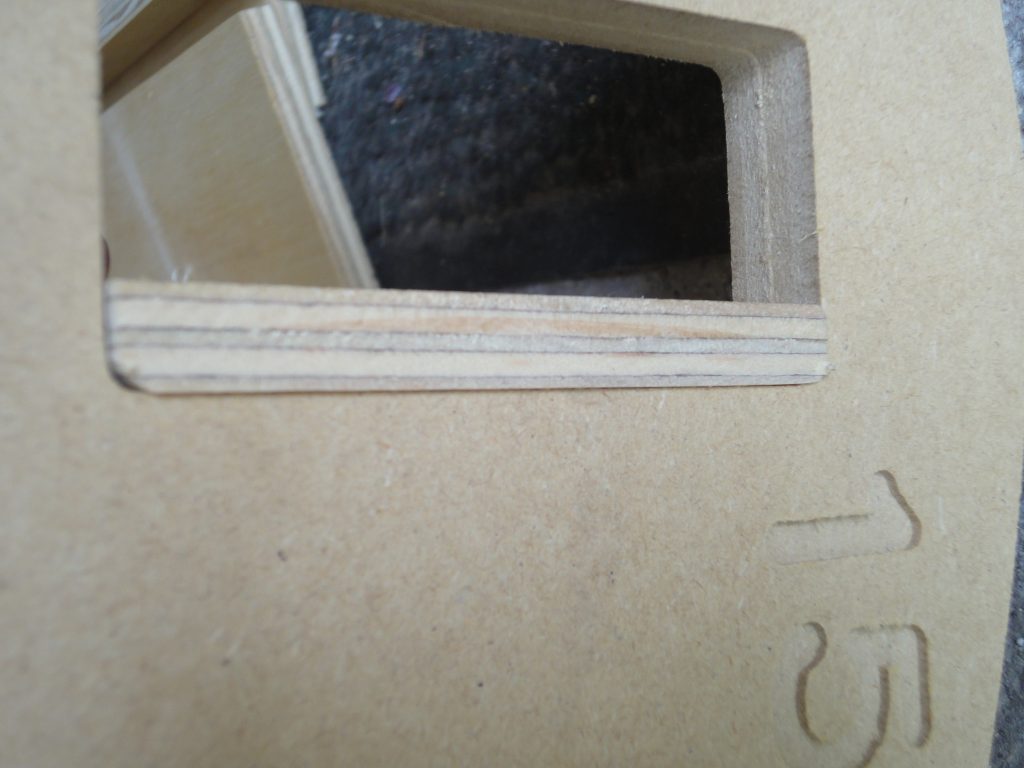
This is easily rectified by running the block plane down the corner of the plywood a few times to round it over slightly. Now the boards fit tight.
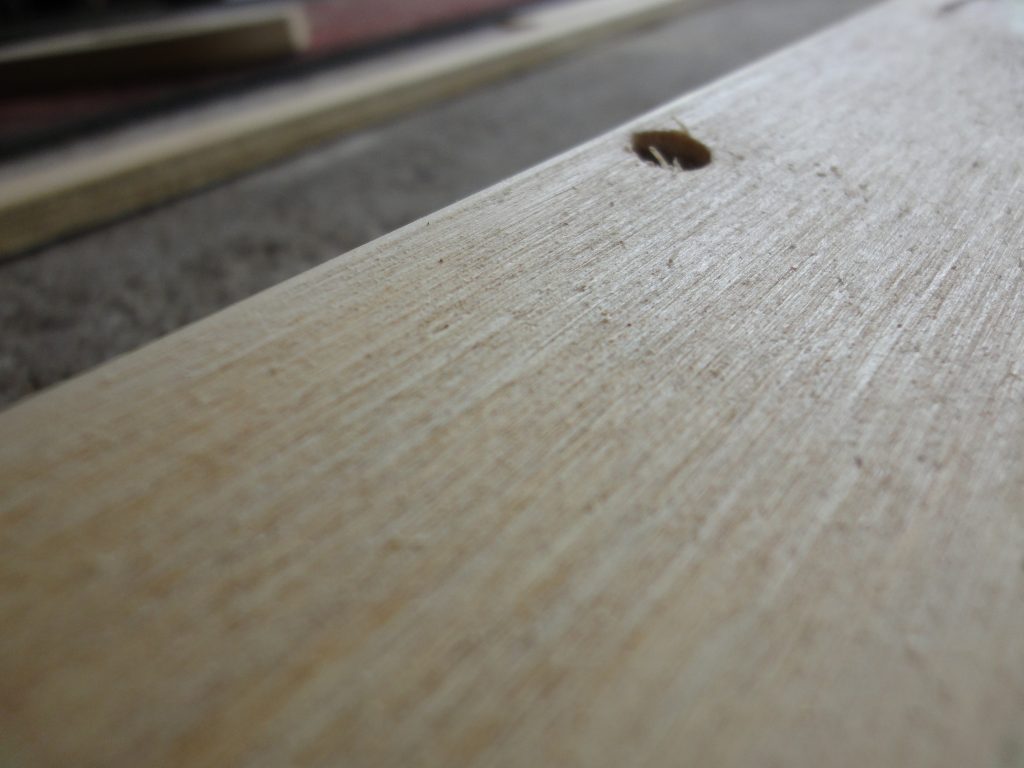
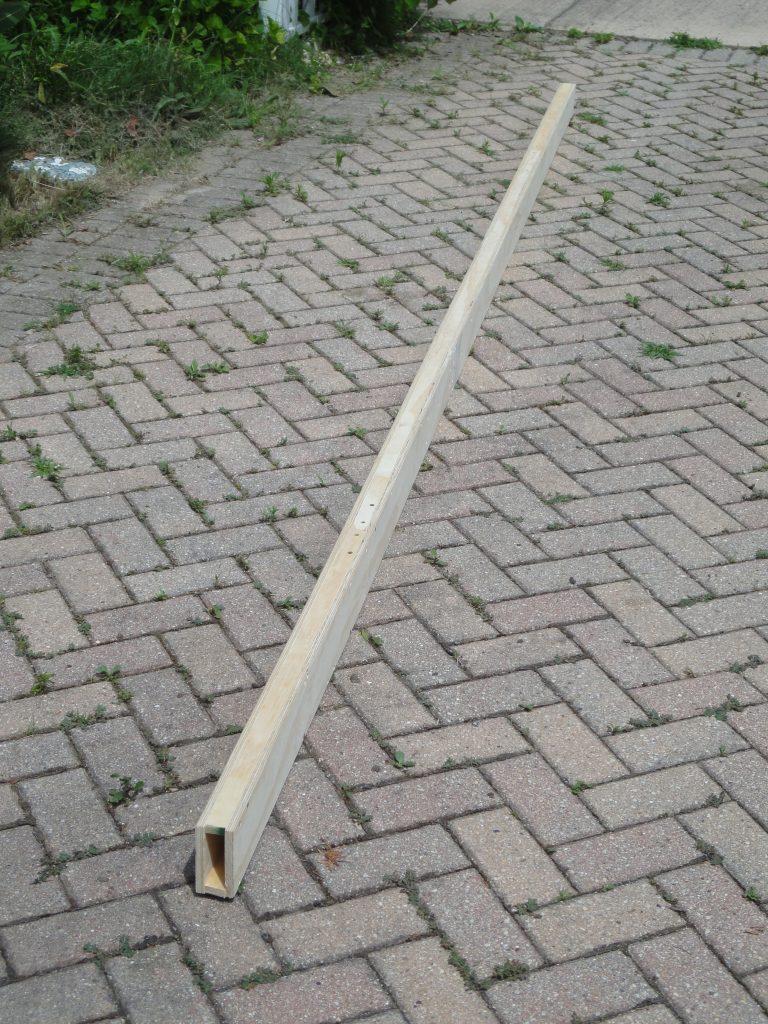
I could now fit in the slightly over 1″ wide strips to effectively create a beam. I screwed the 4″ pieces to the 1″ pieces being sure to stagger the joints and also screwed a reinforcing board (inside) across each joint. The screw heads were counter sunk to avoid interfering with the forms when sliding them in place. Reviewing the drawings and plans, it shows station 2 through 15 would need to mount to the beam. From one station to the next is 12″. So, 15-2 = 13. Thirteen times 12″ (3/4″ form, plus 11 1/4″ space) = 13 feet. My beam needs to be thirteen feet. I actually made it 13′ 6″ with 3 extra inches on each side. It won’t interfere and helps to provide an anchor point for the stern and bow.


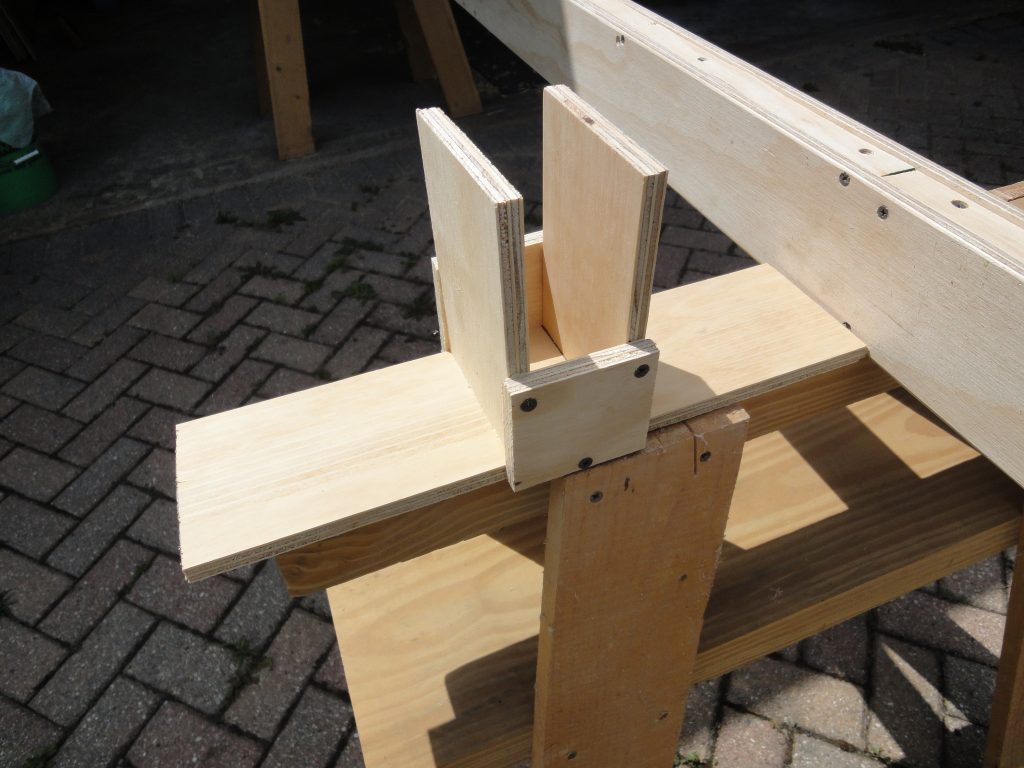
I used some left over pieces from the strips to make a mount for the beam. In some strongback designs you build a long narrow “table” like structure. Sometimes this is even on wheels. However as mentioned before, I want to use the garage as a garage too so I don’t want any semi-permanent structure to support the beam. Instead I’ll use a couple of saw horses to hold the beam and the mounts are designed to attach to the saw horses allowing the beam to “float” in place held only by gravity. This will let me easily attach the lift lines to pull it up and out of the way when I’m not working on it.
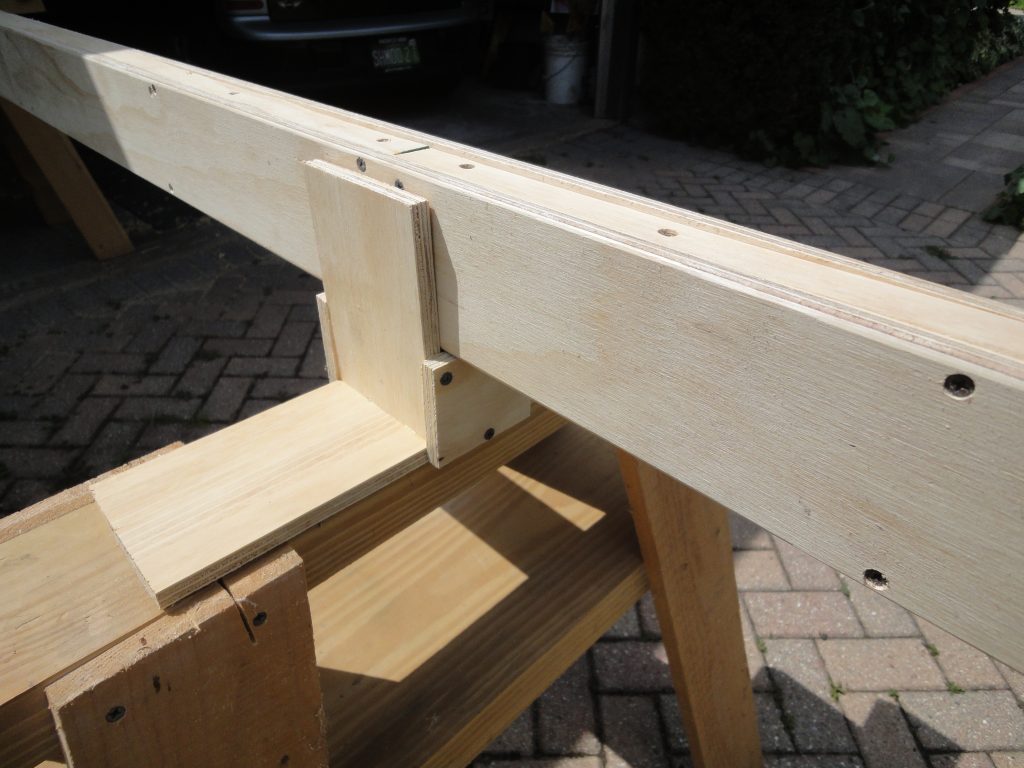
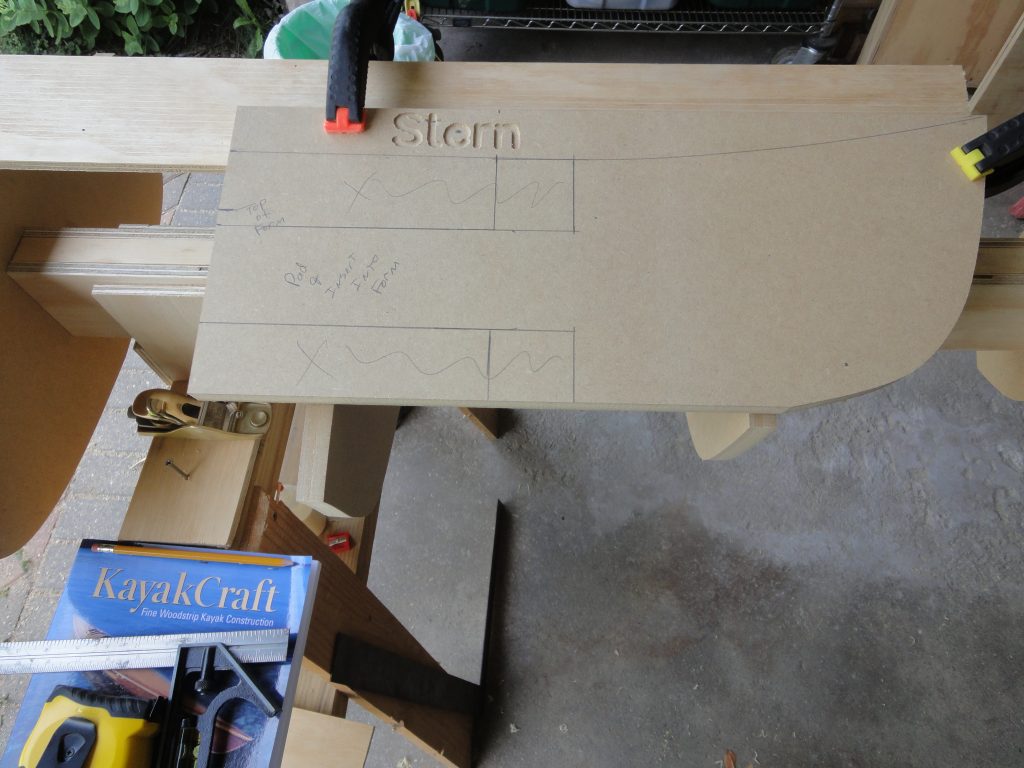
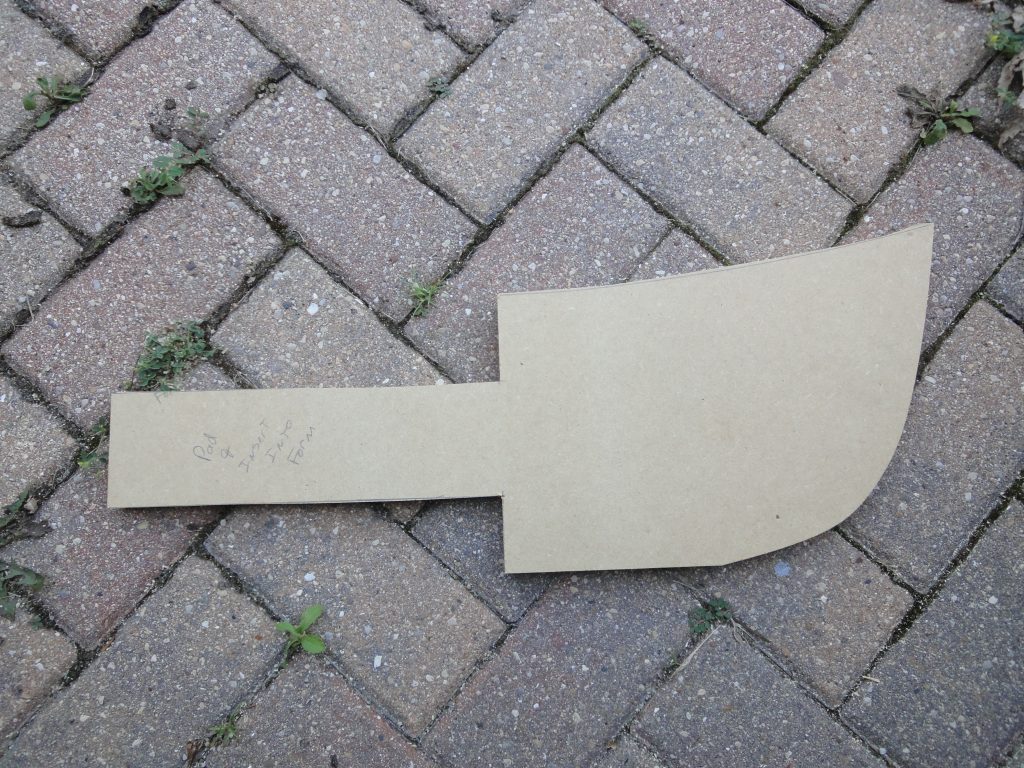
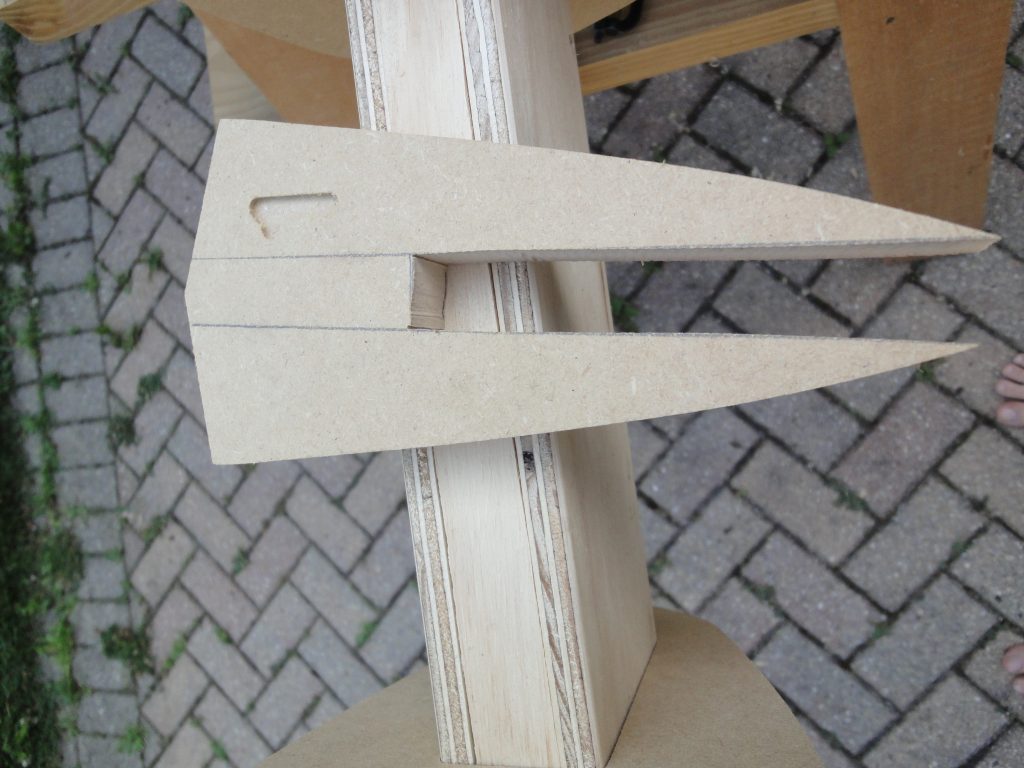
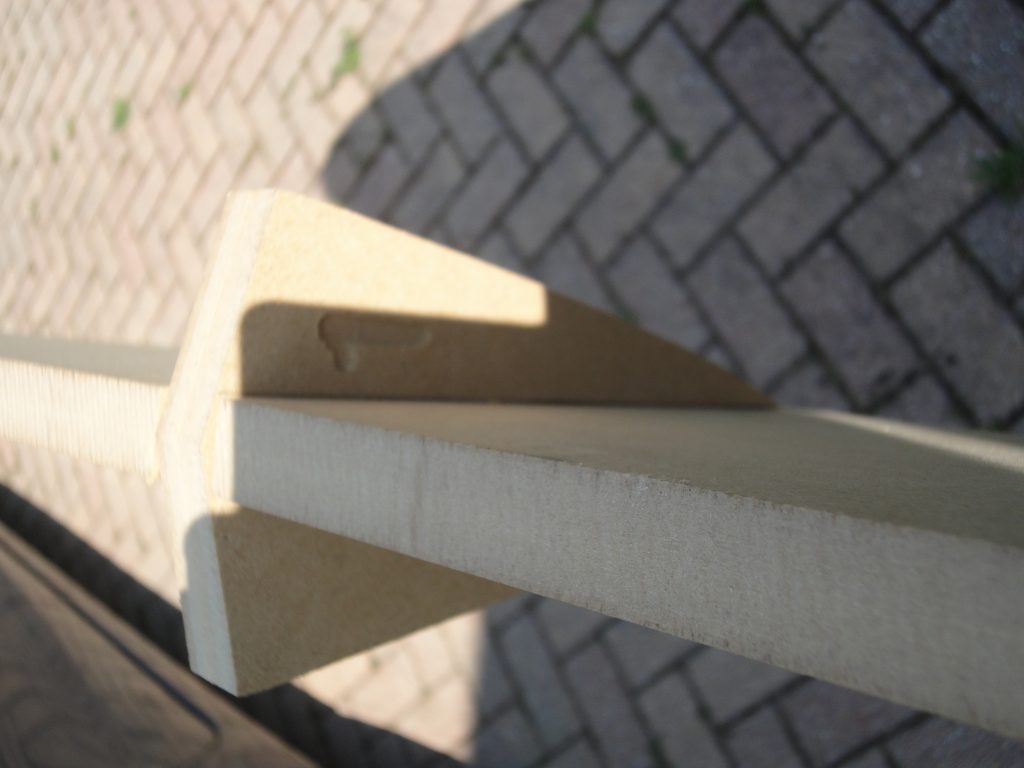
The last bit step was to start shaping the bow and stern boards. First I had to cut a tongue in them that will slid into the beam. I’ll eventually have to add some narrow boards on both sides to pad it out for a snug fit, but for now I just wanted it to fit in the beam. I also had to take them from flat tops as I drew them to the actual sloped shape that they should be. This was a bunch of calculating, a bit of estimating and some band saw and hand saw work. The curves are not final, just close to the line. I’ll clean them up another time.
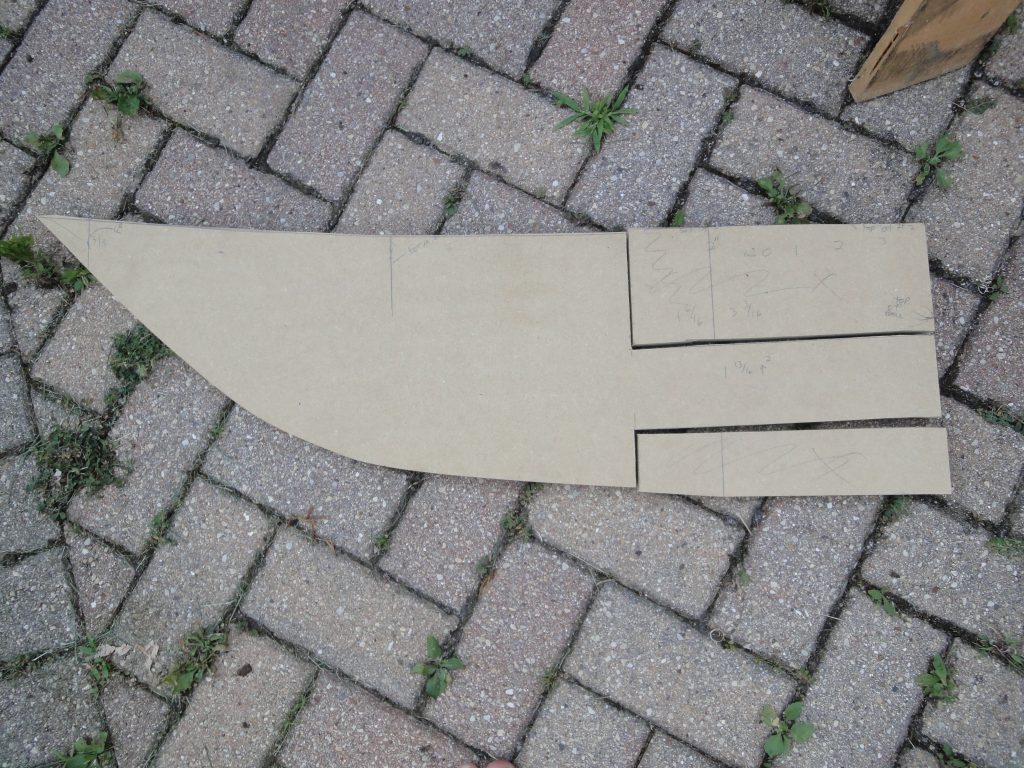
Form 1 is too narrow to fit on the beam, but it can fit on the bow form. I notched both forms to allow for a slip fit placing it at the correct height.
All that was left was to slip the forms onto the beam. This required a few passes with the block plane at the tight spots, but otherwise wasn’t difficult. I cut out a 11 1/4″ spacer block so once the first form was positioned I would just lay down the space and slide the next form against it. Repeat for the rest. Now at this point I did not attempt to fine tune the alignment of the forms, nor are they permanently attached (screwed to the strongback) as I still have some clean work to do and I simply don’t have space for the entire strongback with forms yet. Once I order and install one of the lifts mentioned in the previous post I’ll go ahead and re-assemble the forms onto the strongback and get everything aligned and screwed together. So, on to the gratuitous photos…
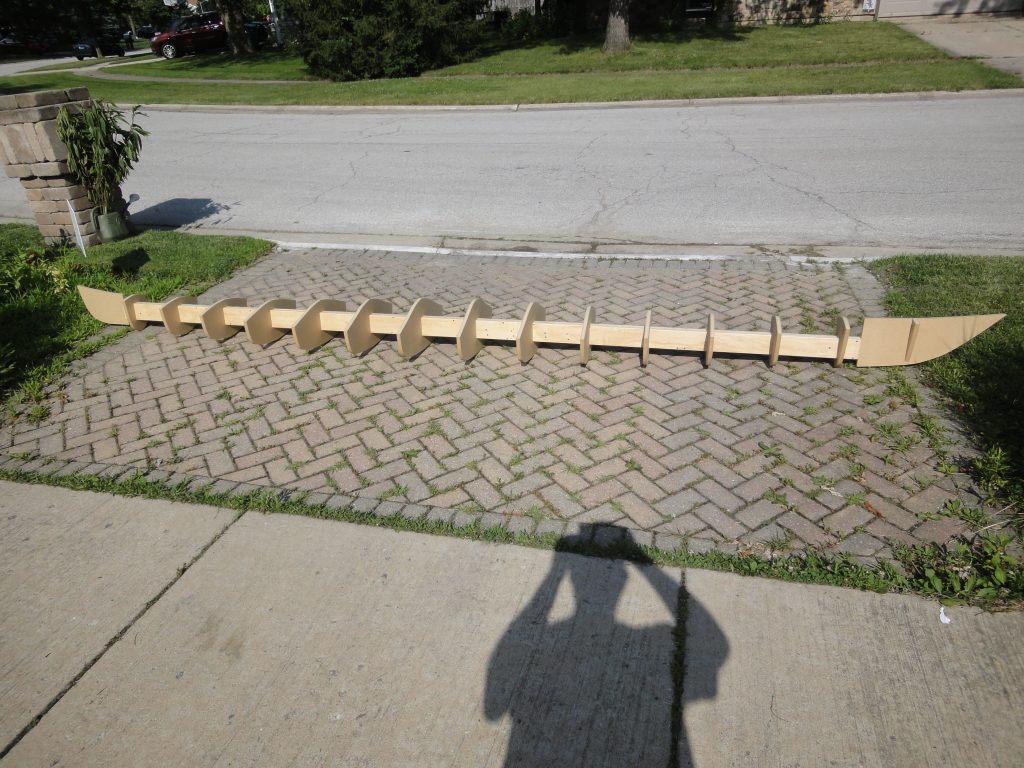


The design is 16′ 6″ kayak. I measured the assembly I put together and I’m at 16′ 5 1/4″. With the strips in place and the bow and stern hardwood keel strip added I should end up within an inch of the designed length which is more than close enough for my purposes. My last kayak class is coming up and I need to order the lift before much else can happen so it could be a week or two before the next posting.
I’m currently at this stage. Stations are cut and ready then I cut the 1/2″ plywood just as you did for the strongback (I call it beam). I followed the plans for staggering the joints just as Nick Schade showed in his book and thought “how could I go wrong”? Somehow I ended up with a slight curve somewhere in the middle. Ugh!! I put a string line from one end to the next then measured the gap between the string and beam. It was about 5/8″ of an inch. Not too bad considering.
Now I’m contemplating cutting new wood for the beam and starting over or maybe widening the square holes of the stations so that I can adjust them left or right in order to line them up when it’s setup.
Thoughts?
How is the beam attached? As much of a solid beam as I have if I push a saw horse enough I could get some curve to the beam. Maybe not 5/8″ but a bit. Would you be able to get it straighter by adjusting whatever it is that is supporting the beam?
I never actually checked to see if my beam was straight, just that the stations were. As long as the separation lines and center line are in line, then you should be OK. I’d say my worst station was 3/8″ off and it took very little sanding/shaving of the beam itself to allow that station to come in line.
If your beam is made of multiple pieces (in length) as mine is, you could open a joint, insert a bit of a shim between the two boards to spread it slightly and then re-screw with new holes. Give the amount you are off over the distance, this would have to be a very tiny adjustment or you’re going to throw it off more in the other direction. Probably a 1/16th at most and maybe even less.
However if you want the best job possible I think you’ve already hit on your options. Either remake the beam or widen the holes of the stations (or shave the beam) in order to shift into position. Depending on your weather/humidity, you might also see a bit of a shift in the curvature as the wood in the beam expands and contracts. If you cut and assembled when it was quite humid (or dry) and now it’s the opposite, simply waiting for the weather to change might be enough to get rid of that curve too, although usually plywood is much less affected by this than solid wood is.
Regardless of your solution, good luck with your build!
Thanks! I missed your reply from before. I ended up remaking the entire beam this time using a thicker material for the 1″ wide spacer boards and assembled it all on my hardwood living room floor which was much flatter than my shop floor. My wife was really happy finding me making a mess on the floor. 🙂 This time it came out much straighter. It has some slight give (flex) to it but I’m going to be really careful keeping it straight with the first 4 or 5 strips on each side and anchoring them to the stations. After that, it should stay straight.
Thanks again for your comments and help!