
A few days off of work and weather that decided to cooperate. Not too hot to work, not too cold for epoxy application. Nice….
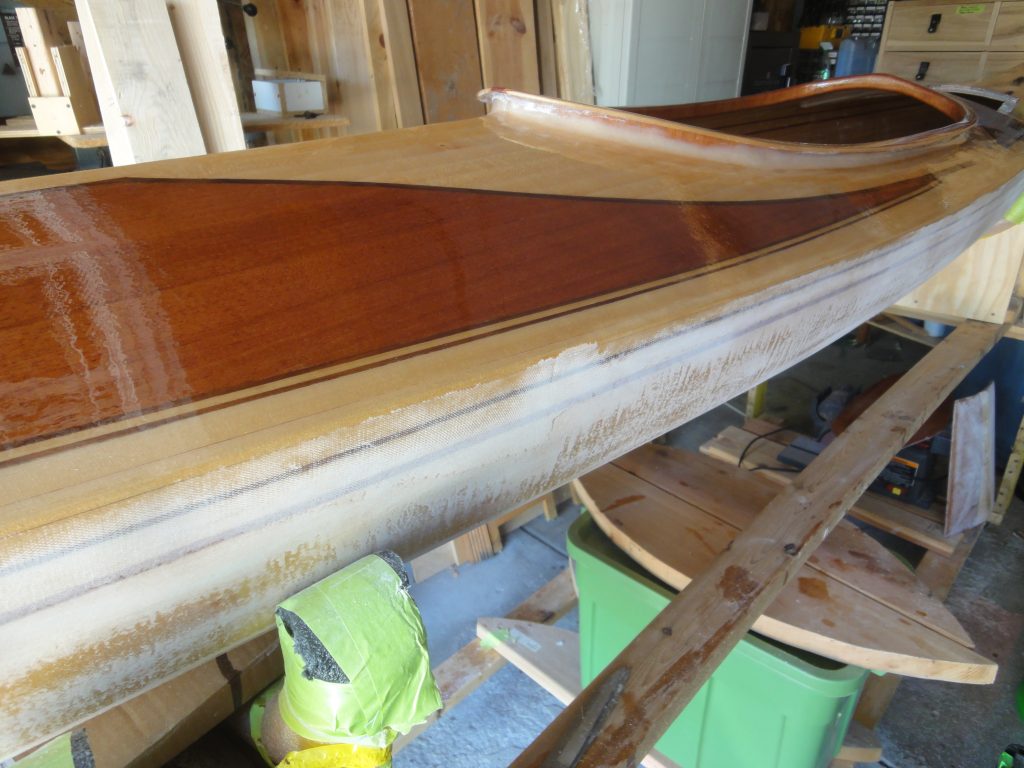
So I started with sanding down the outside seam and more or less got carried away and sanded the entire kayak. There were a few goals. One was to make it a smooth transition which you can see in the first picture it is not but by the third one (on the left half) it is. I also found a bubble in the seam which I cut out and then sanded smooth to blend it.
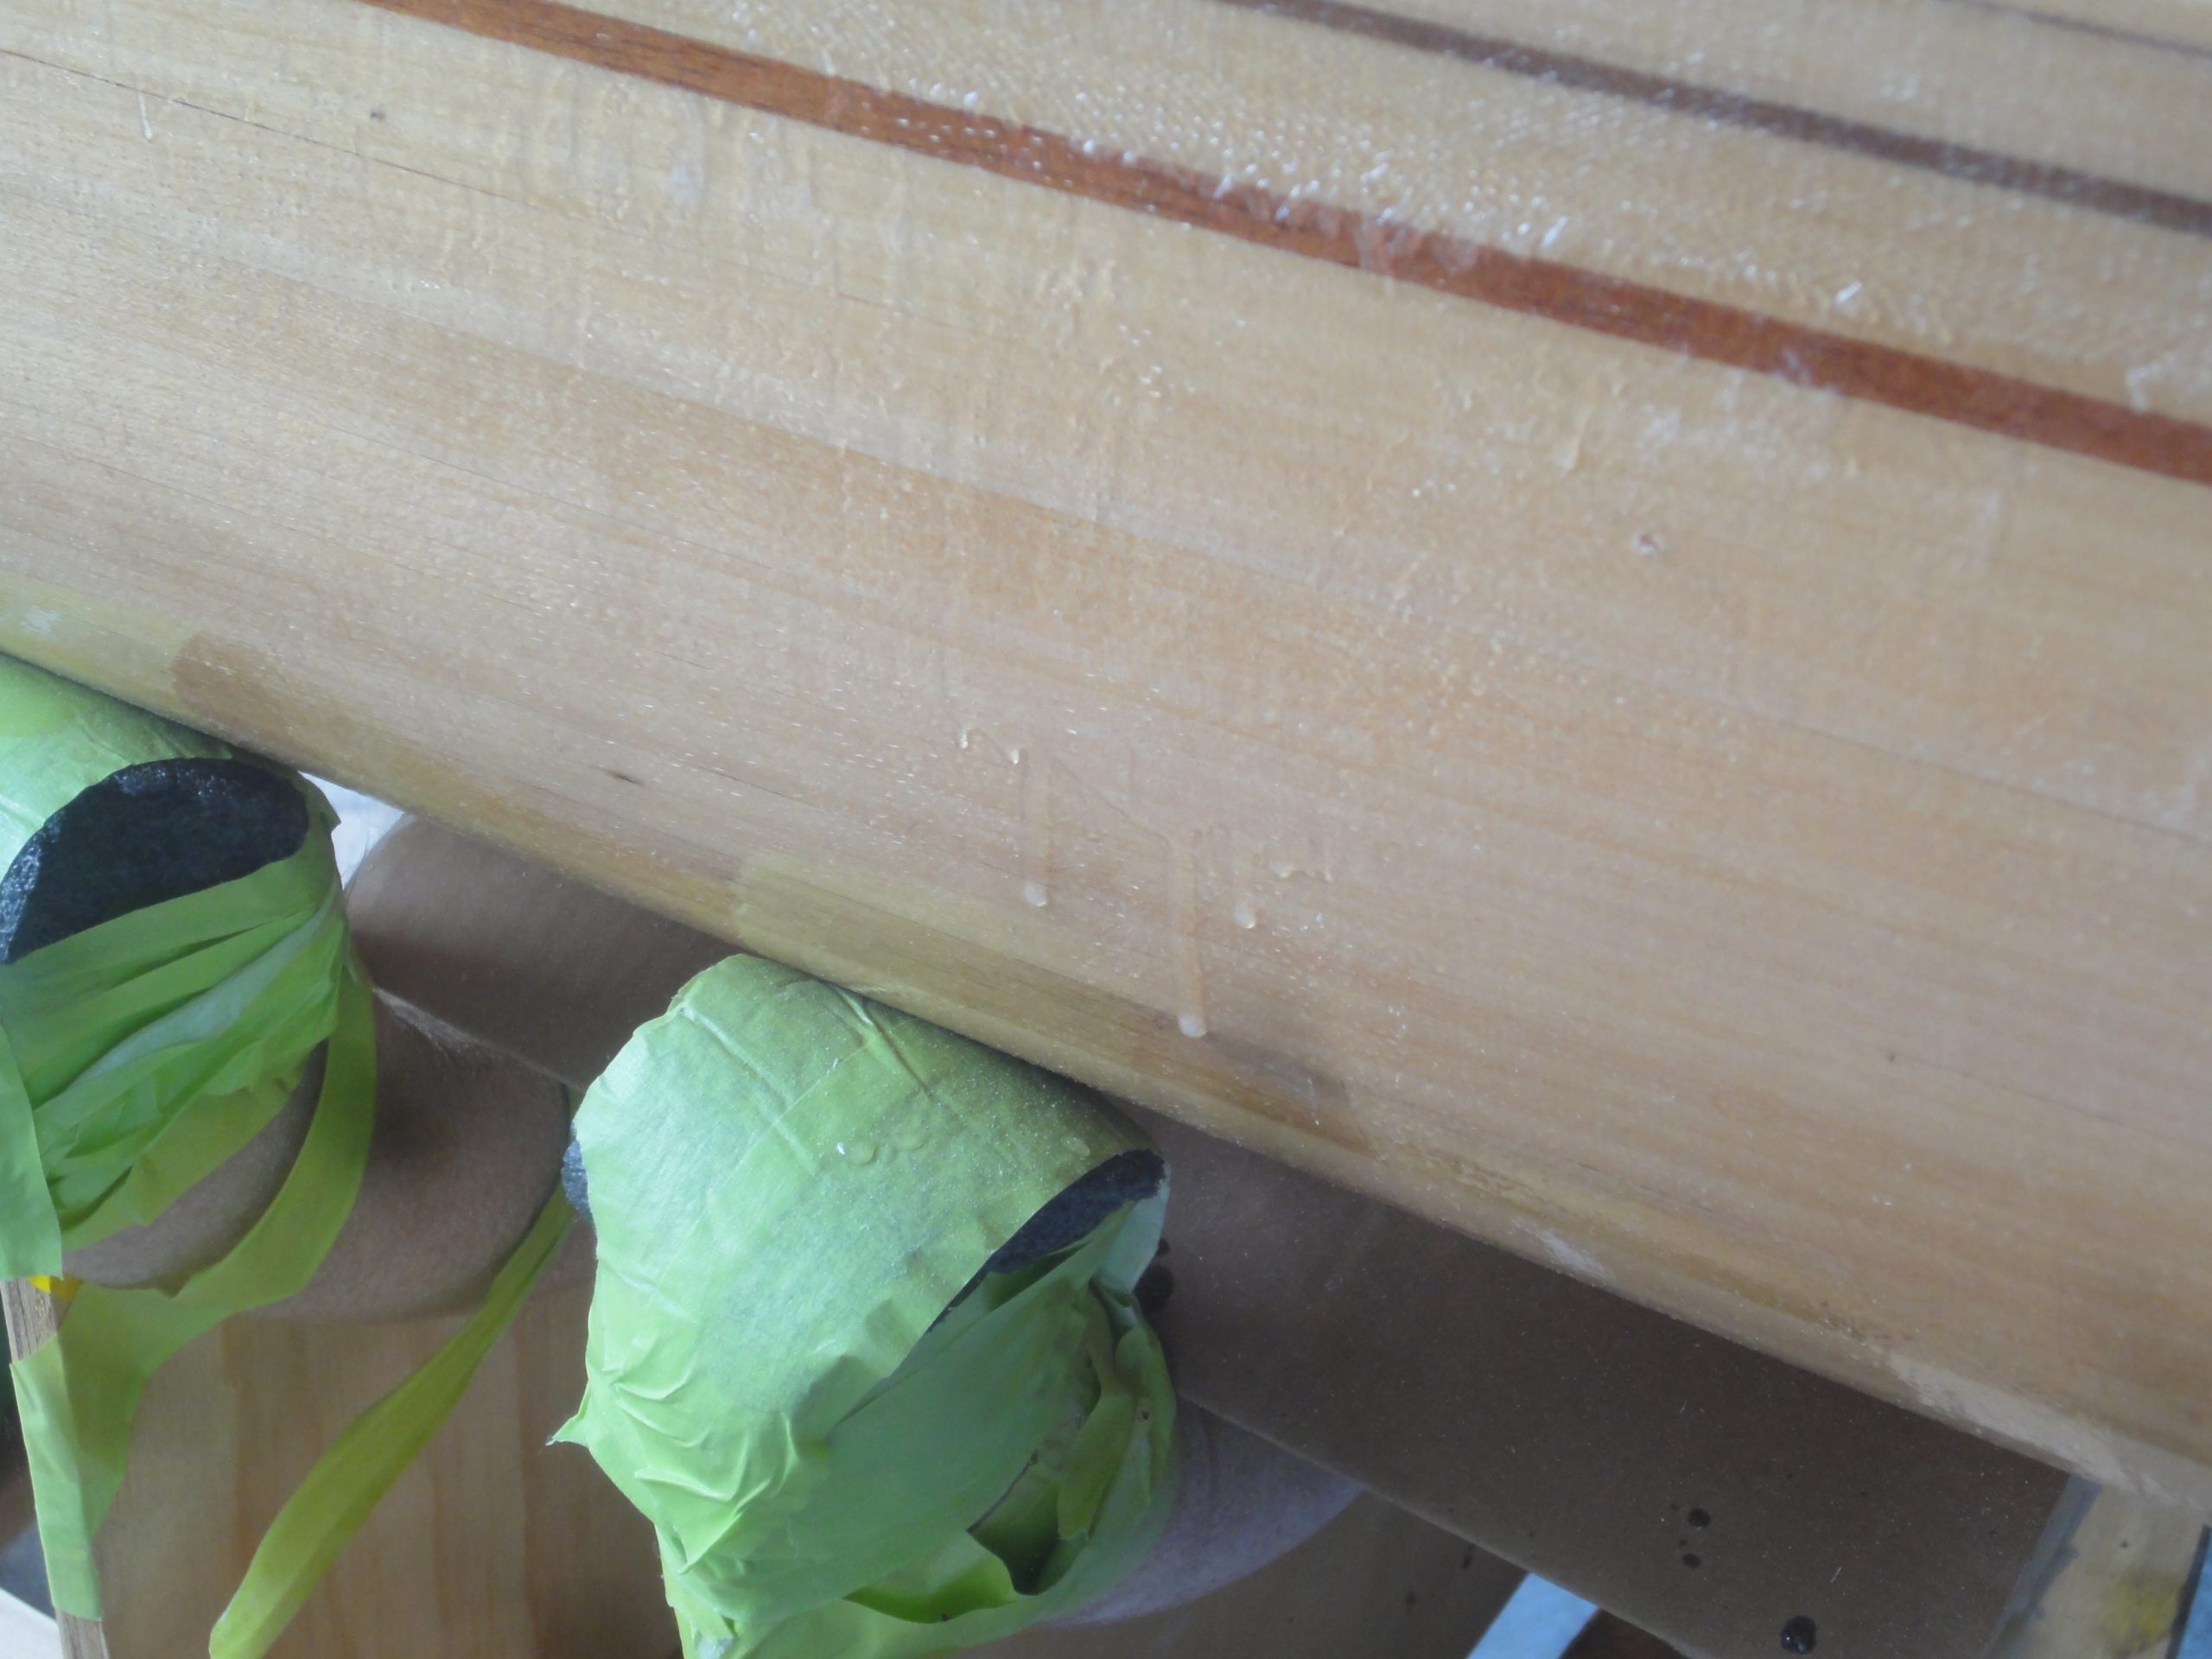
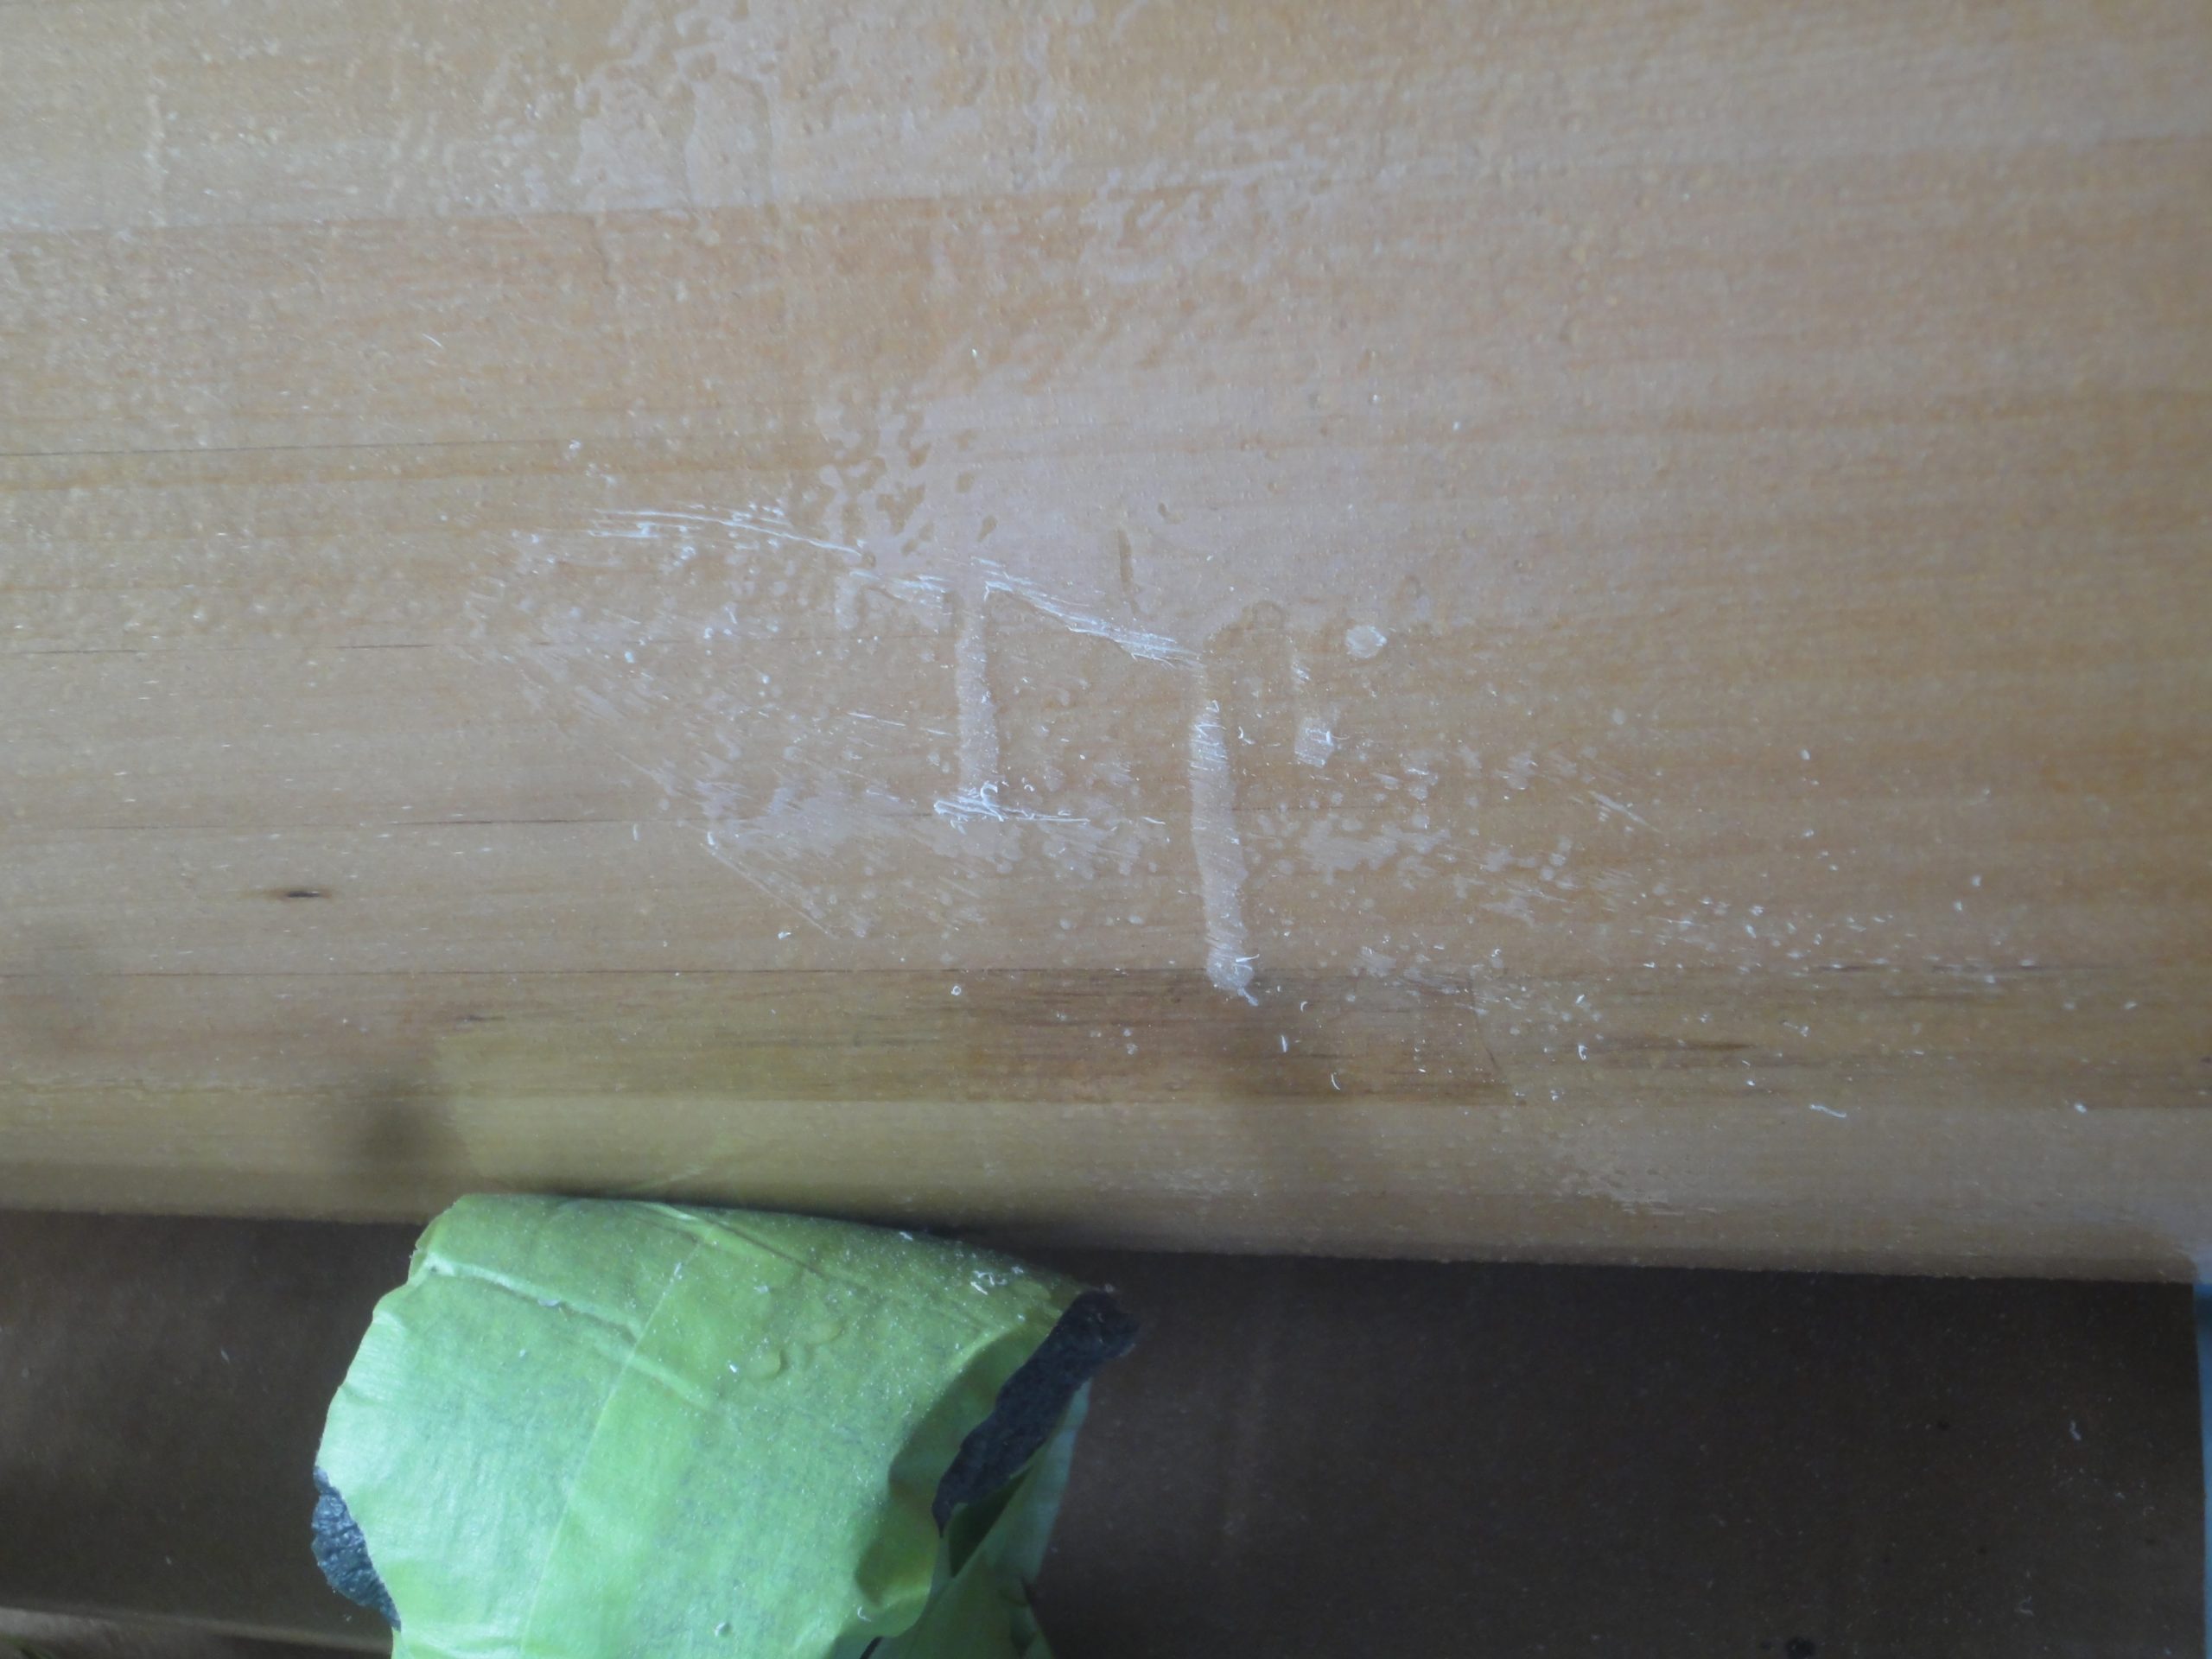
The goal was not a perfectly smooth finish, but to minimize any bumps as next will be an epoxy fill coat which should help to fill any cloth weave that is still there. In the last image you can see it isn’t smooth, but when running your hand over it the visible valleys are pretty much undetectable.

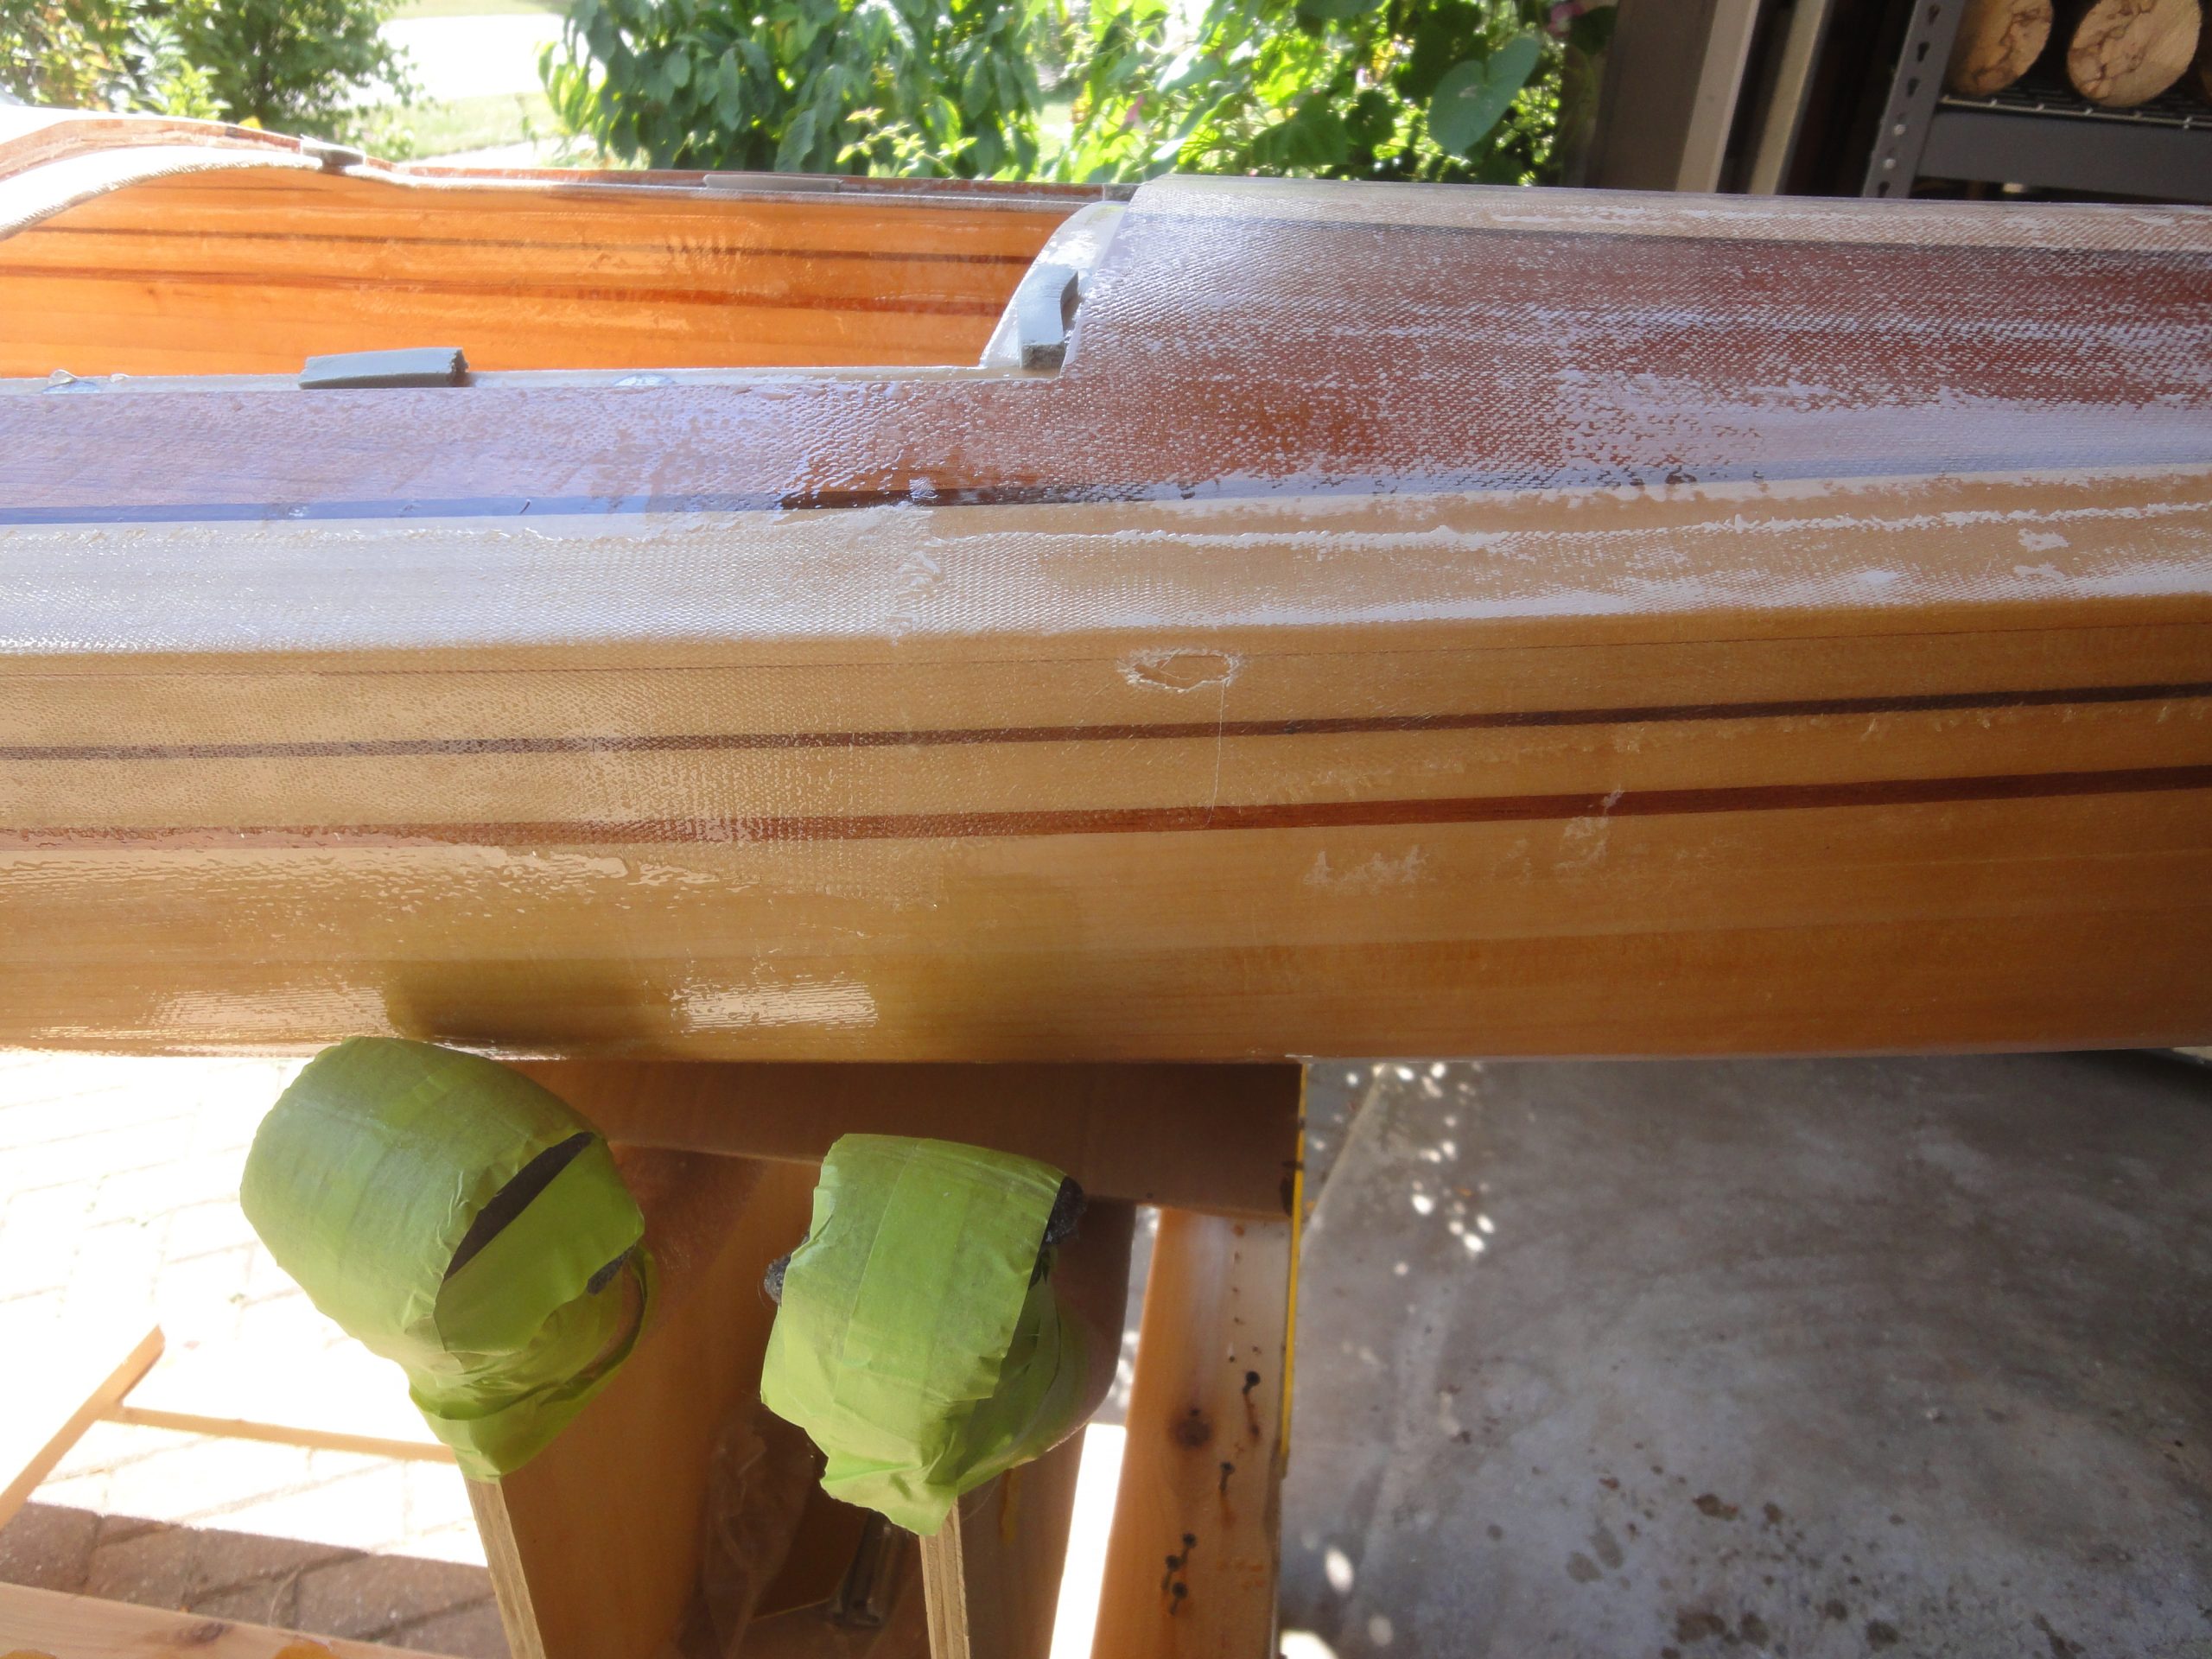


As I moved along the hull I found some larger drips. These were best taken down first before sanding to avoid creating divots in the surrounding area. The rasp worked well for this with any surrounding scratches eliminated when sanded.

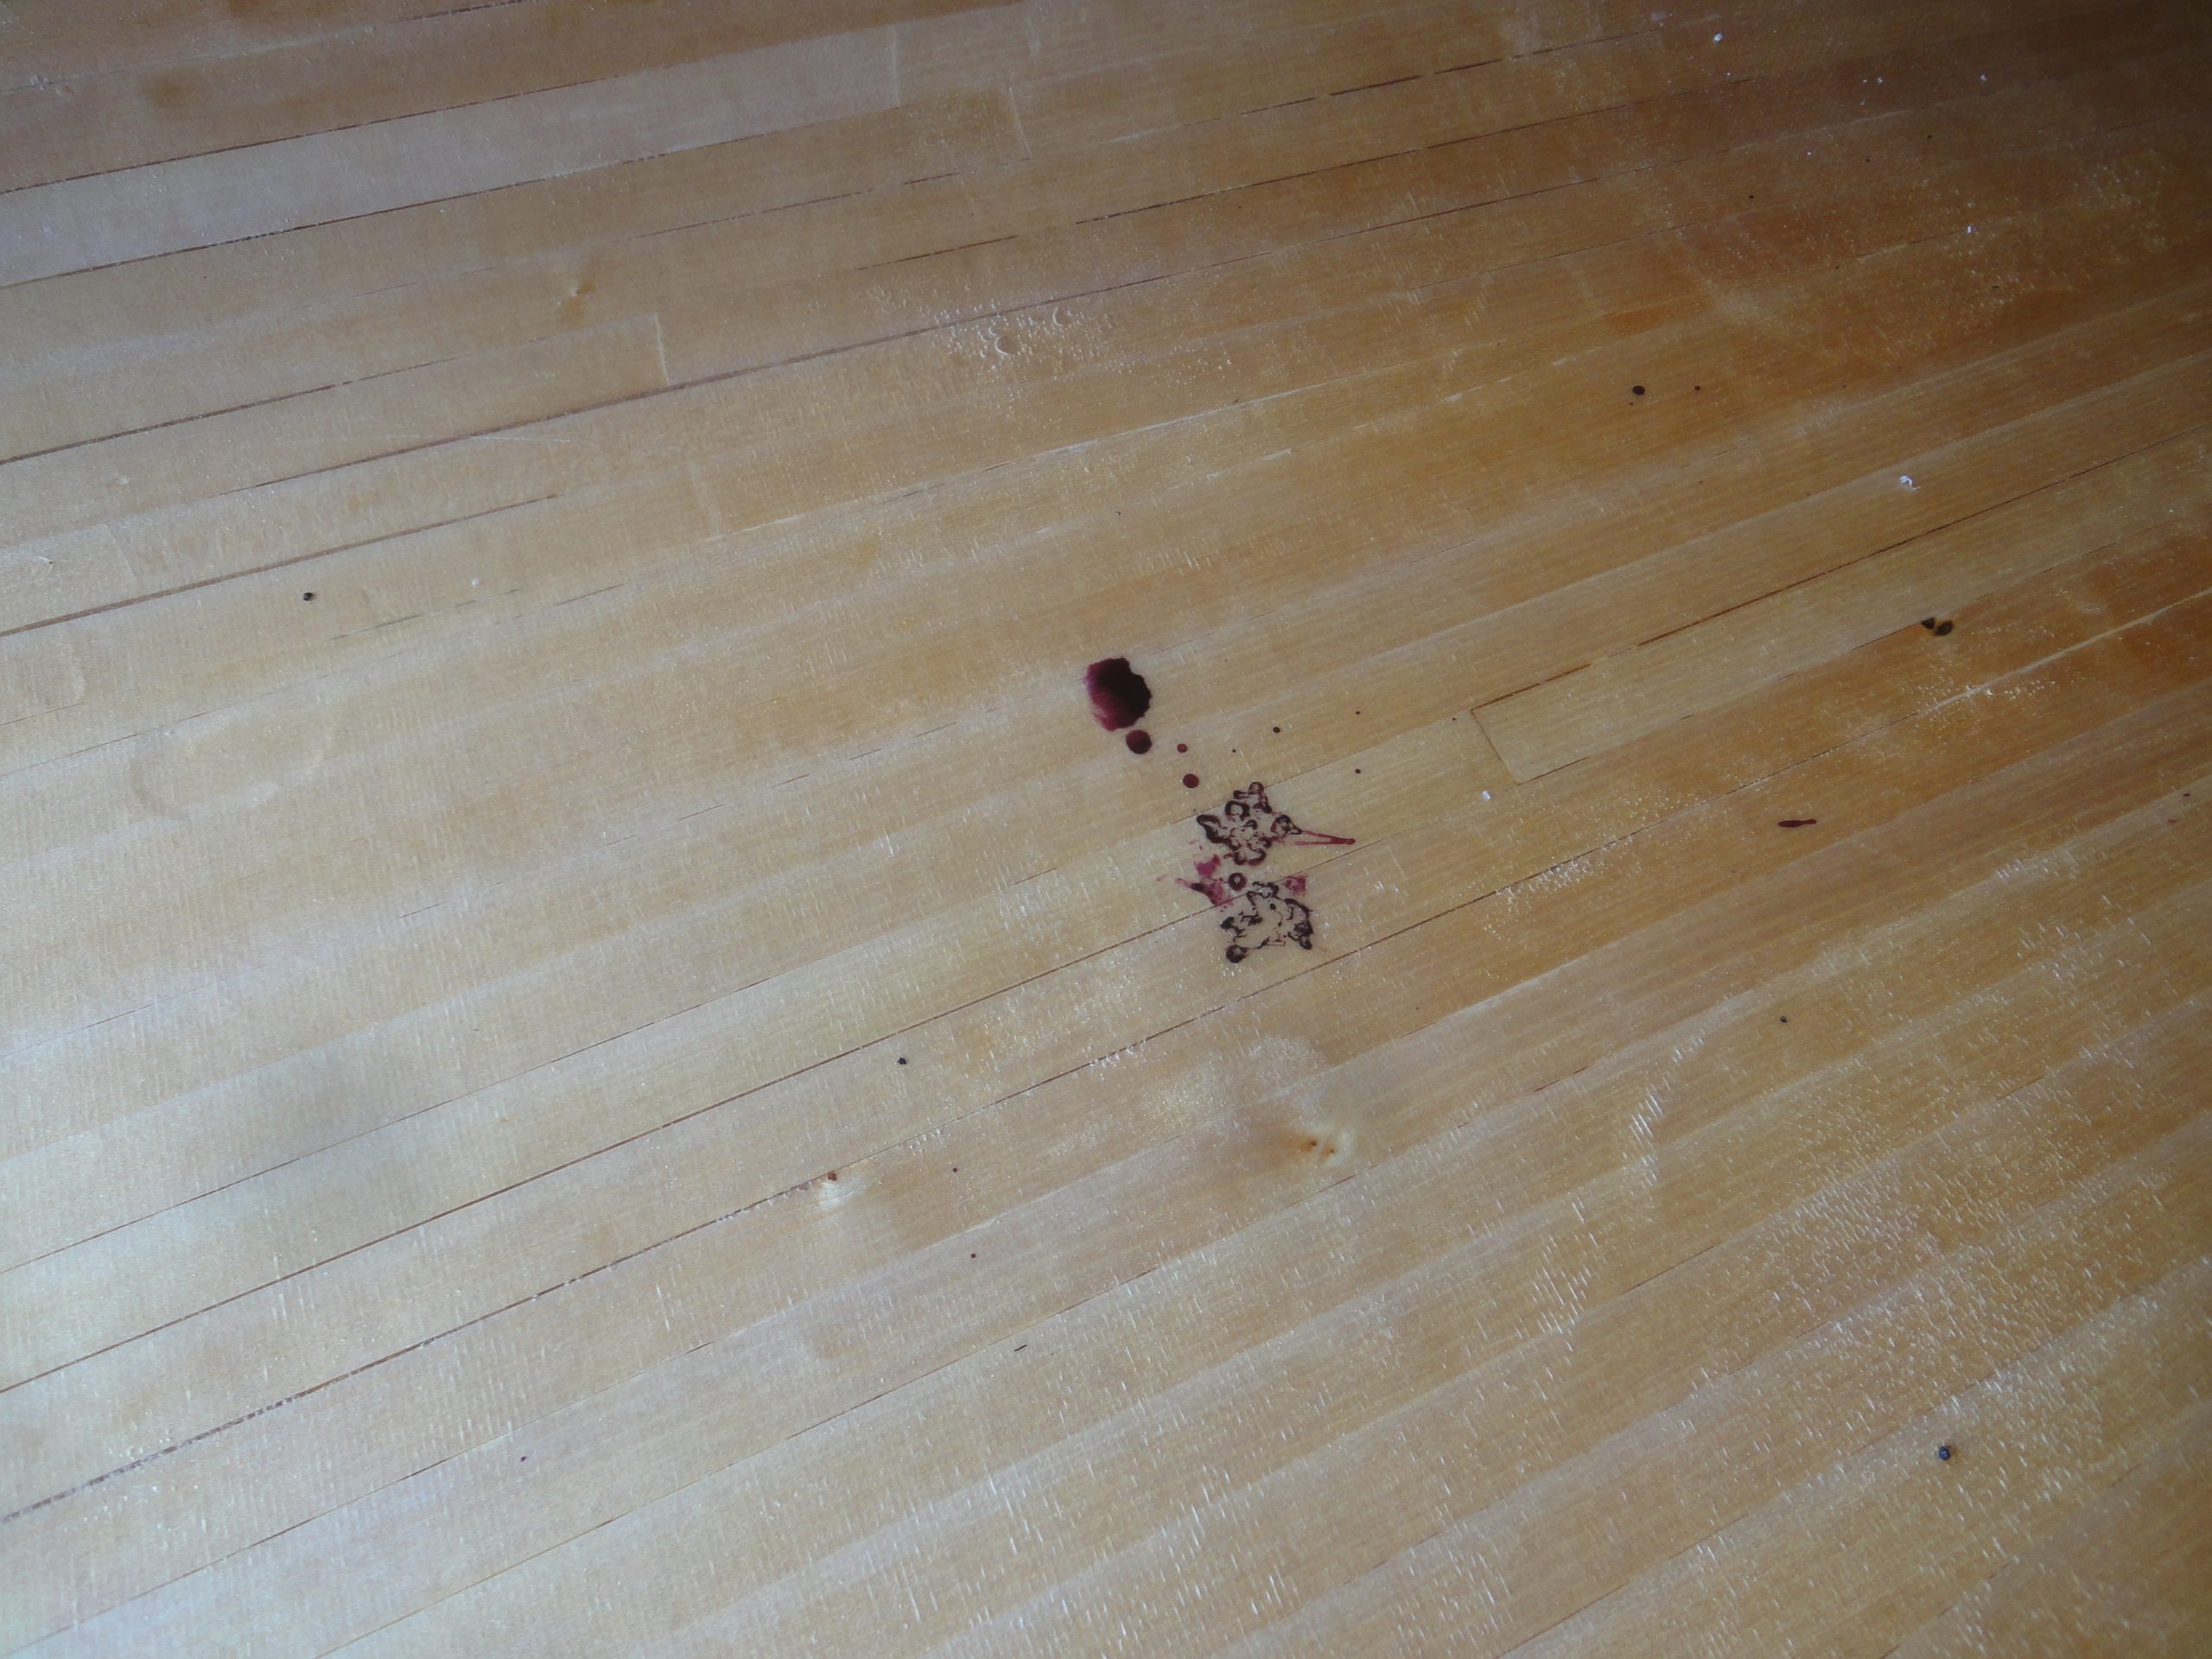
I had the kayak partially in the garage and partially out of the garage. At one point I looked in side and saw that a bird must have flown over and left a dropping filled with pokeweed berry residuals. It was already pretty well dried. Some cleaners and solvents did not remove it so I had to resort to sanding it out. My wife thought this was a good sign that nature was blessing the boat. If it floats and works, who am I to argue.
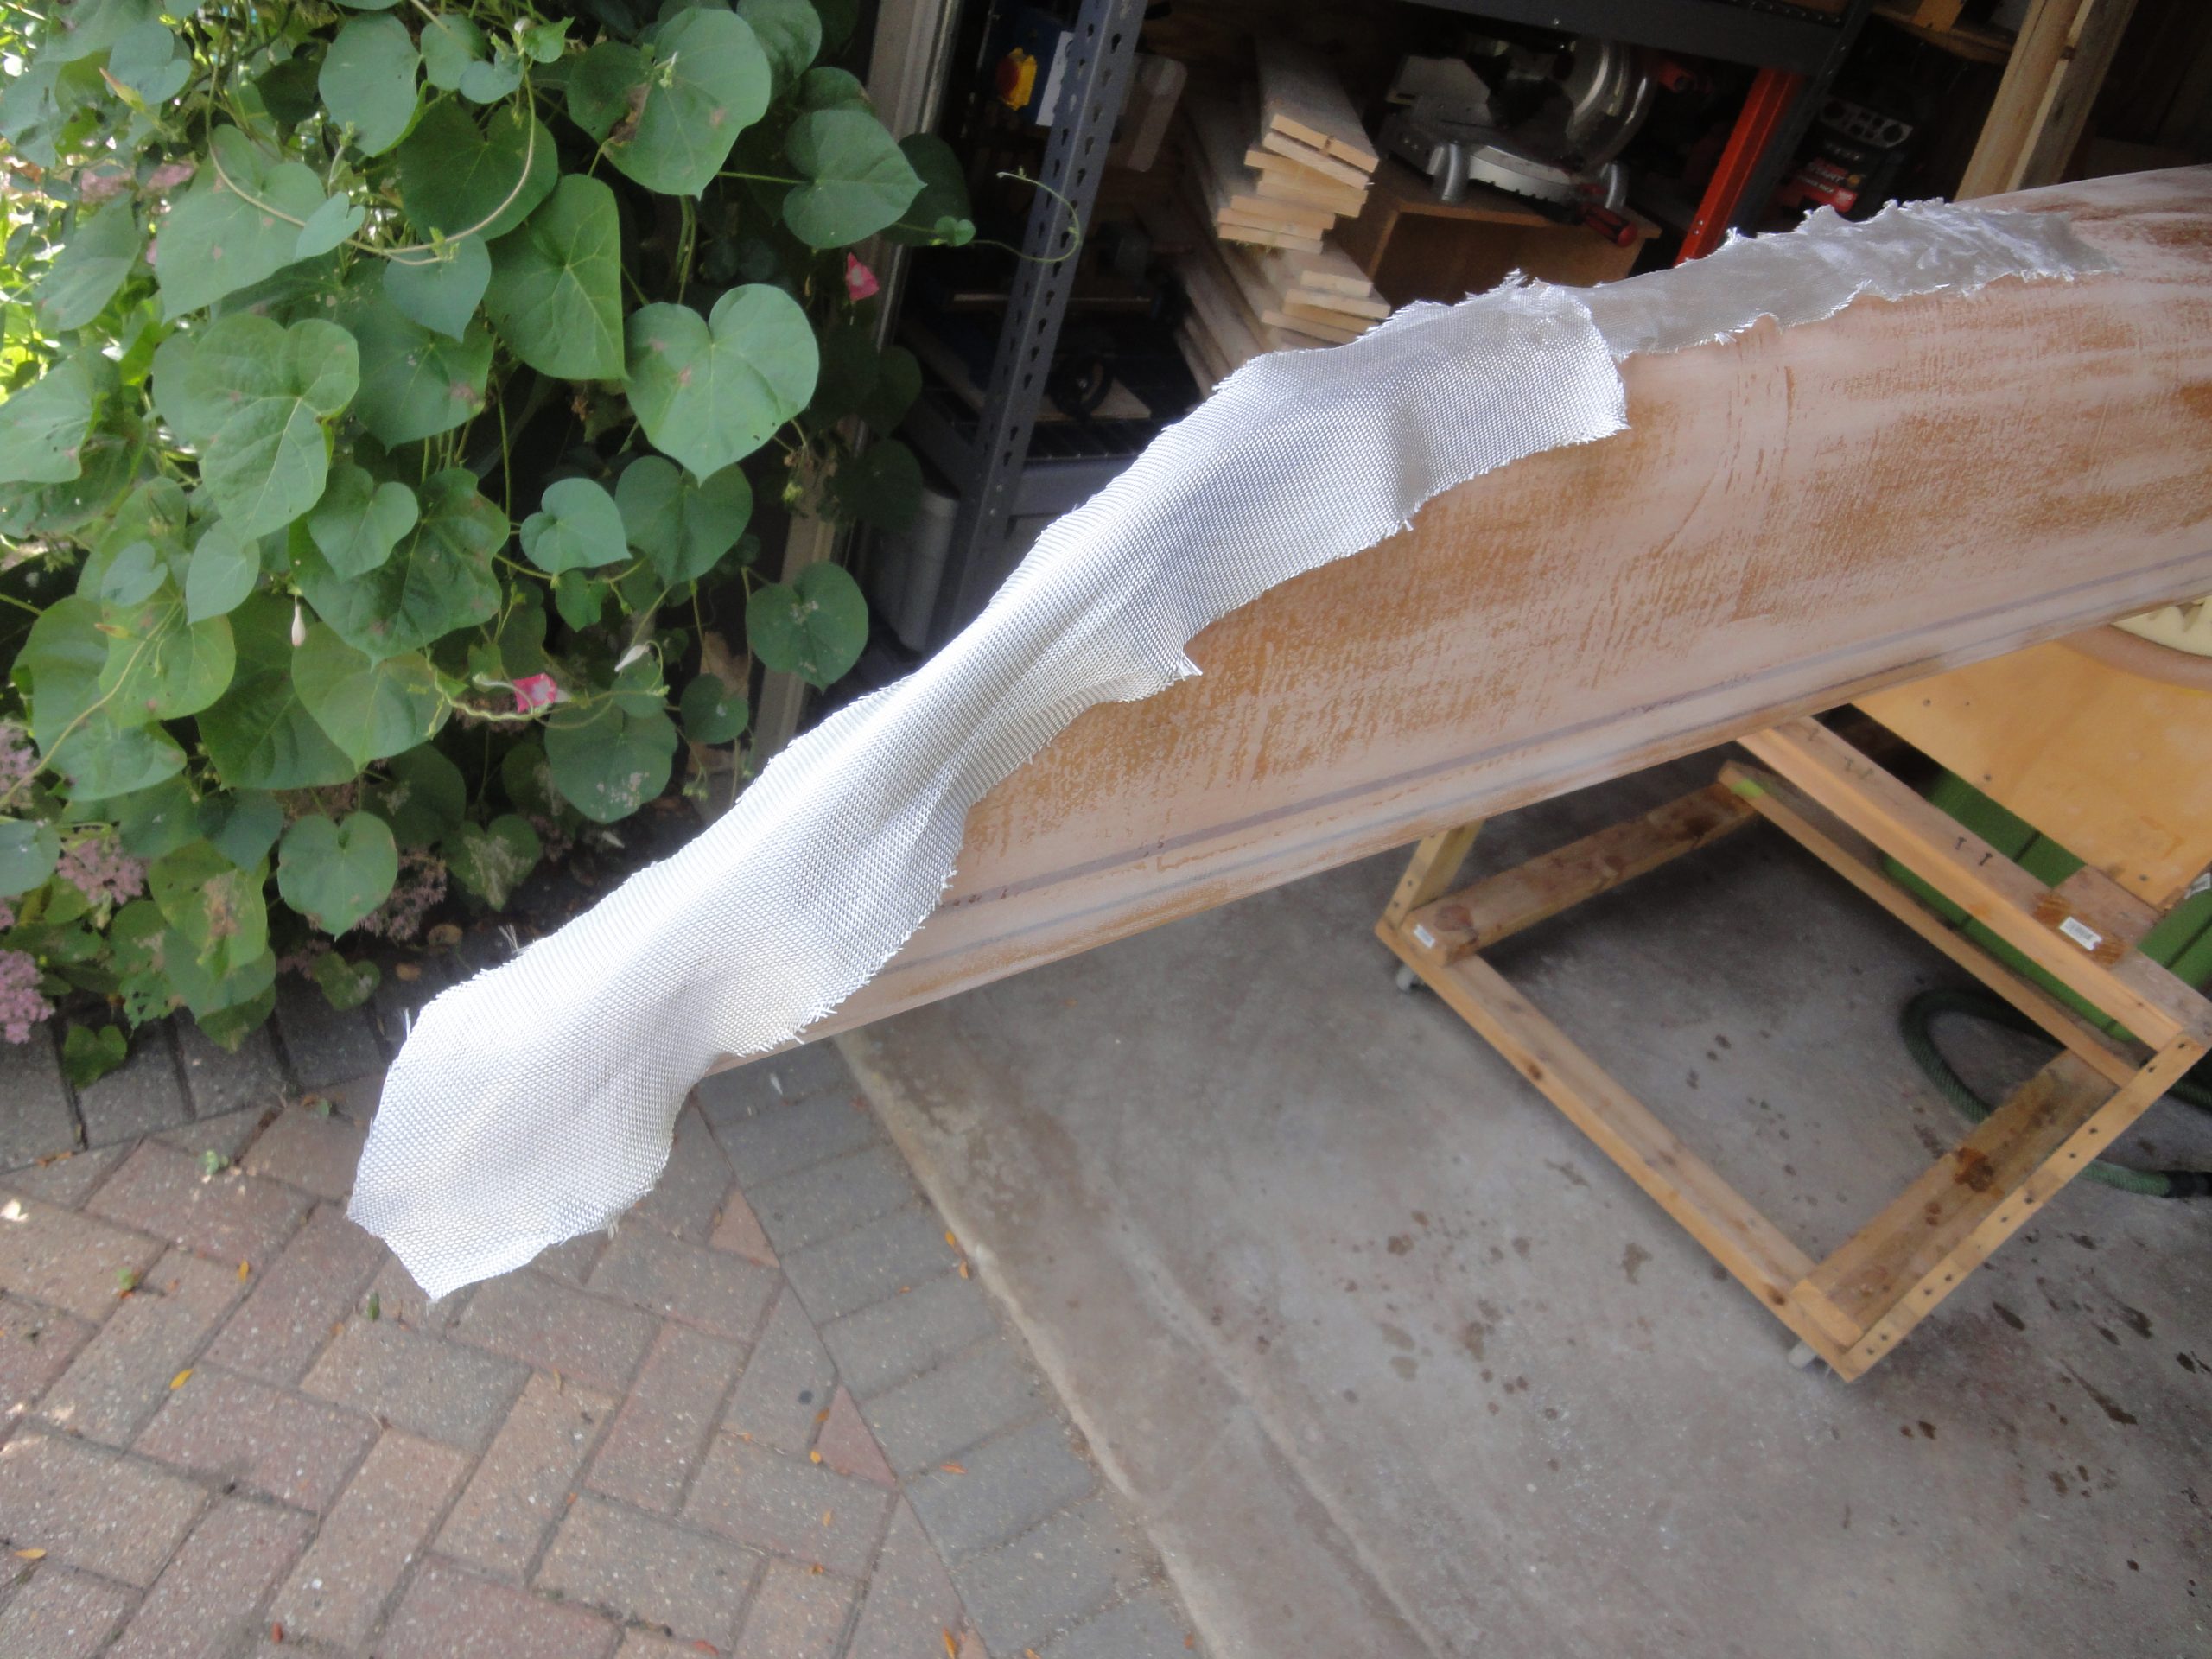
Once the sanding was done I took some of the spare bias strips I cut last time and applied them to the front and back. On the bow (front) I did a double layer over the part that would most likely contact an underwater hazard, rock, shoreline or in general impact something first. Standard process. Dab on epoxy to thoroughly wet it out and bias cut to conform to the curves. Squeegeed it afterwards.
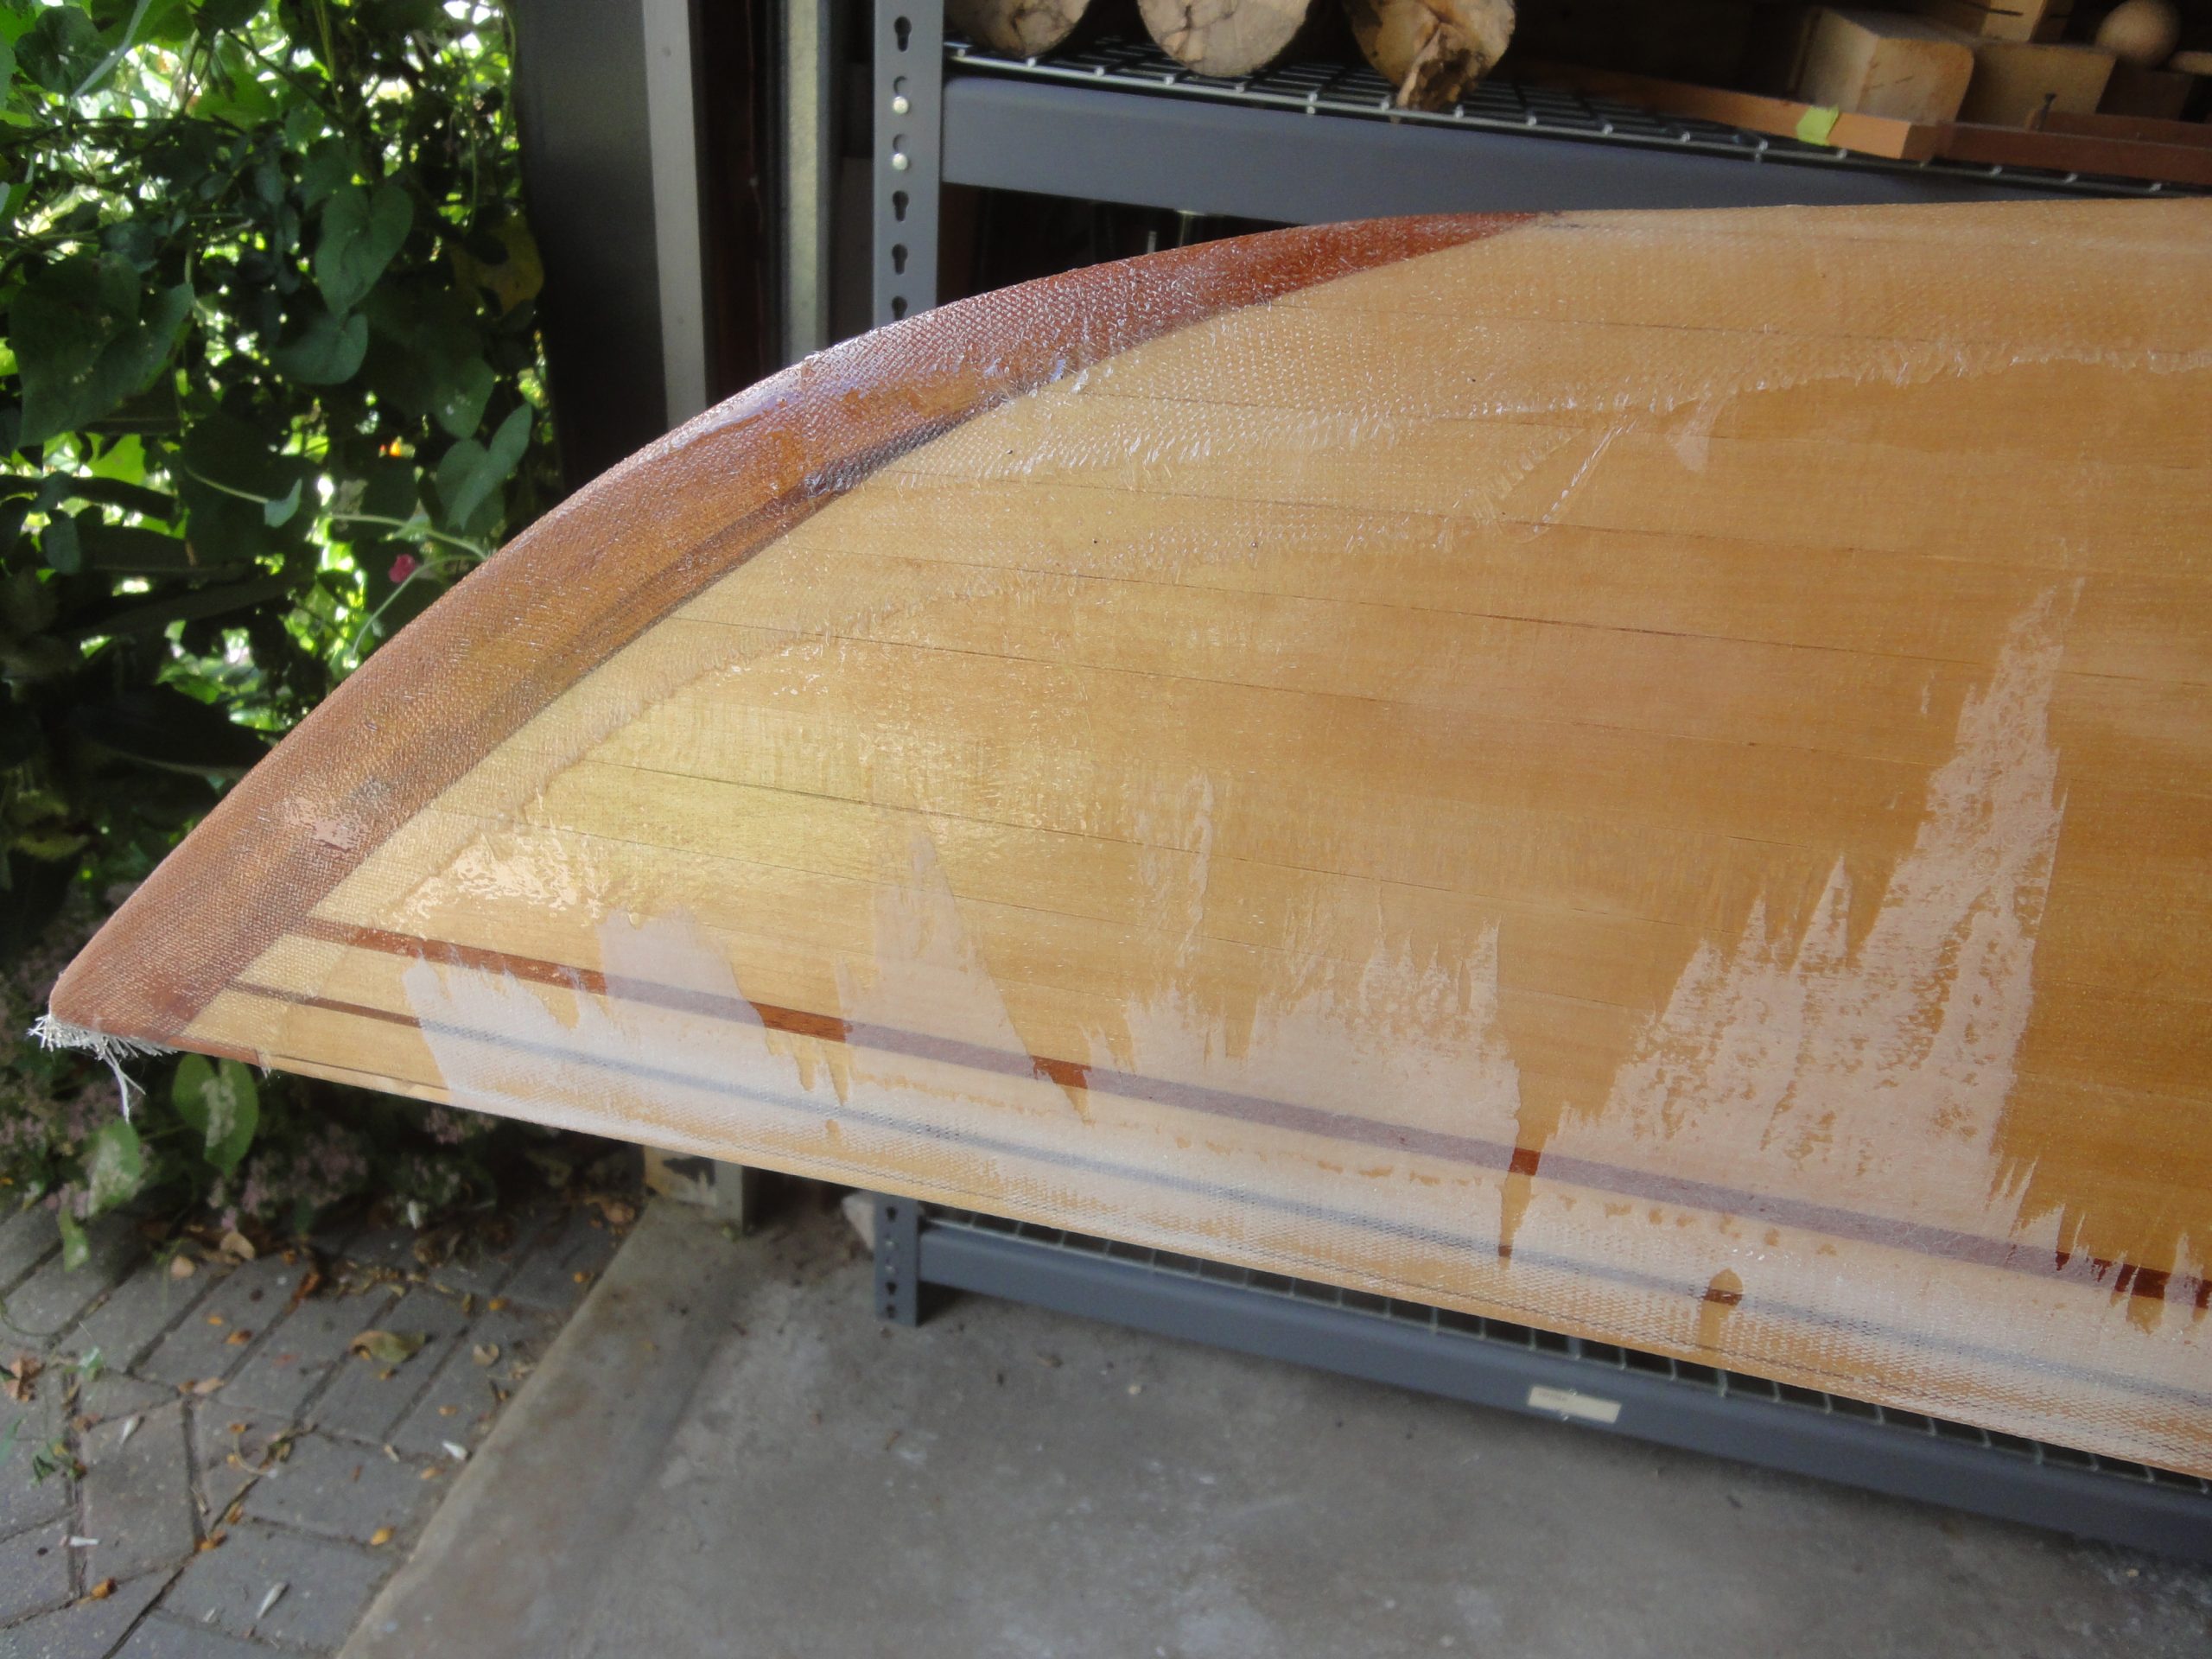
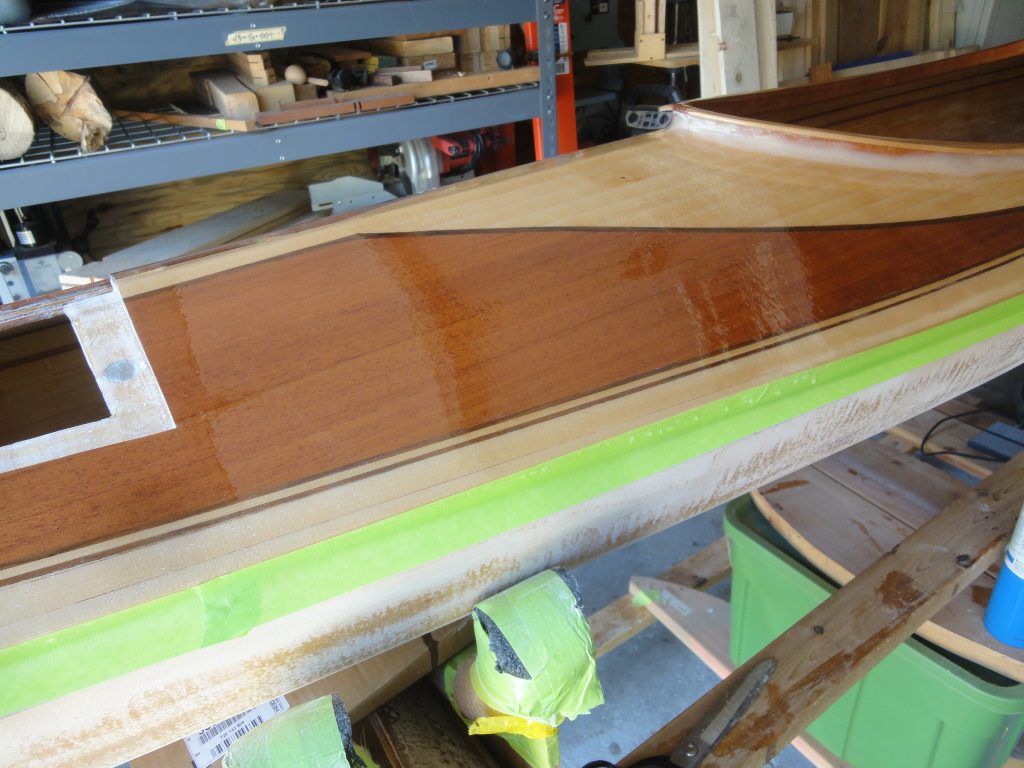
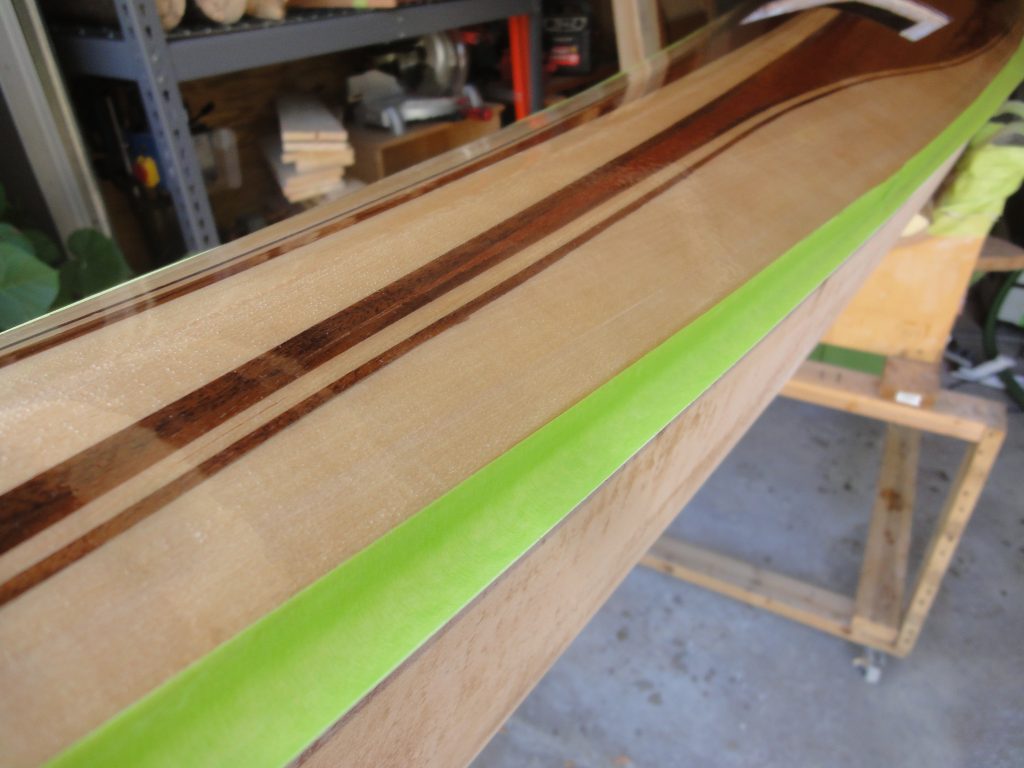
Today I checked and the epoxy was hard and dried. Following the same methods I sanded down to a smooth transition, took off any drips, etc. When finished I went ahead and taped up a drip edge along the hull and then applied a brushed on epoxy coat to the deck. After applying I went over it with the propane torch to help smooth it and pop any bubbles. This was a thick coat but didn’t include any fillers. The goal here is to allow it to settle and hopefully be sufficient to fully enclose all of the cloth. No weave patterning through, etc. If so then I’ll be able to move onto final sanding. If not then it’ll need a light sanding and another fill coat.
Just before applying the epoxy I took measurements as required by Redfish as I’m intending to purchase a seat from them. They’re not cheap, but do come strongly recommended from many sources and quite frankly the cost to purchase vs cost/time to make is worth it to me. That might sound strange as I’ve got hundreds of hours into making a kayak… but I wanted to make a kayak, not so much a seat. Maybe down the road I might swap it out if I ever make one, but for now I think I will be quite happy with the foam one.
So the remaining to do list is:
- End pours
- Order seat & maybe skirt & maybe cover – in progress
- Install bulkheads
- Drill/fit carry handle/tie down holes
- Outside final fill coat(s) – in progress
- Outside final sanding(s)
- Install line guides
- Line guide fill and sanding
- Varnish, varnish, varnish