
I started out with a bit of shop clean up and then took a good look at the kayak and what steps still need to be done. As of right now I’ve got the following on my list.
- Finish fitting bulkheads
- Final interior epoxy coat under the deck
- Prep edge of deck for connecting to hull
- Add hatch retainer clips to underside of deck
- Attach hull and deck on inside
- Trim outside of deck as needed
- Attach hull/deck on outside
- Keel work (strip (or two) over front and back stems, filler pieces
- End pours
- Order seat & maybe skirt & maybe cover
- Install bulkheads
- Drill/fit carry handle/tie down holes
- Outside final fill coat(s)
- Outside final sanding(s)
- Install line guides
- Varnish, varnish, varnish
- Done!
At this point this list actually seems quite small compared to the steps from when I started. There isn’t really anything on this list that I’m not already fairly comfortable doing.
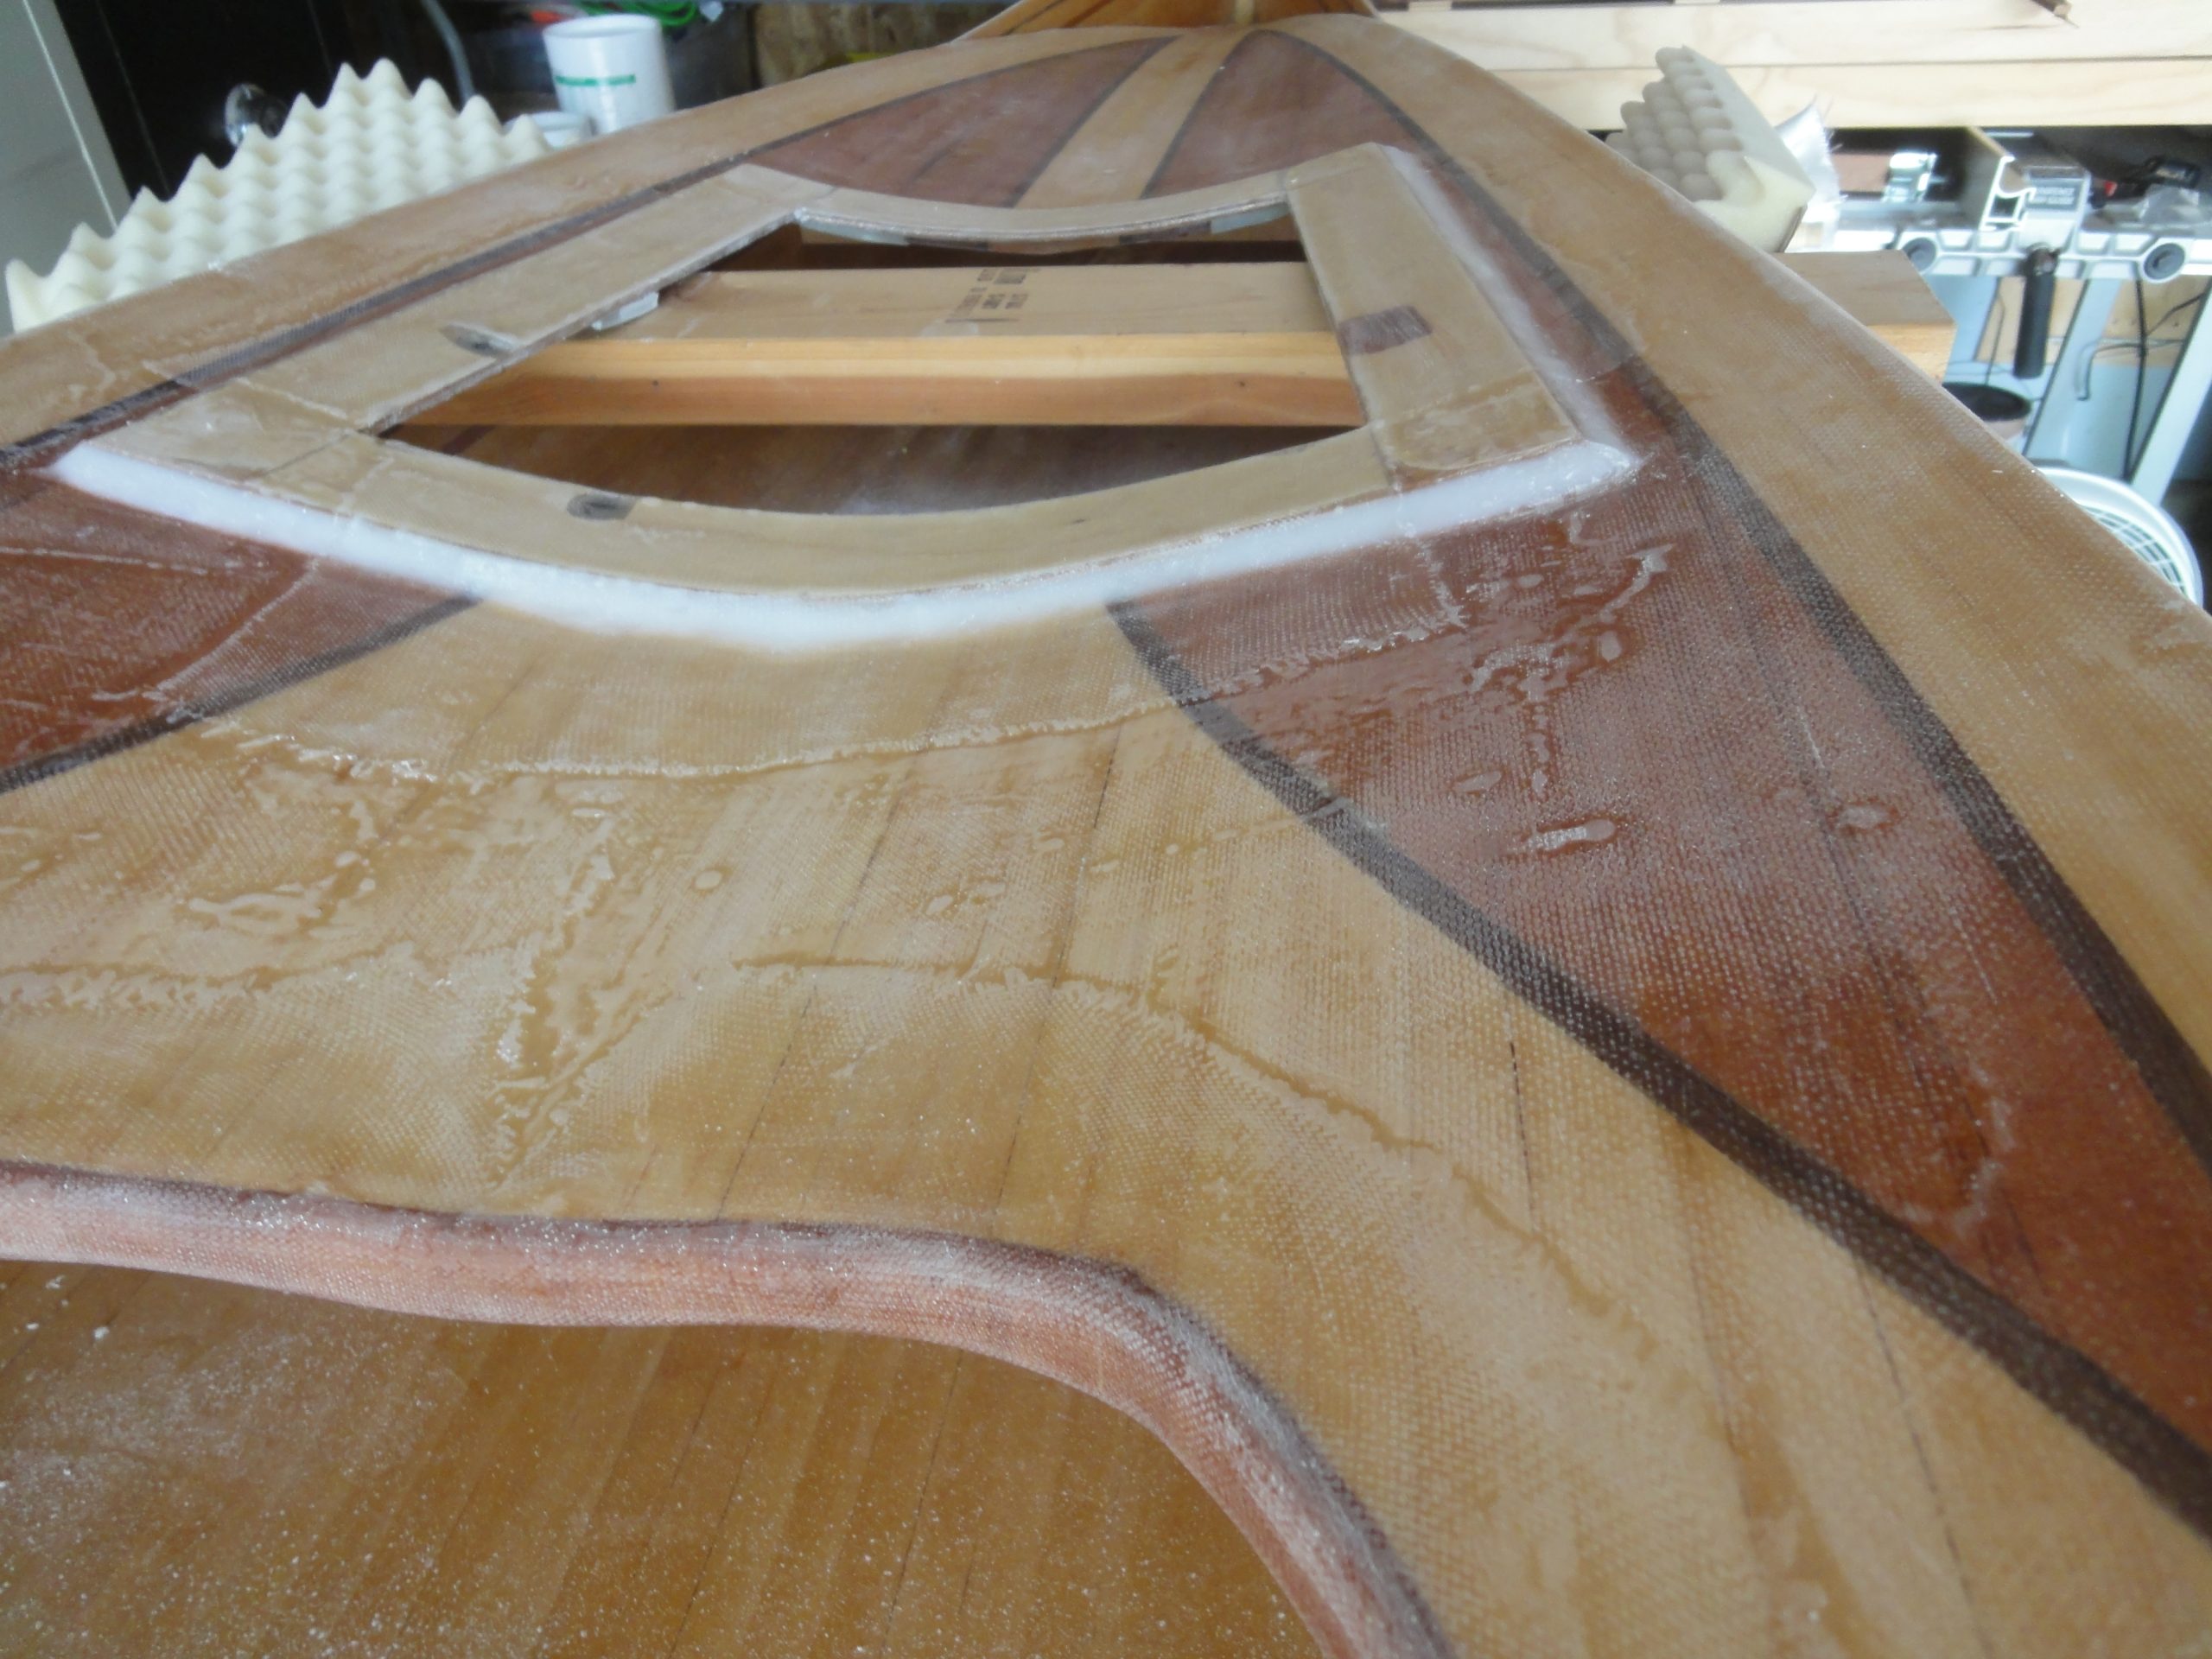
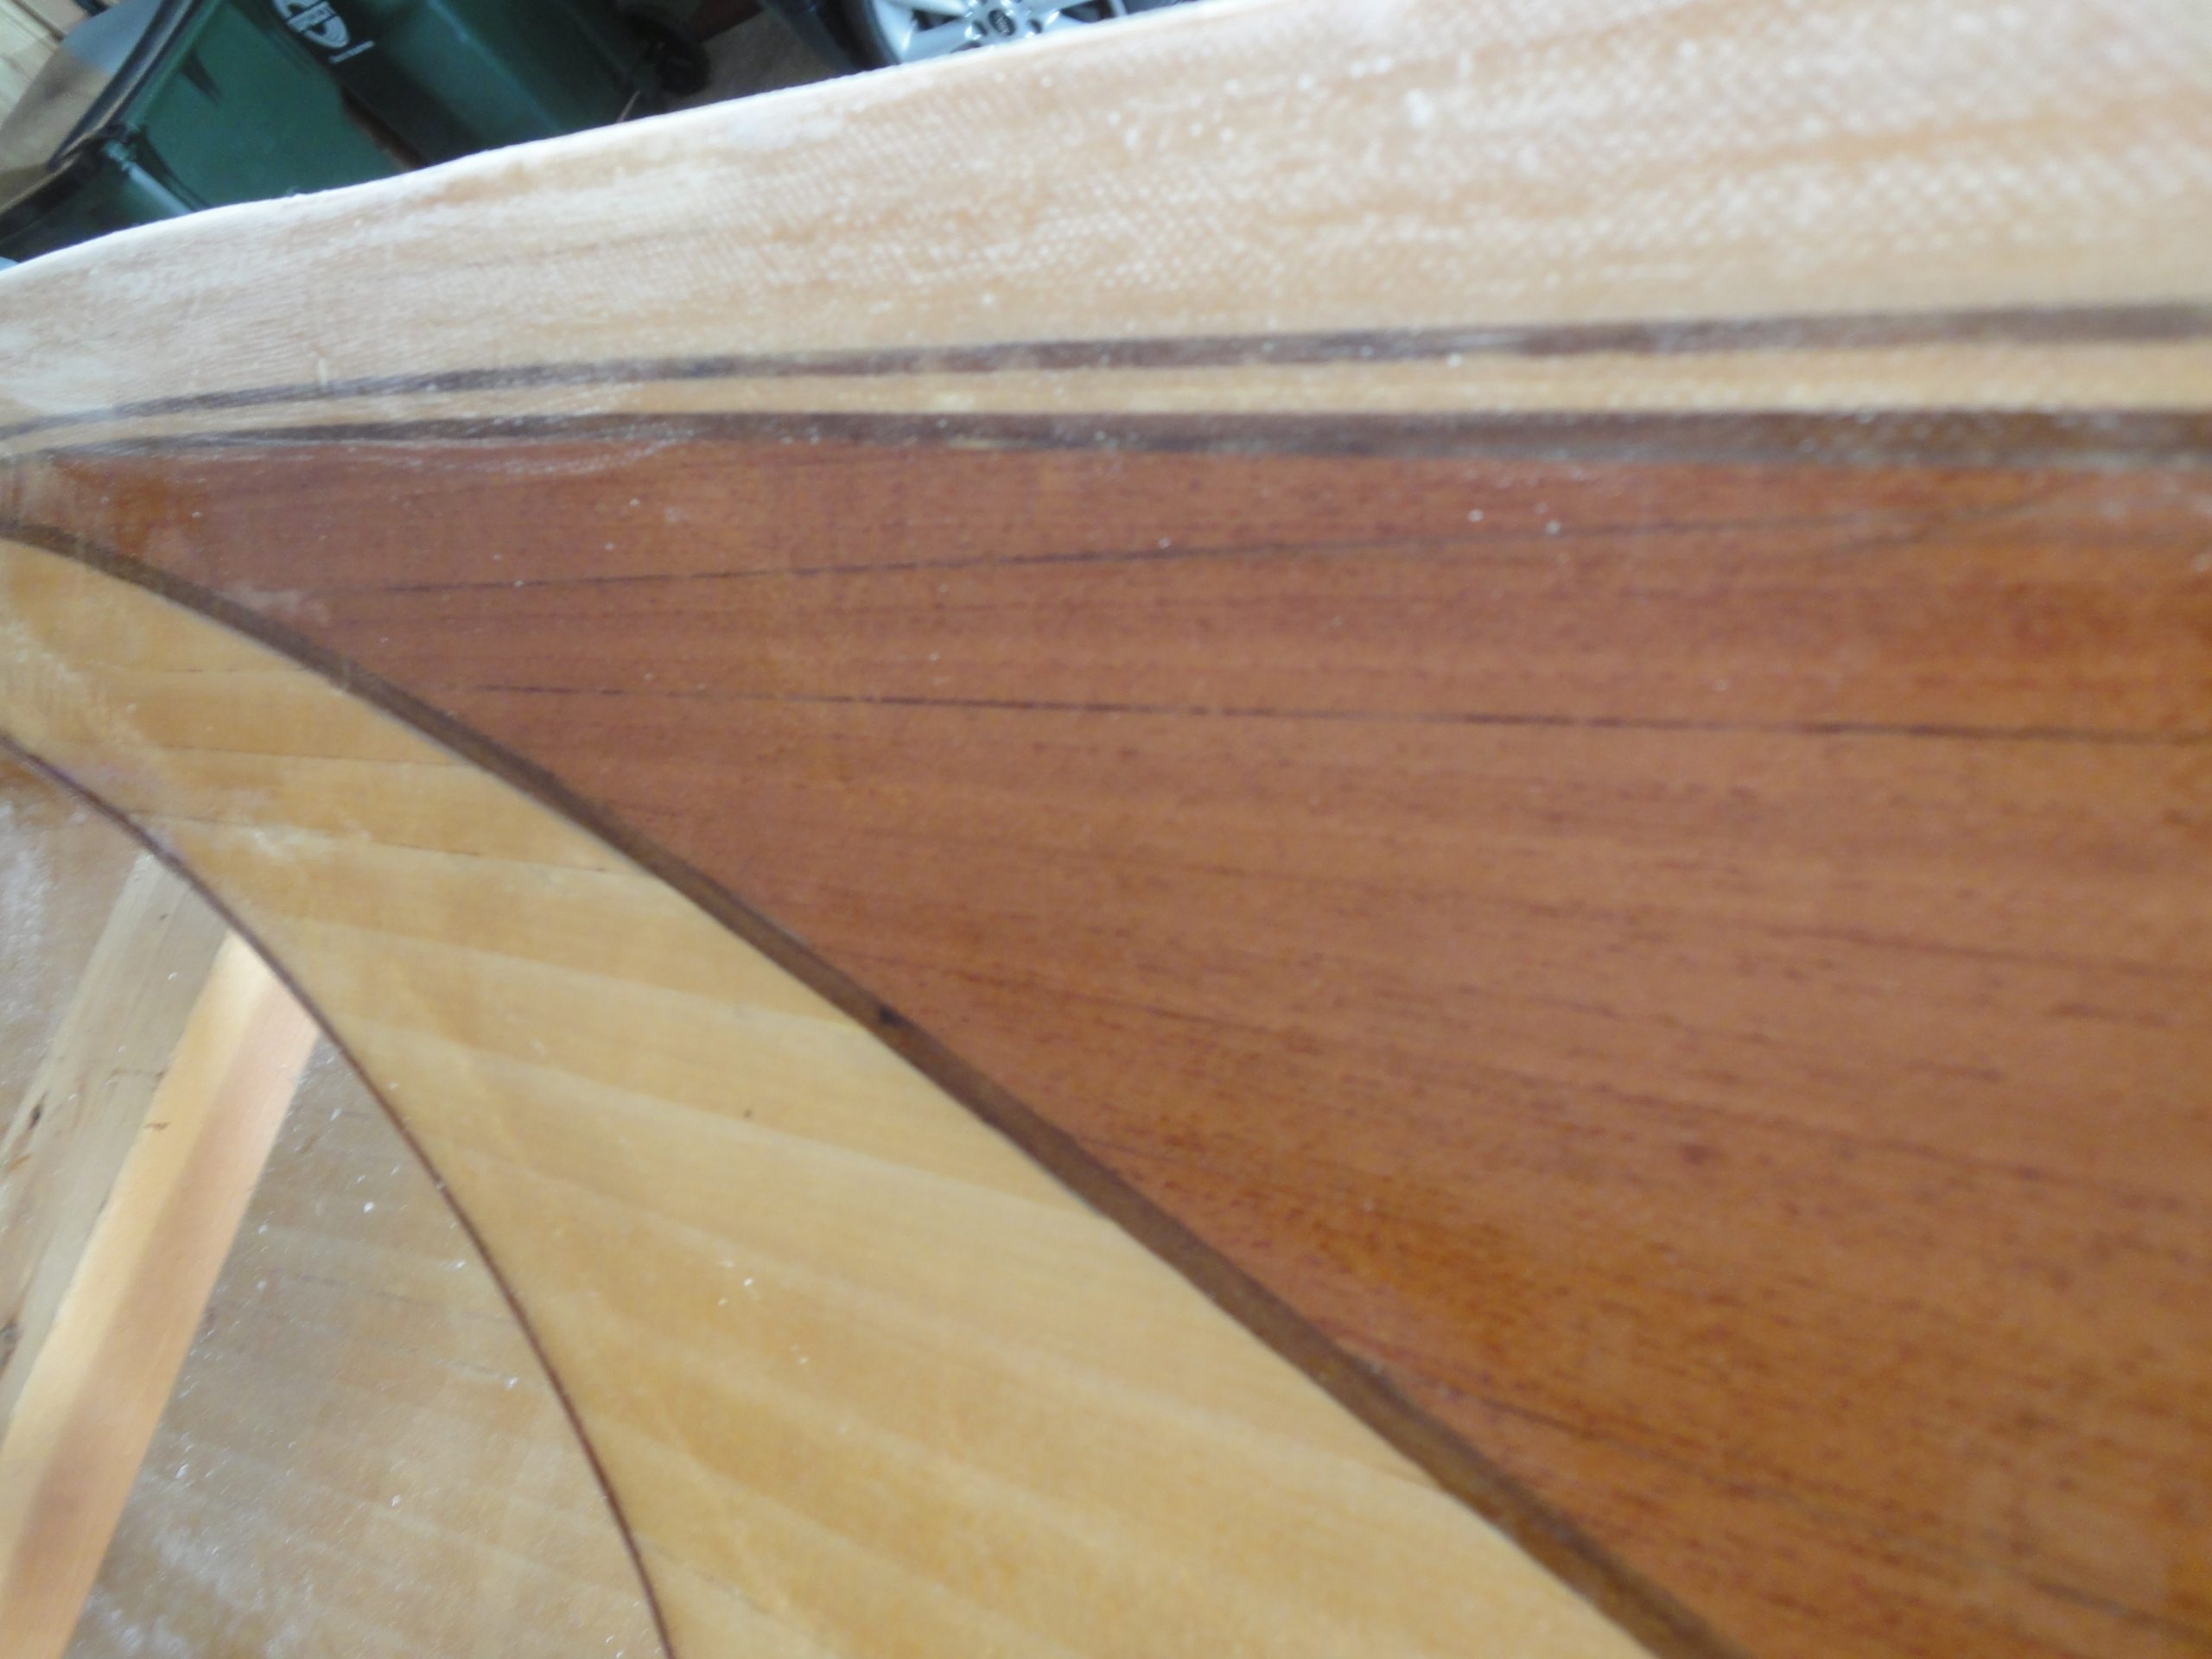
So I got started with sanding the underside of the deck and then applying a final epoxy coat. Nothing really new here, just being careful to sand out to a smooth coat. In the picture below it’s still early in the sanding process.
While I had the camera out, here is a better picture of the foot braces loosely installed. I’ll wait until after the deck and hull is attached to do the final install. (yes I know one brace goes on each side)

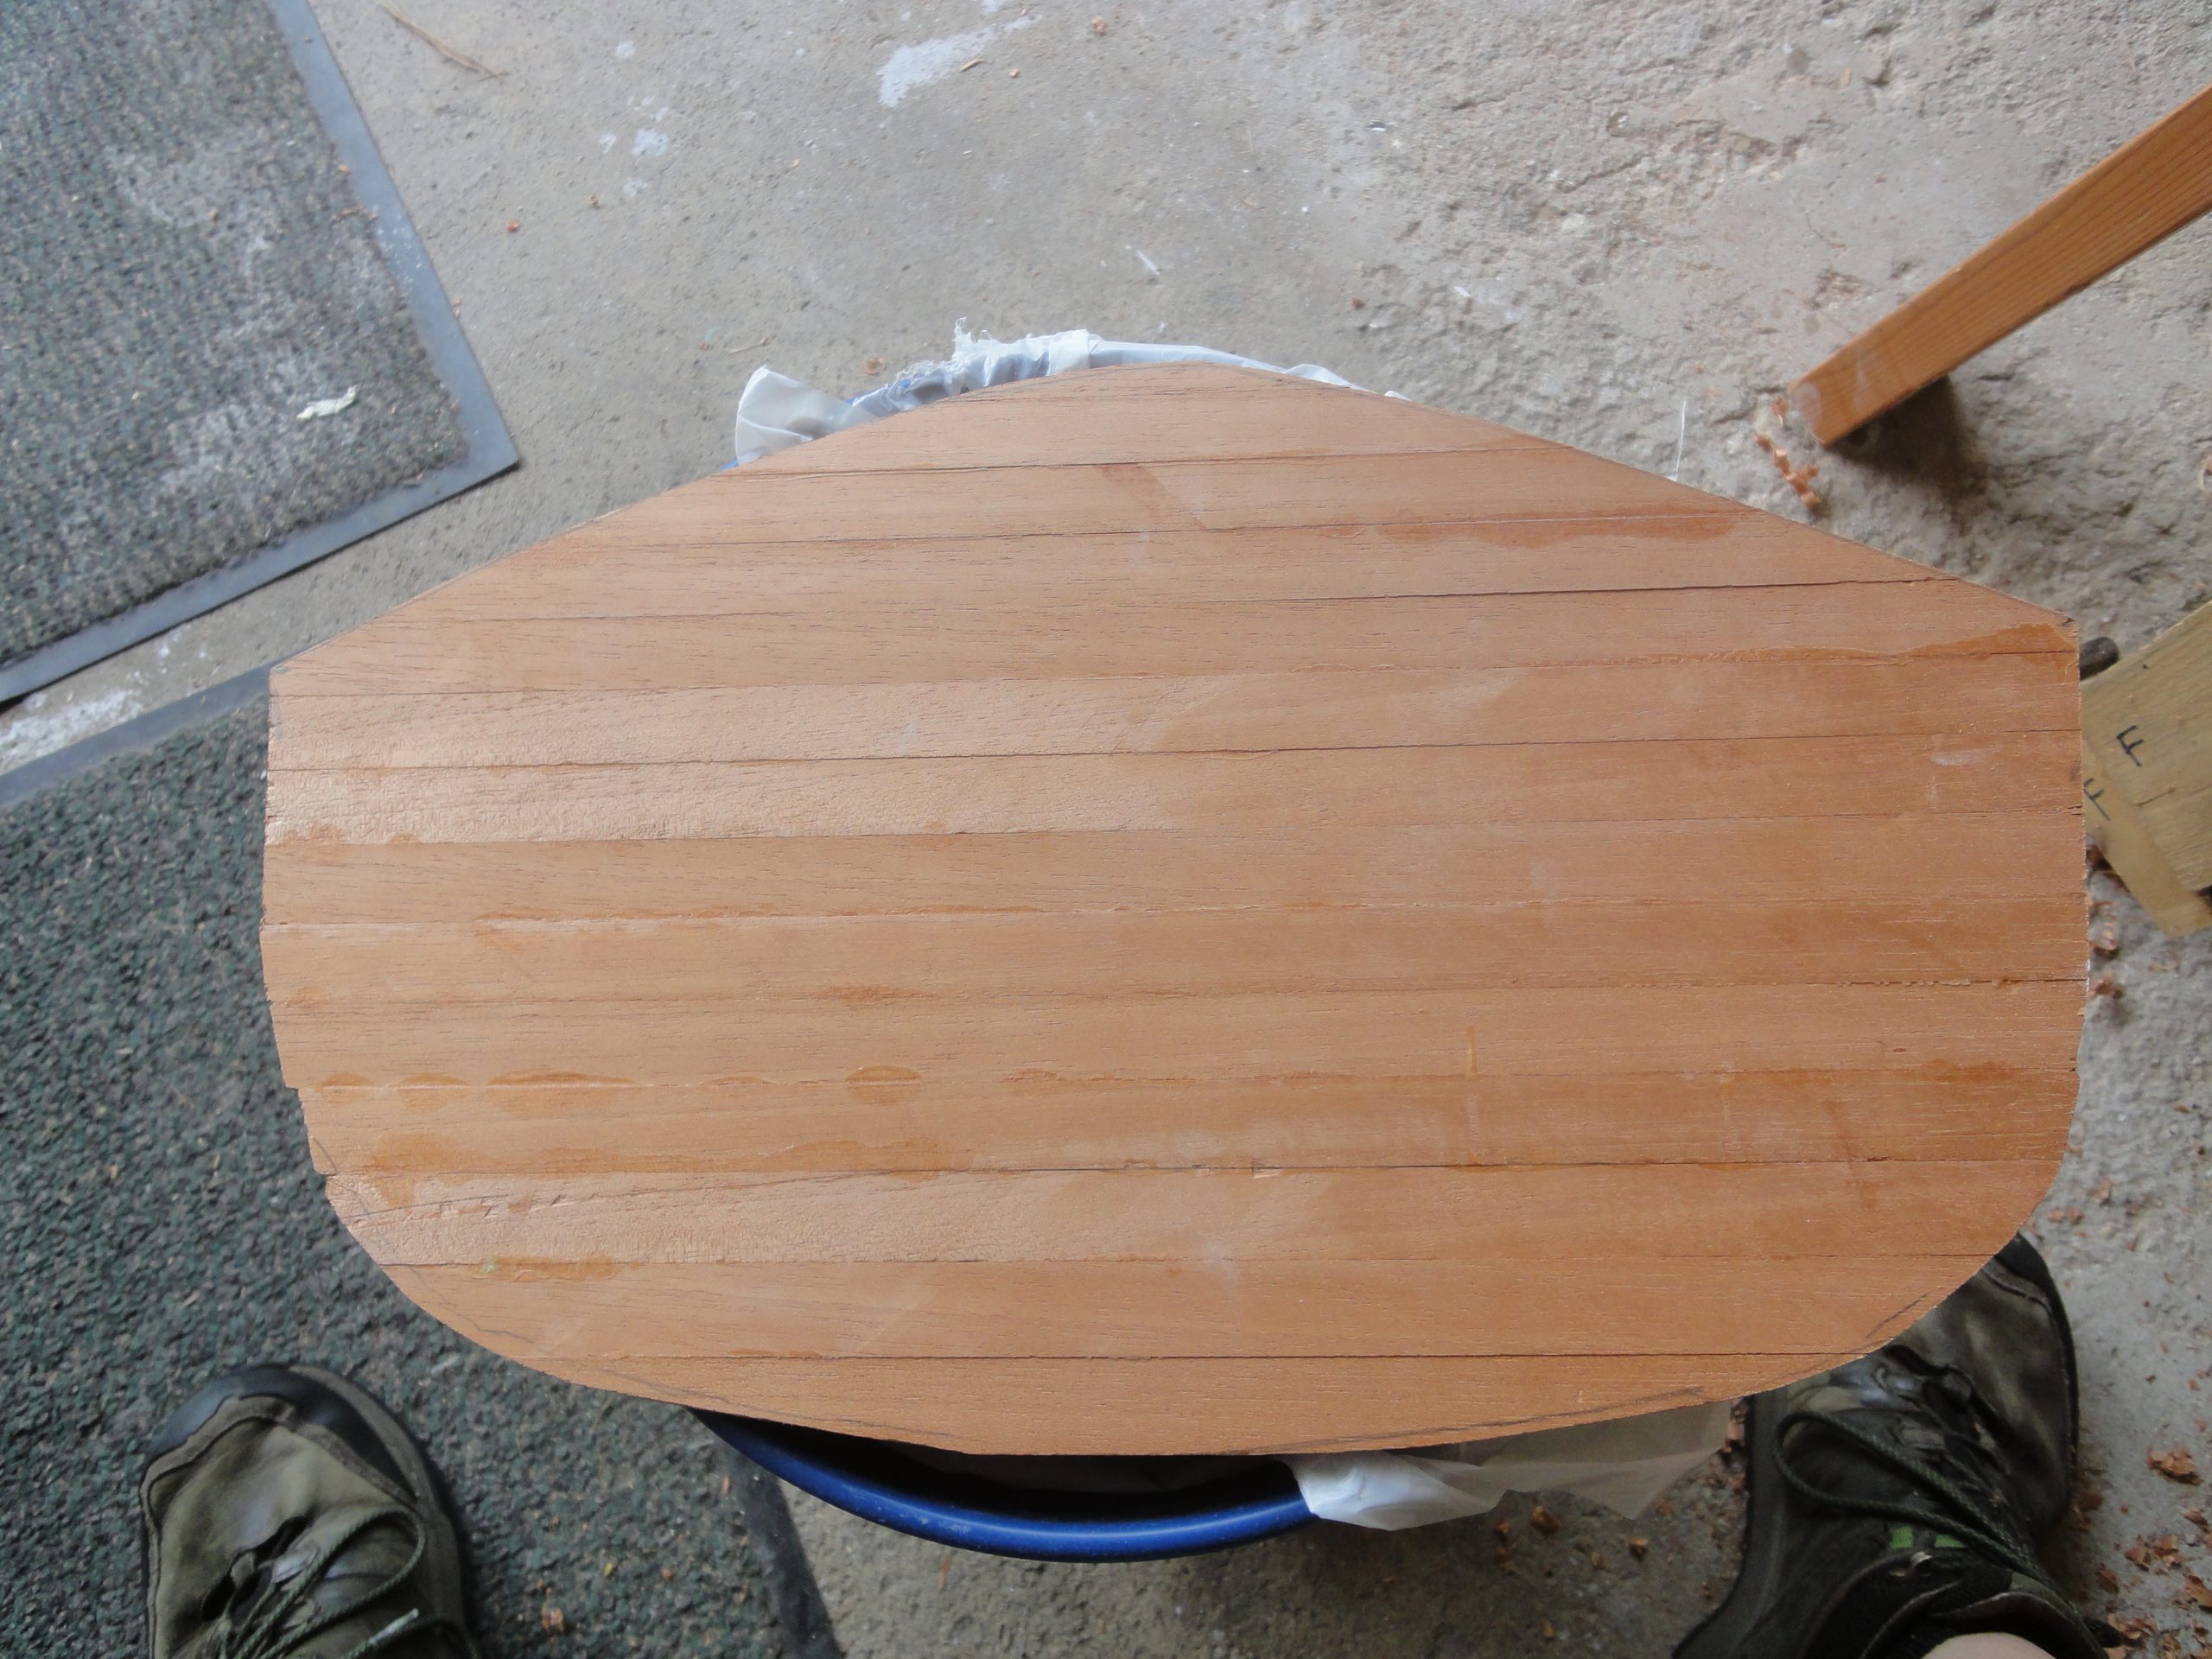
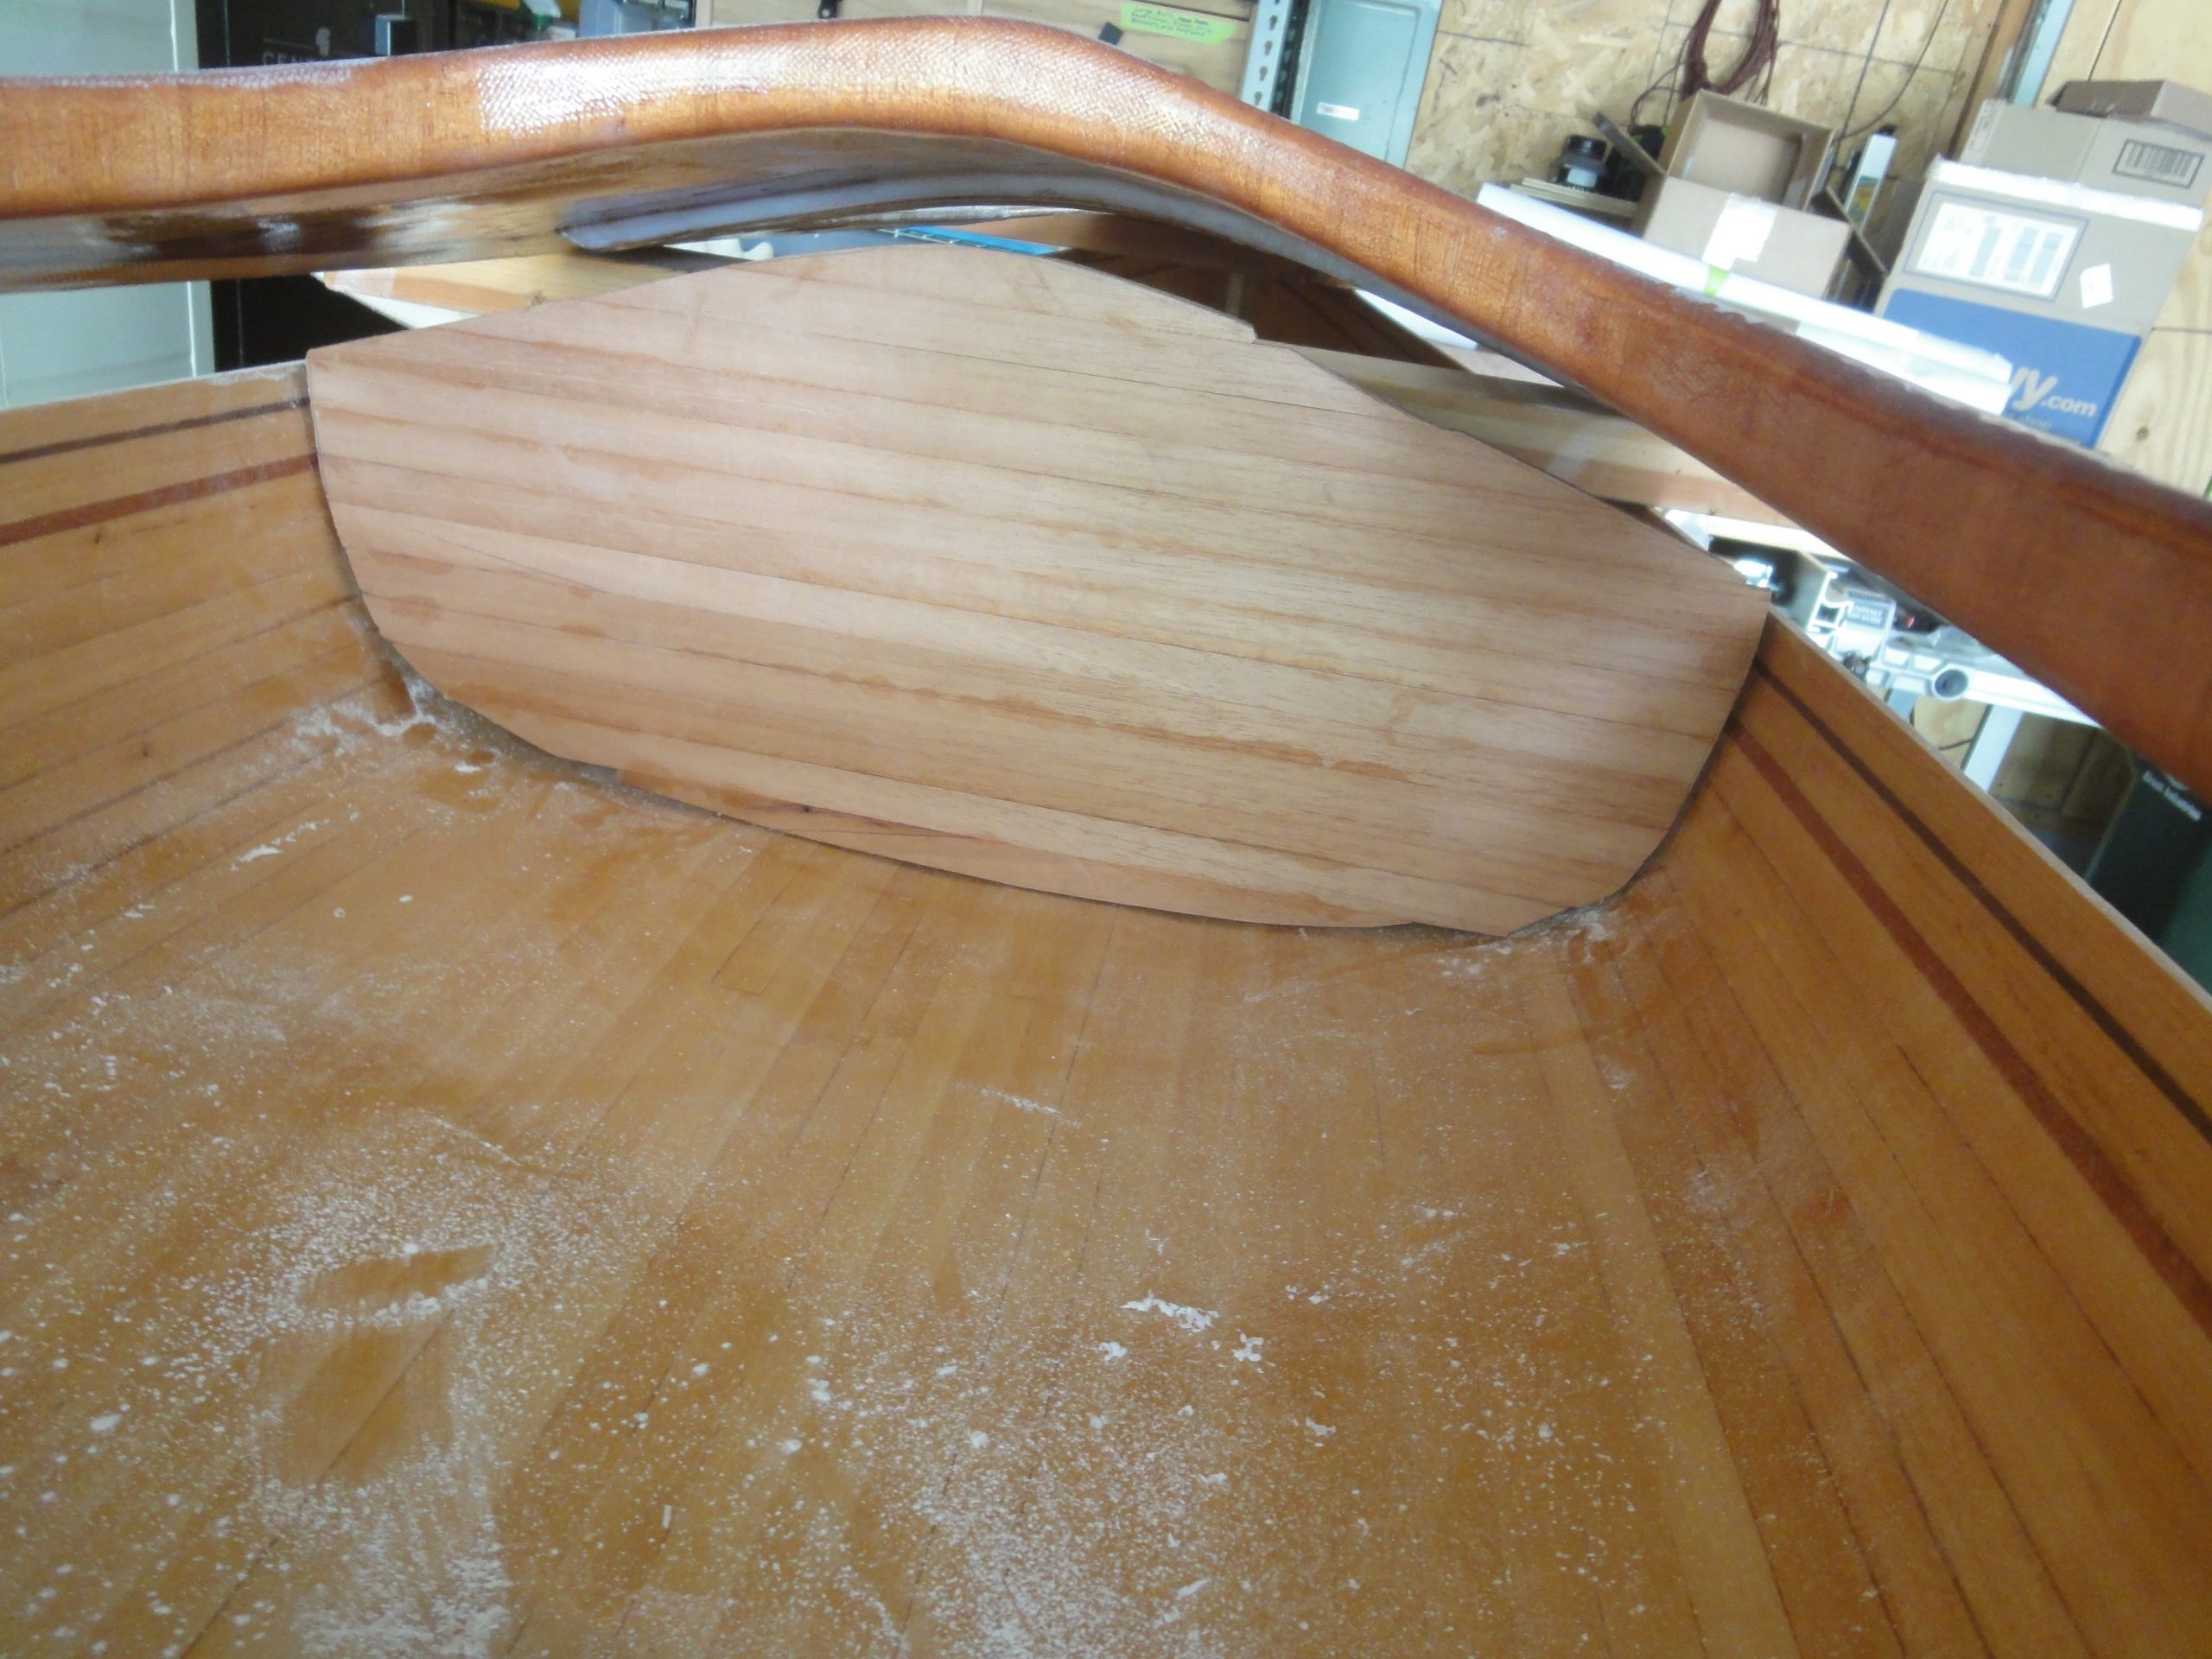
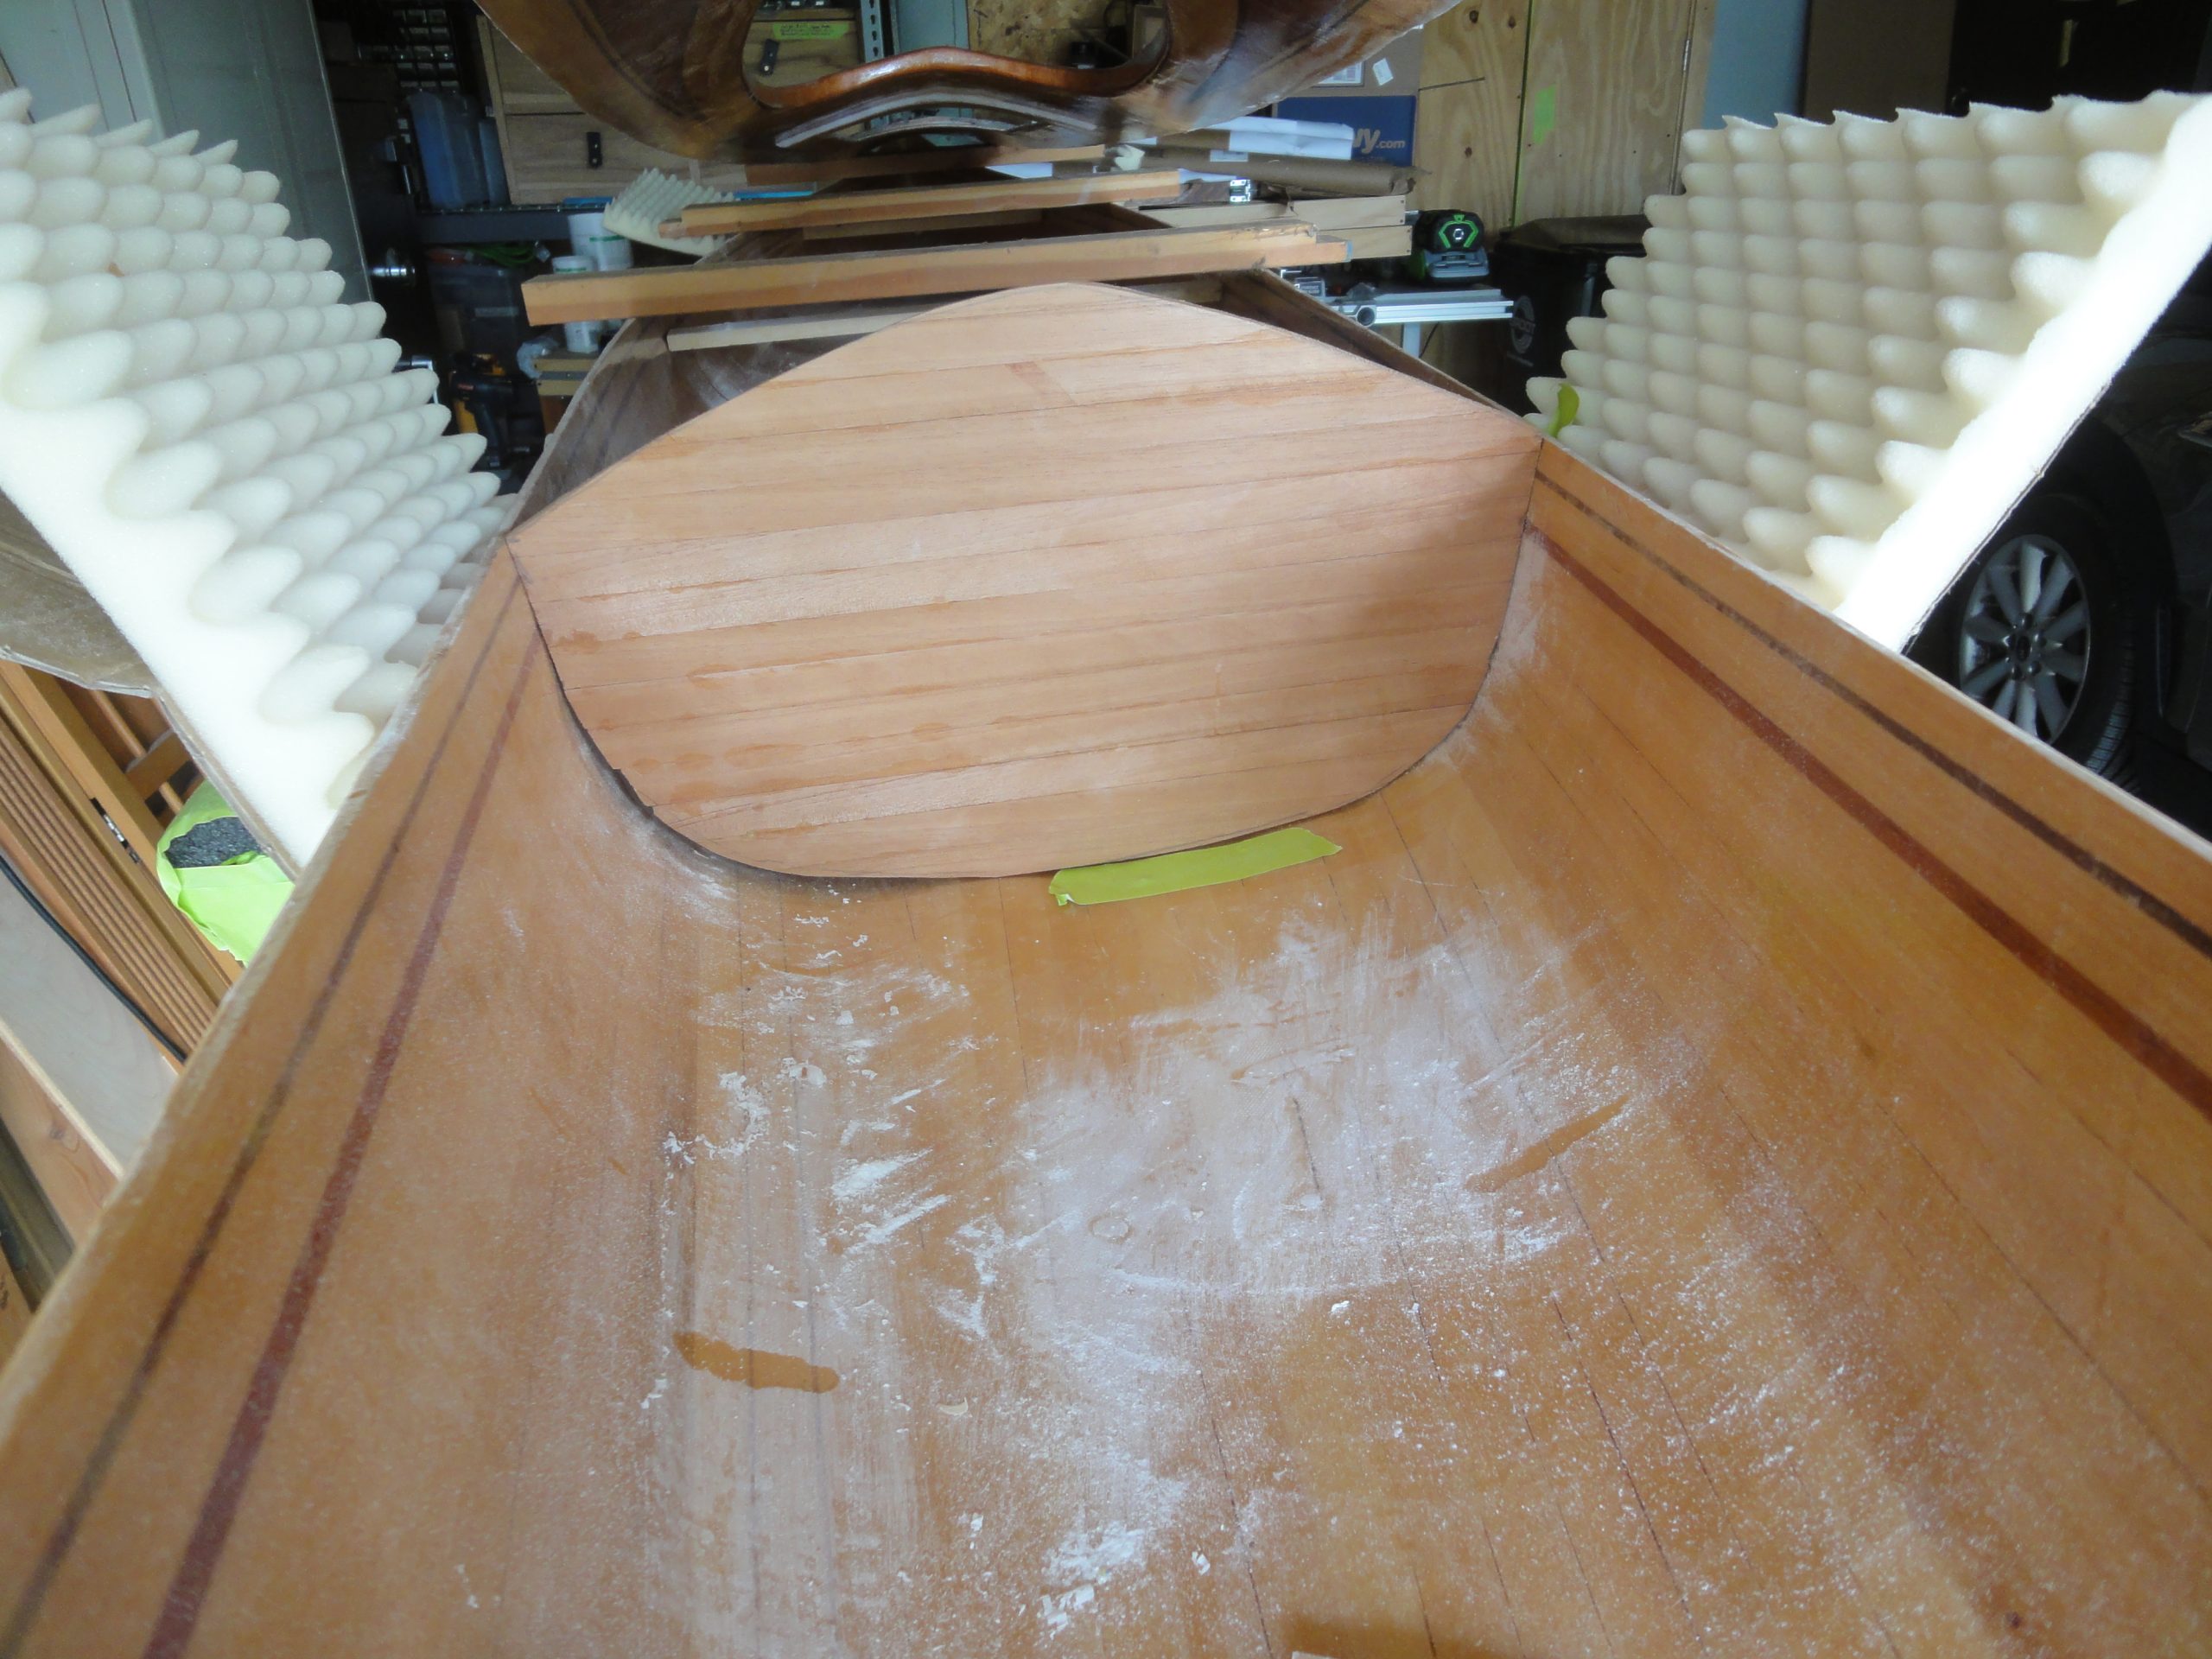
The bulkheads were trimmed to approximate size and then placed in the hull. I noticed areas that were a tight fit and either cut or sanded, repeating until I felt the fit was good. Not I’m not going for a solid fit, but rather a very loose fit at this time. The gap will either be filled with foam or caulk with the bulkheads either simply caulked into place or maybe fiberglass and epoxied in.
I’m leaning strongly toward the caulk option as in the case of impact I believe (and have read) that it’s better the kayak can have a bit of give which a rigidly fit and attached bulkhead would not provide. But after some more research I may still go with a fiberglass install instead.
With the inside epoxy dried I did a light sanding in any areas where I could feel “grit” in the finish and then a good sanding along the outside 2 inches or so which is to help the strip of fiberglass and epoxy that will be applied here (when joining to the hull) have a better attachment.
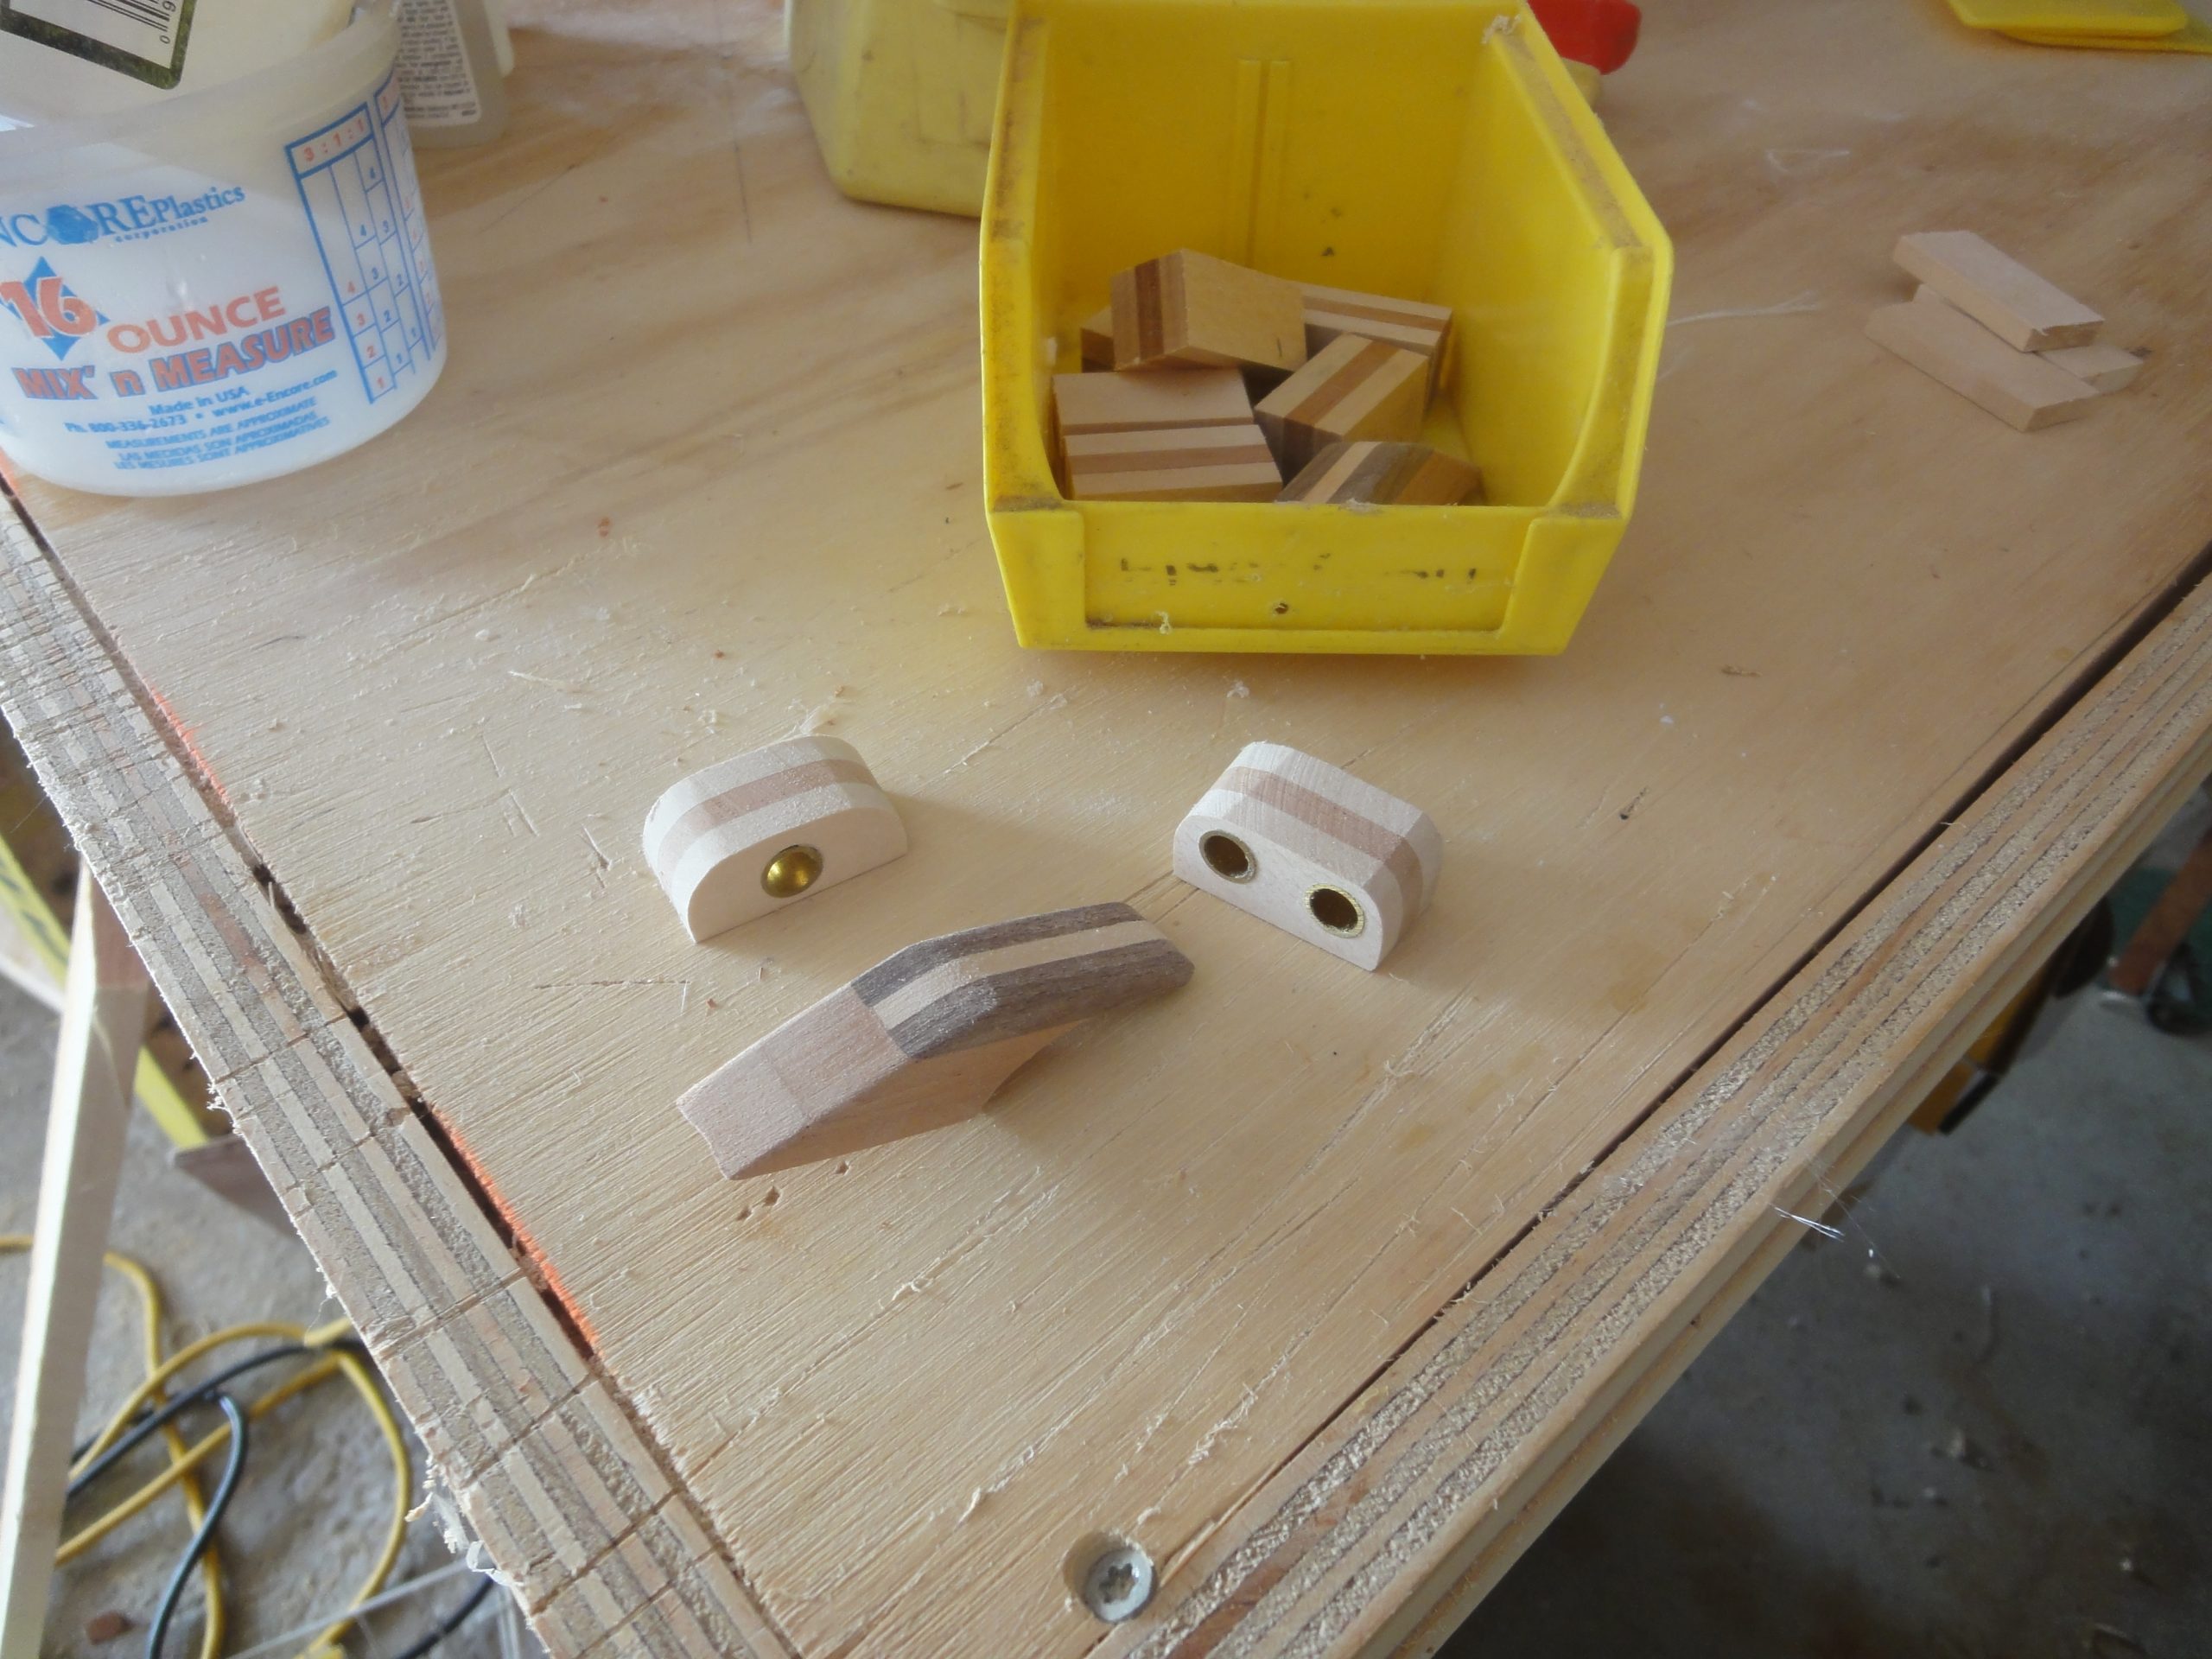
Finally I started thinking about deck lines and the attachment clips I had made earlier as a prototype. Looking them over I’m still happy with them although I’ll need to do a bit of rounding over on the corners. With a count of the single holes I’ve got 8 that I need on the deck and 4 more for the inside of the hatches to install an anchor line to avoid dropping or losing the hatch. I’ll need 8 doubles to provide for the front of the deck for a bungie for retaining maps, etc. and two more at the front and back for the deck lines. That totals to 22 pieces and I’ve got materials made up for 7.
Grabbing a few left over strips I did a quick glue up to make more. Once dried I’ll cut and drill and then insert the brass rod. For the front and back tie down/carry handle holes I also plan for a brass insert so I’ll need to buy a short section for this.

I’m pretty excited as I can now see the end in sight. There is a strong chance I’ll at least be able to get it wet this year, which after many years of dreaming and over 2 years of work, is a nice reward.