
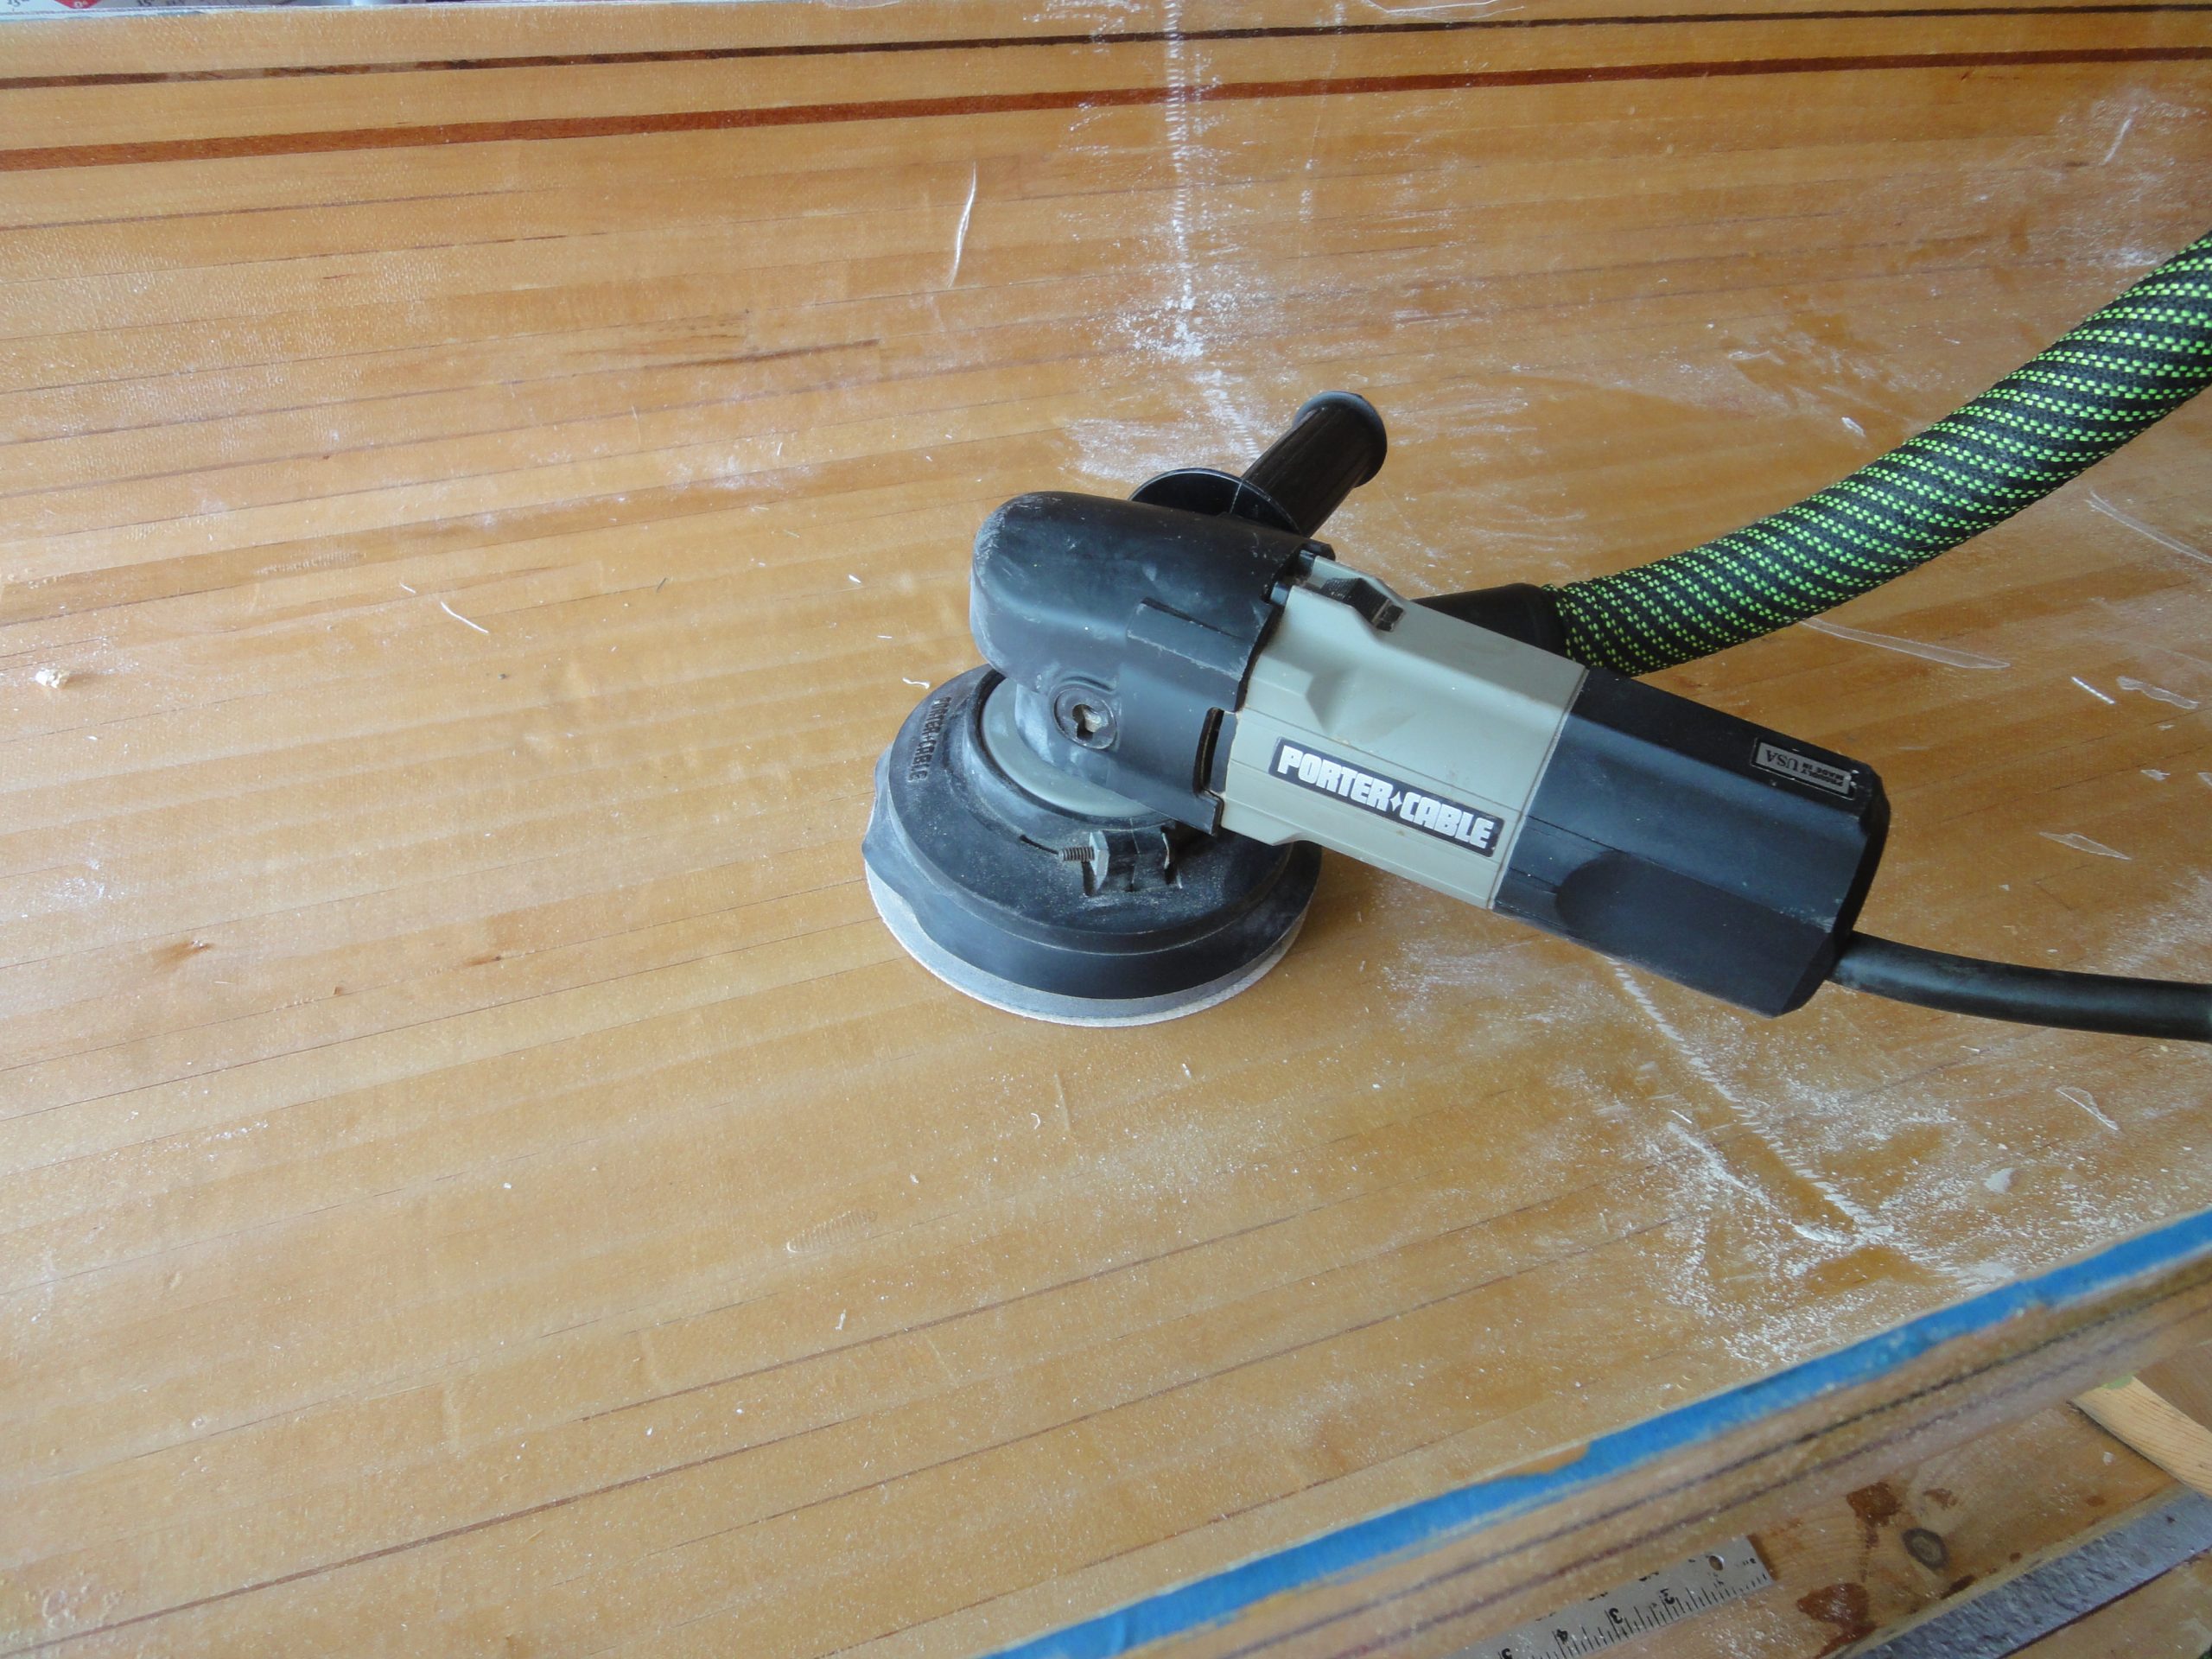
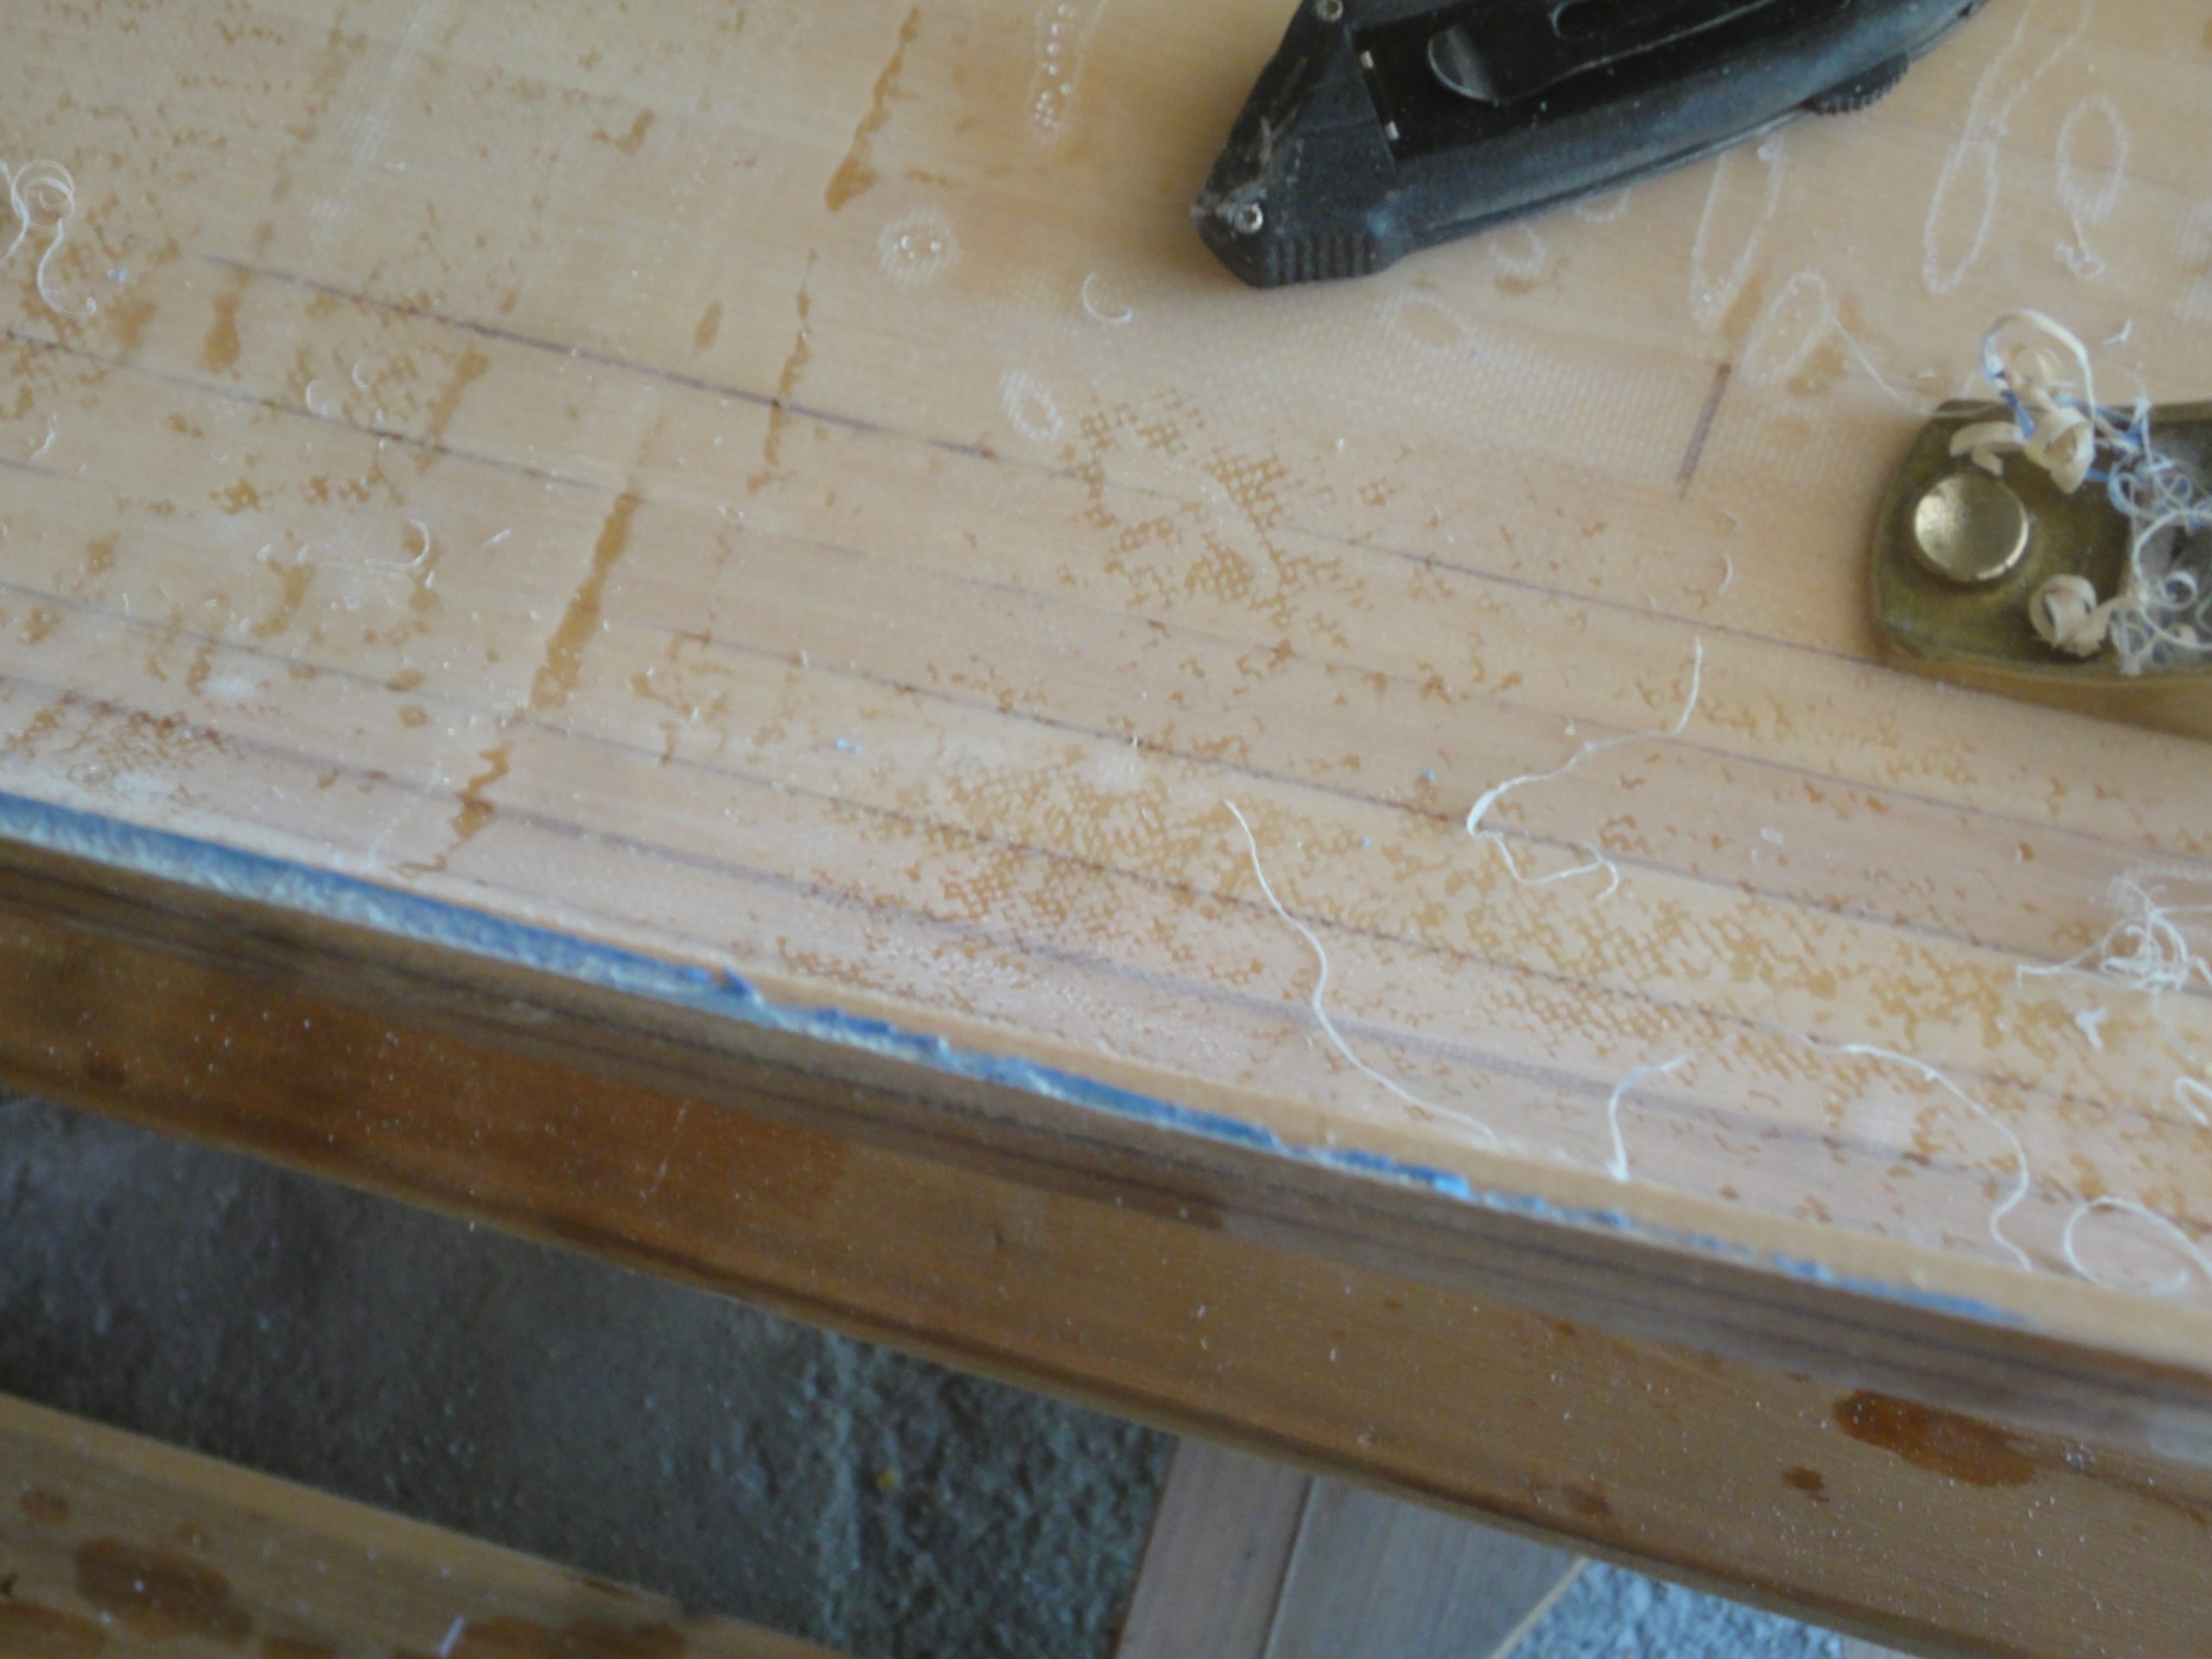
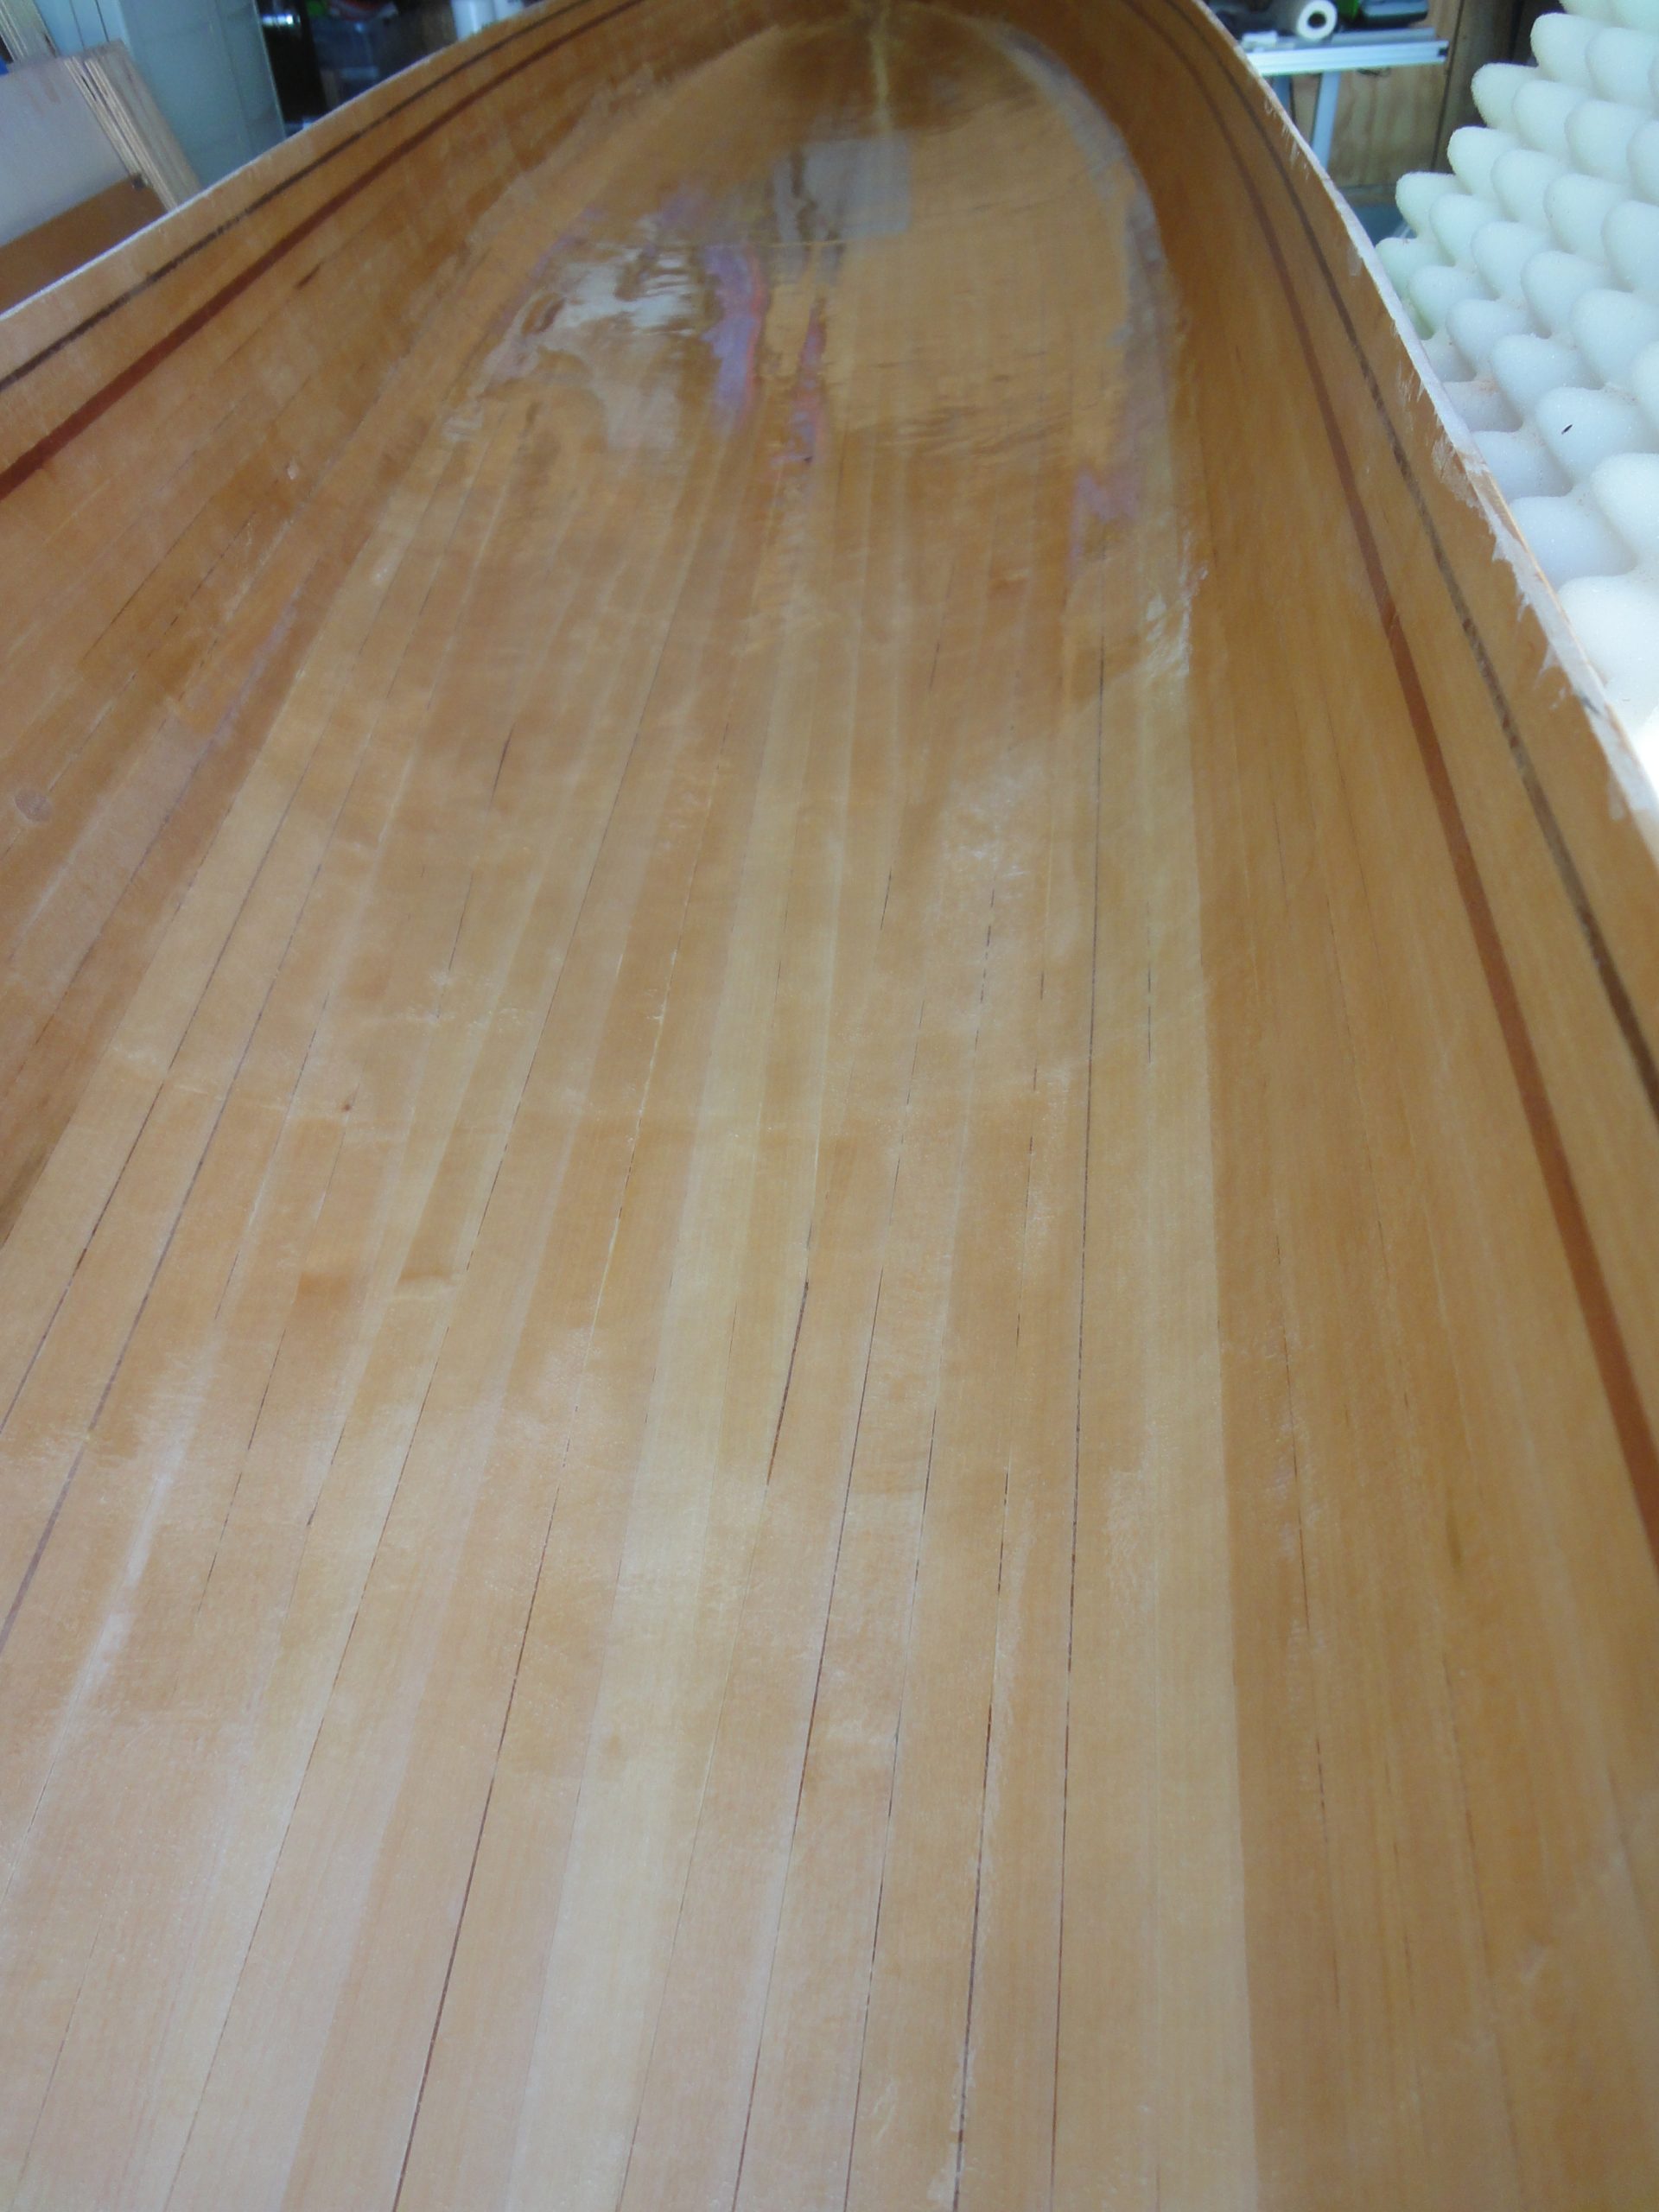
The inside hull received a thorough sanding to knock down any high spots and stray bits in the surface. Afterwards it was vacuumed and wiped down to remove the dust. A final coat of epoxy was applied to the entire inside of the hull. It will still need a light sanding before final finish (varnish) is applied, but otherwise is essentially done surface wise. I’m not too worried if it remains a bit “rough” as this texture will be better for foot grip than a smooth slick surface.
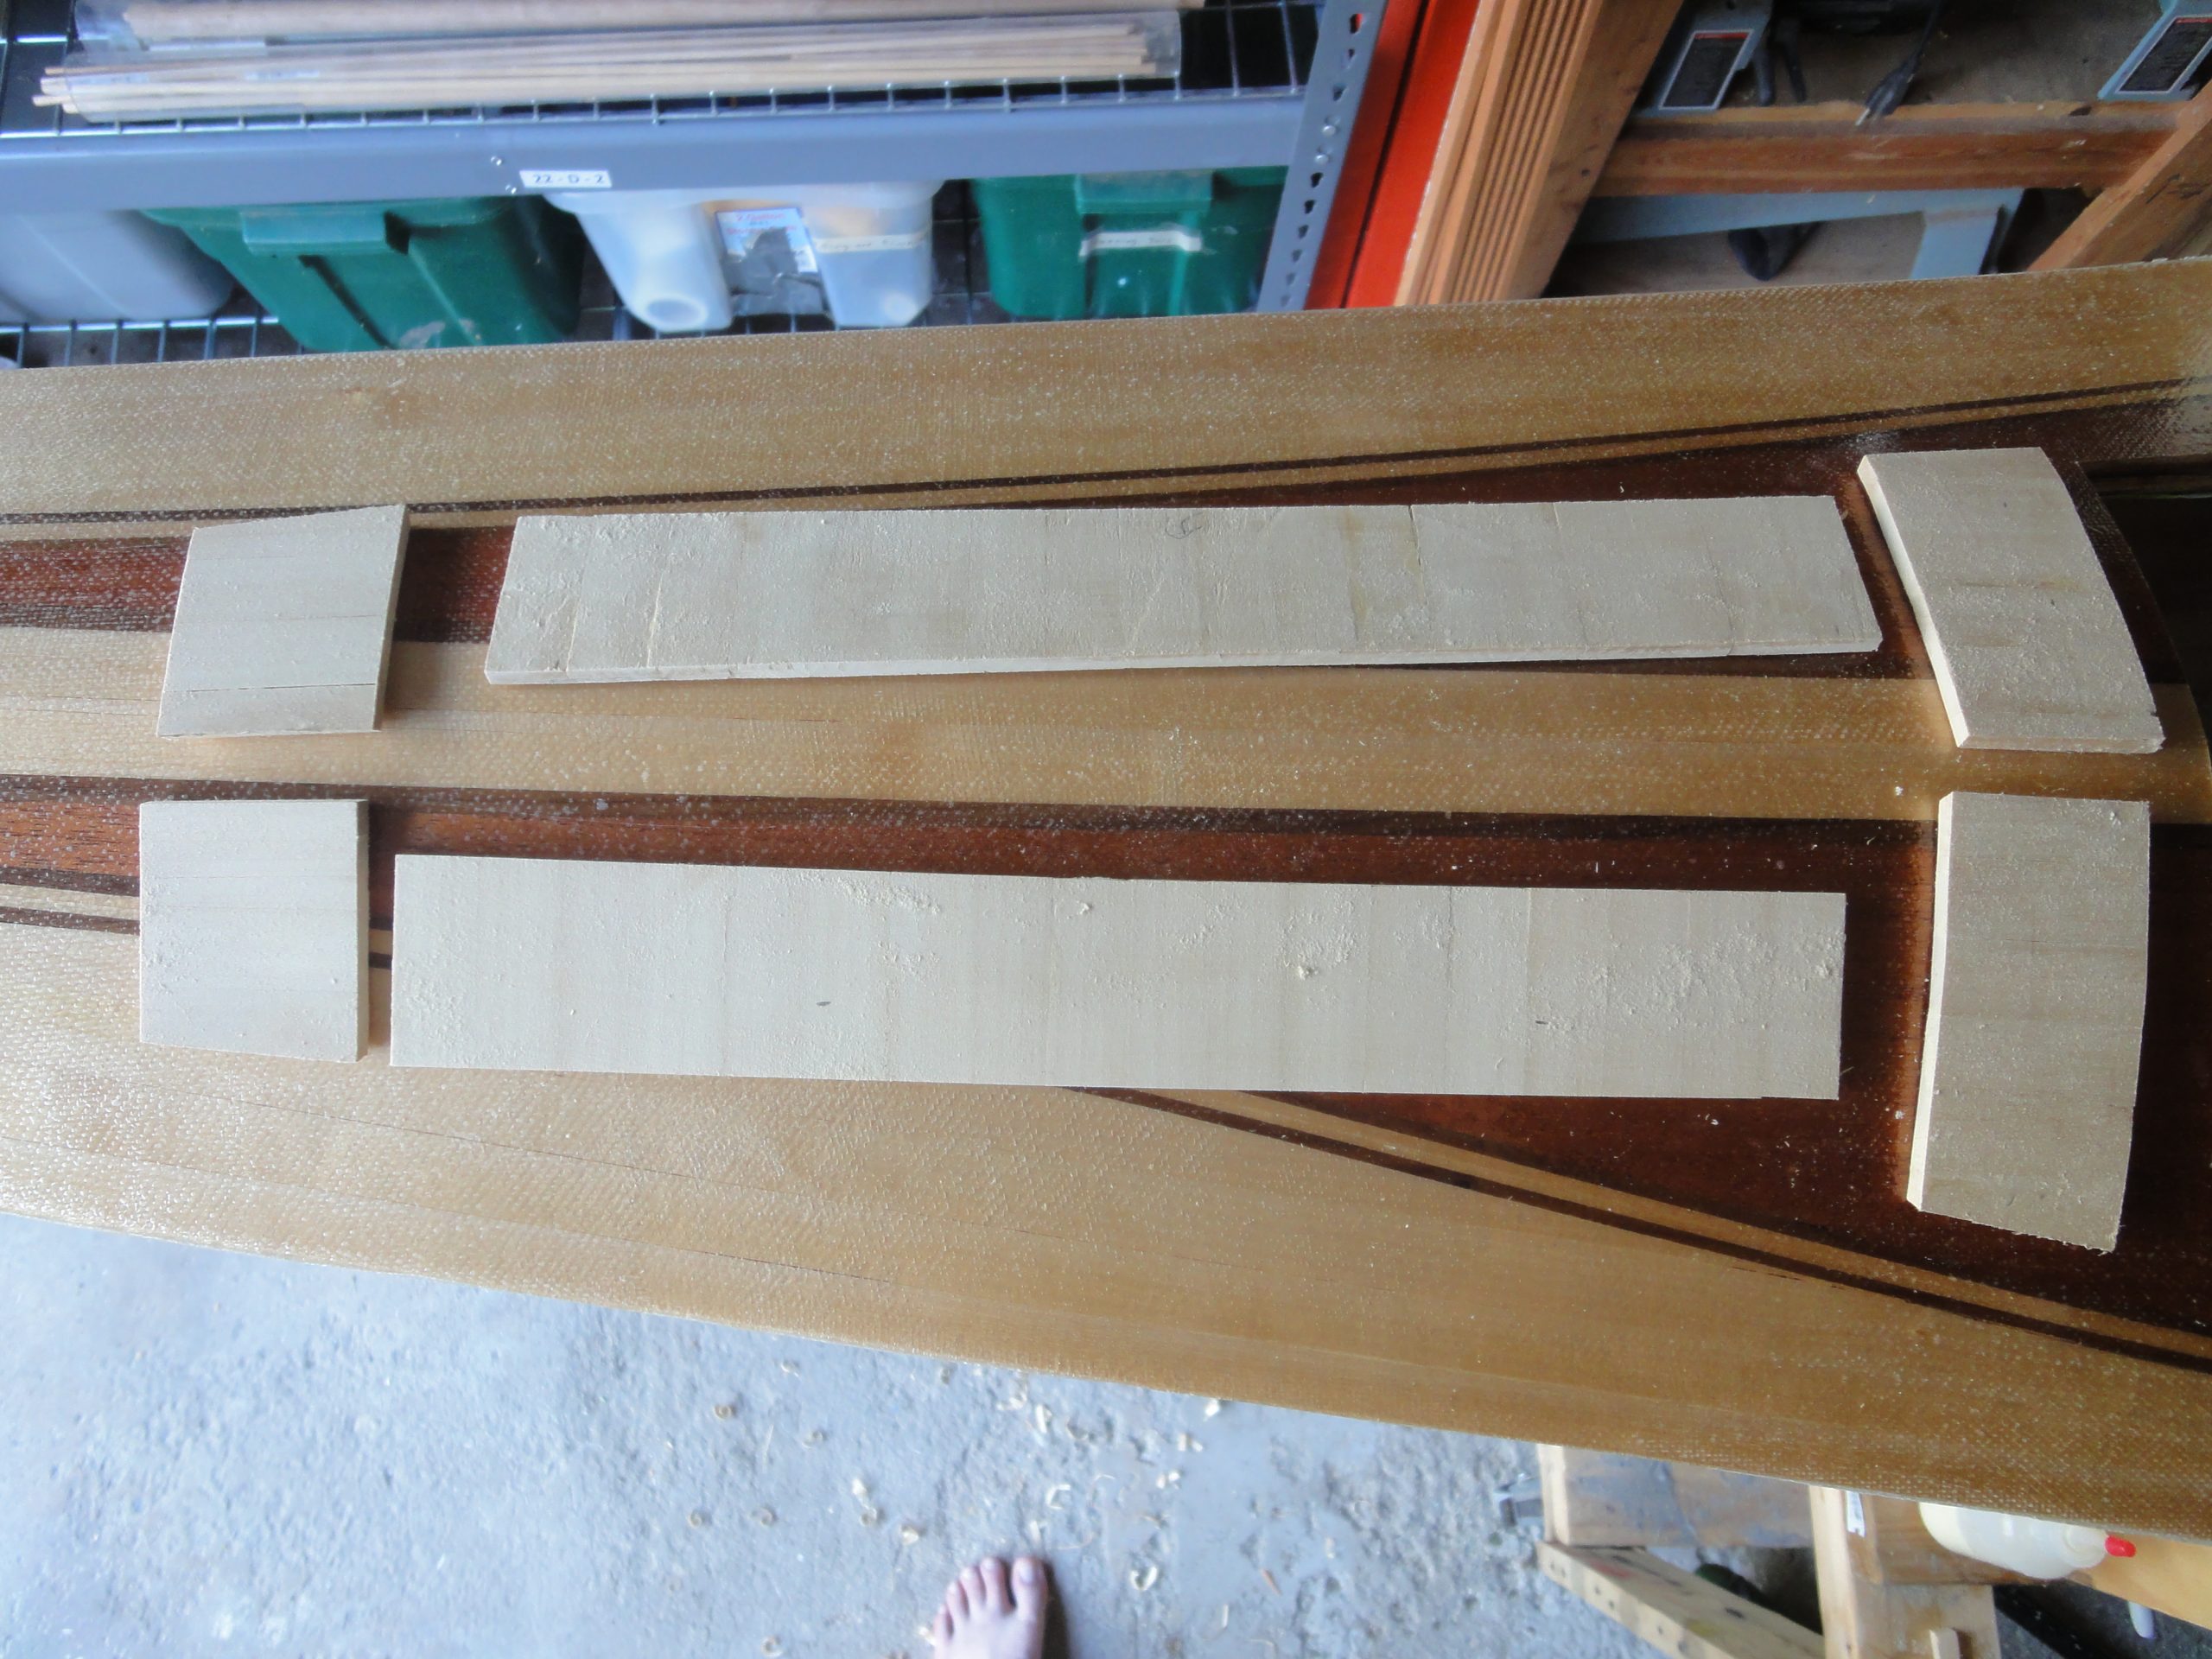
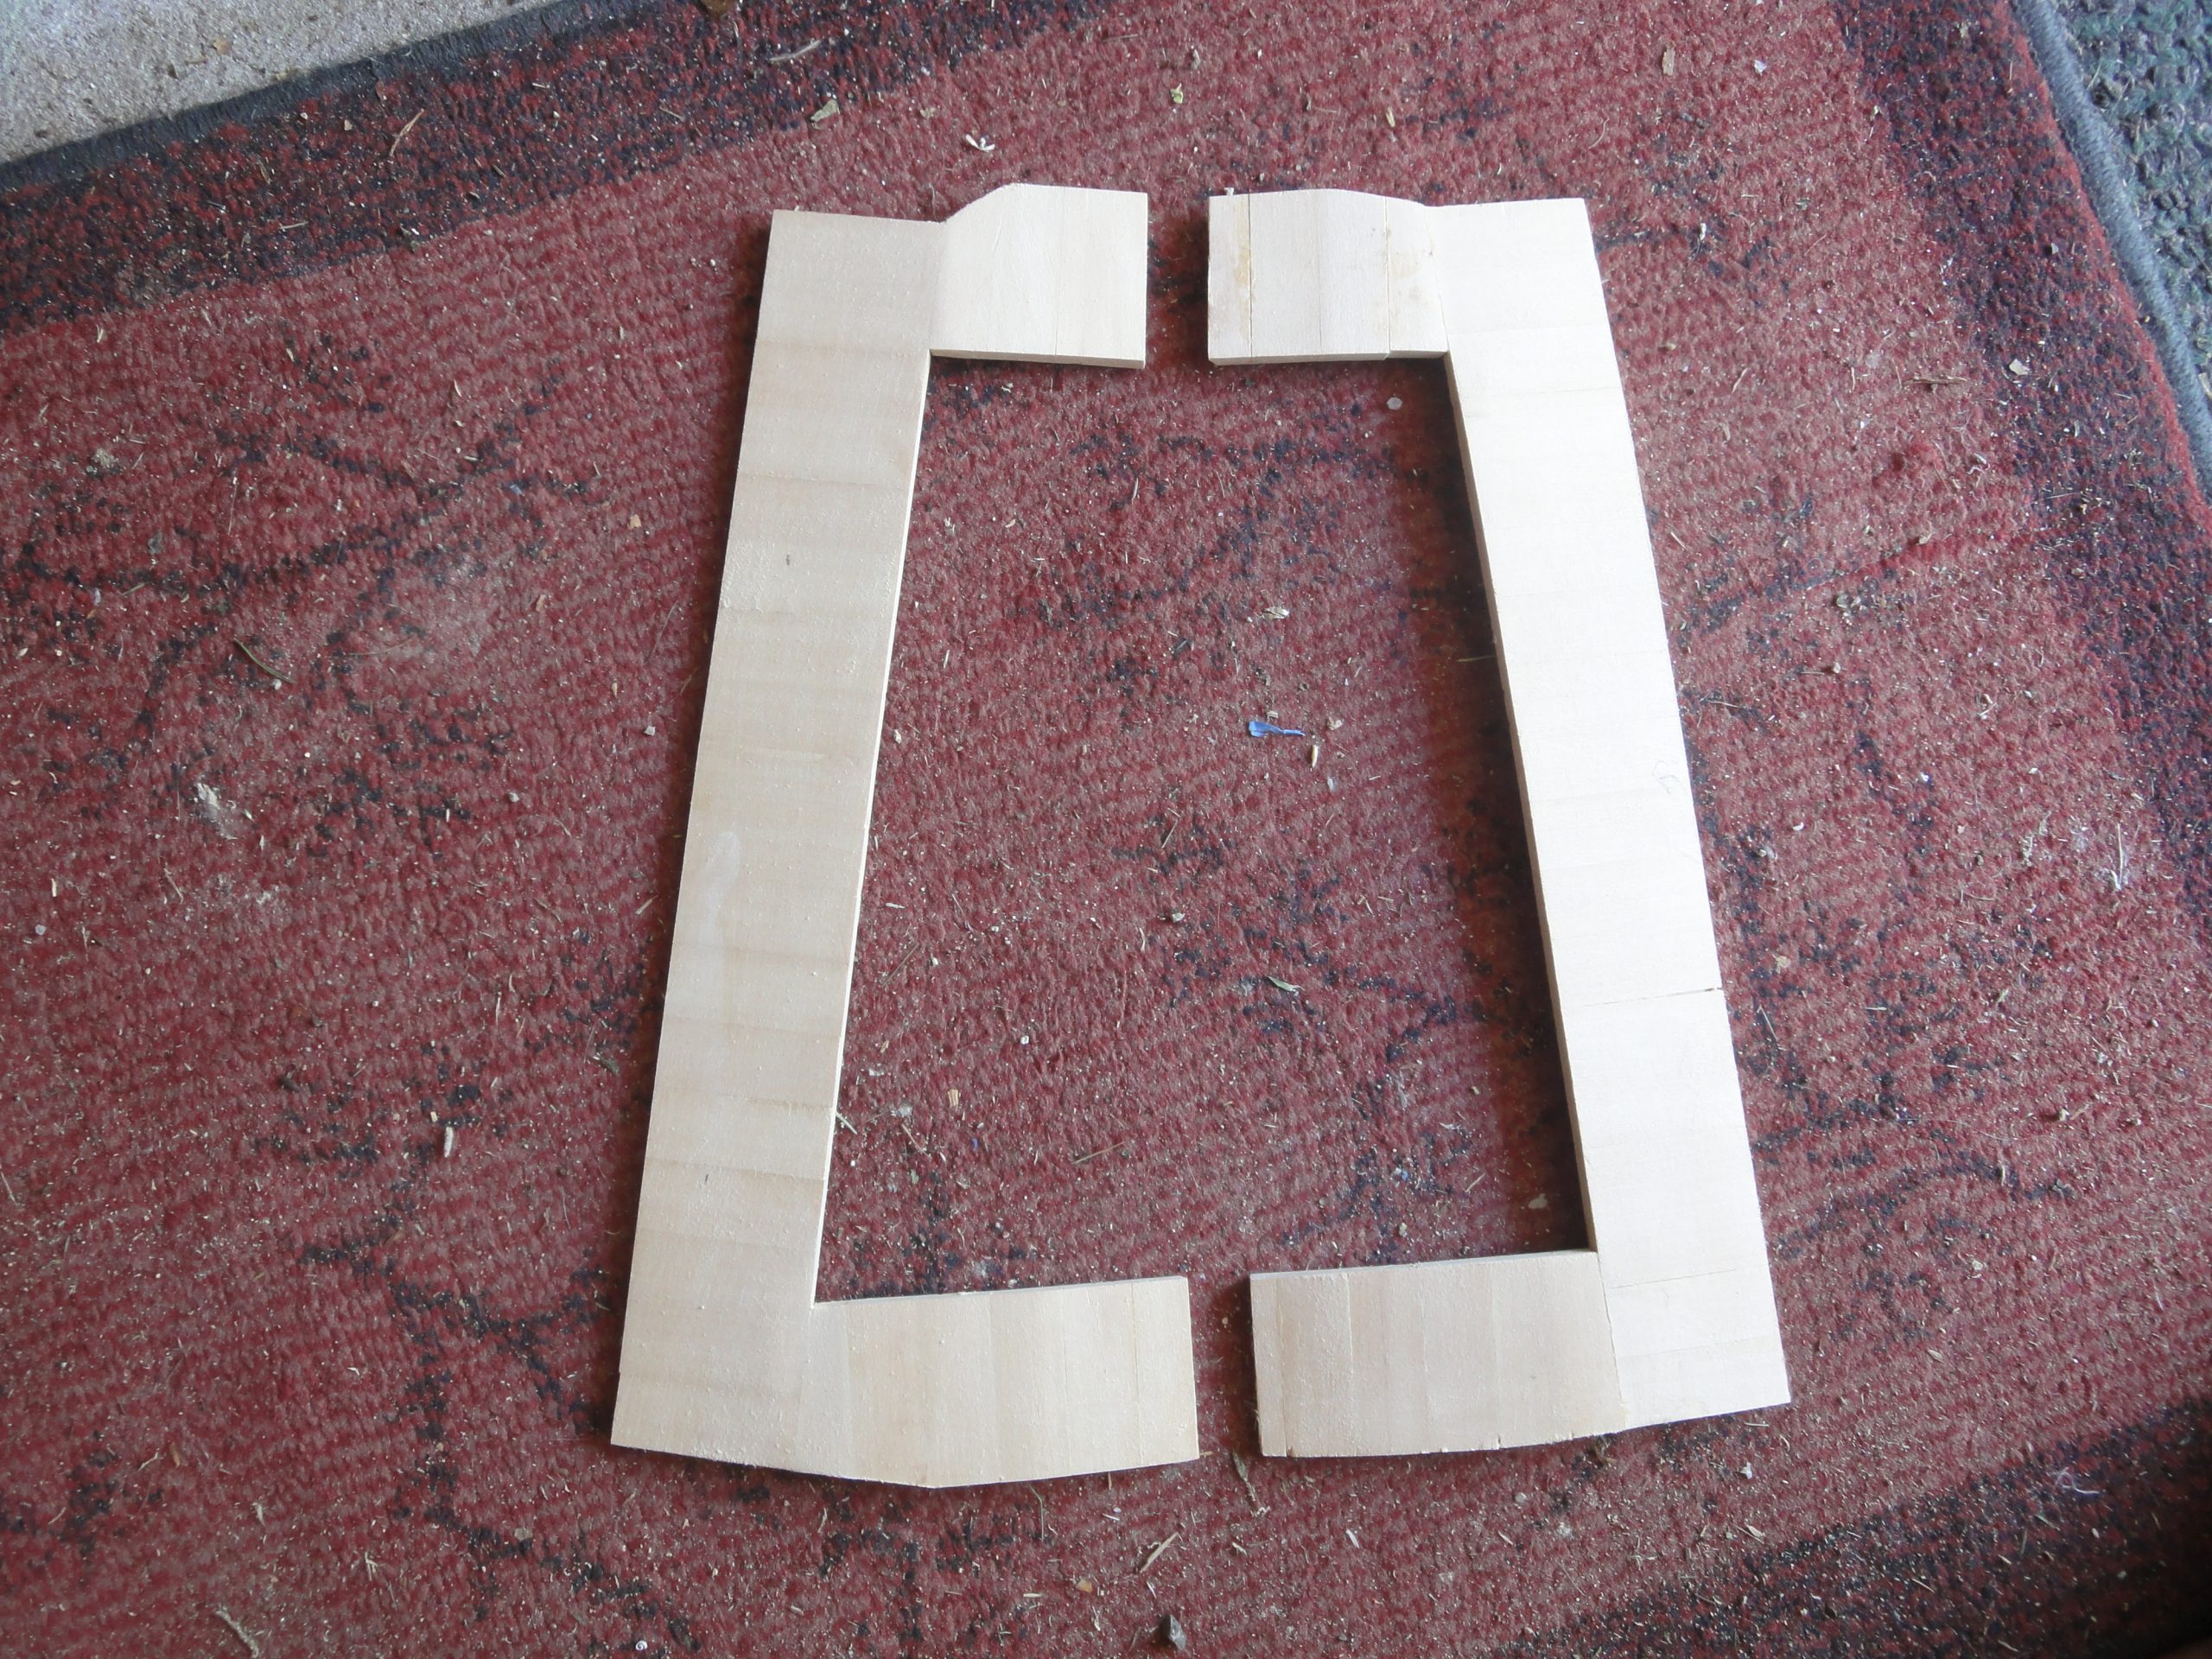
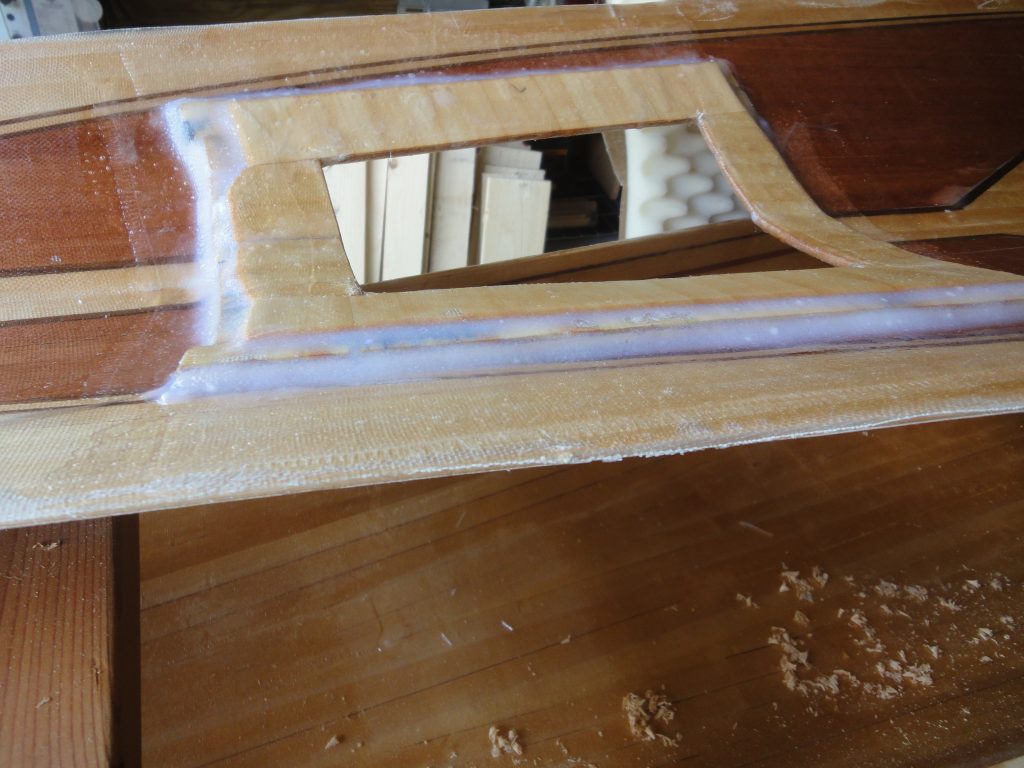
Moving on to the front hatch that was cut last time, I finished up the lip and fit it to the inside. The mounting ring of the hatch was also cut to size and laid out. I used some round plastic spacers to work out positioning of the magnets.
With everything worked out the lip was glued (with epoxy) to the underside of the deck.
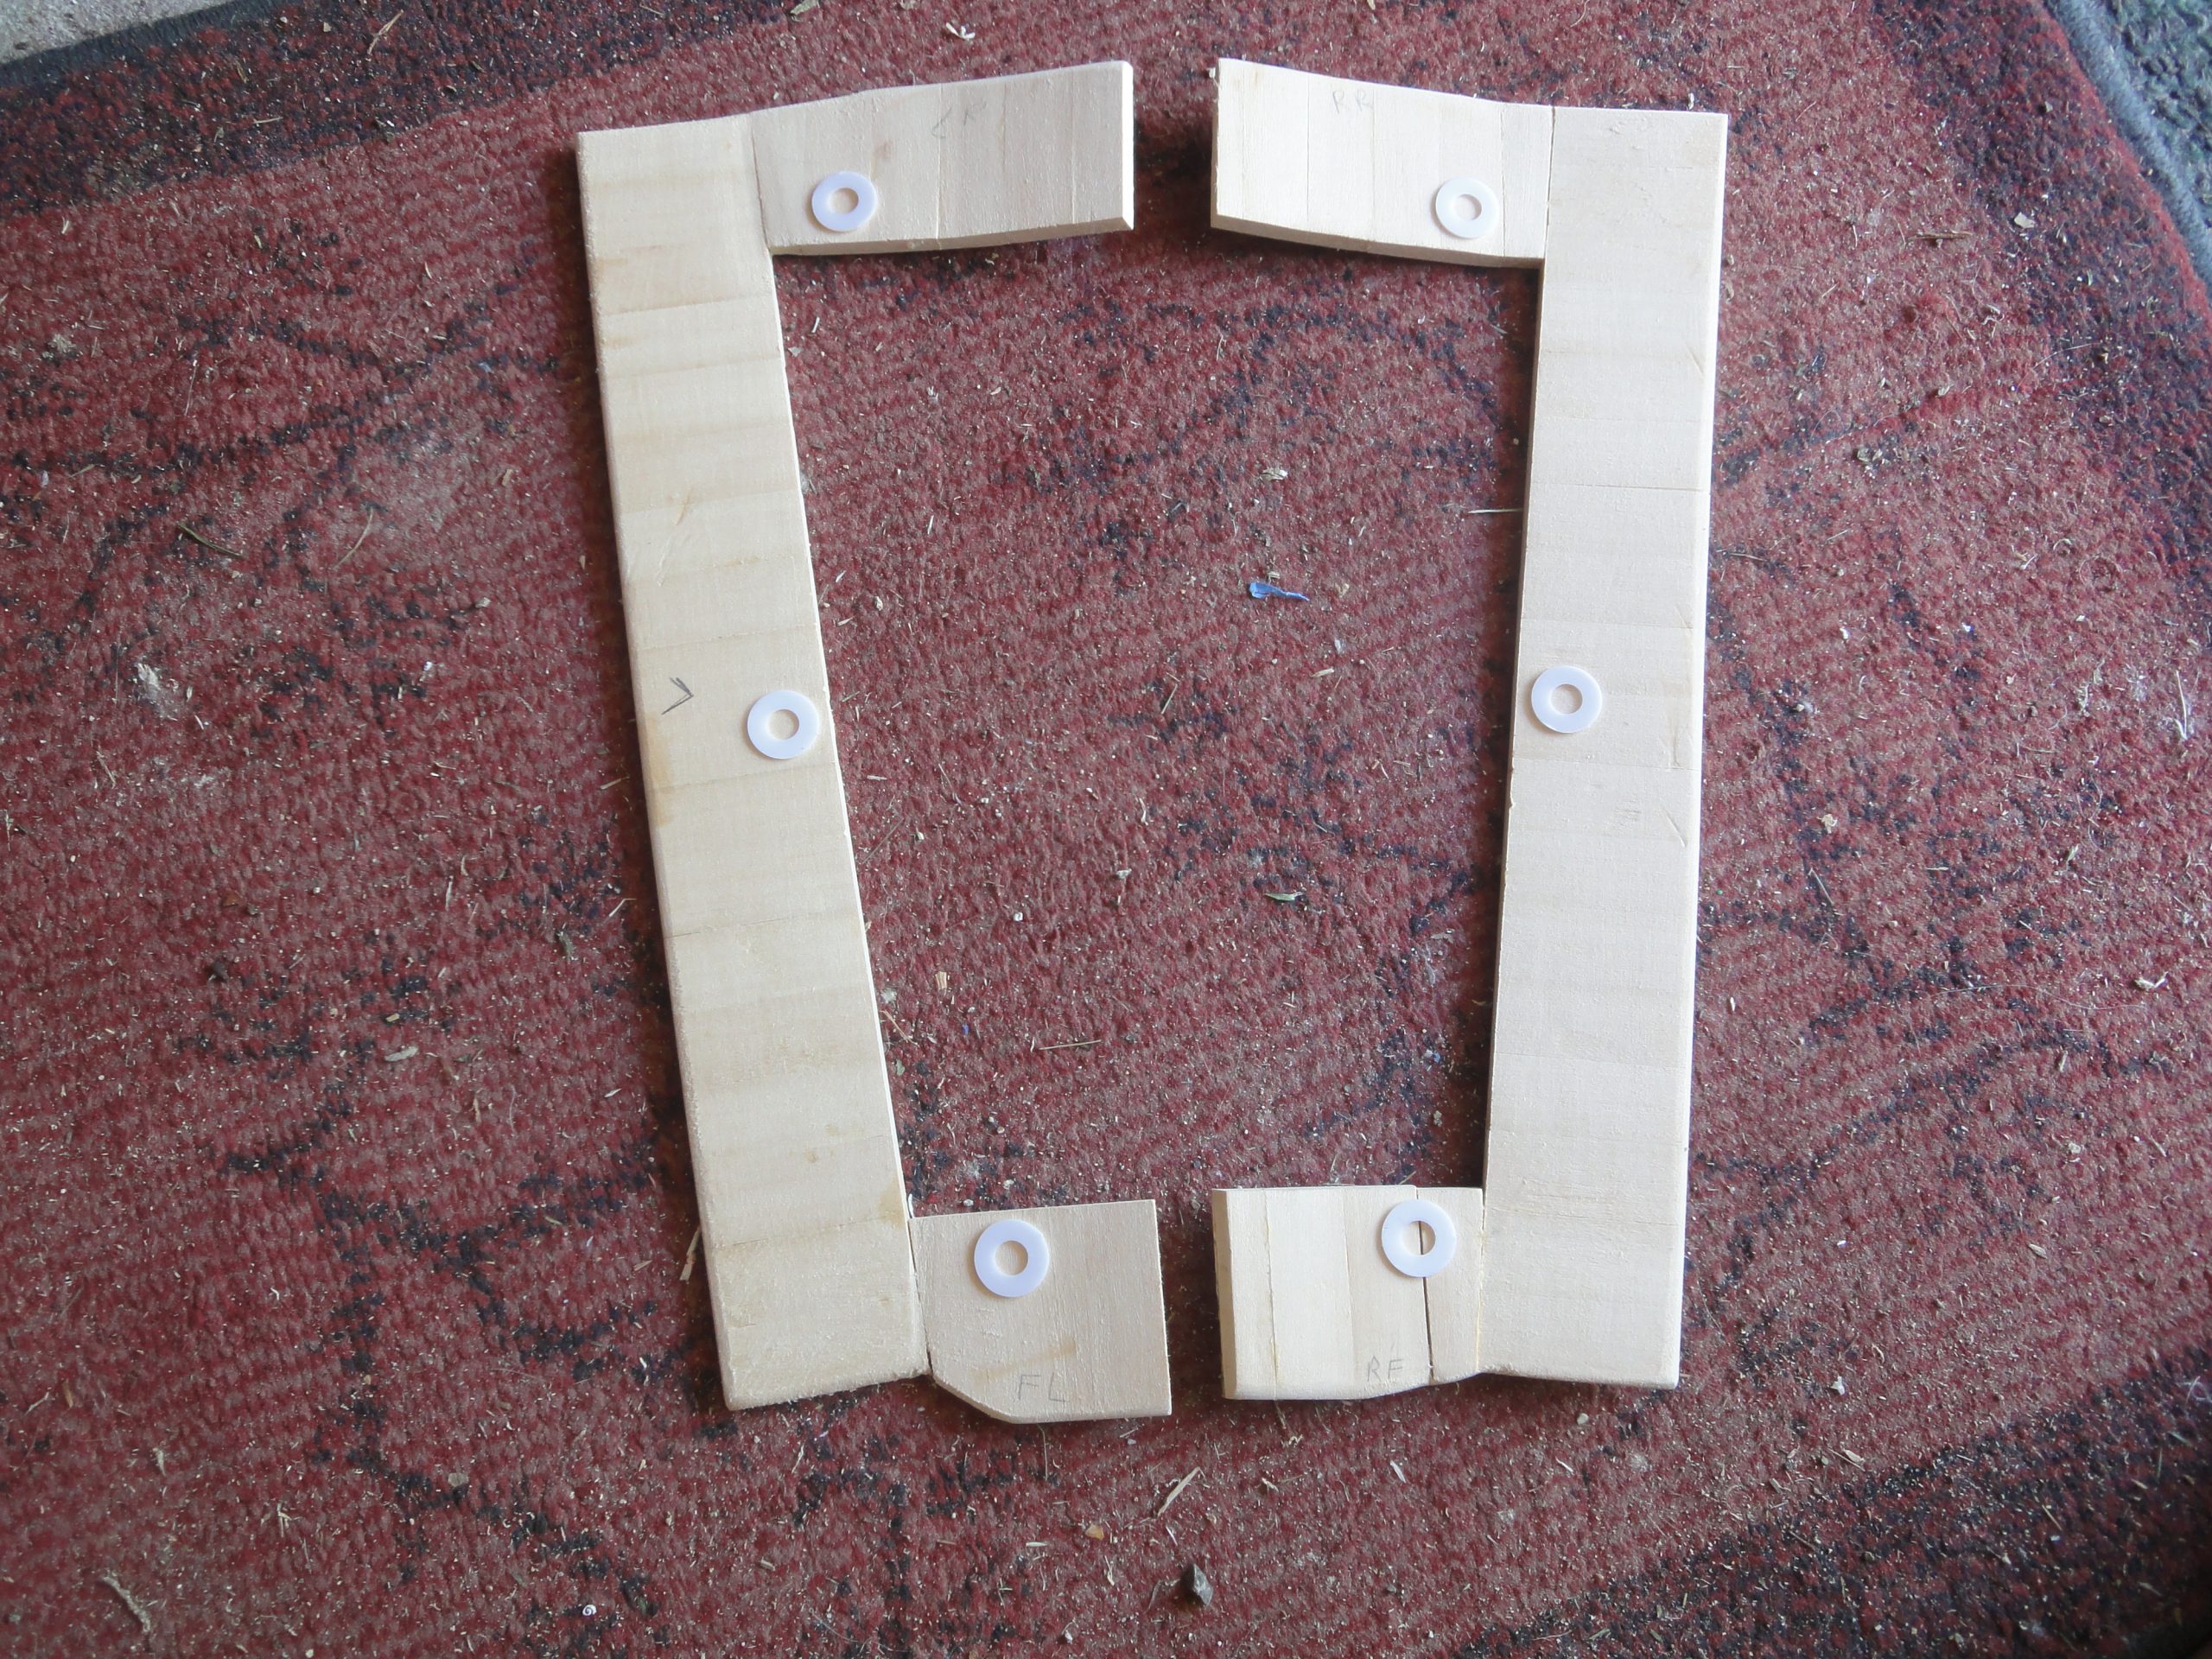
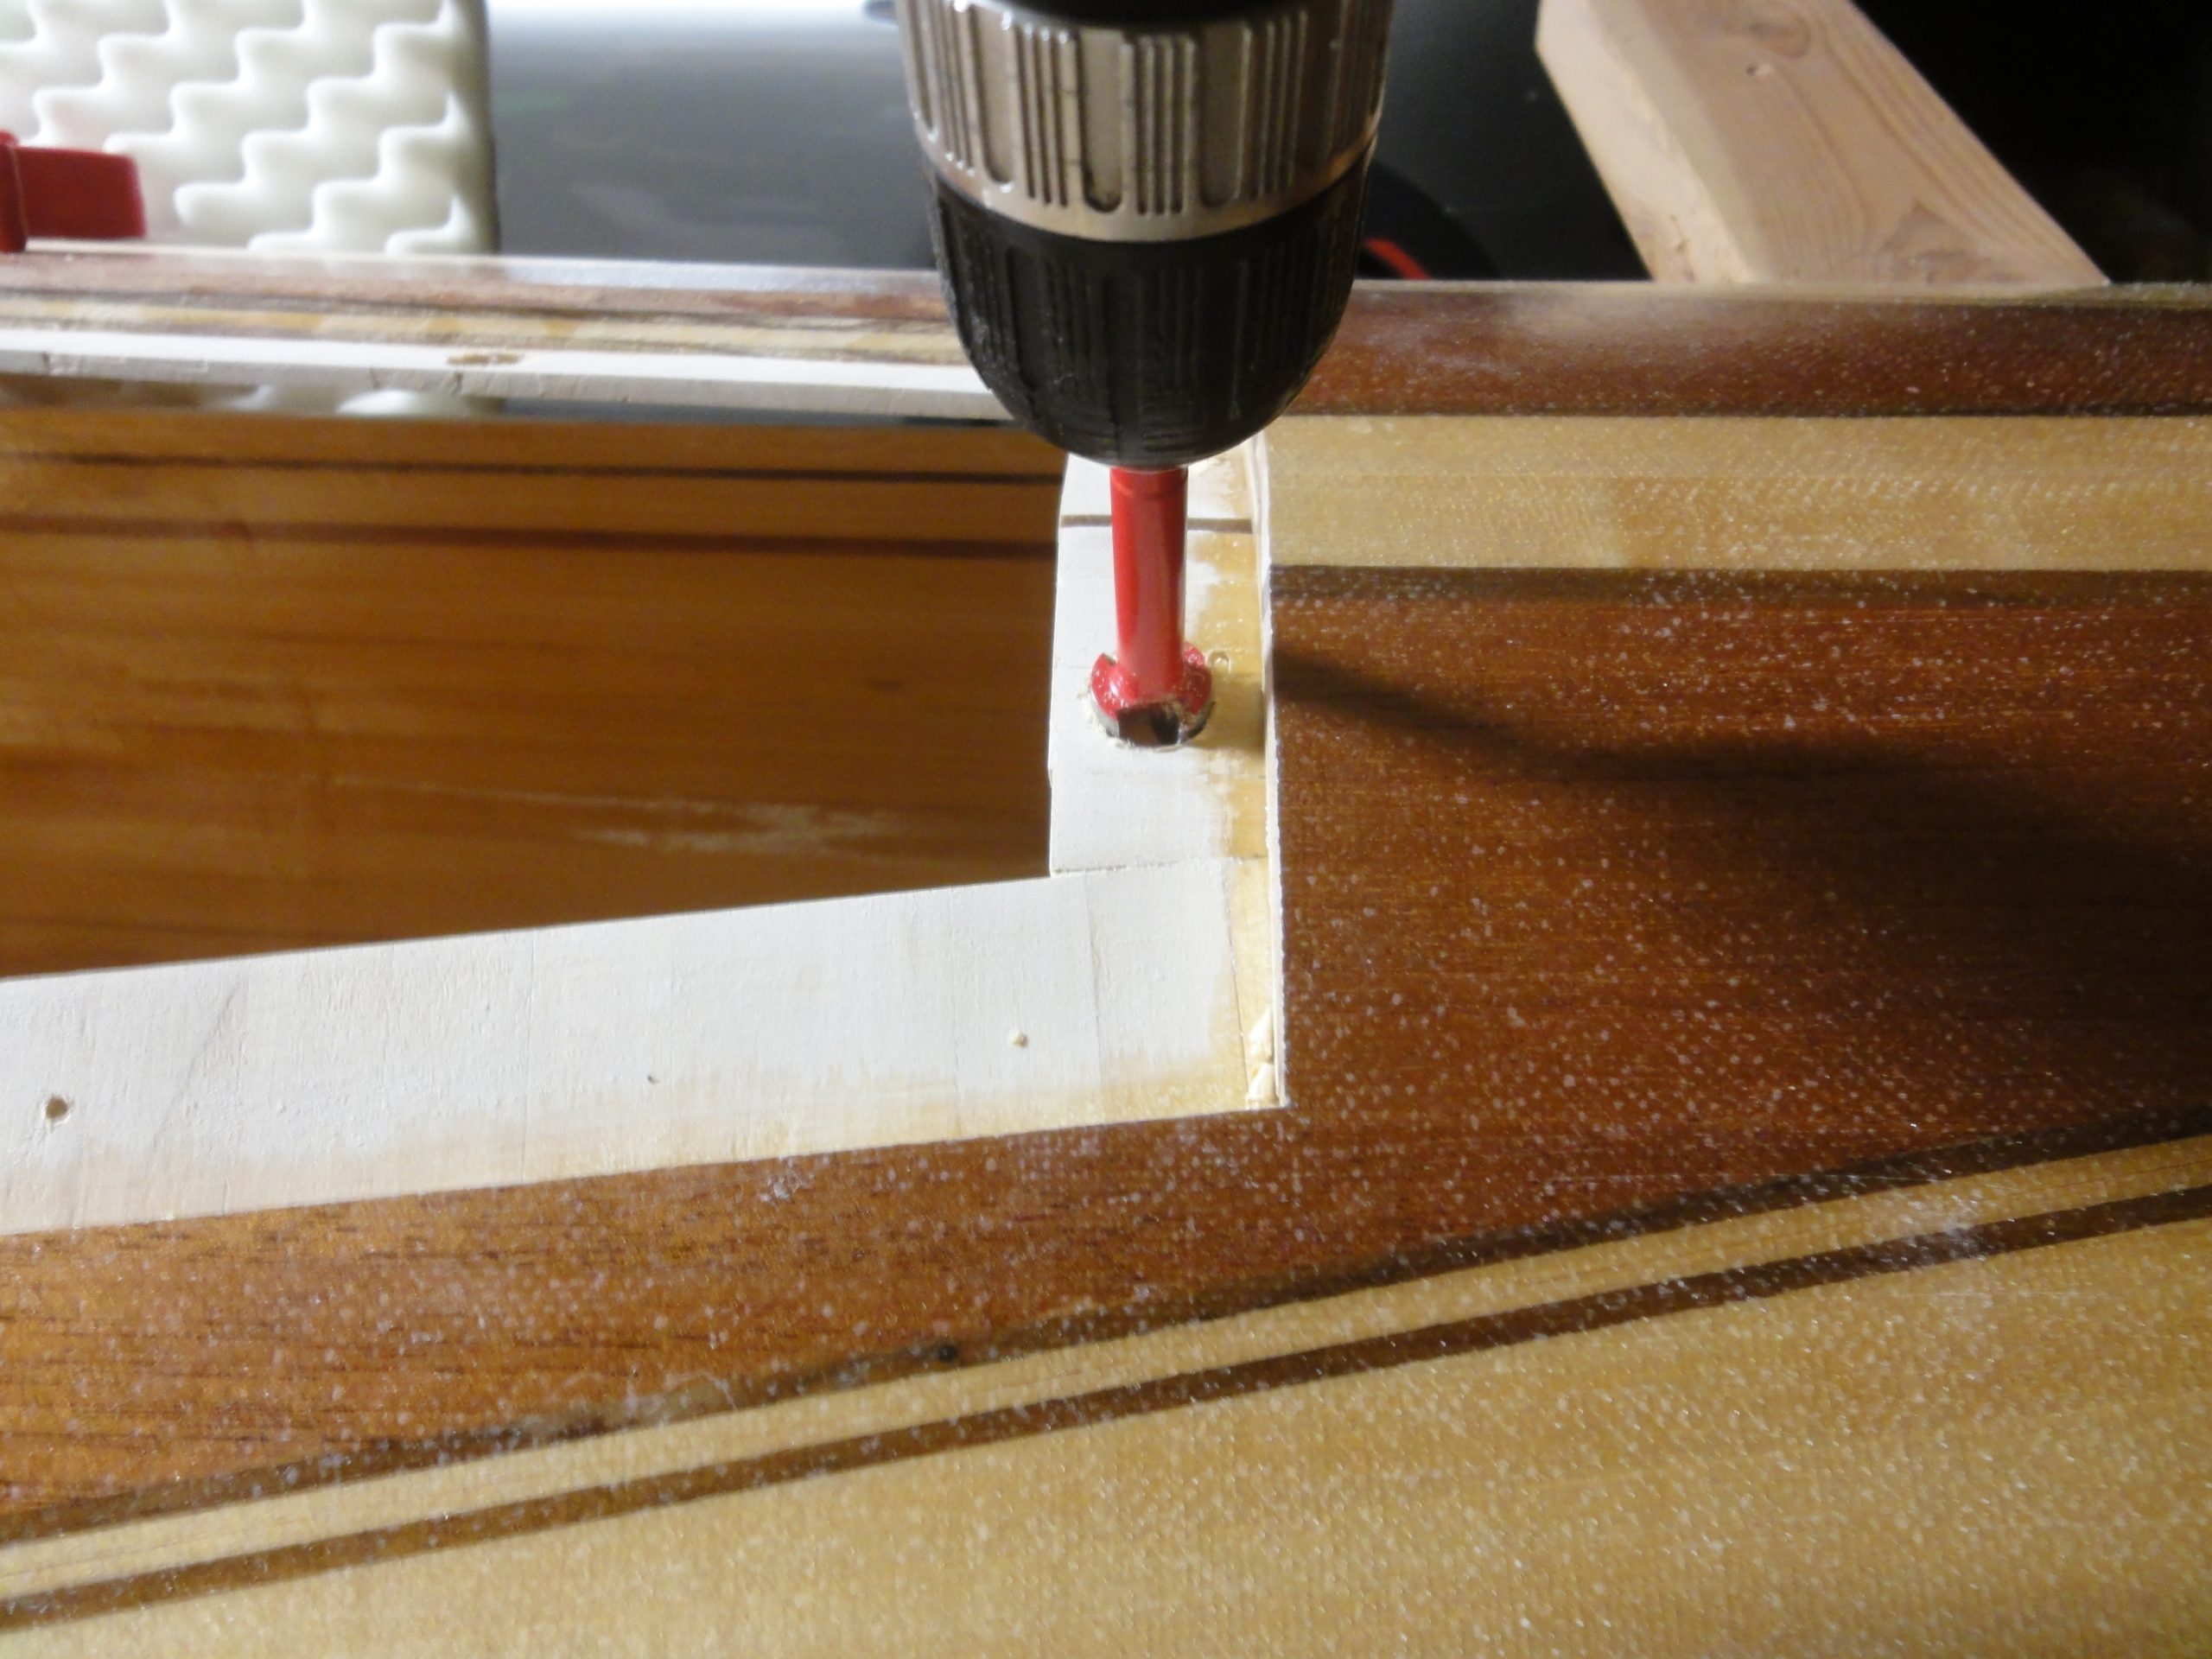
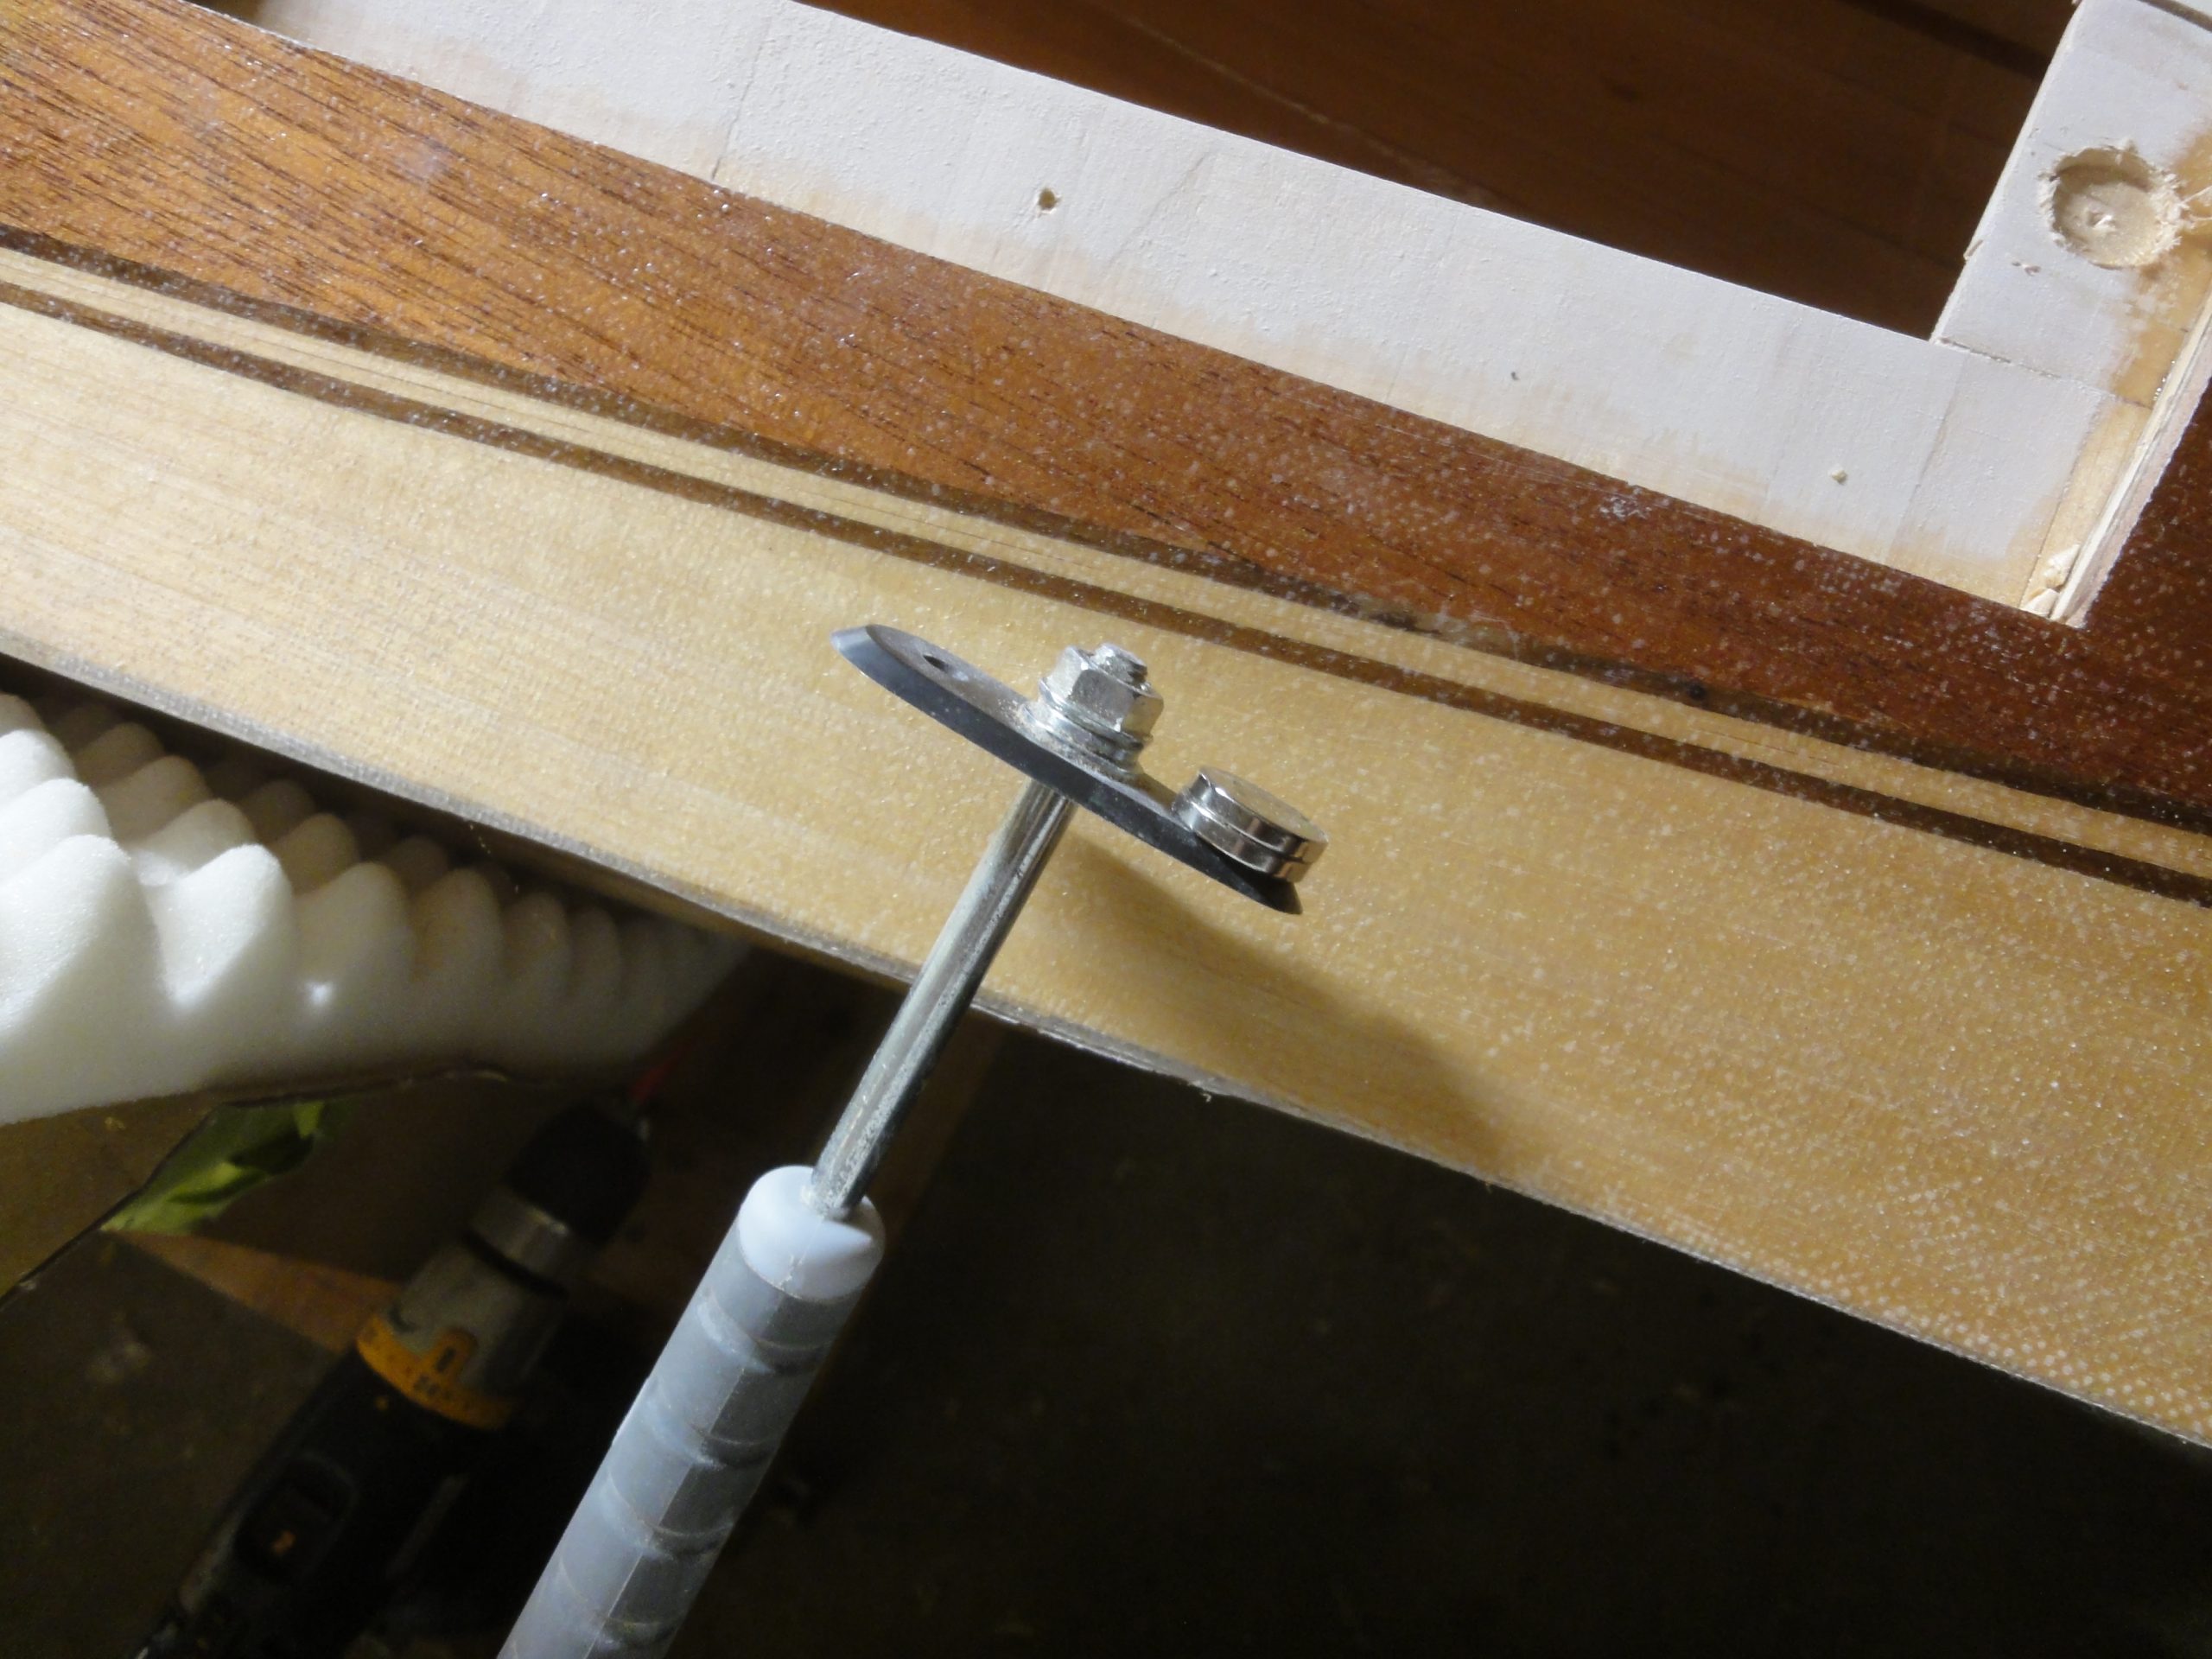
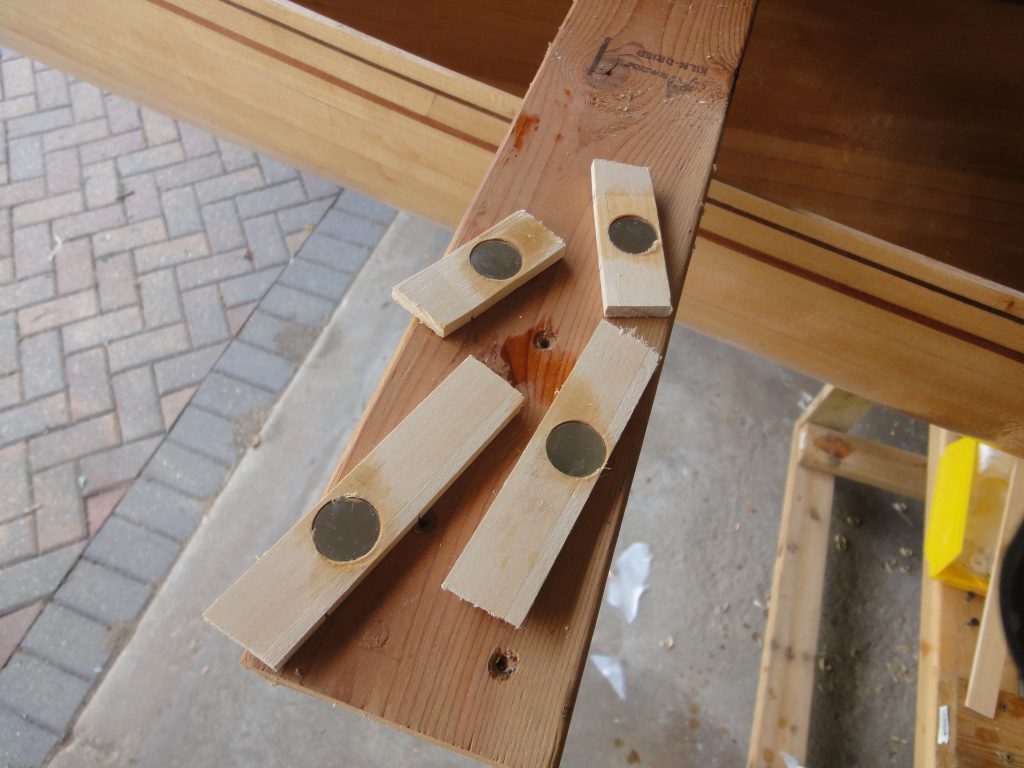
A few days later when the epoxy dried, the pieces of the hatch ring were placed again and a small hole drilled where each magnet would go. I removed the pieces and then using the hole as a guide drilled the larger hole sized for the magnet with a forstner bit. I stacked the two magnets and using a metal tool (a scraper from before) to hold them I test fit the magnet to ensure it would be fully recessed. When needed I drilled the hole a bit deeper until it fit as I wanted.

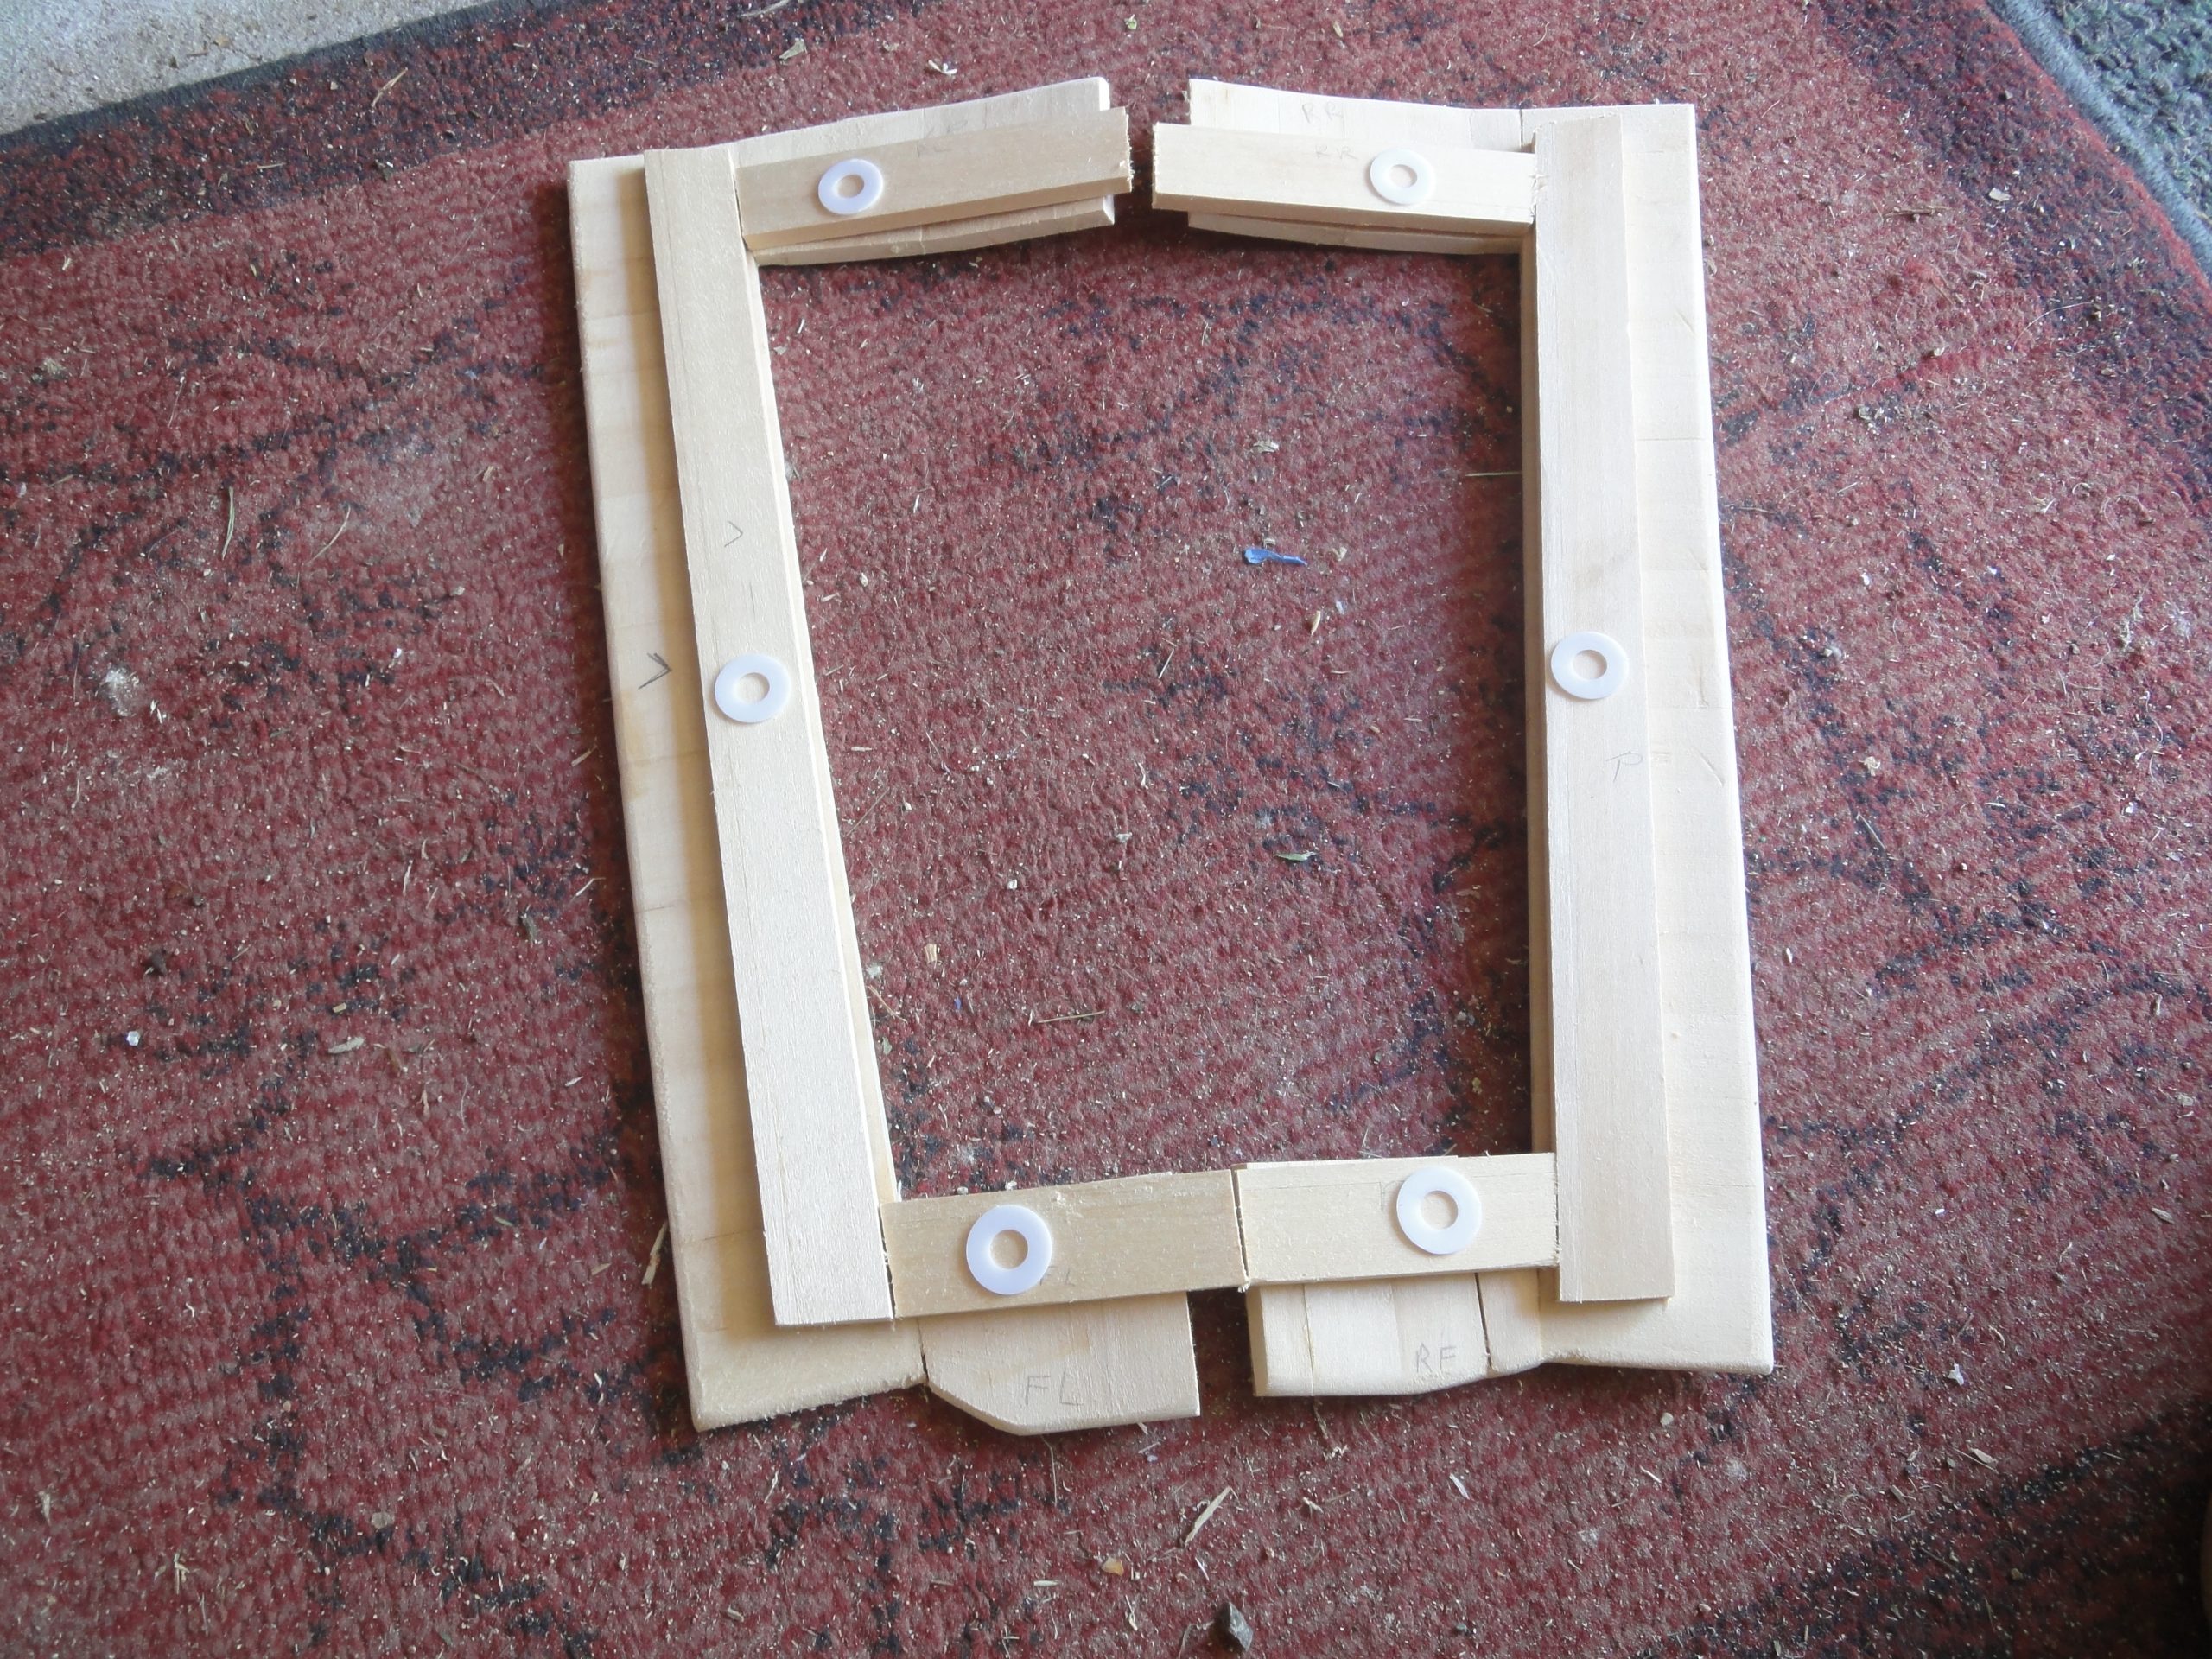
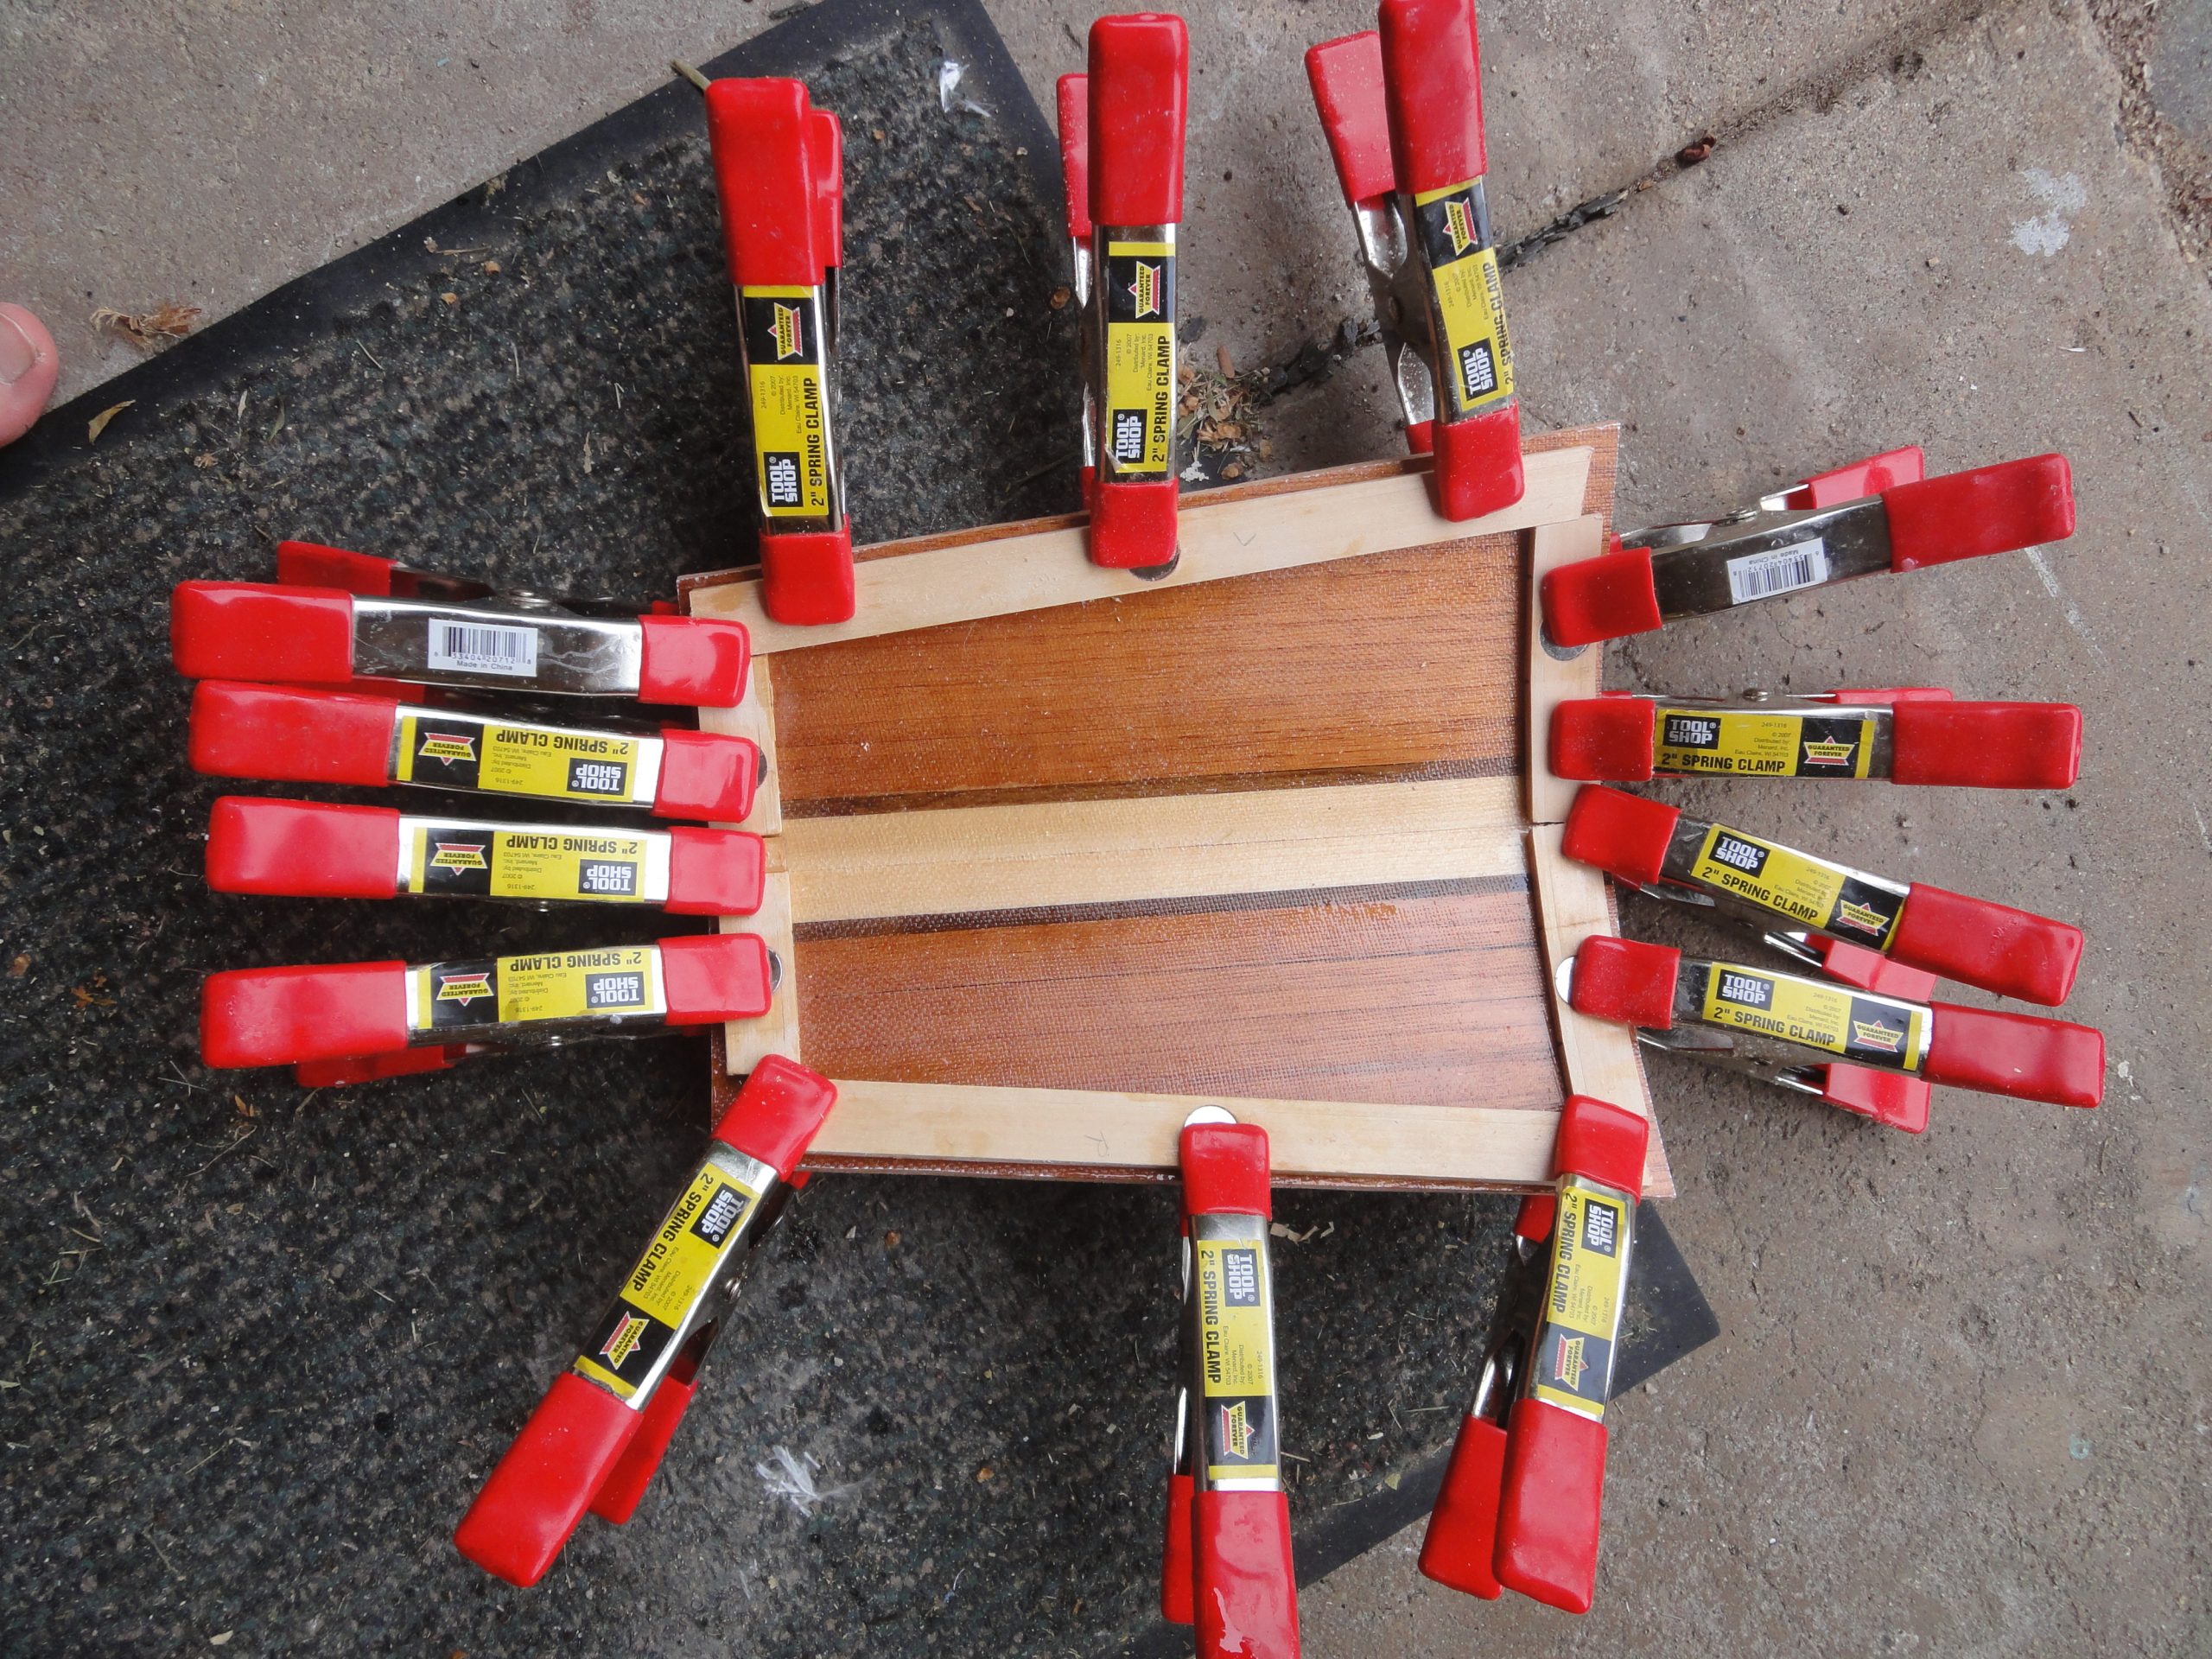
The magnets were then epoxied into the holes in each board being careful to keep the orientation correct. Installing one backwards would result in repulsion which would not be good. With everything epoxied in I wrapped the lip with fiberglass strips and soaked it with epoxy. On the underside I used more epoxy thickened with silica and microfibers to make a paste which was applied to the hard edges of the lip and then this too was covered over with fiberglass. A final flood of epoxy was used to wet out the cloth.
This process was pretty much the same as the previous hatch.

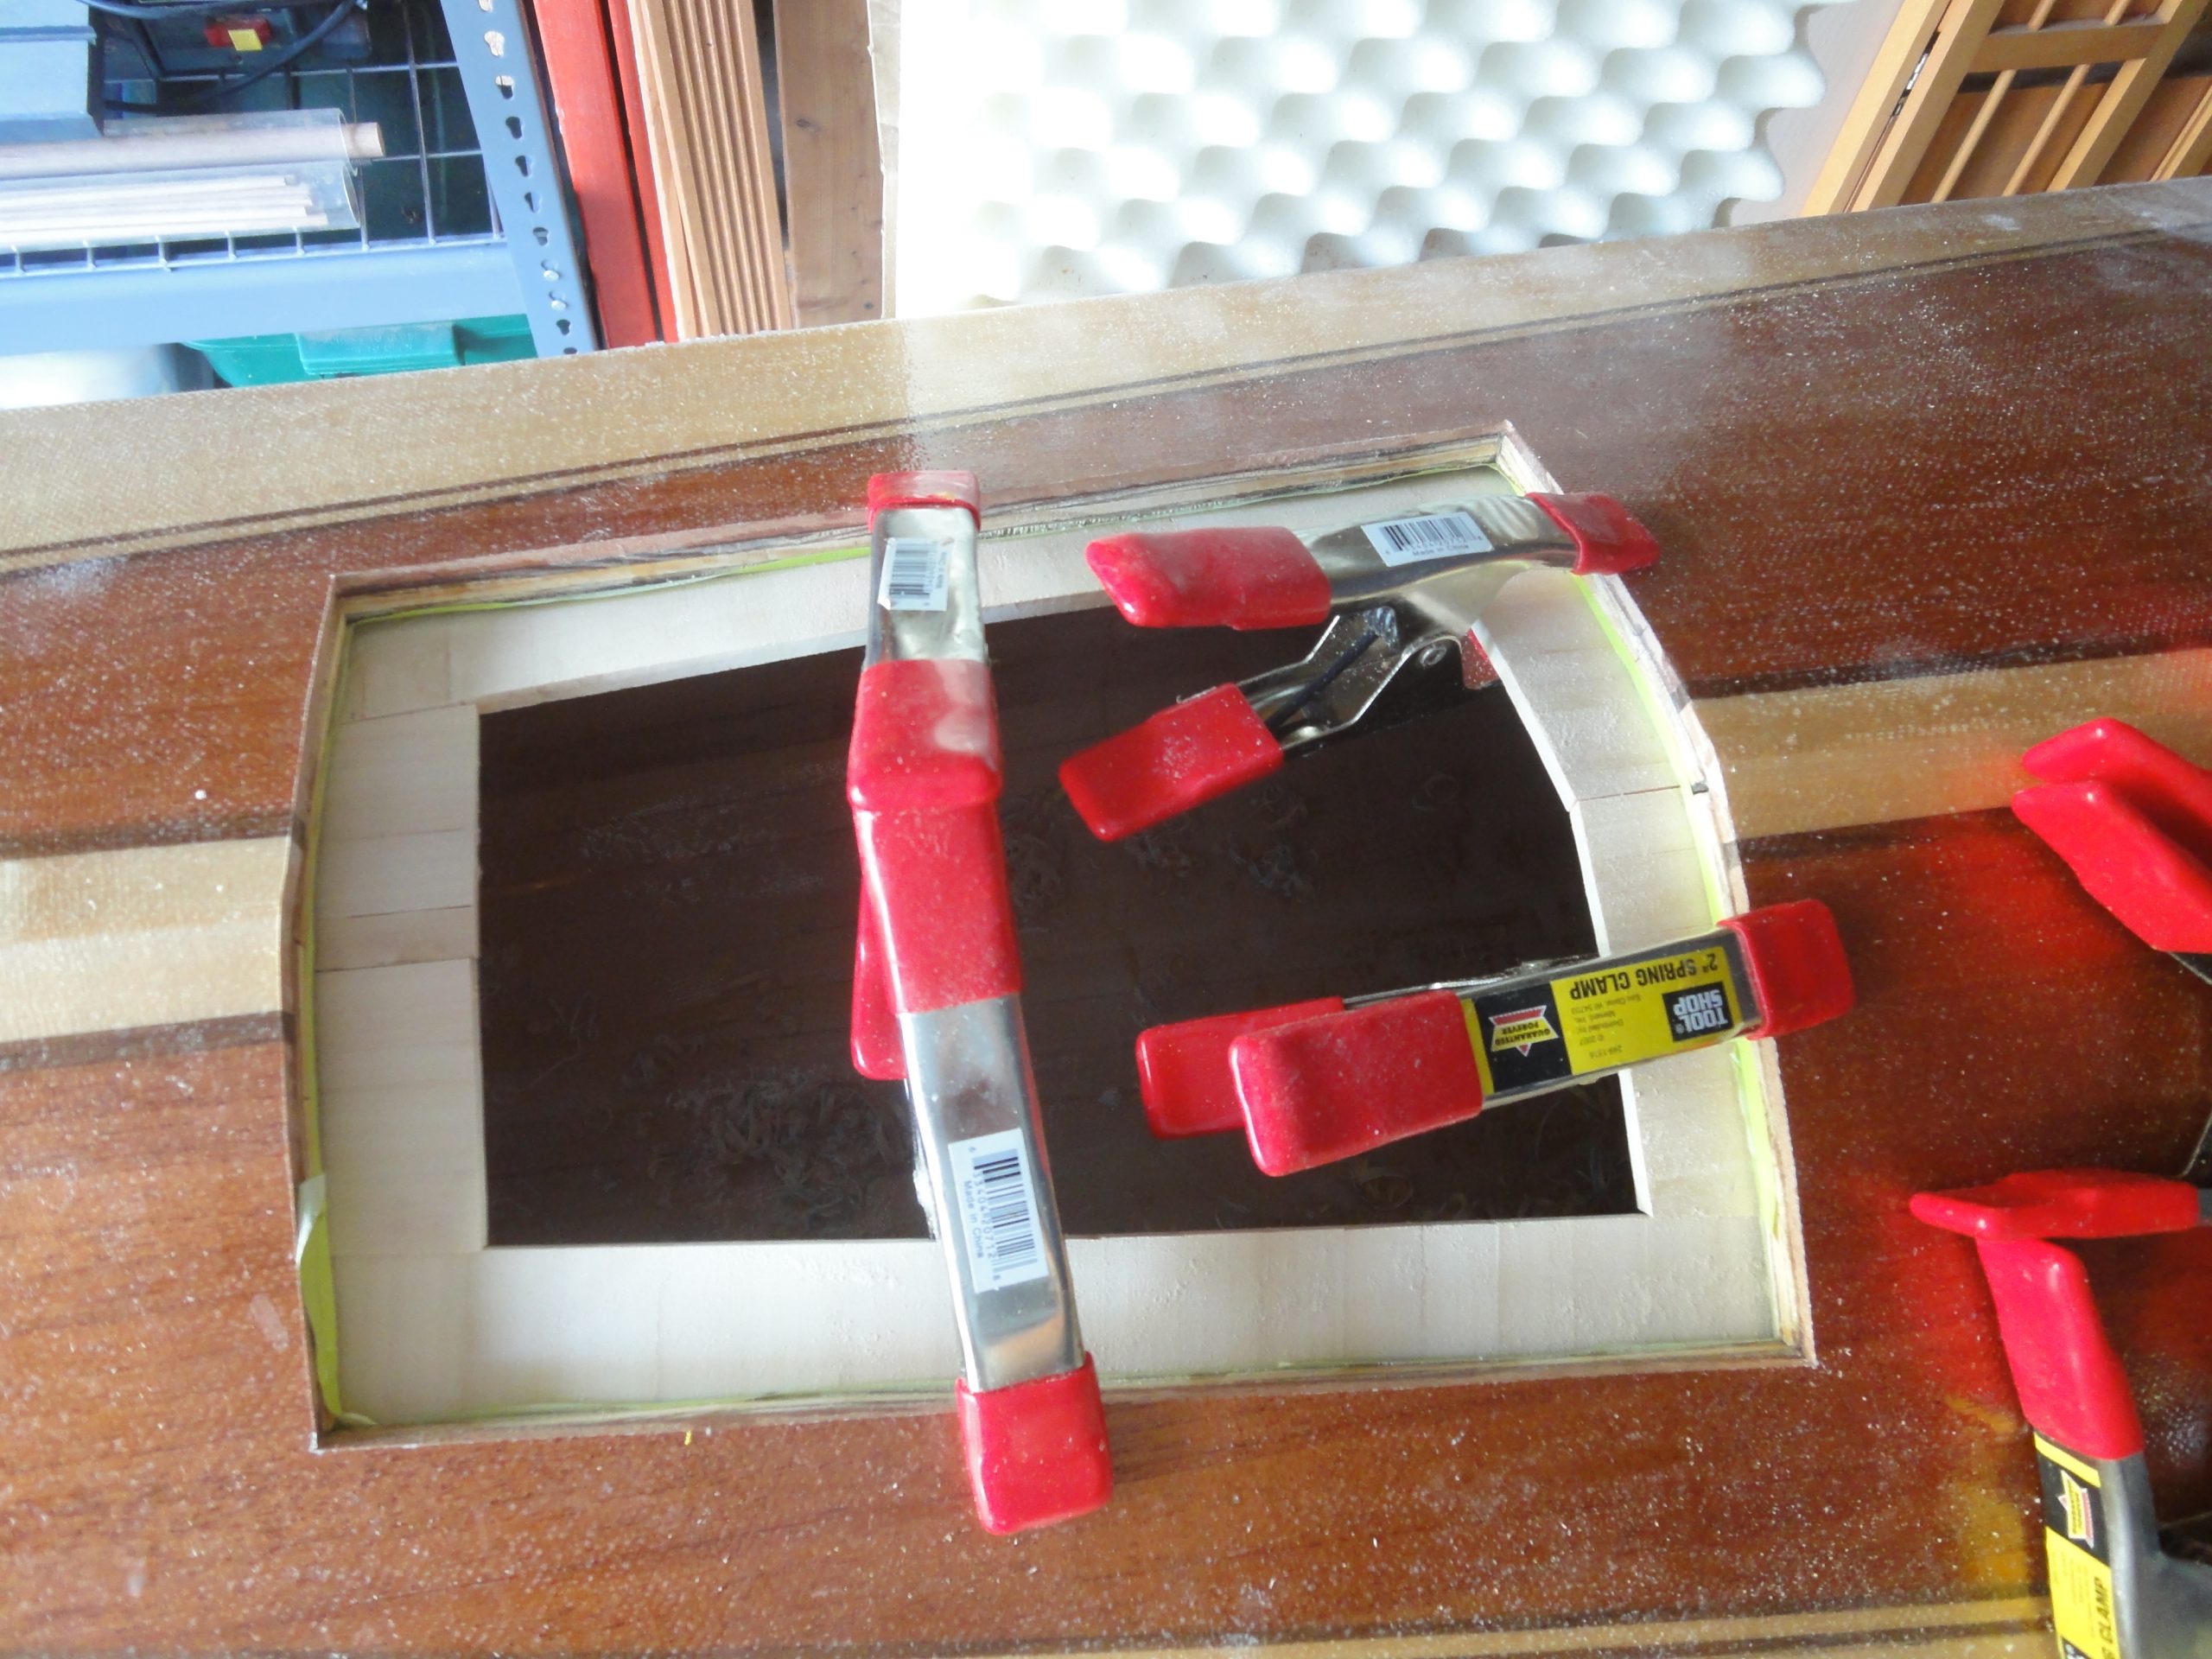
A few days later, again after everything was dried, I relayed out the hatch ring on the lip and used hot glue on it and the pressed the hatch on top. I had hoped this would allow me to raise the hatch when the glue cooled and have the pieces perfectly aligned. Unfortunately the magnets were too strong and this didn’t work.
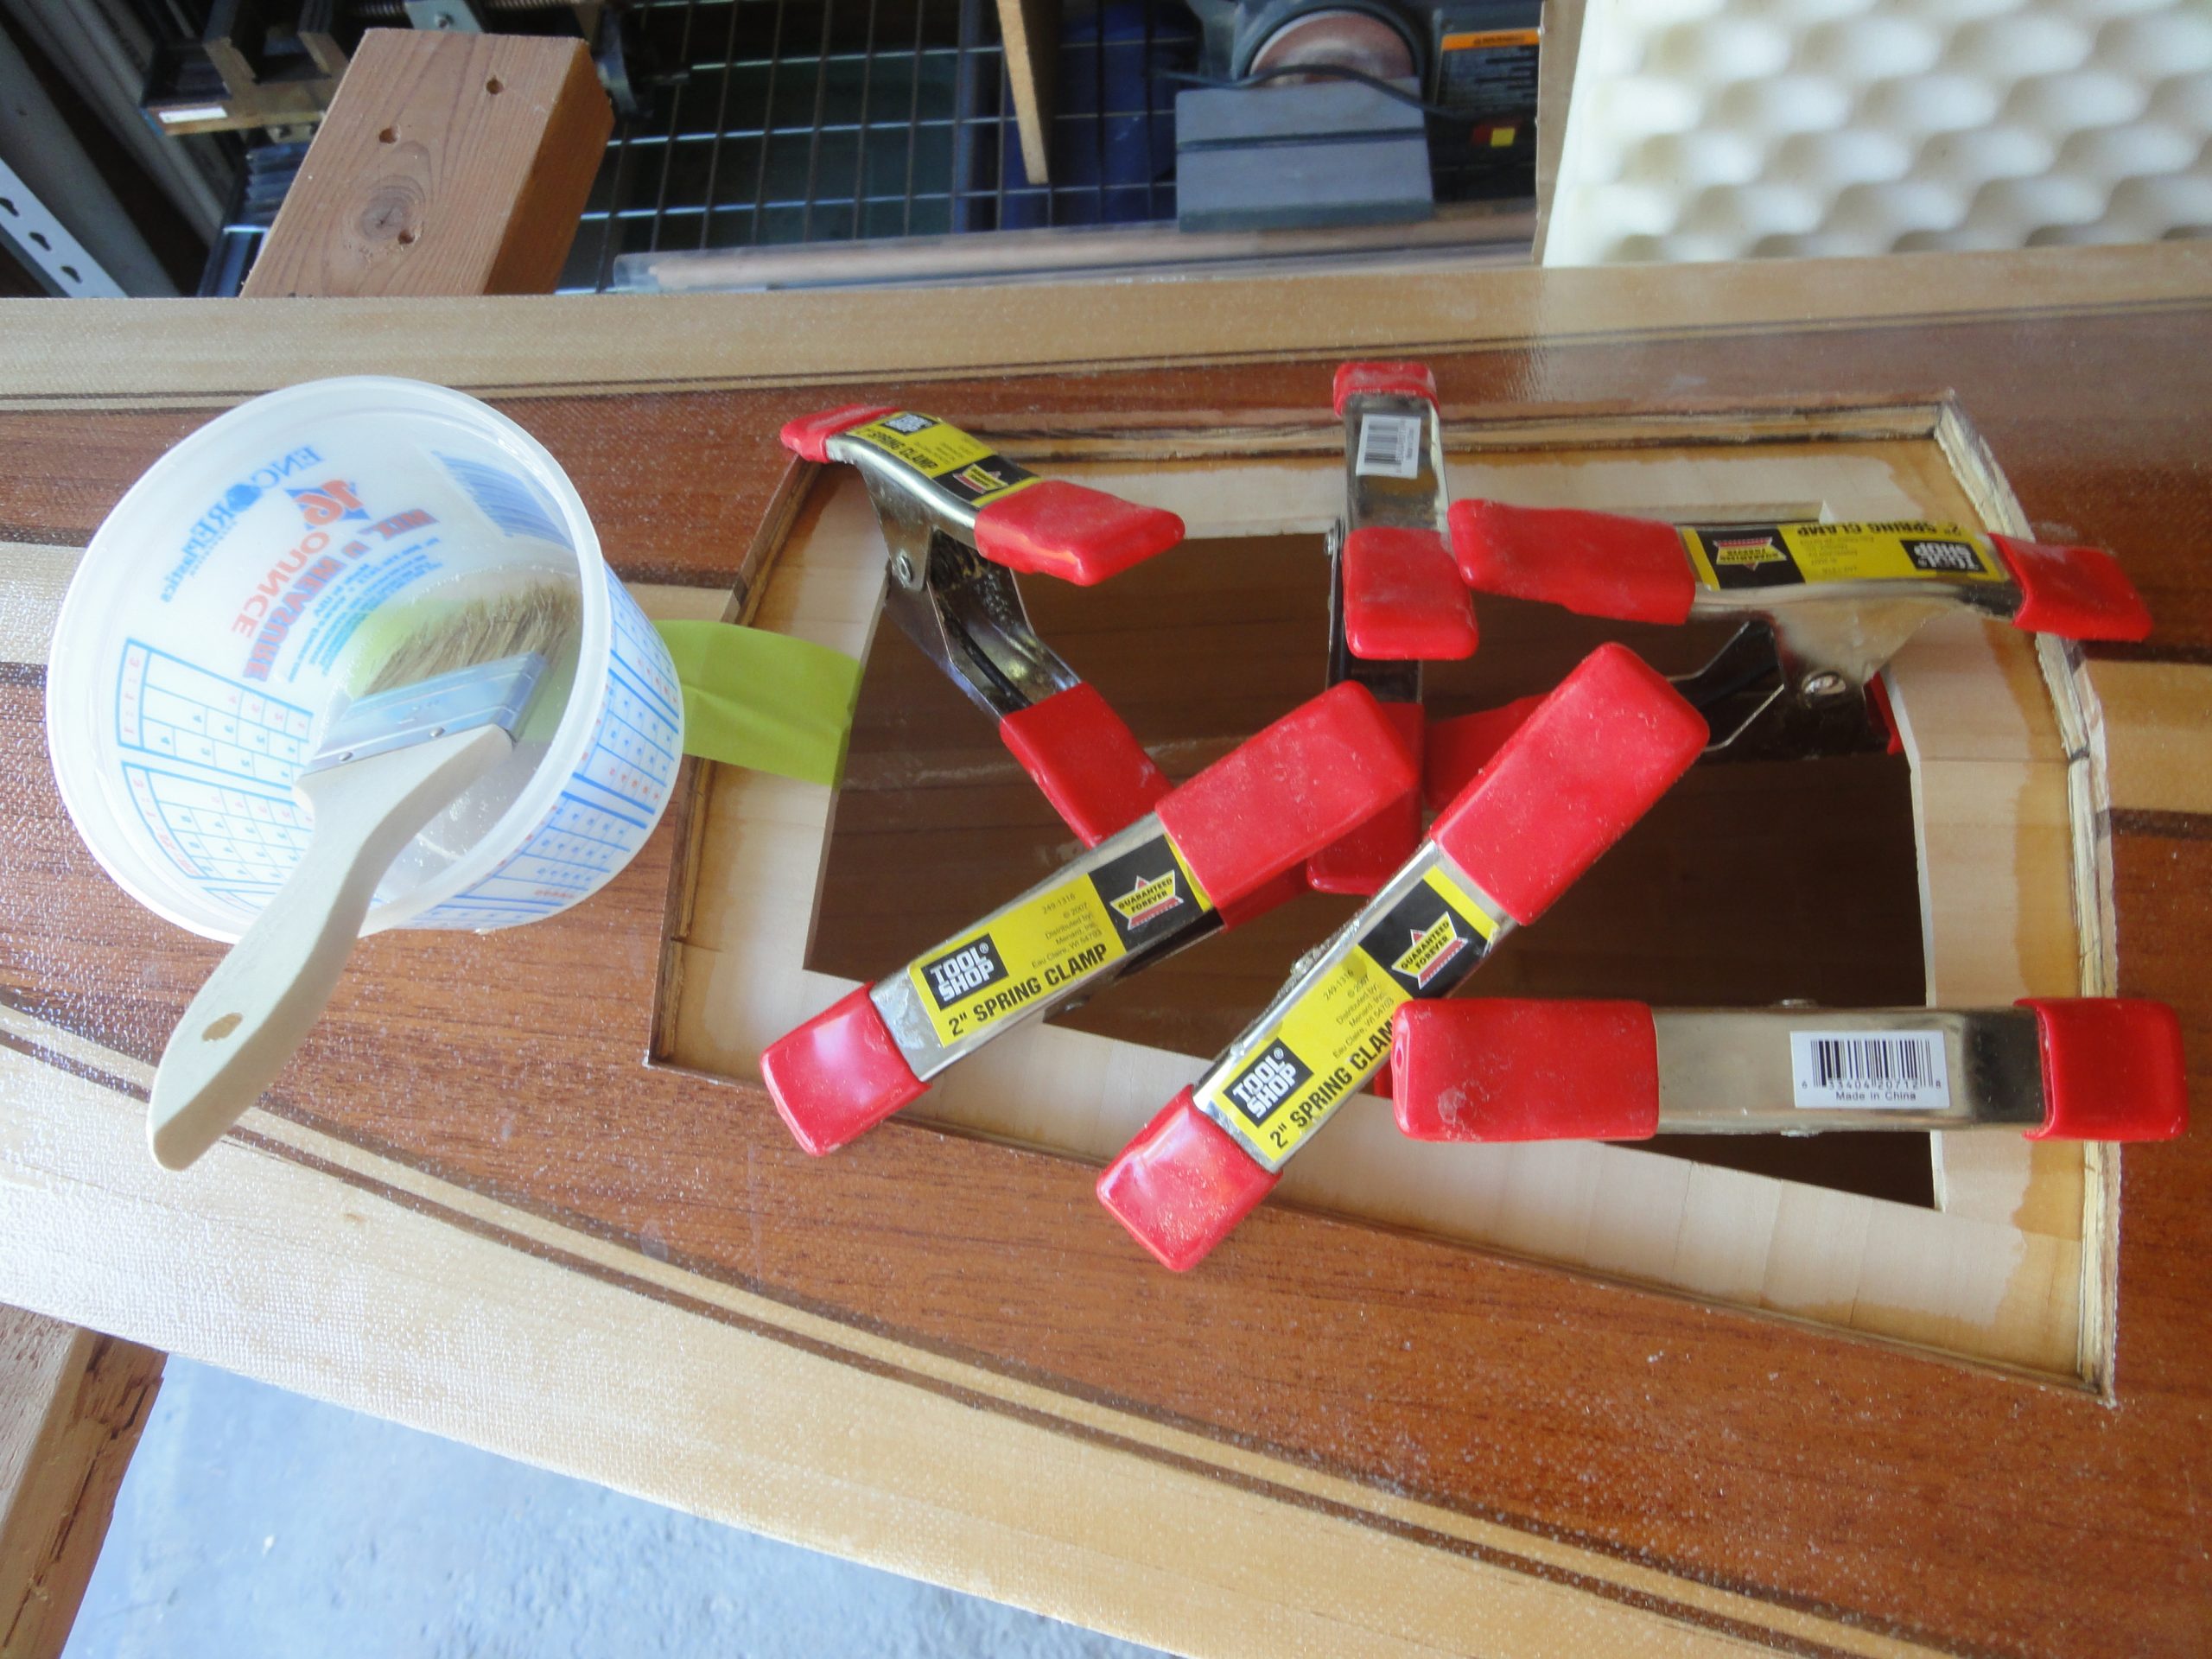
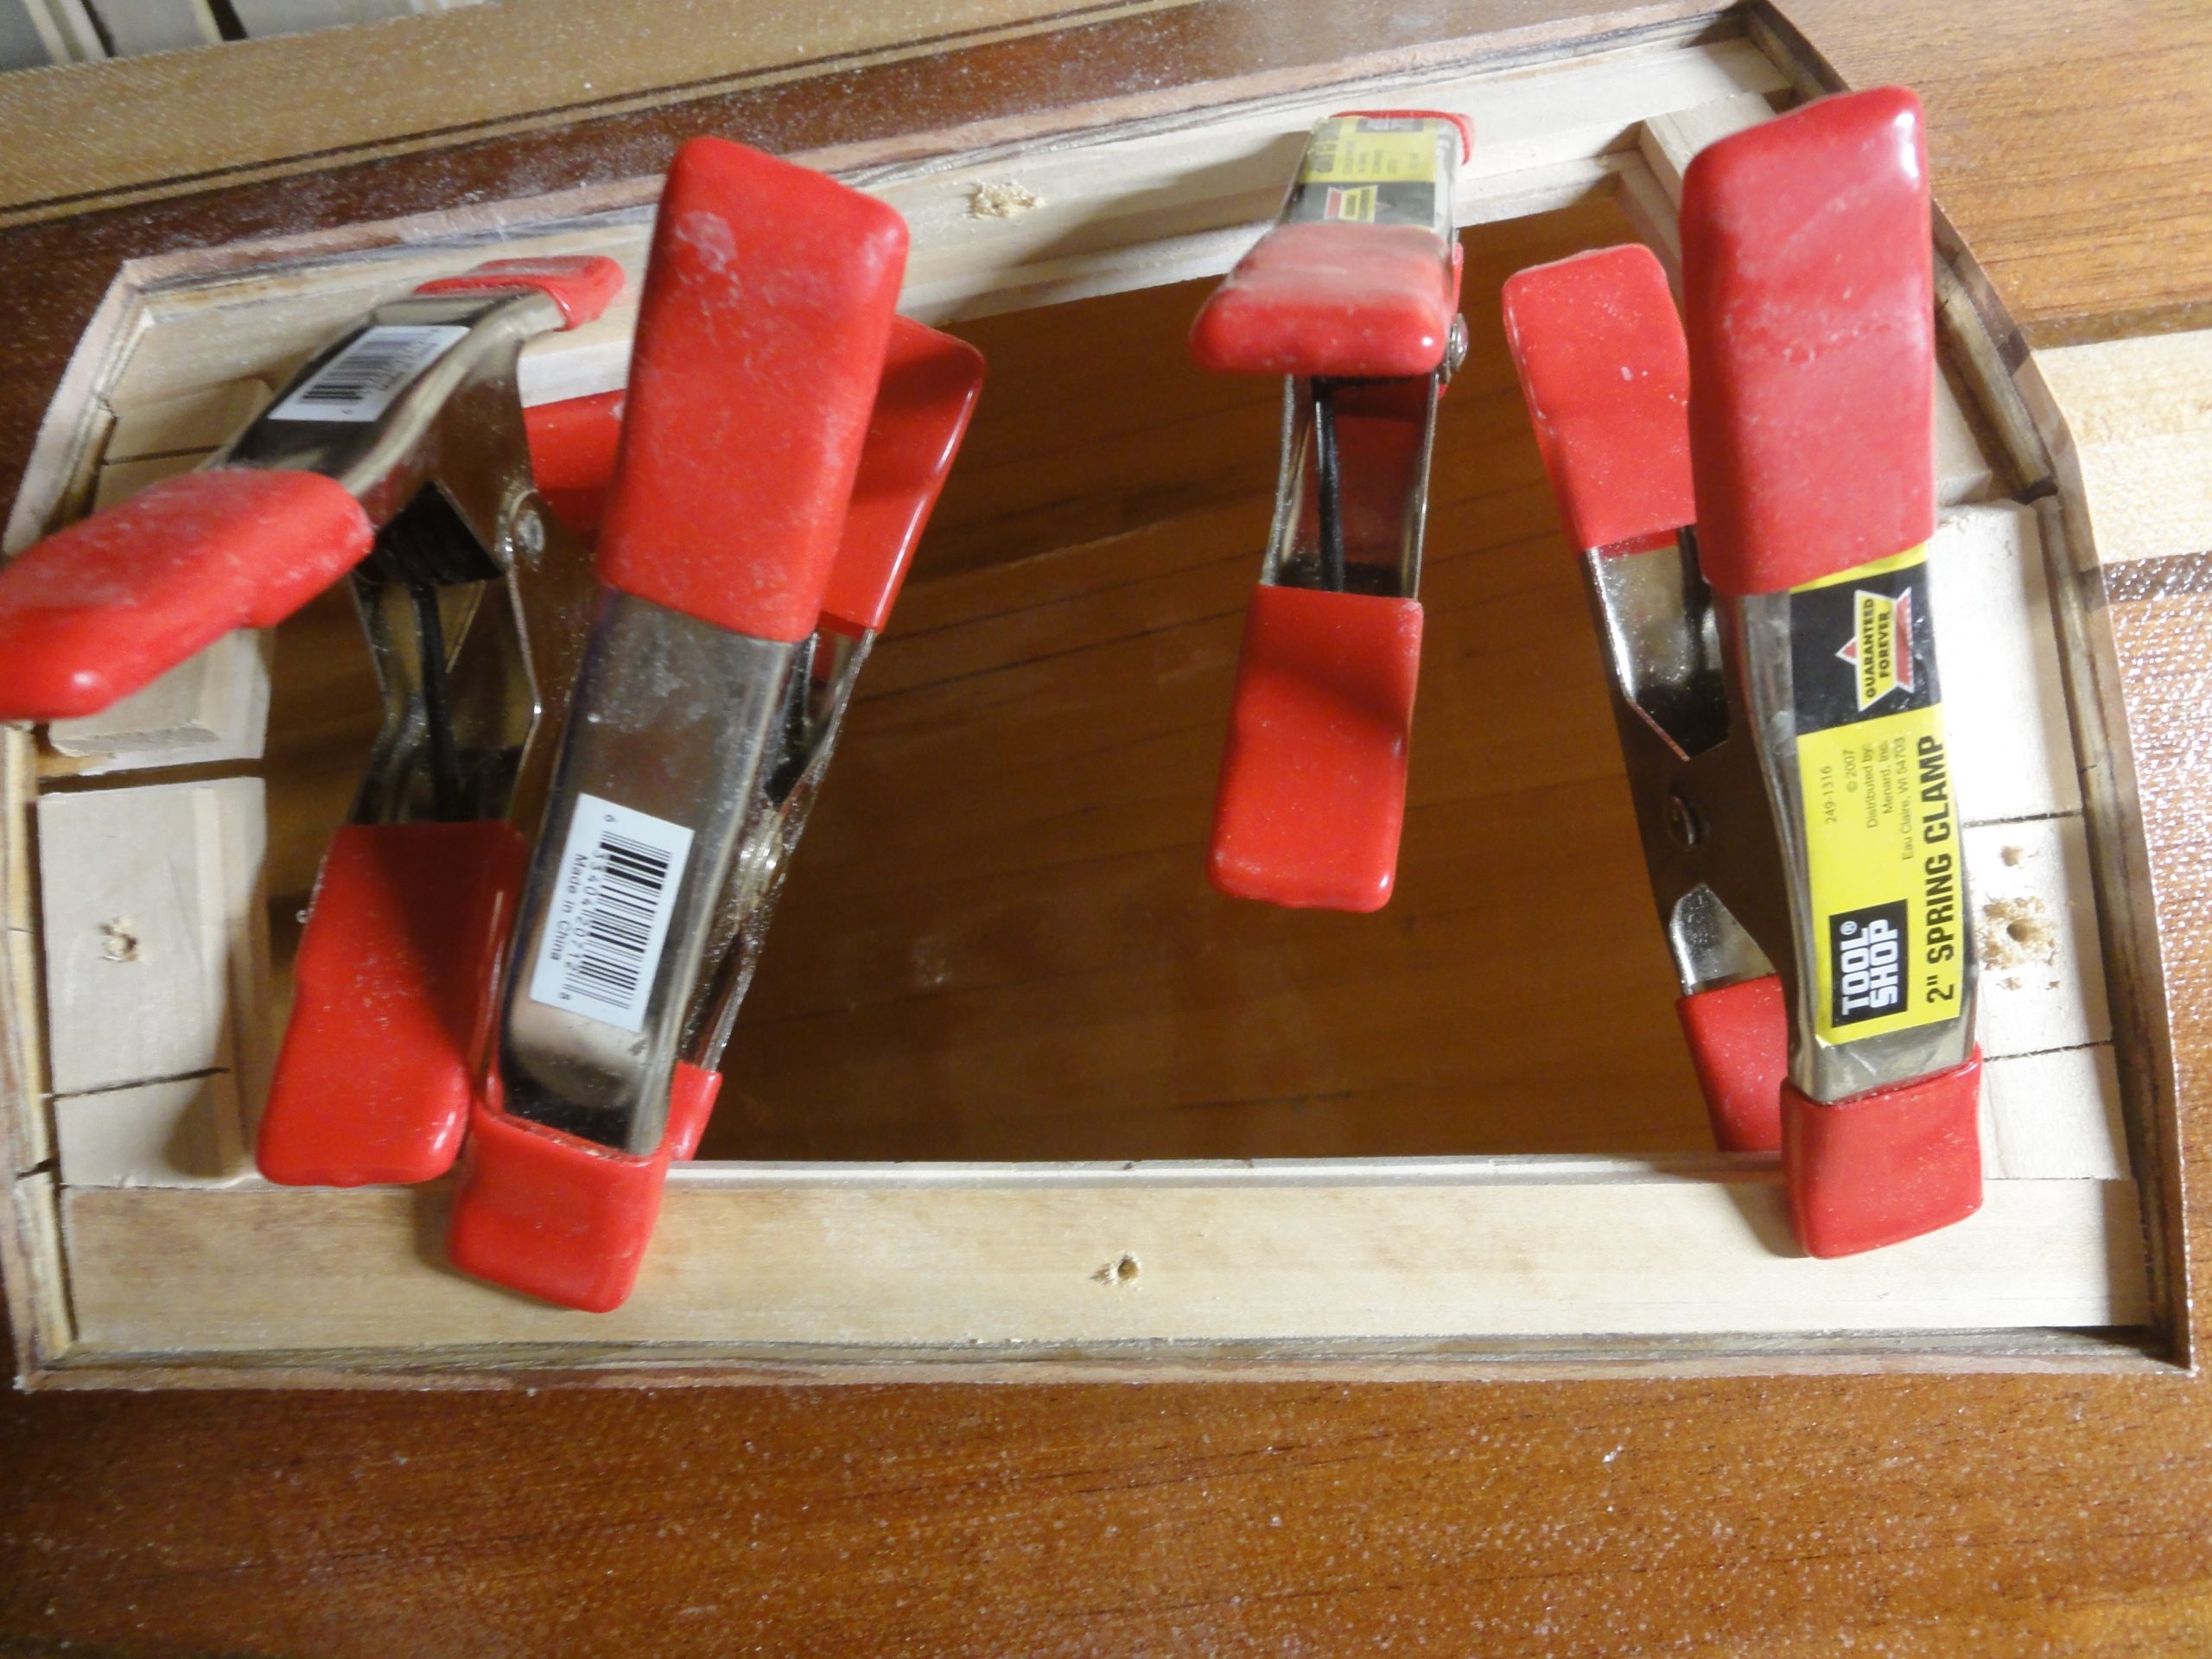
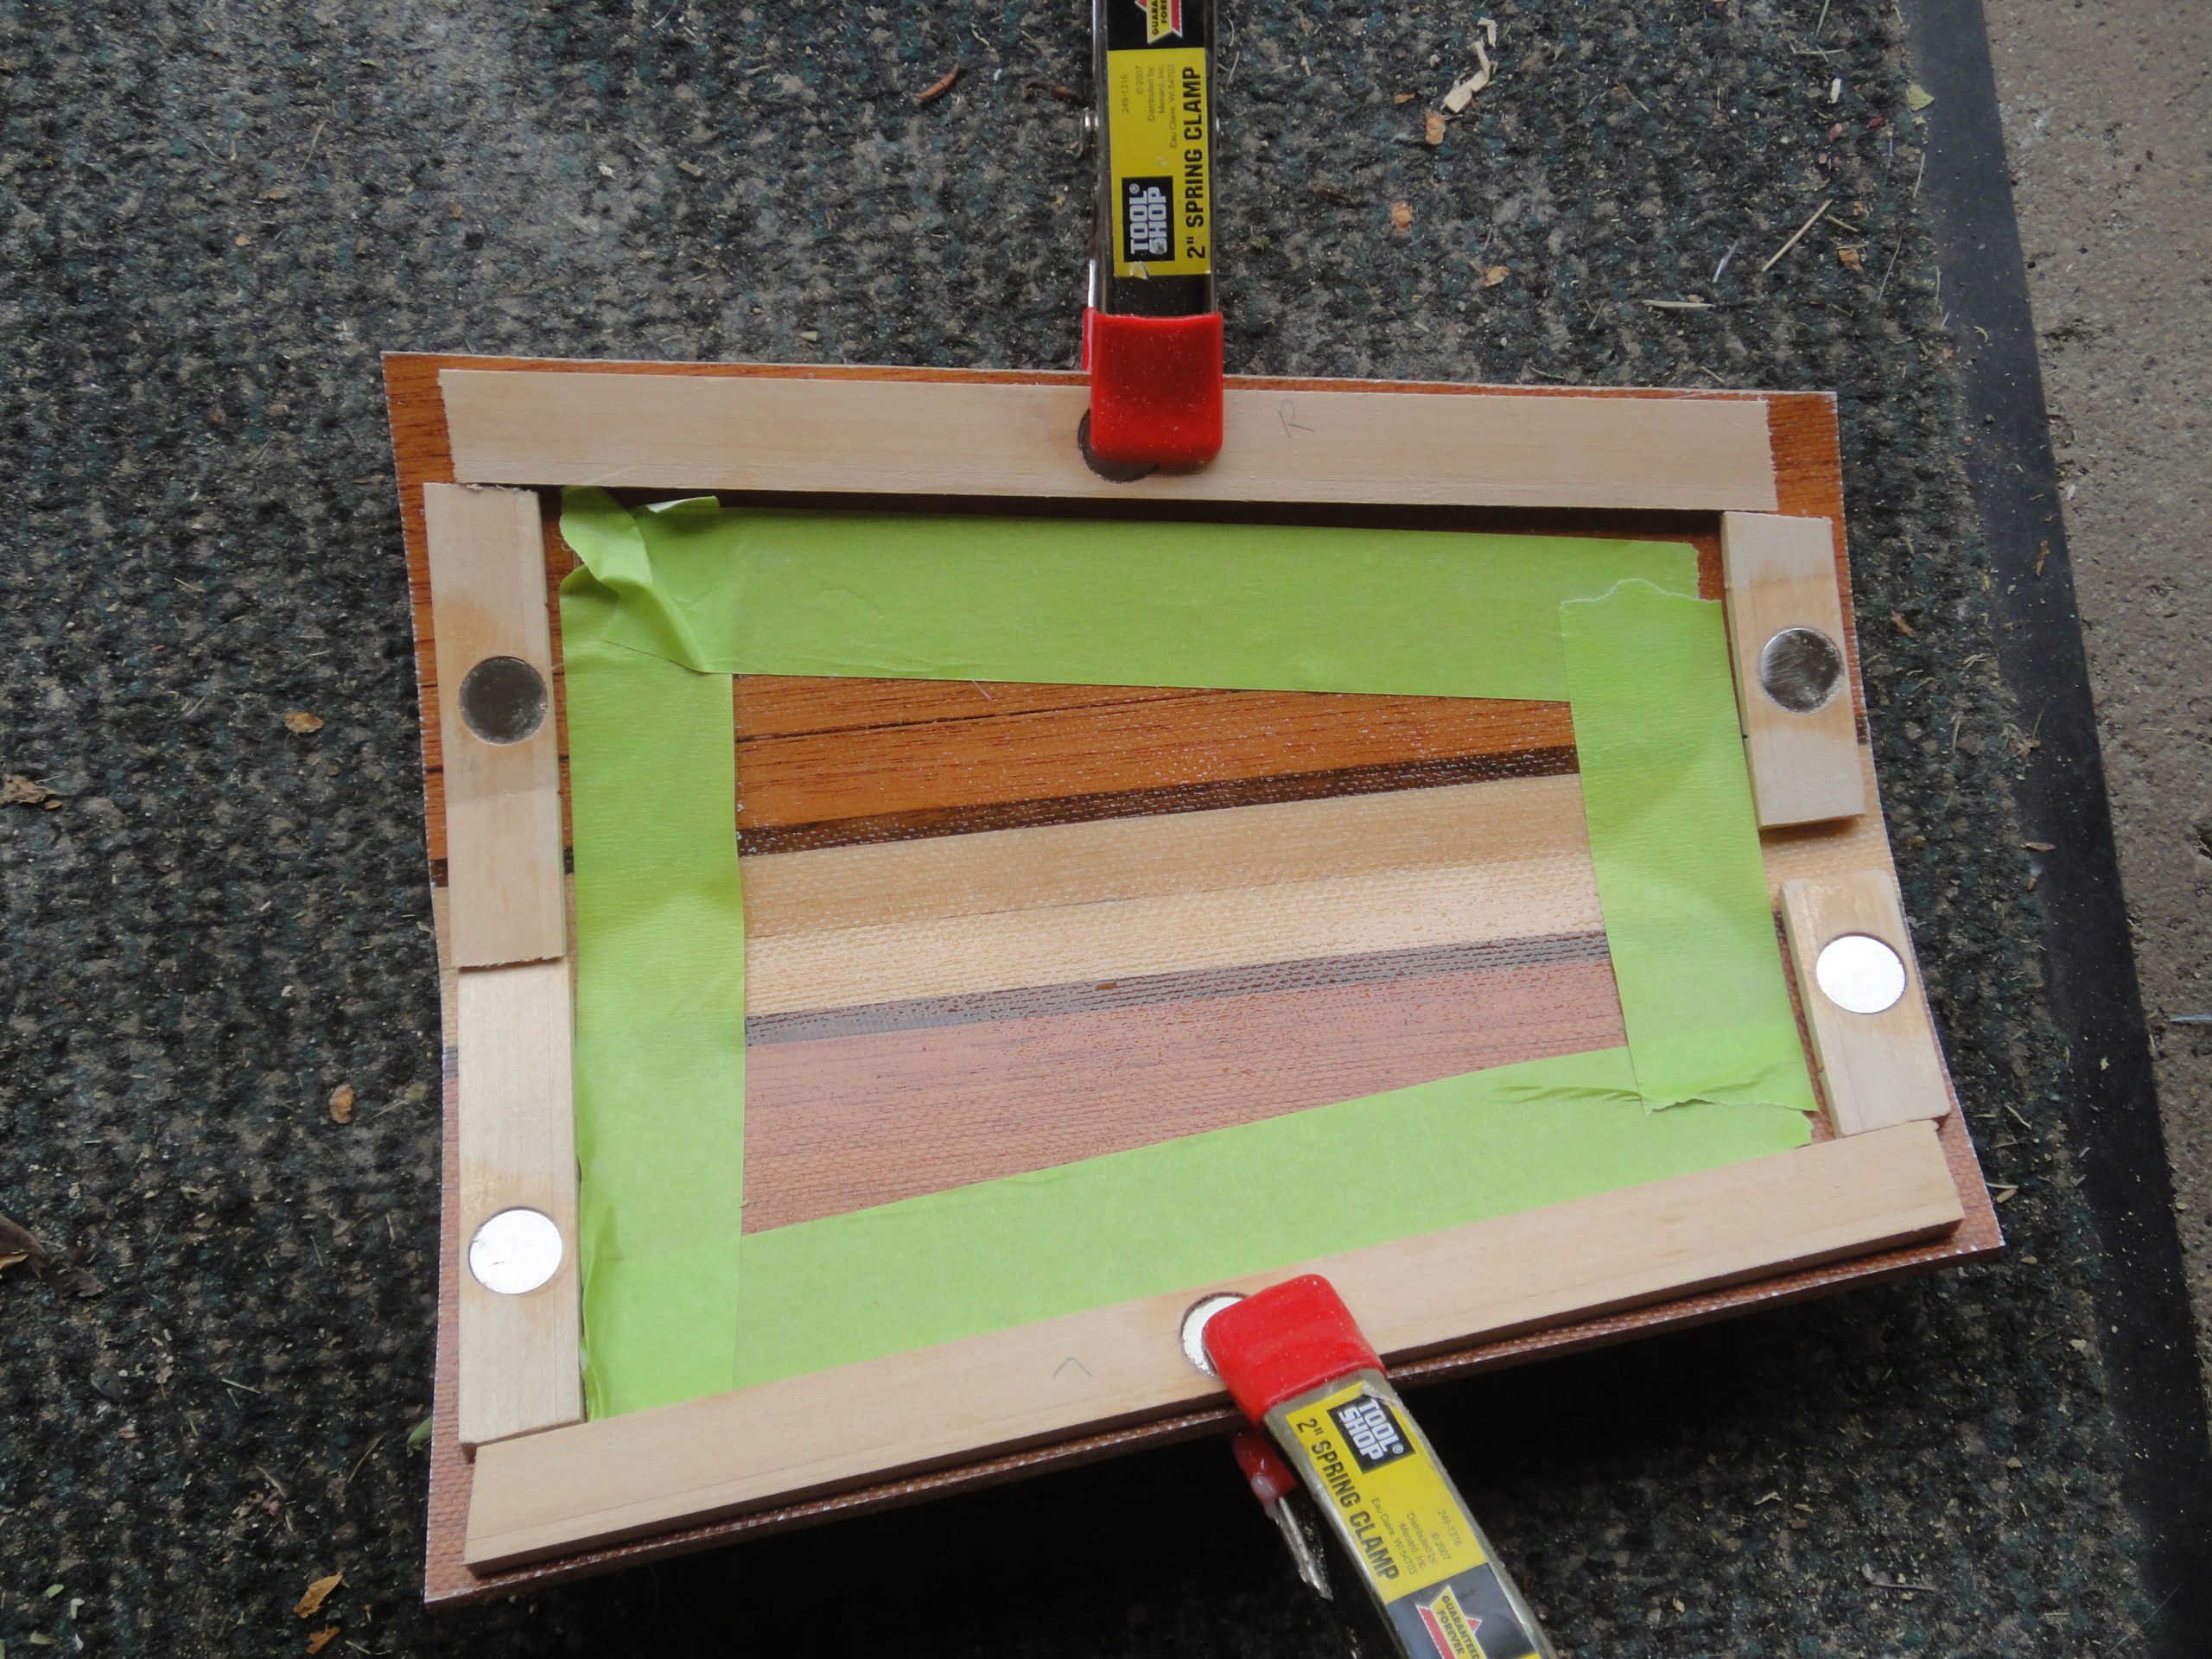
So plan B. I taped the hatch in place, flipped it over and laid out tape to mark where the pieces would go. I then removed the hatch, used the tape to align the ring pieces and epoxied each piece into place and clamped them all to dry.

Finally, after some inquiries on line I found out that the hull “shrinking” and no longer being in alignment with the deck is fairly common. Once they’re aligned and epoxied together they would stay, in the mean time it was suggested to drop in some spreader boards to help flex it back into the shape/position that it should be. So I measured the deck edges, subtracted the hull width on each side and slipped some boards into place. I’ll leave them there for a few days and see if it helps get the hull back to the correct dimensions.
