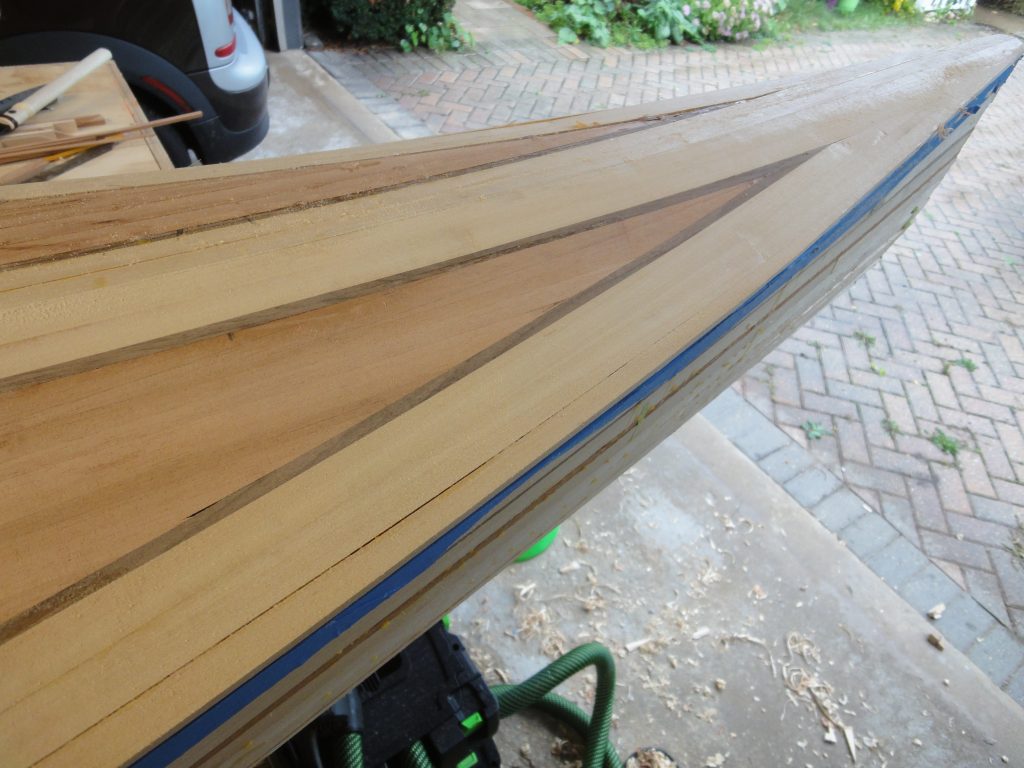
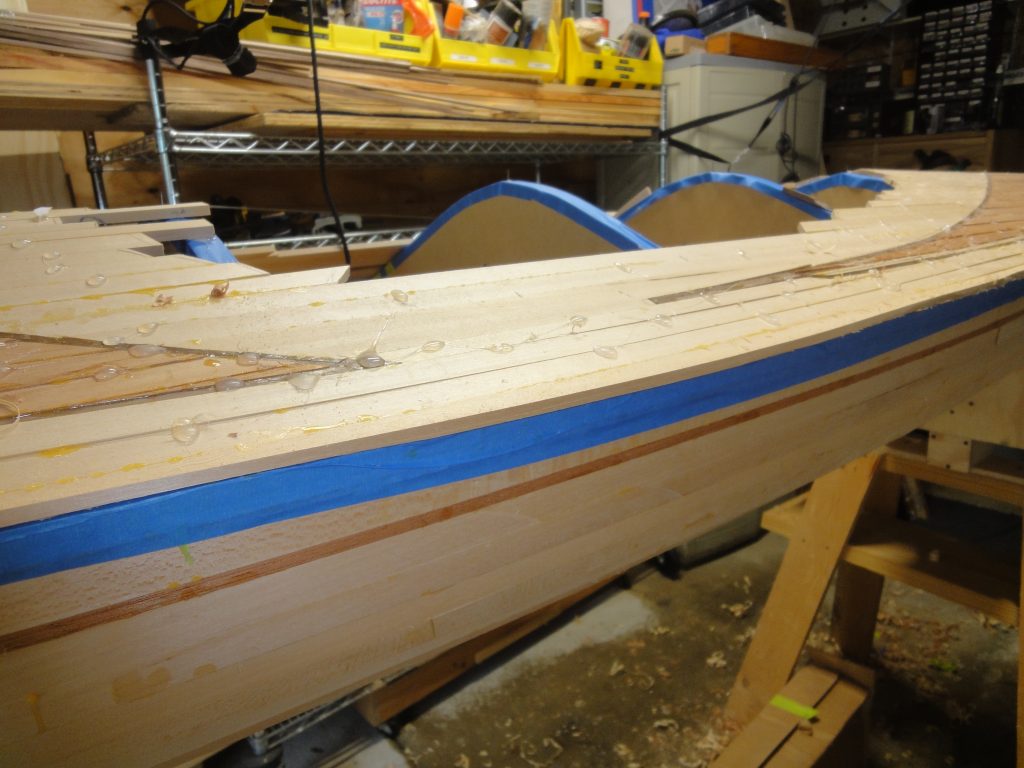
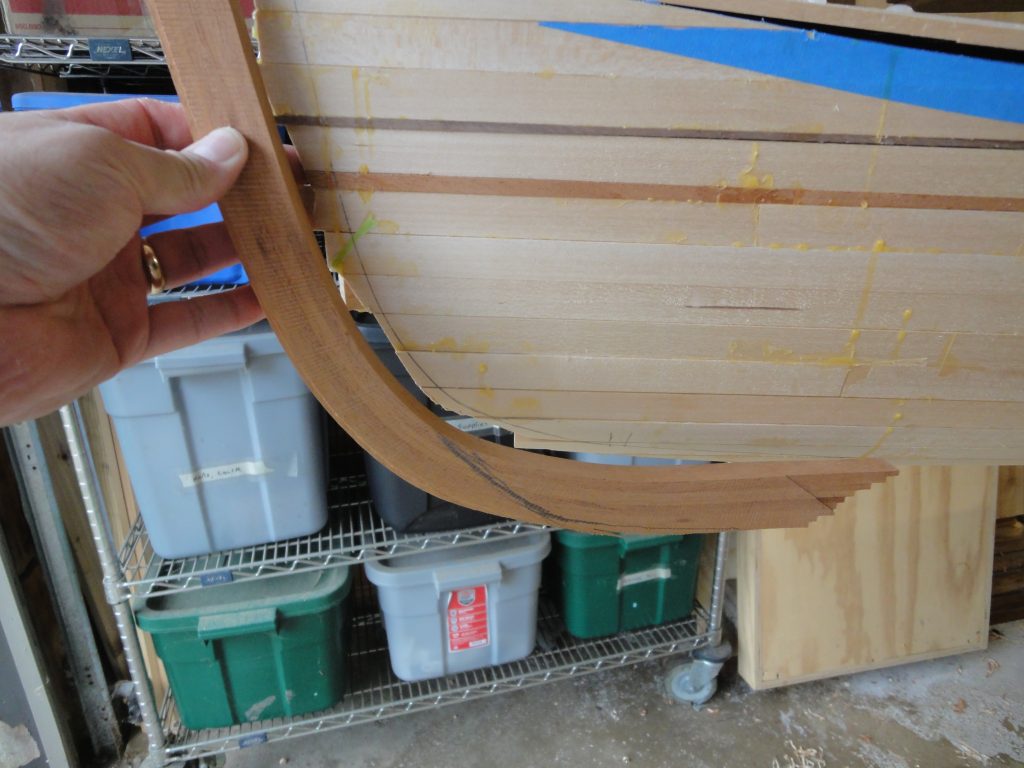
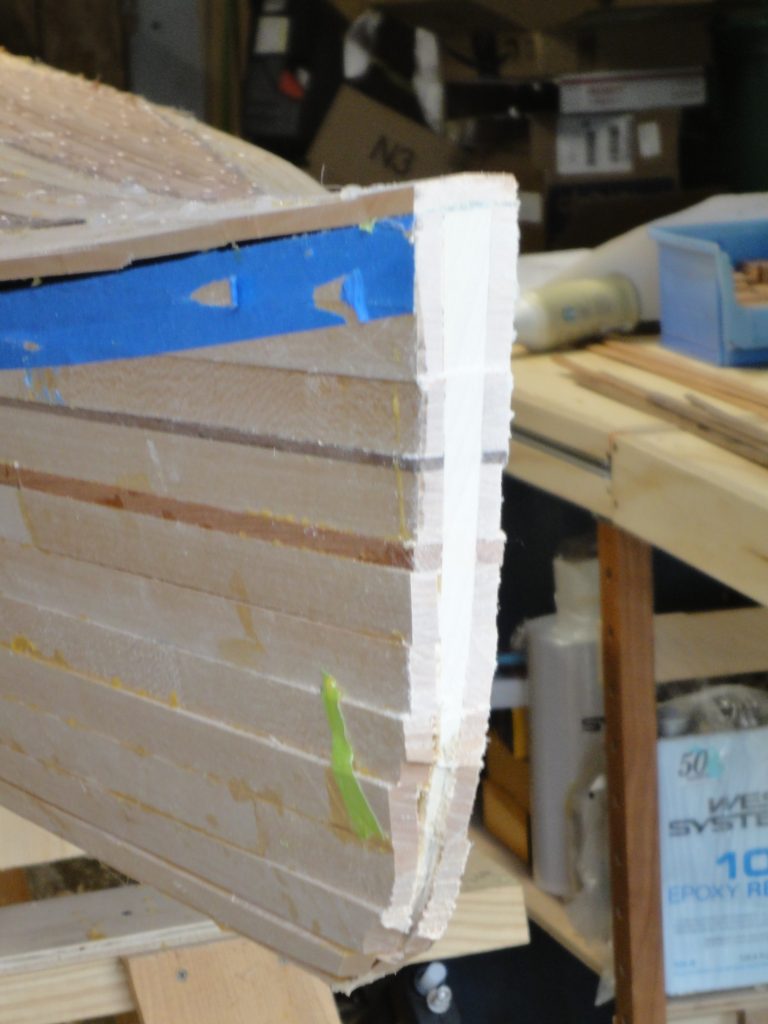
Put in some time both days and made a bit more progress. Saturday basically involved completing the deck. The remaining three strips took a few hours due to the extensive amount of fitting required and one ended up just a bit too short so I had to remake it. I also added the final outer strip knowing that a substantial part would be cut off. Sunday I trimmed it. You can see in the pictures below the strip and then the planing off of the excess beyond the edge of the hull.

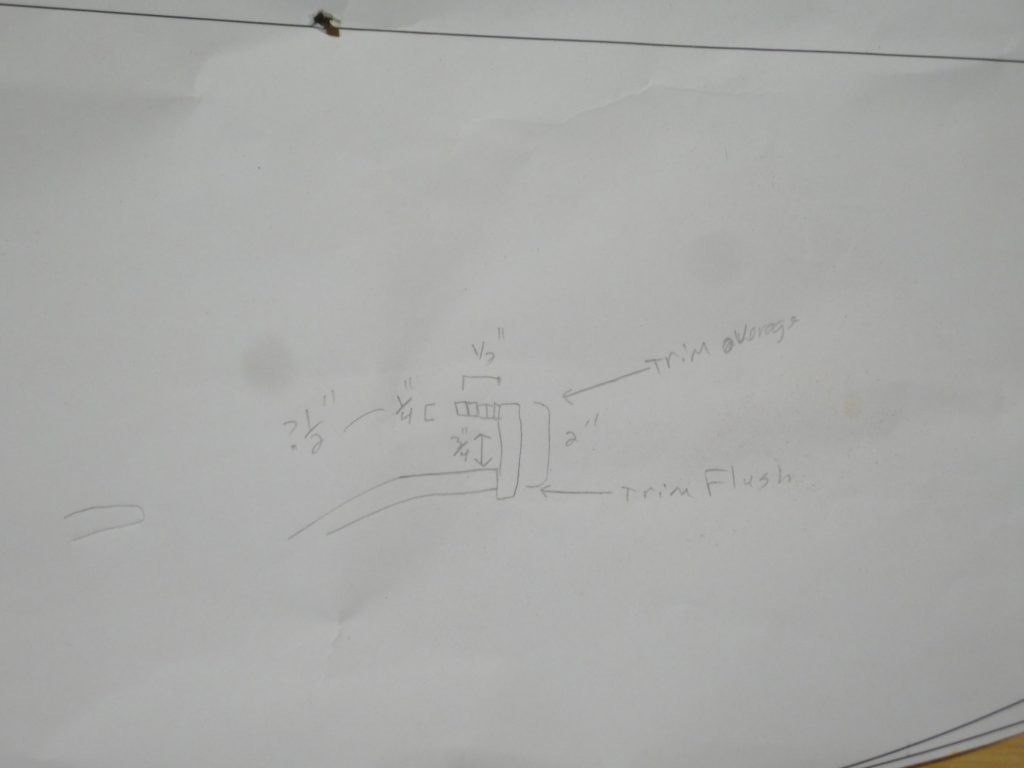
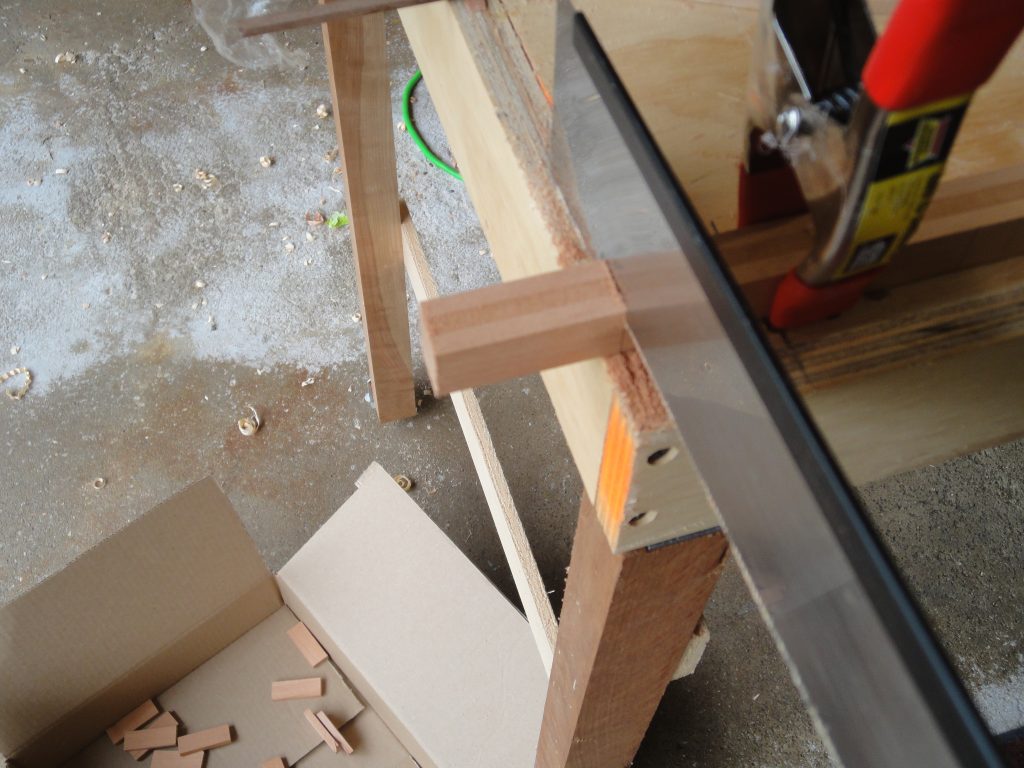
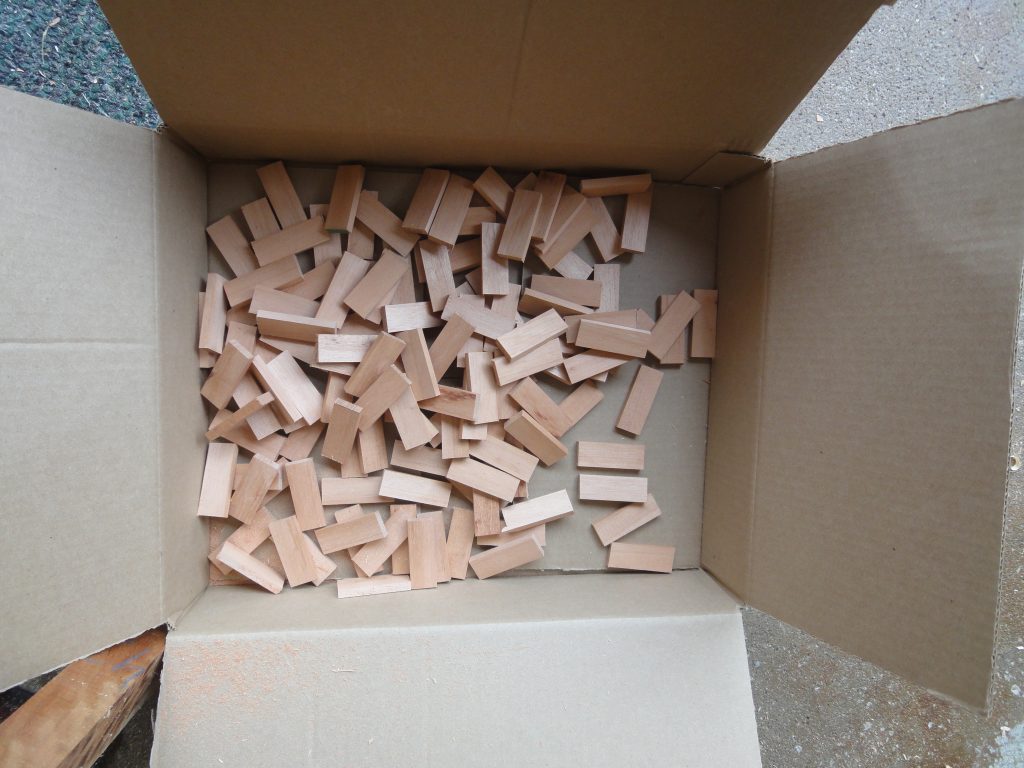
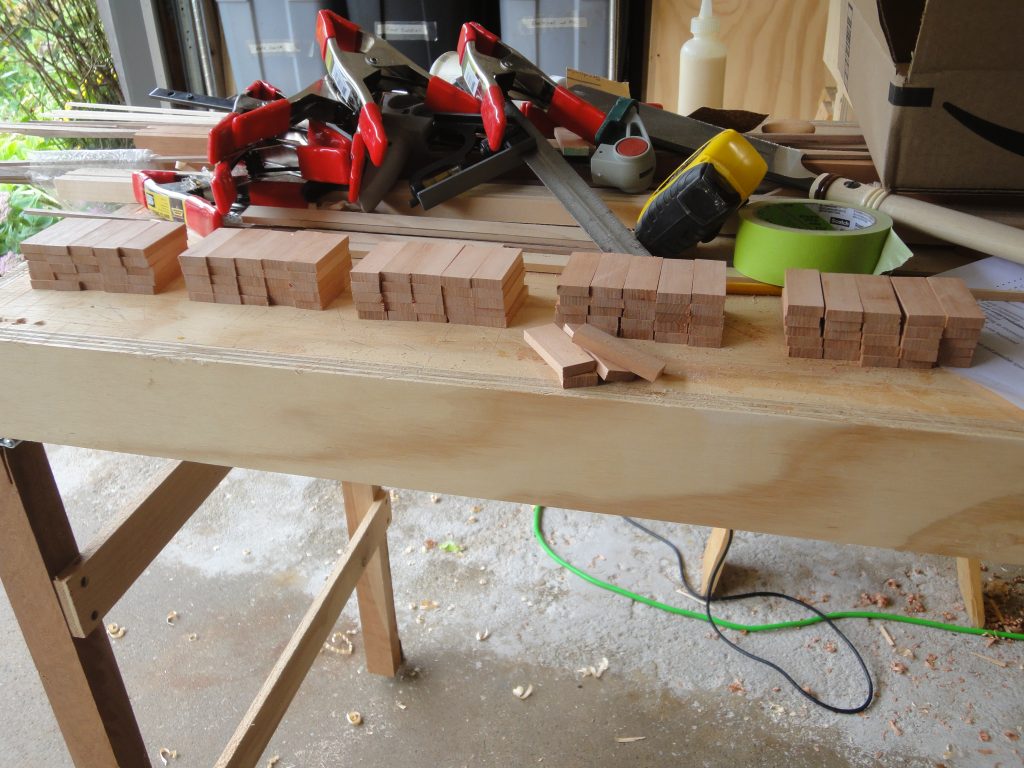
The other task on Saturday was preparing for the coaming. The riser section will be made of a bunch of small pieces of strips so I figured out the size I need, allowed for some extra and settled on a two inch piece. Calculated about 133 that will be needed so to have a few spares I aimed for 140. After marking one strip, I ganged three together to make the cutting go faster. Unfortunately I ended up with just over 125 so I ended up cutting a fourth strip and now I have plenty.


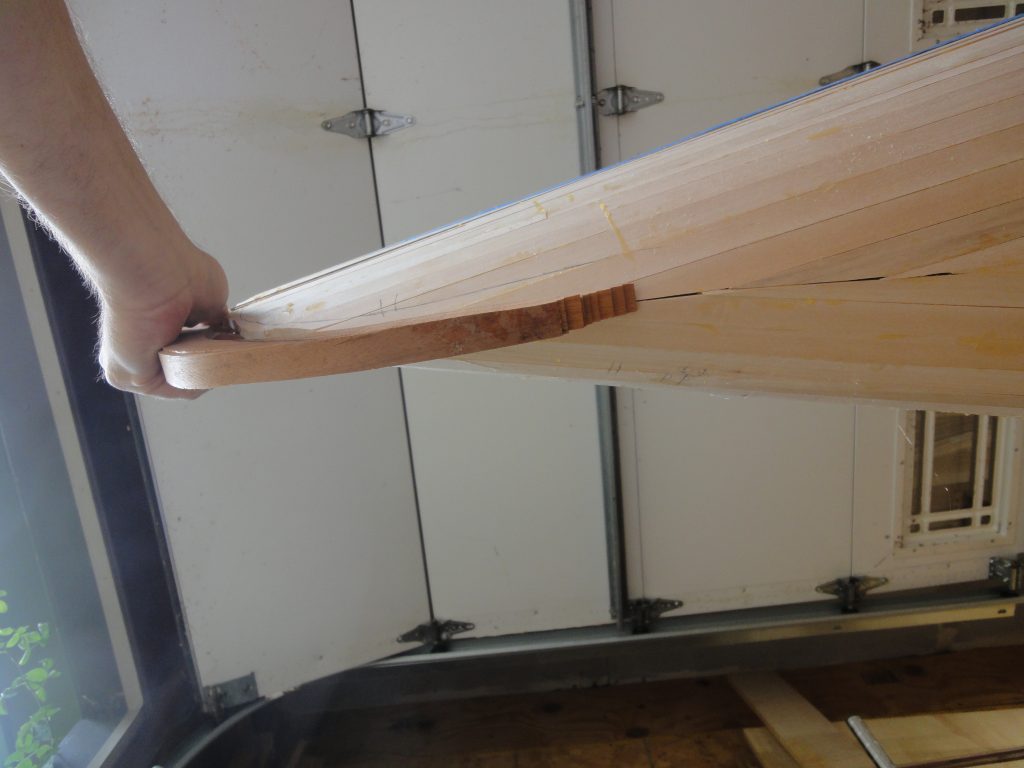
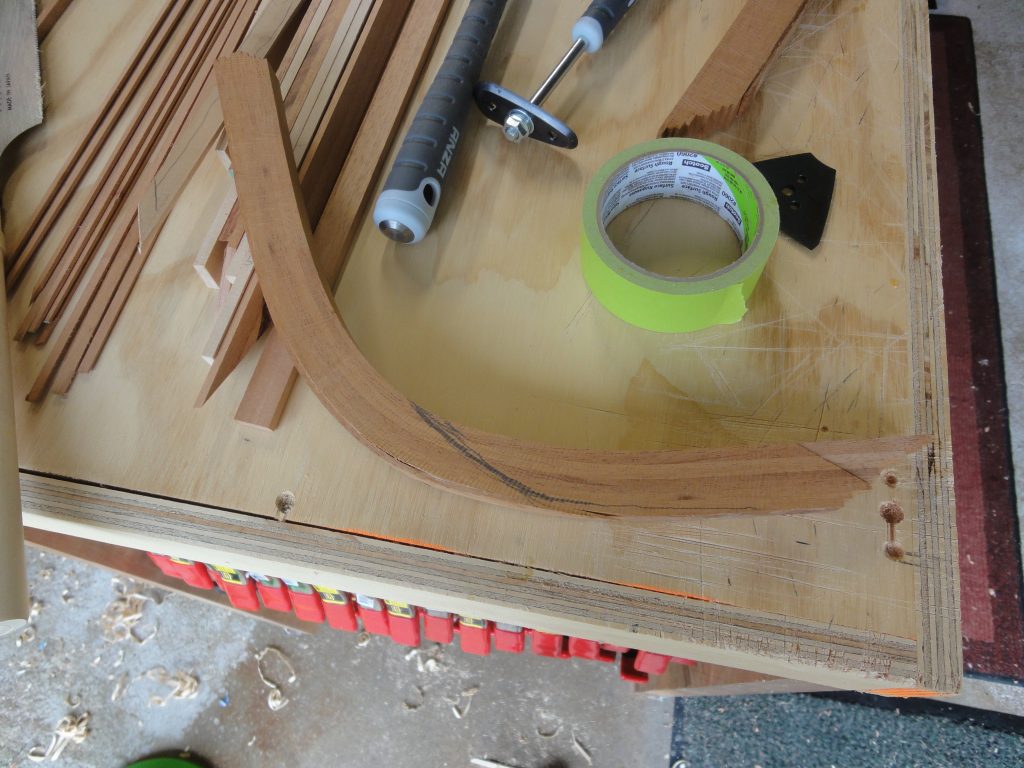
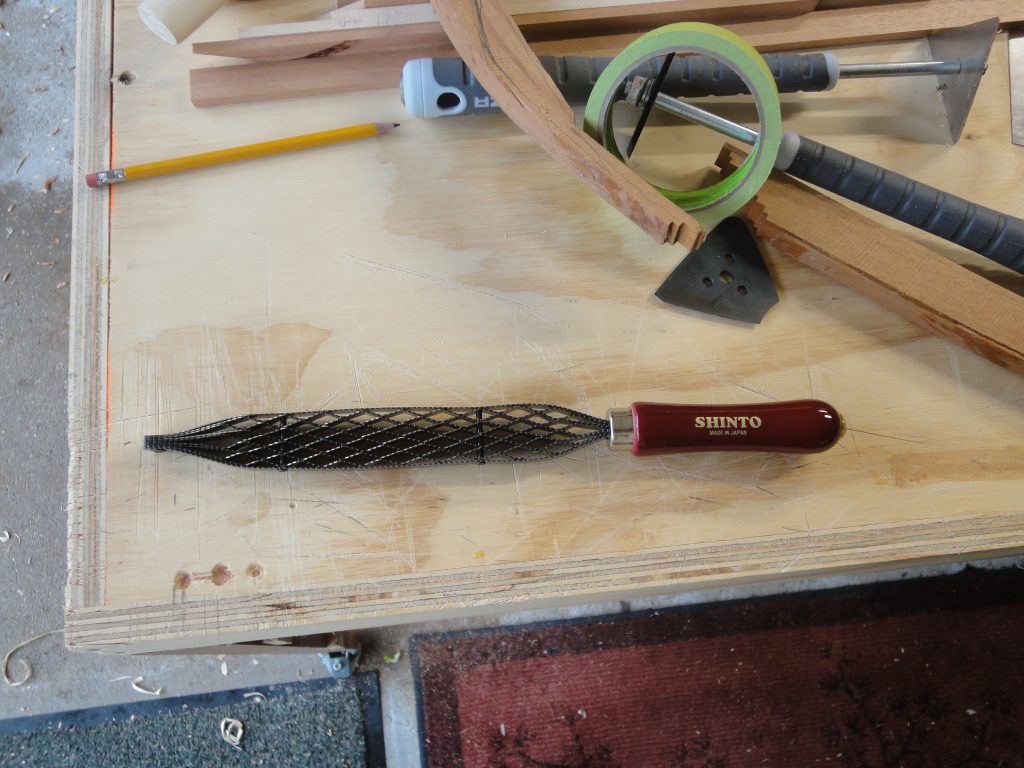
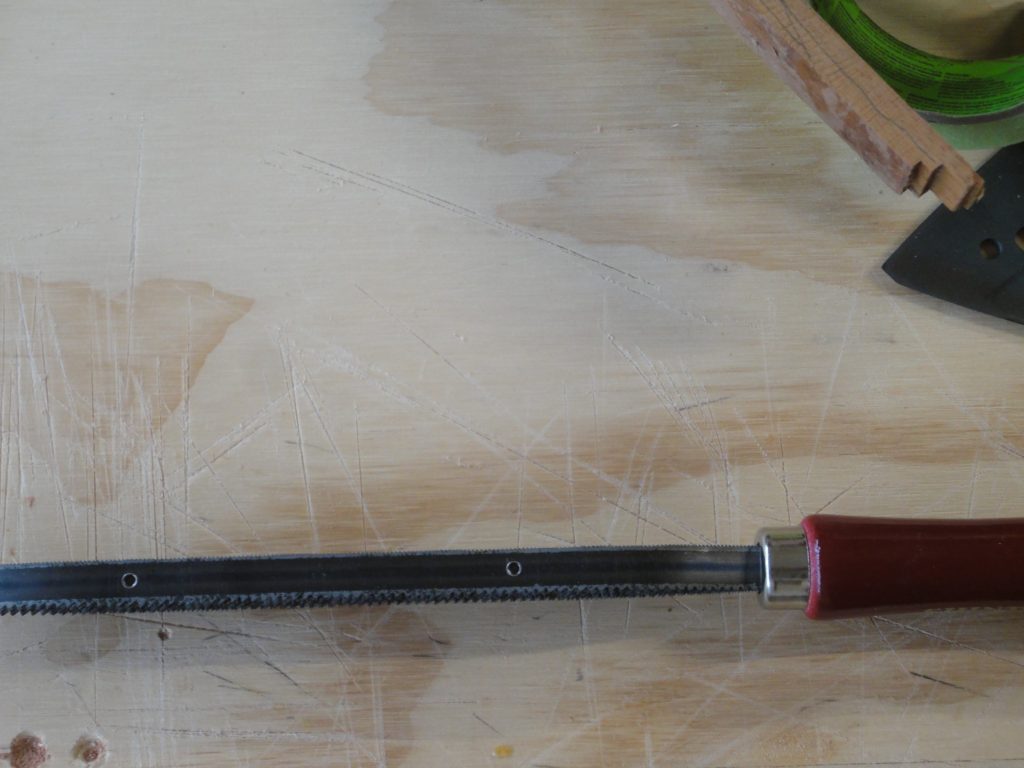
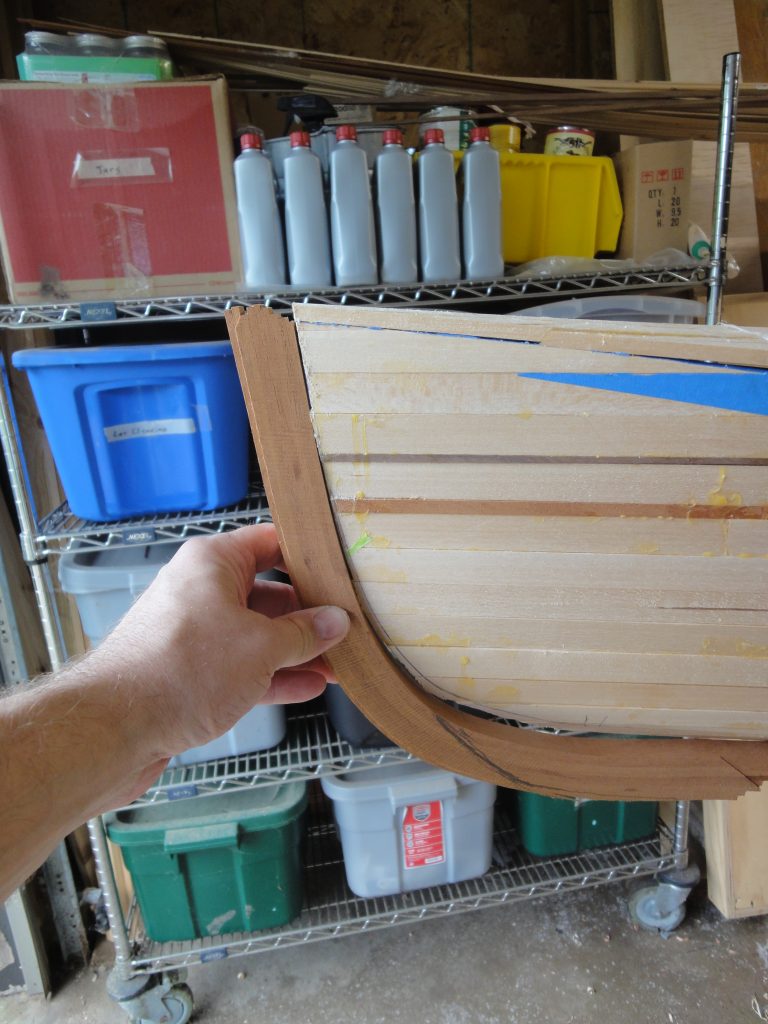
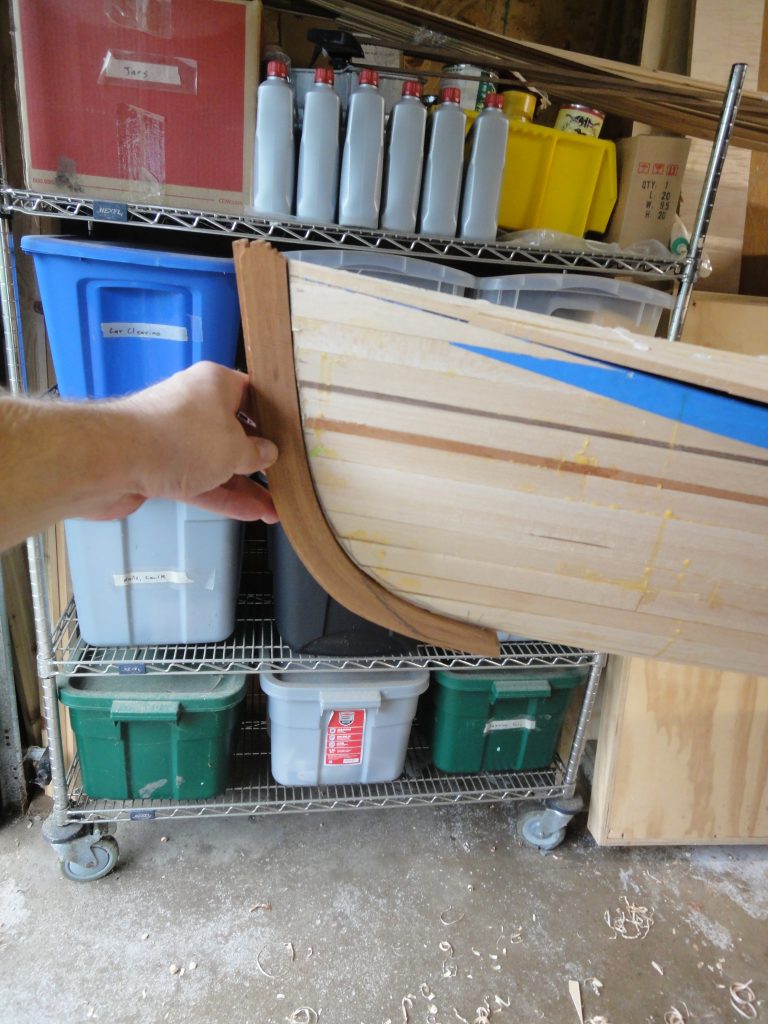
The stem pieces will eventually need to be added and this seemed like a good time to start on them. I first laid the stern outer stem against the side of the kayak and traced the edge. Since the bottom of the kayak is much wider than than the strip I cut and tapered (somewhat) the stem to make a smooth transition into the keel. The first fit was OK but needed work. Using a Shinto rasp I started to shape the edge of the boat until I had a better fit. It isn’t final yet as I also see that the piece is not wide enough. I need to add 2-3 more layers that are wider before I can perform the final fitting and glue it in place.
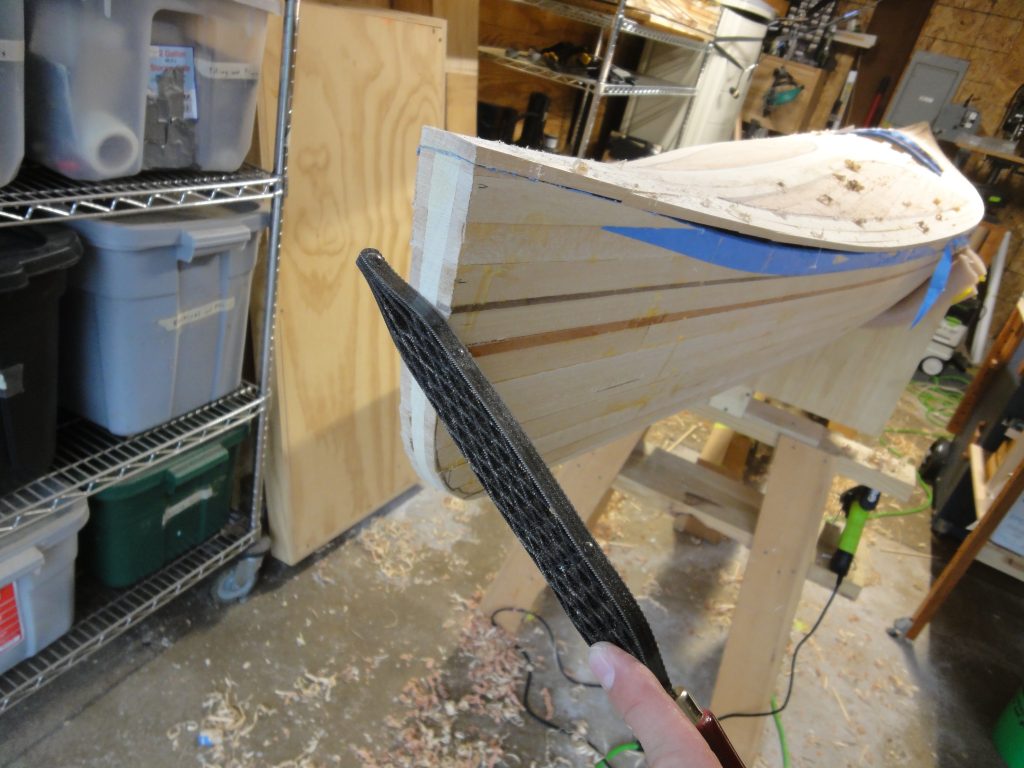
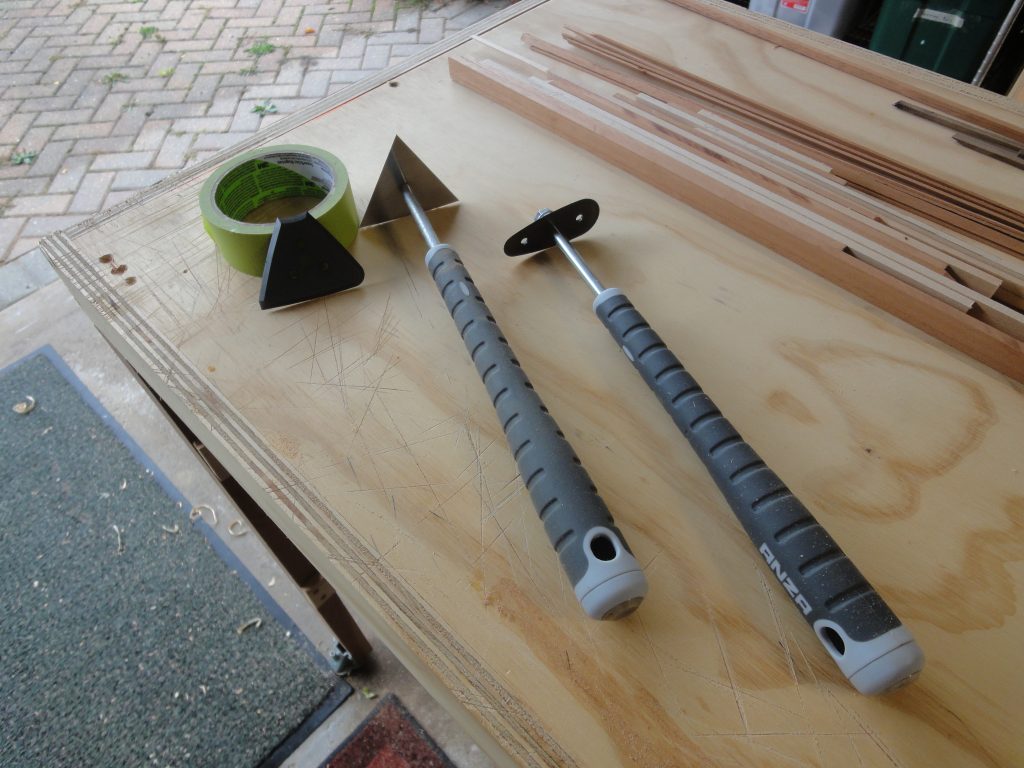
Next I moved on to the scraping and sanding. I started with a pair of scrapers and an extra blade. The rounded one will be for the concave inside while the flatter ones will be used on the outside. They are available from Silent Paint Remover aka Viking Sales. Models 1200-3 and 1200-70. The video below shows the scraping process. Basically, higher angle to shear/pry off the hot glue, then more of a vertical position for the blade to start scraping wood shavings off. The goal is to remove the glue, level the surface and in the case of a few boards, remove the burn marks from when I cut them.
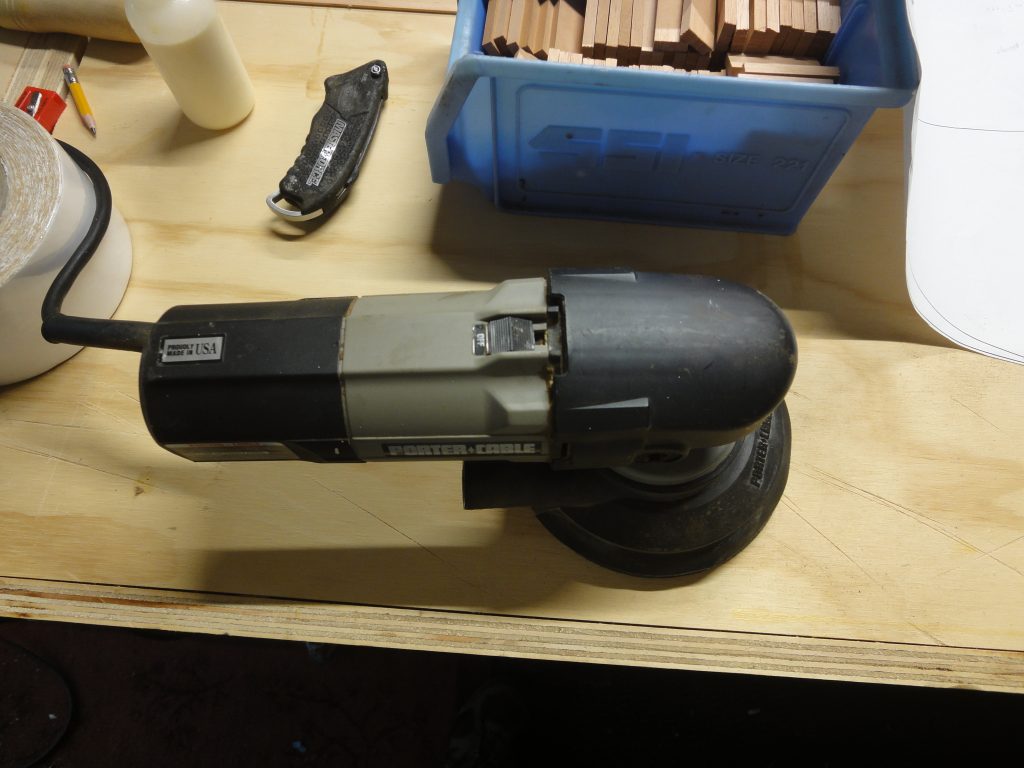
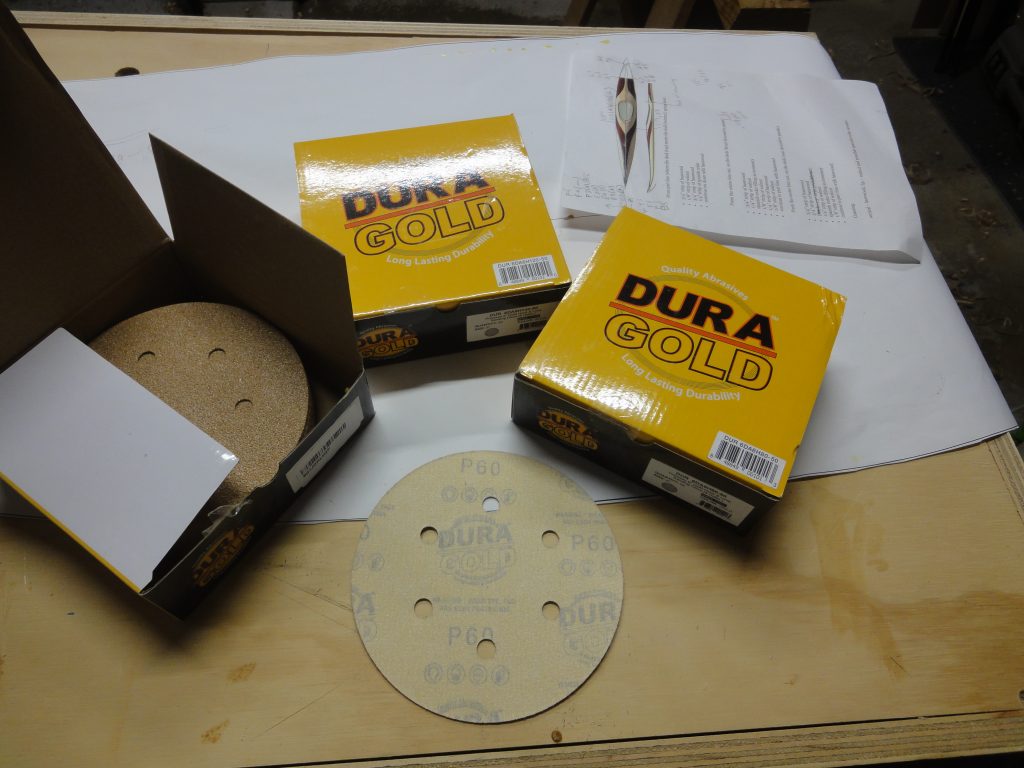
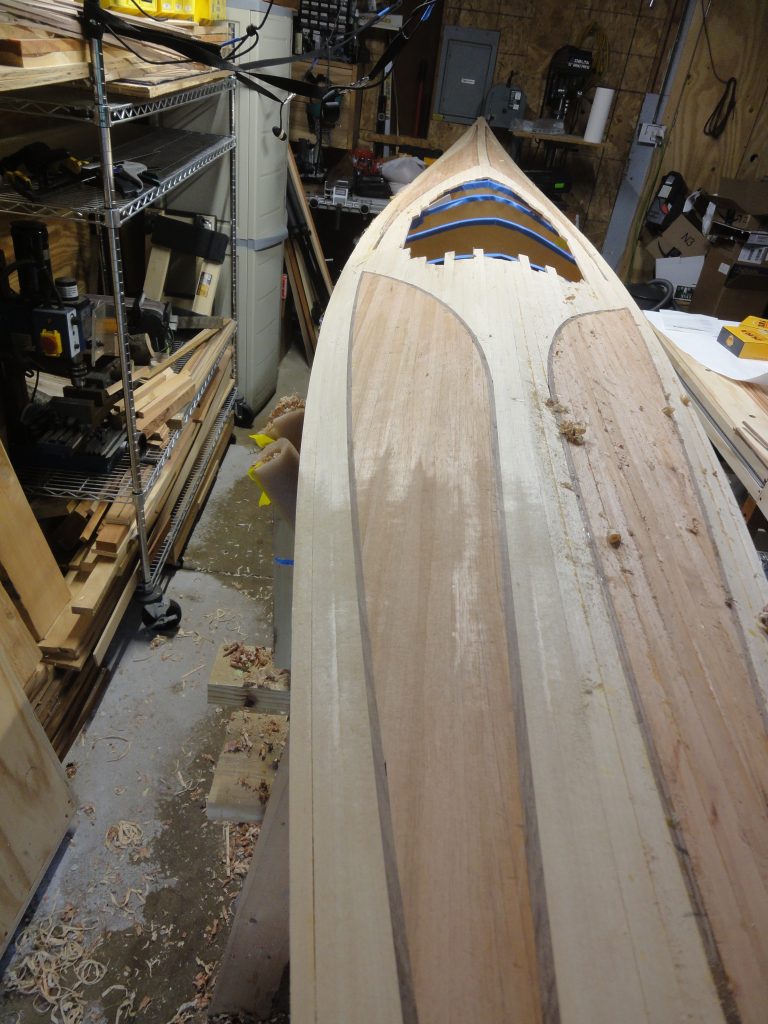
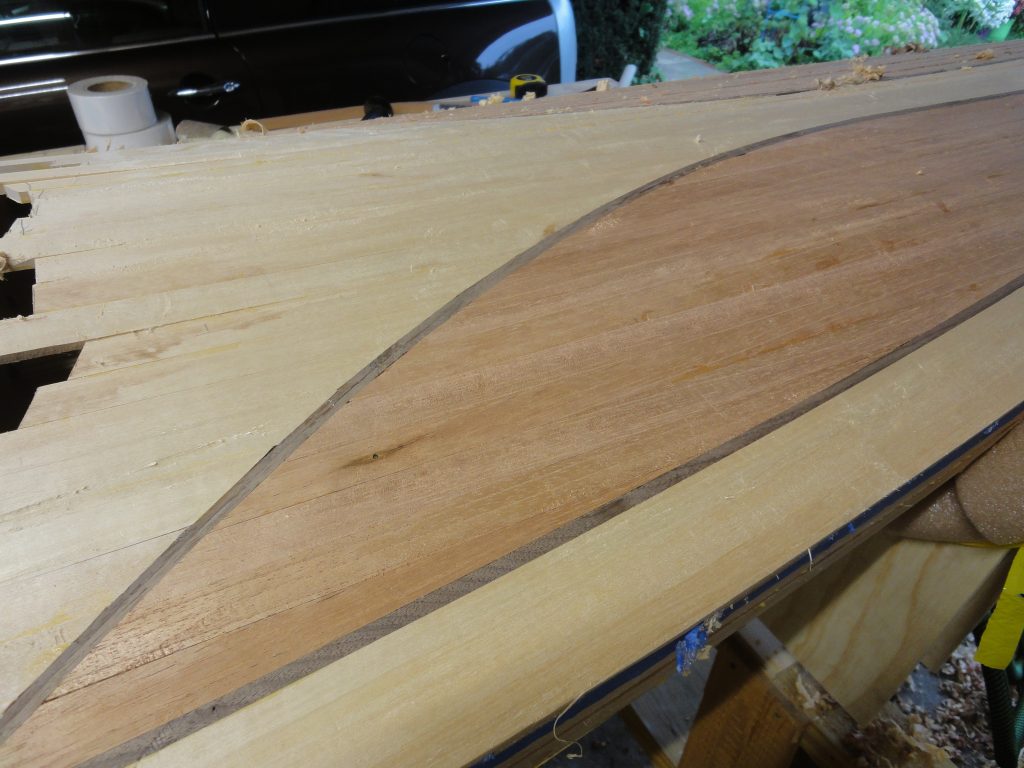
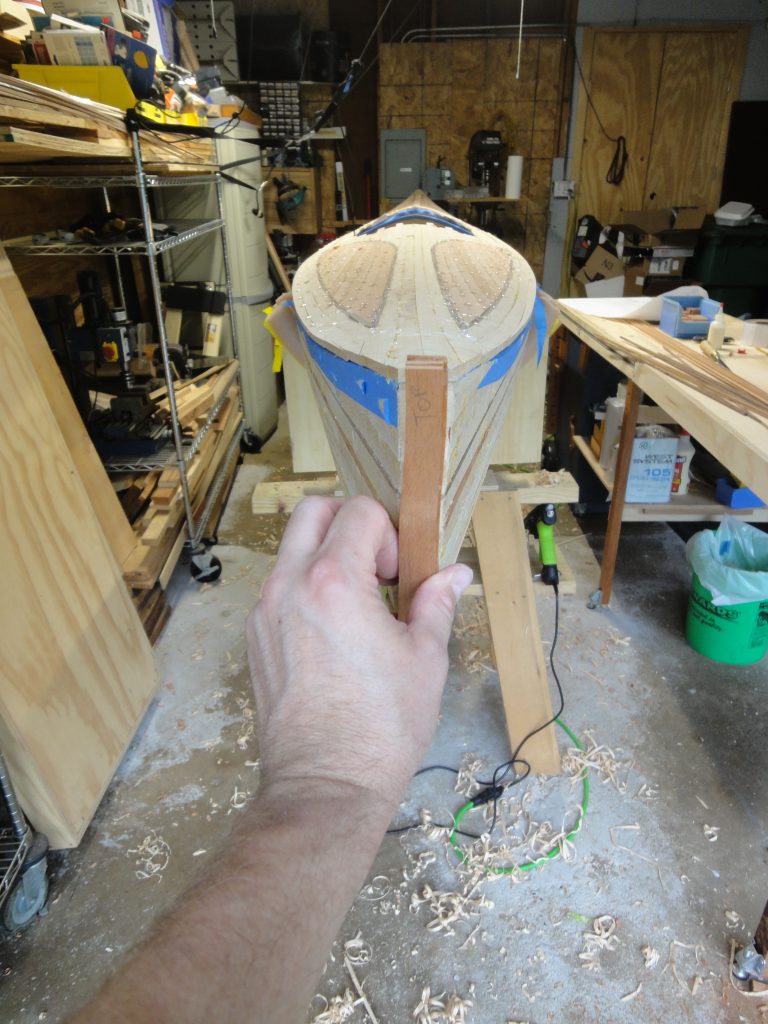
After scraping, the next step is an aggressive sanding. I used 60 grit on a random orbit sander. The sander is an old 6″ unit I’ve had for close to a few decades now. I tried a new (to me) brand of sand paper from Dura Gold and, so far with just one disc used, I’m pretty happy with it. I got 60 grit, 80 grit, and 120 grit. As the process evolves eventually all the grits will be used. In the following picture you can see the closer part has been scraped and sanded, while the further part (shinier) has only been scraped so far. The last pictures and the movie reflect the entire quarter section that has been scraped and sanded. You can see in the video where I point out a couple of gaps that will eventually need to be filled.