
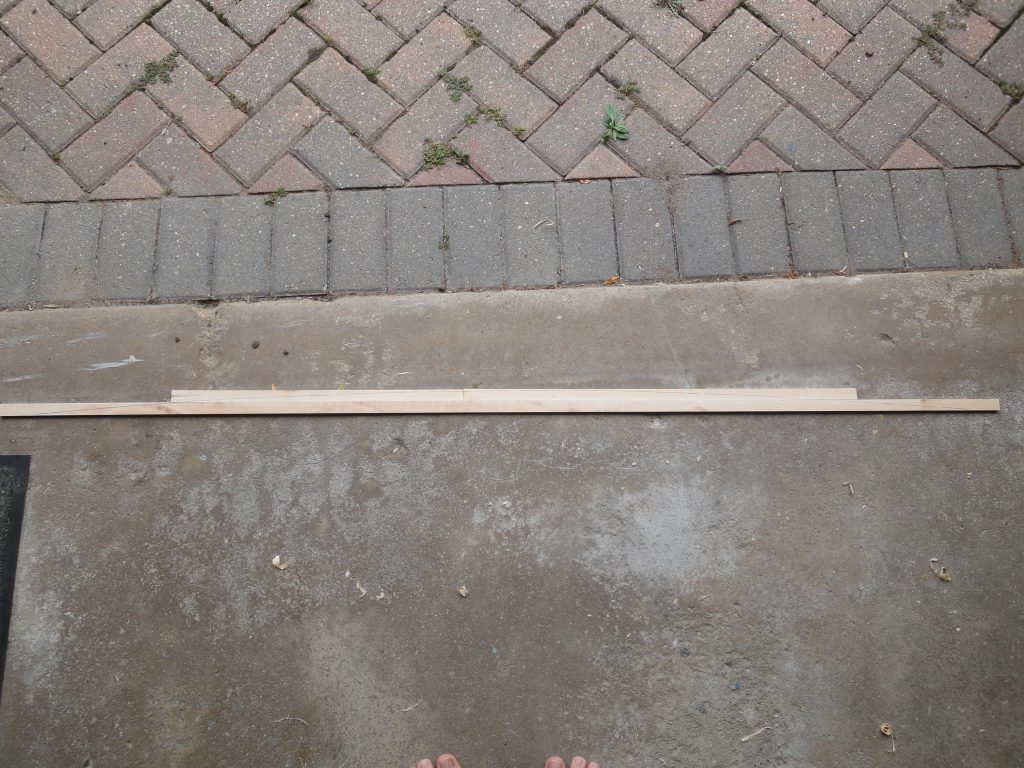
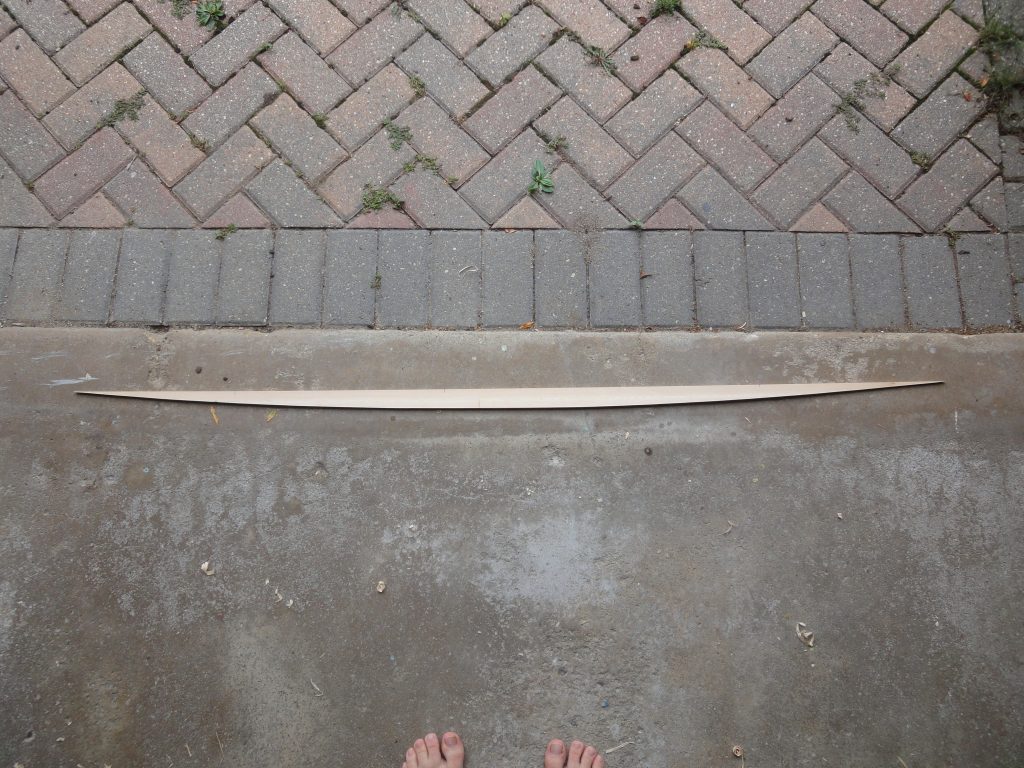
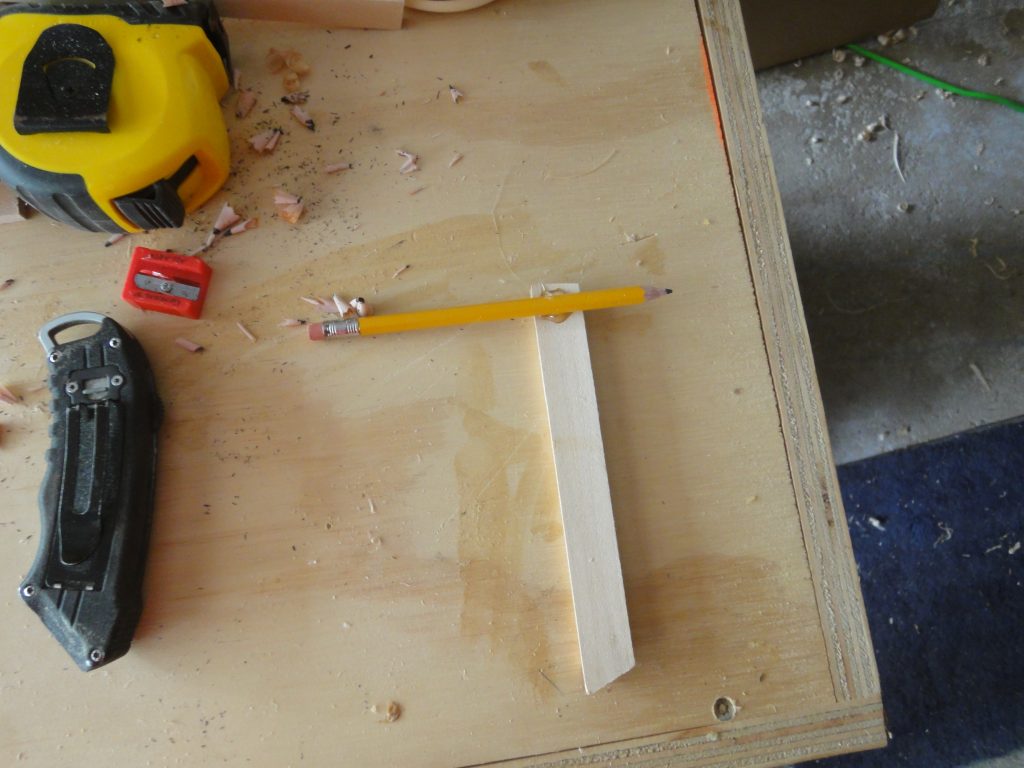
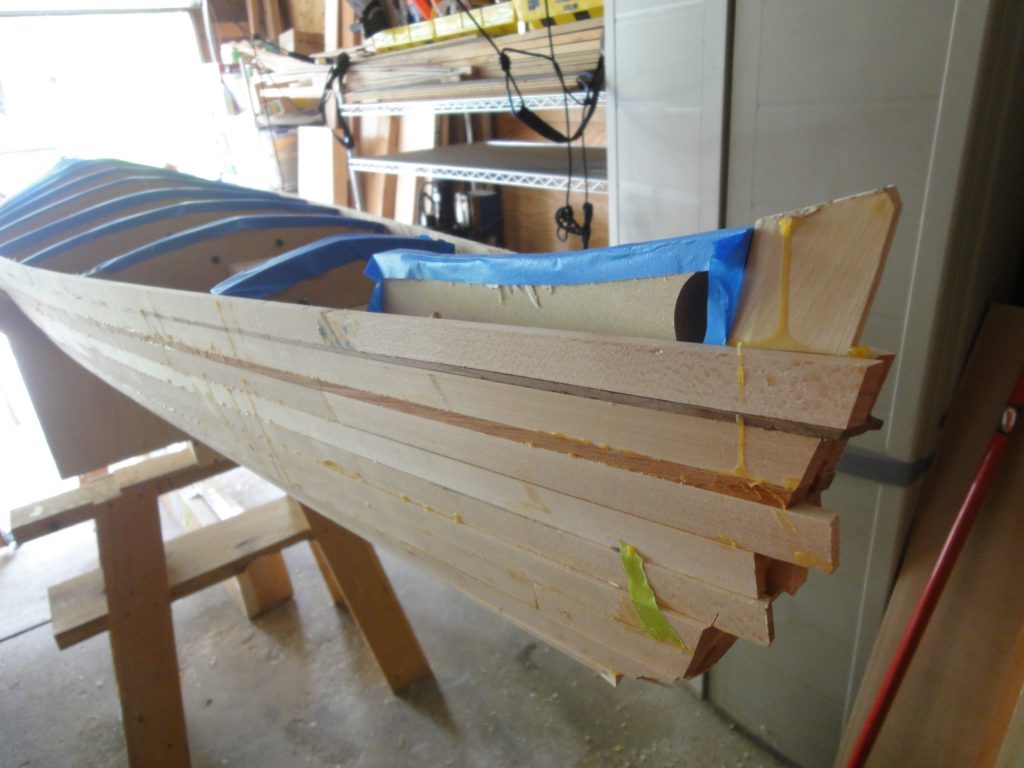
First I needed to finish the hull before I could flip the boat. As I left the kayak yesterday, the final strips were glued together and I was leaving them to dry overnight. I started by laying them over the opening and tracing from underneath. This gave me an approximate cut line which I then planed down to. Once the final shape was complete it would press fit into the opening. I would not be able to use tape to hold it so a tight fit was a requirement. And since I couldn’t use tape to pull it tight I used hot glue dots instead as a way to anchor the piece in place. They setup quickly and while they are not structural or able to resist much stress, they will help to keep the board in place while the Titebond glue dries.
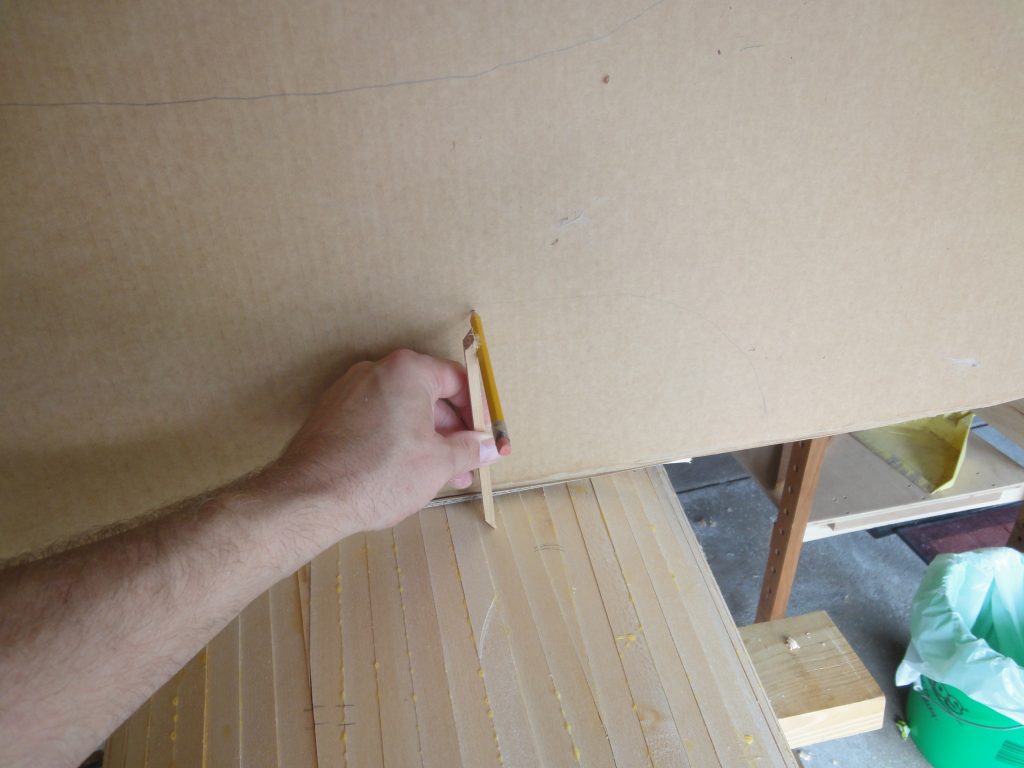
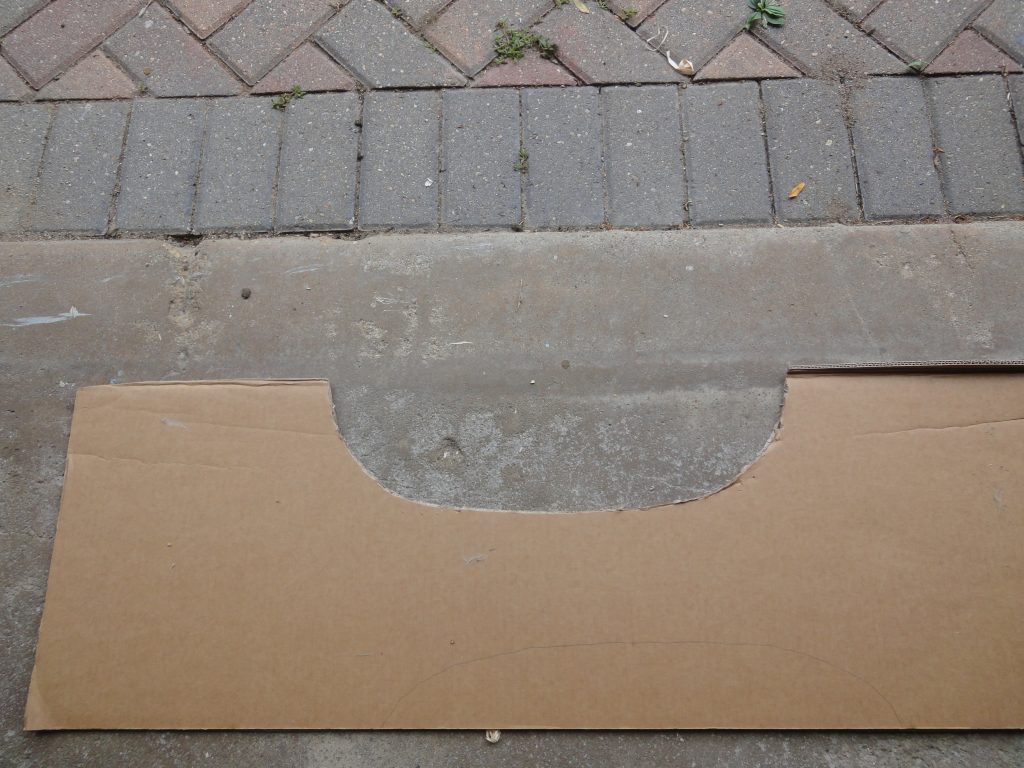
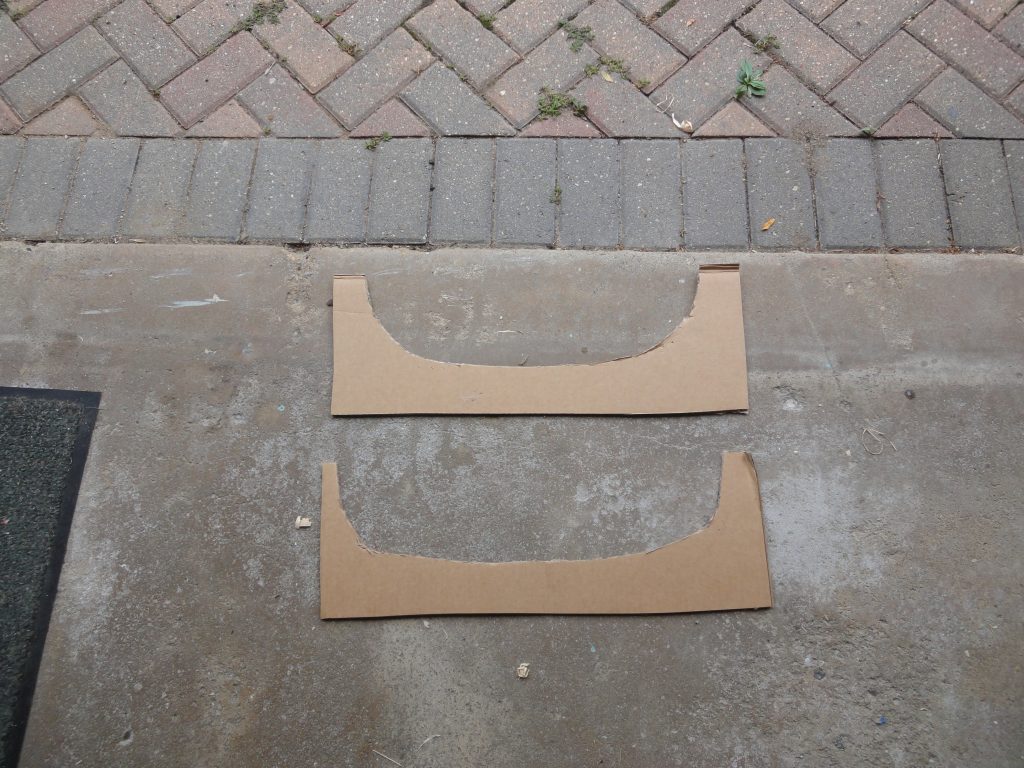
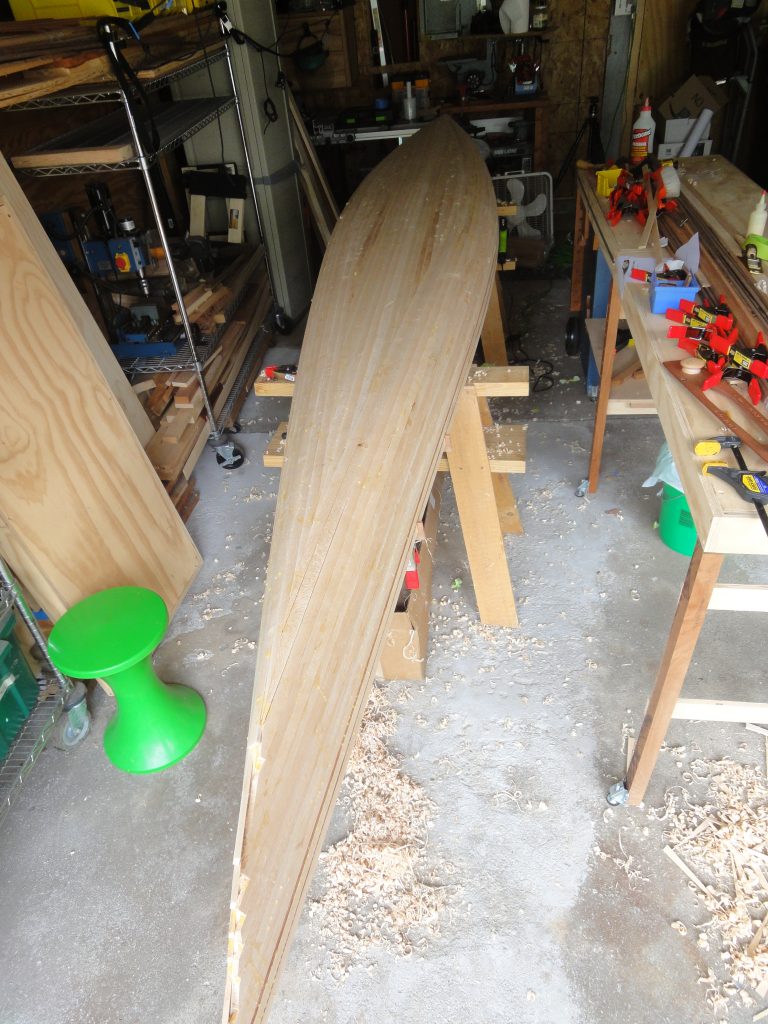
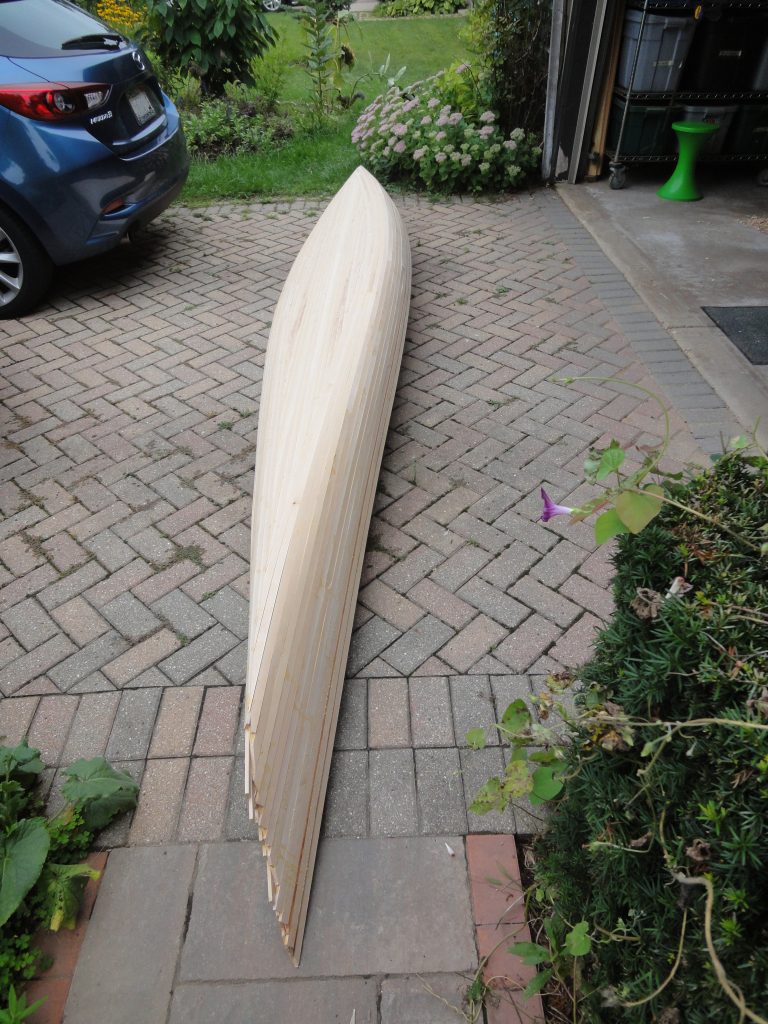
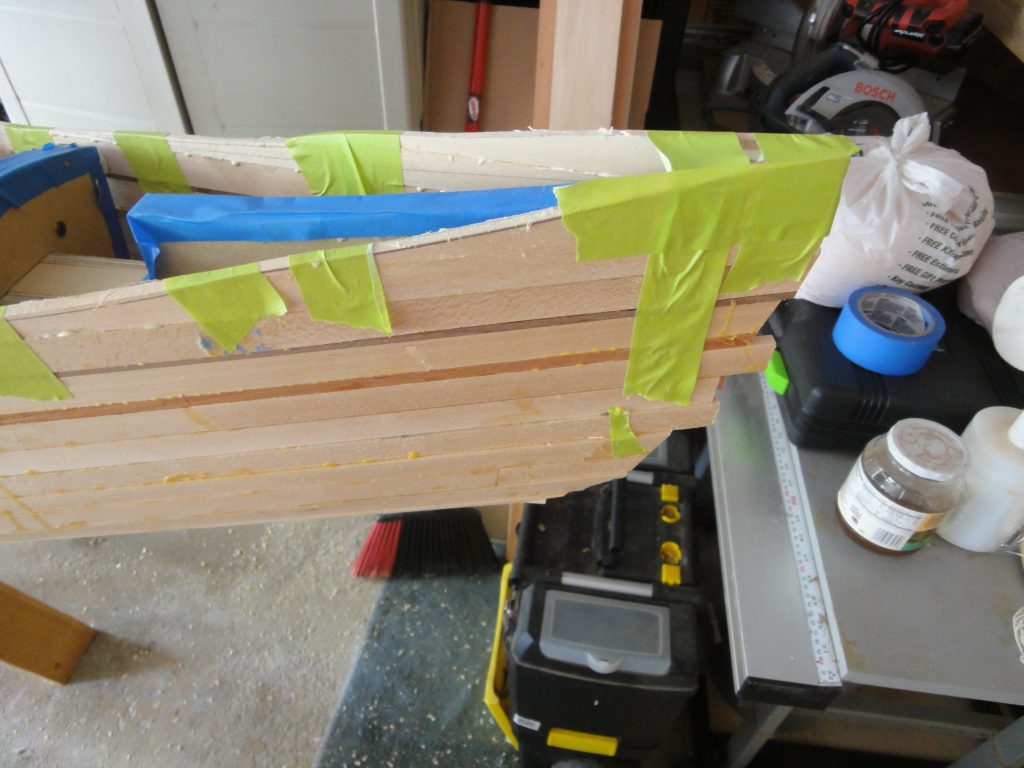
With these final boards the hull is complete. Well, at least from the stripping perspective. You may also notice in the last image above a few gaps. These were the last of the curved boards and the gaps that kept opening up on me is why I switched to straight boards. I’ll use some of the glue and wood flour (saw dust) that I saved earlier on to fill these when I get to the finish work on the hull. Before removing the kayak from the support, I glued a pencil to a scrap of wood and then used that to trace the outline of the hull to a couple of pieces of cardboard. These were then traced onto plywood and cut out at the band saw. After cutting I test and the are fairly close to matching the curve of the kayak… which for my purposes is more than sufficient.


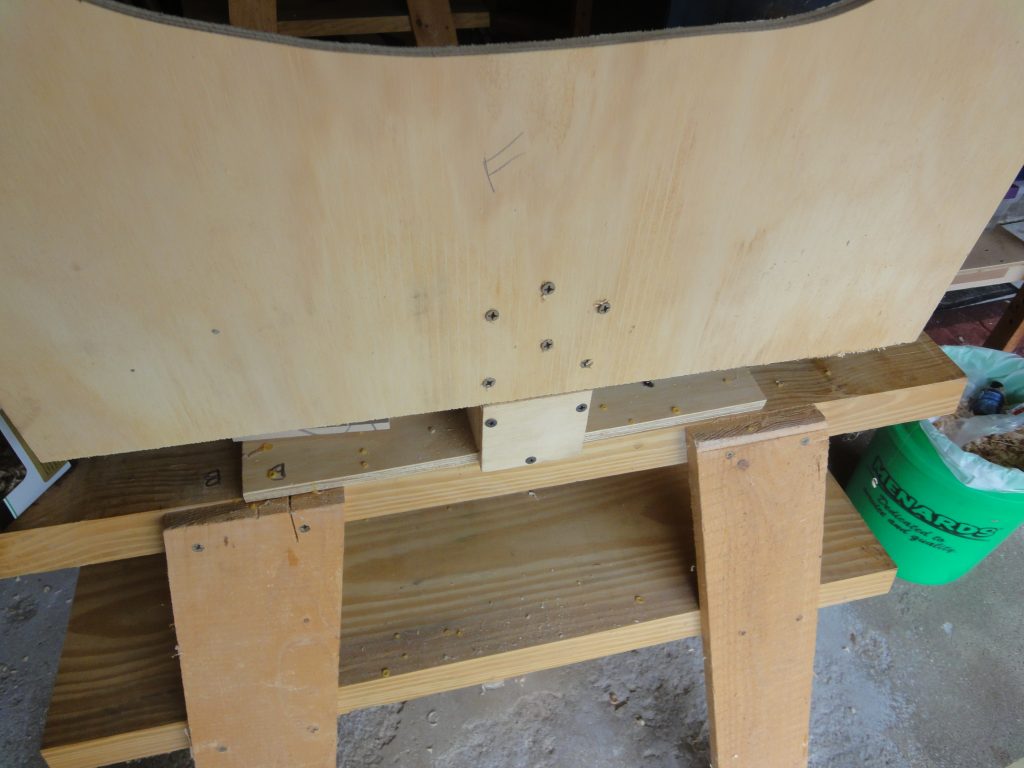
I removed the kayak (and strongback with forms) from the saw horses and set it aside, of course getting a few pics along the way. With the space cleared I took time for some clean up. The shavings, while being swept up every few work sessions, still accumulated in hard to reach areas. I also added a few long bolts to my ceiling mounts running them through the 2×6 and ceiling and past the rafter and then into another 2×6. This second board, with bolts on each side, was also screwed into the rafter from above. It shouldn’t be necessary but I like the added insurance instead of relying only on the lag bolts. I don’t have shots of the ceiling work.

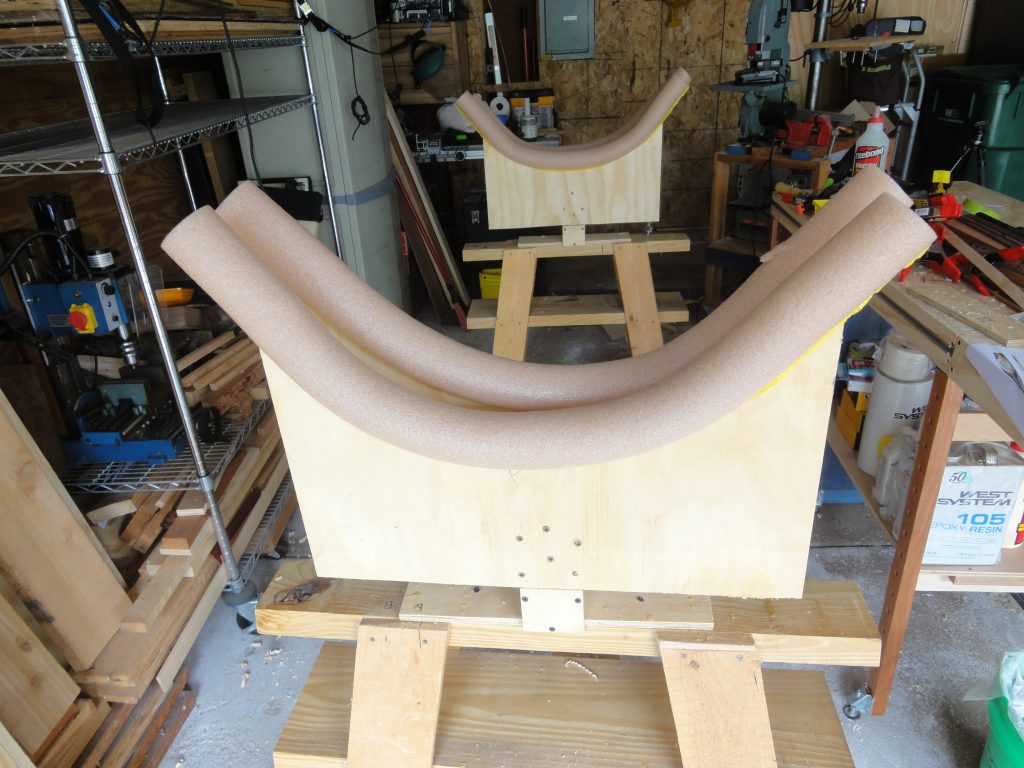
With the kayak removed from the saw horses, I bolted on the cradle frames that I had cut out earlier to the mounts that held the strong back. Using pipe insulation I covered over the edges and then finally flipped the kayak over and placed it into the cradle. The foam protects it from damage in case it slides back and forth a bit. The saw horses did require a bit of spacing adjustment but nothing major. Now I have it positioned in the correct orientation and am ready to get to work on the deck. The way I cut the boards it’s also sitting about a foot higher. I don’t think this will be an issue, but if it is I’ll cut down the cradle forms at a later date to lower the position.


Remembering back, the stern was never completed as the boards did not want to make the curve so I ran them straight. With it easy to work on now I went ahead and cut a few strips more or less free handing the curve to fill in these pieces. Once the glue is dried I’ll need to plane down the curve to make it smooth and fair.
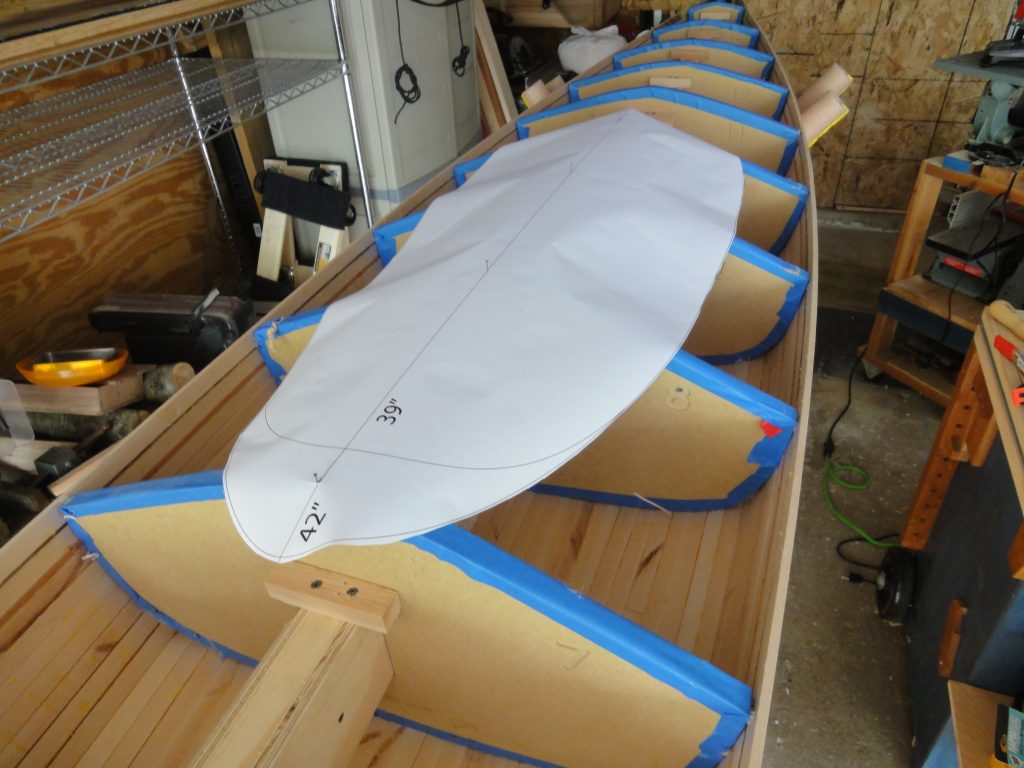
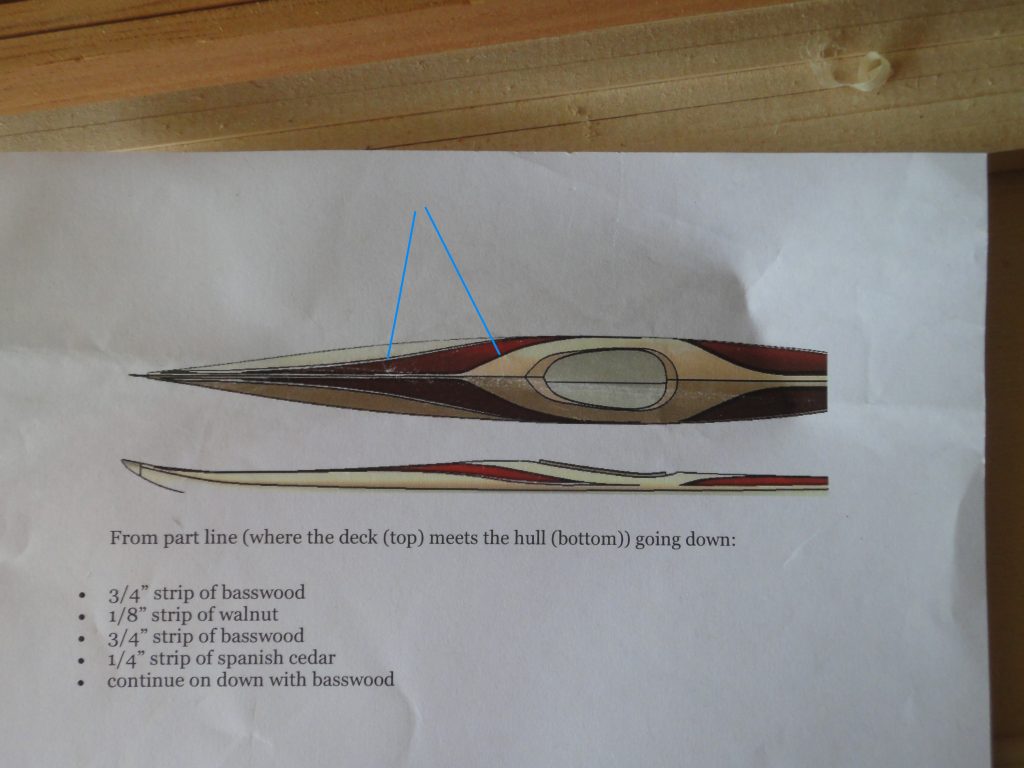
In order to figure out the decorative elements I need to know the cockpit placement. According to the plans in the Kayak Craft book, the back of the cockpit coaming is about 3 inches or so behind station 10. Since I’m going with a larger cockpit the additional opening will go towards the front of the boat. When I am sitting in there, regardless of the cockpit size, the positioning is designed for balance of the boat with me in it. If I moved the entire cockpit forward or back I would be throwing off that designed balance point. Instead I leave it so that the seat can be installed as designed and put the extra opening where I would then need it to get my legs in.
I decided to use the wider opening that I drew and to cut it at 42″ and then install a recess to bring it back to 39″ in total opening length. By my tests this should work fine for me. The template was cut, for now at the 42″ size and I went just a little over the line. The positioning was on the center line with the rear about three inches behind form 10.

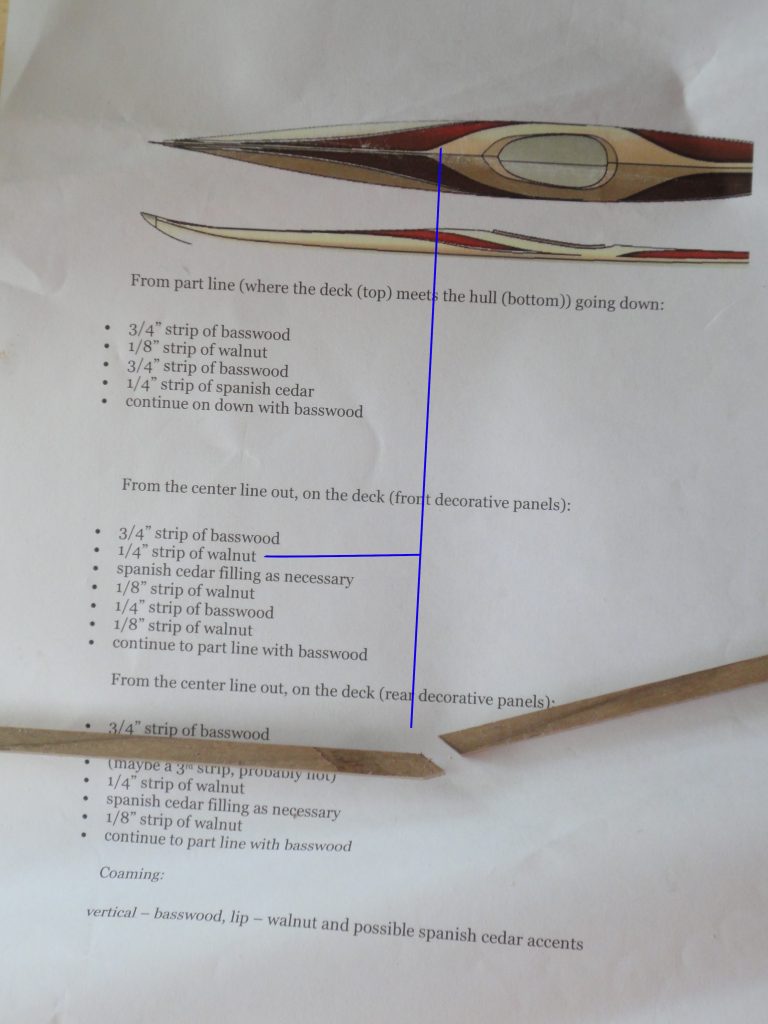
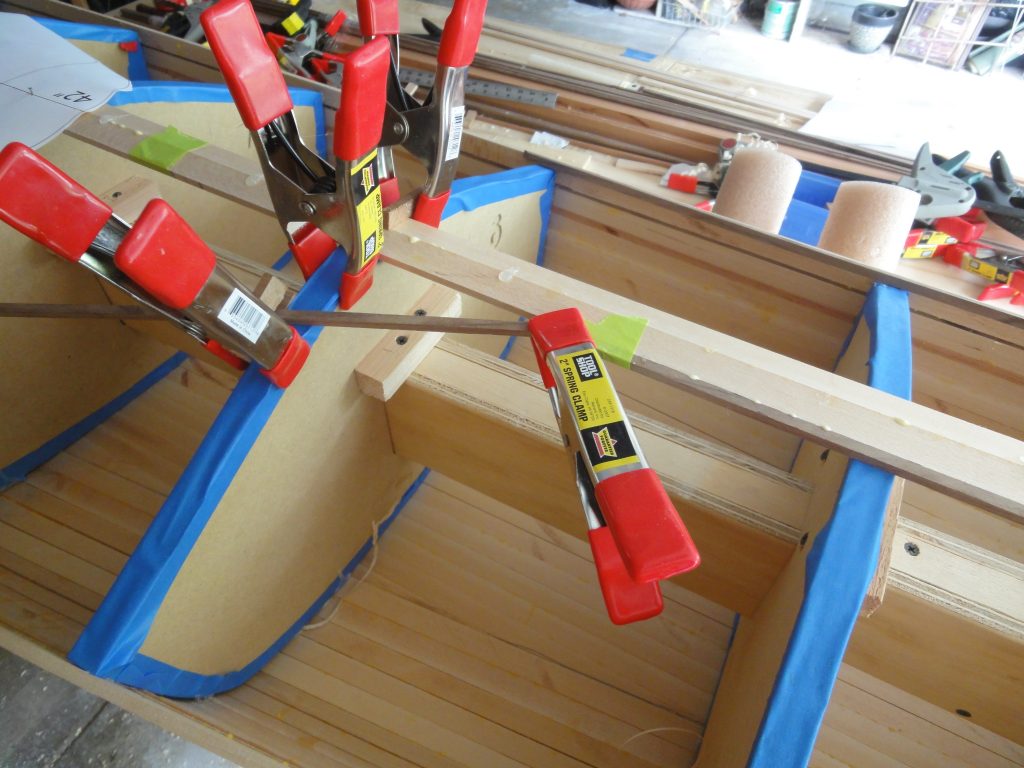
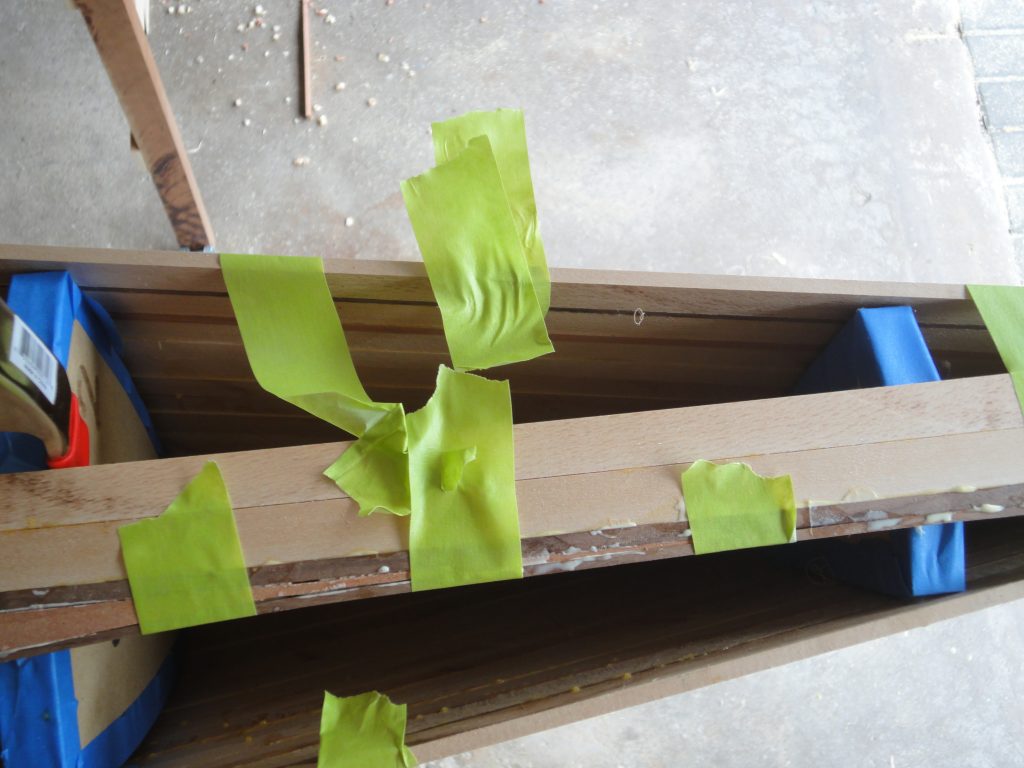
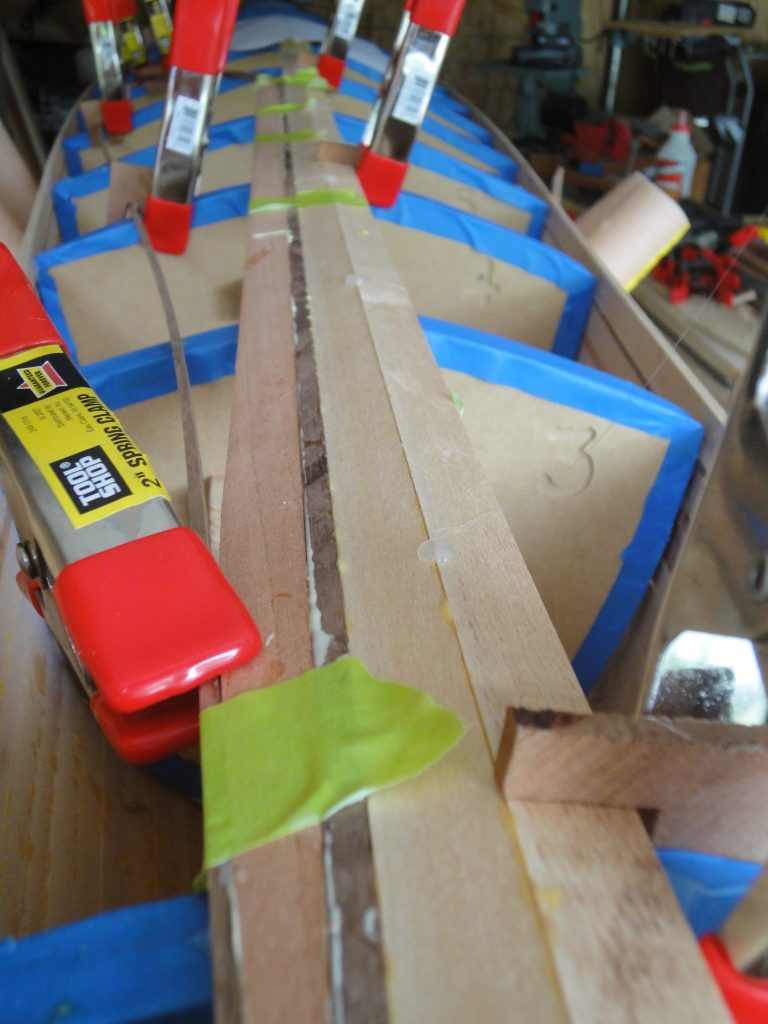
In looking over my design plans, it calls for two strips down the center (front). I beveled these to lay flat against the forms on either side of the center line and meet in the middle. They were glued to each other and hot glued to the forms and to the tip of the bow. Now comes the challenging part. Thankfully all the fitting I just did on the hull was good practice for the next part. First I need to run the 1/4″ and 1/8″ walnut strips to define the front decorative elements. I started by estimating about where I want it to start and end. Then I cut an angle and used the cut off piece to continue around the side of where the cockpit will be. A bunch of clamps are currently holding it in position while the few areas that can be glued were.
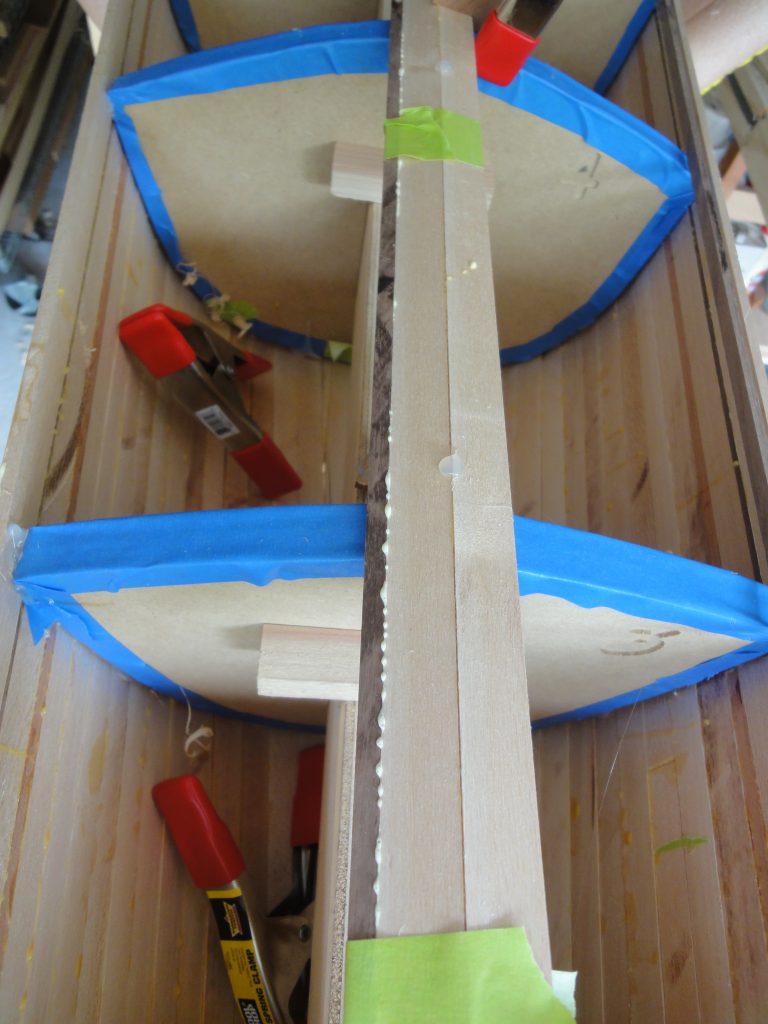

The inside one of the outer two 1/8″ strips was then positioned and flexed into the shape I wanted, again held in position with clamps. I tweaked and adjusted until I felt it was what I was looking for. At this time I am only doing one side. When complete I can take measurements off of it to use in positioning the other side in the same, but mirrored, way.

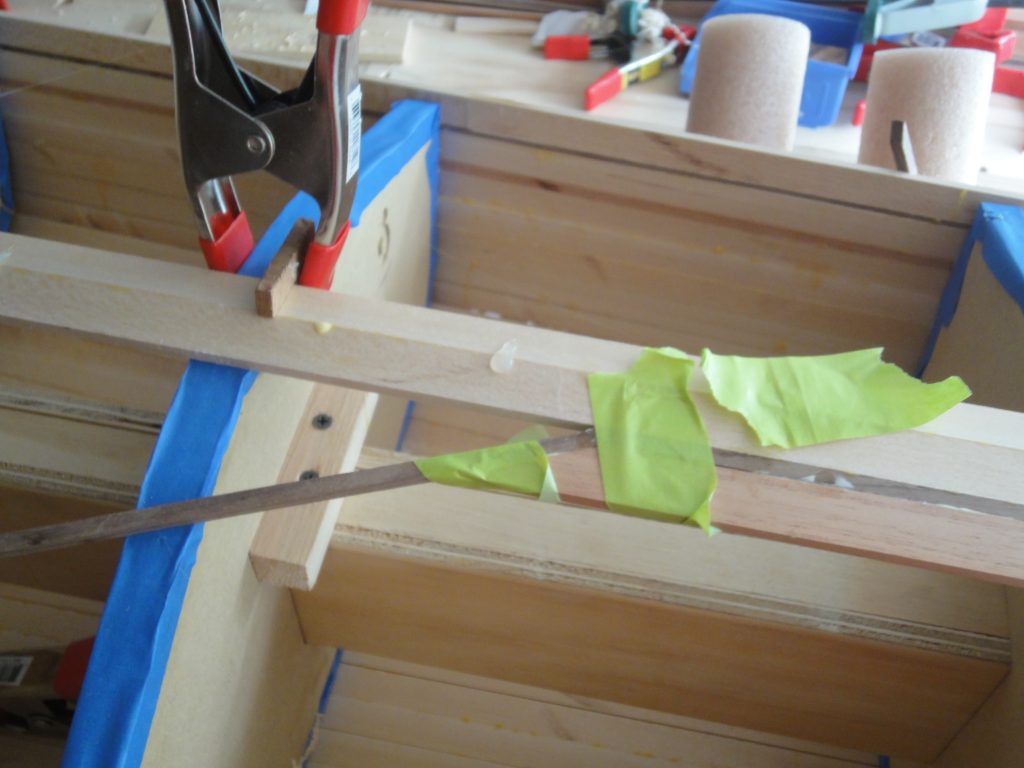
With the 1/8″ strip positioned and glued on both ends, along with a few hot glue tacks to keep it to the forms, I was ready to start filling in the Spanish cedar strips. I was able to install two but only took pictures of the first one. It involved fitting either the angle at the rear or the long taper at the front. Once one is fitting well I measured for the other one, cut oversized and then planed it back for a perfect fit. The biggest thing to be careful of is to not force it into place. If you do, the 1/8″ strip easily flexes to accommodate the cedar strip but this then alters the shape. So, carefully slide in the taper. If it isn’t fitting tightly and the walnut starts to flex, note where, remove, plane and test fit again. Repeat as necessary until it fits properly.
A quick video shows the strips in place just before I started to add the cedar.
With the three day weekend I’m hoping to make a bunch of progress on the cedar strips tomorrow (or given the time I’m typing this I guess it would be later today now!).